Directions
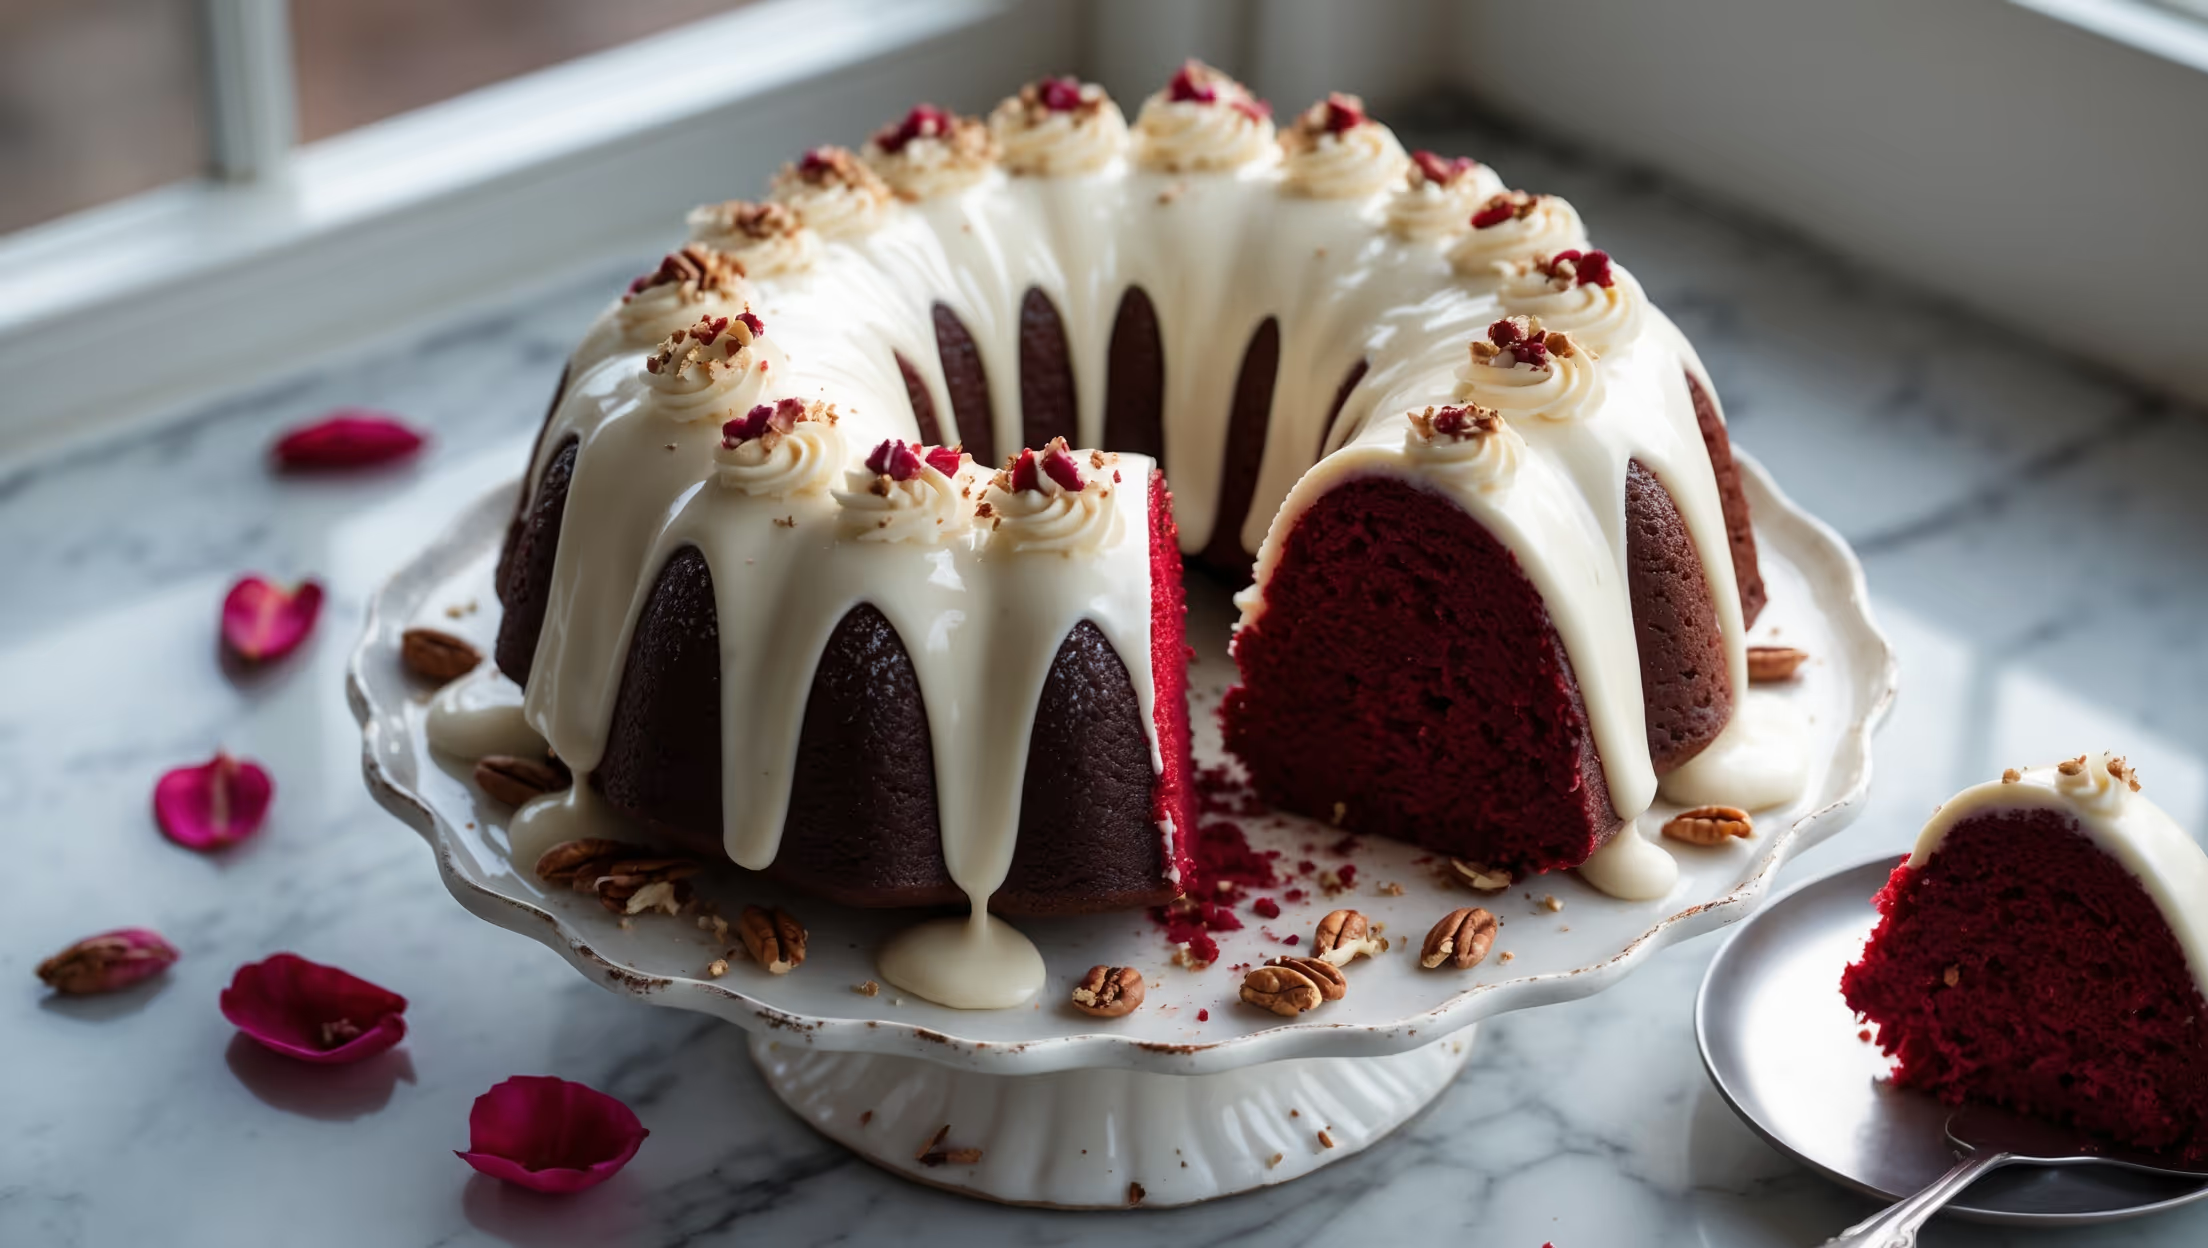
<ol class="no-list-style"><li class="MethodStepper"><h4 class="step-title">Step 1</h4>Preheat your oven to 165°C (330°F). Thoroughly grease and flour your bundt pan, making sure to get into all the crevices. This careful preparation is crucial for a clean release after baking - take your time with this step to avoid heartbreak later!</li><li class="MethodStepper"><h4 class="step-title">Step 2</h4>In a medium bowl, whisk together the flour, cocoa powder, baking soda, and salt. Sifting the cocoa powder eliminates any lumps and ensures it distributes evenly throughout the batter, giving that signature subtle chocolate flavor without overwhelming the delicate balance of the red velvet.</li><li class="MethodStepper"><h4 class="step-title">Step 3</h4>In the bowl of your stand mixer fitted with the paddle attachment (or using a hand mixer), cream the butter and sugar on medium-high speed for 4-5 minutes until pale and fluffy. This extended creaming process is essential for incorporating air into the batter, which creates the cake's tender crumb structure.</li><li class="MethodStepper"><h4 class="step-title">Step 4</h4>Add eggs one at a time, beating well after each addition. Then beat in the oil and vanilla extract until fully incorporated. The mixture may look slightly curdled at this point - that's perfectly normal!</li><li class="MethodStepper"><h4 class="step-title">Step 5</h4>In a small bowl, mix the buttermilk with the red food coloring. Buttermilk's acidity not only reacts with the baking soda to create lift but also enhances the color development and contributes to the cake's characteristic tang.</li><li class="MethodStepper"><h4 class="step-title">Step 6</h4>Gradually add the dry ingredients to the butter mixture in three additions, alternating with the colored buttermilk (beginning and ending with the dry ingredients). Mix on low speed just until combined after each addition - overmixing develops gluten, which can make your cake tough.</li><li class="MethodStepper"><h4 class="step-title">Step 7</h4>Finally, stir in the vinegar by hand. This last-minute addition reacts with the baking soda to create additional lift and helps maintain the vivid red color by stabilizing the acidity level.</li><li class="MethodStepper"><h4 class="step-title">Step 8</h4>Pour the batter into your prepared bundt pan and gently tap it on the counter a few times to release any trapped air bubbles. Smooth the top with a spatula to ensure even baking.</li><li class="MethodStepper"><h4 class="step-title">Step 9</h4>Bake for 45-50 minutes, or until a wooden skewer inserted into the center comes out with a few moist crumbs (not wet batter). Avoid opening the oven during the first 35 minutes as temperature fluctuations can cause the cake to sink.</li><li class="MethodStepper"><h4 class="step-title">Step 10</h4>Let the cake cool in the pan for exactly 15 minutes - this timing is crucial. Too short and the cake may break; too long and it might stick. Then invert onto a cooling rack and allow to cool completely before glazing.</li><li class="MethodStepper"><h4 class="step-title">Step 11</h4>For the cream cheese glaze, beat the cream cheese and butter until smooth and fluffy. Gradually add the sifted powdered sugar, then beat in the heavy cream, vanilla, and salt until the glaze reaches a pourable but thick consistency. If it's too thick, add more cream a teaspoon at a time.</li><li class="MethodStepper"><h4 class="step-title">Step 12</h4>Place your completely cooled cake on a serving plate with some parchment paper tucked underneath the edges to catch drips. Pour the glaze over the top of the cake, allowing it to naturally flow down the ridges of the bundt. For the most stunning presentation, let some glaze pool around the base of the cake. Remove the parchment once the glaze has set slightly.</li><li class="MethodStepper"><h4 class="step-title">Step 13</h4>Allow the glaze to set for at least 30 minutes before serving. This cake actually tastes even better the next day as the flavors have time to meld and develop! Store covered at room temperature for up to 3 days or refrigerate for up to a week.</li></ol>