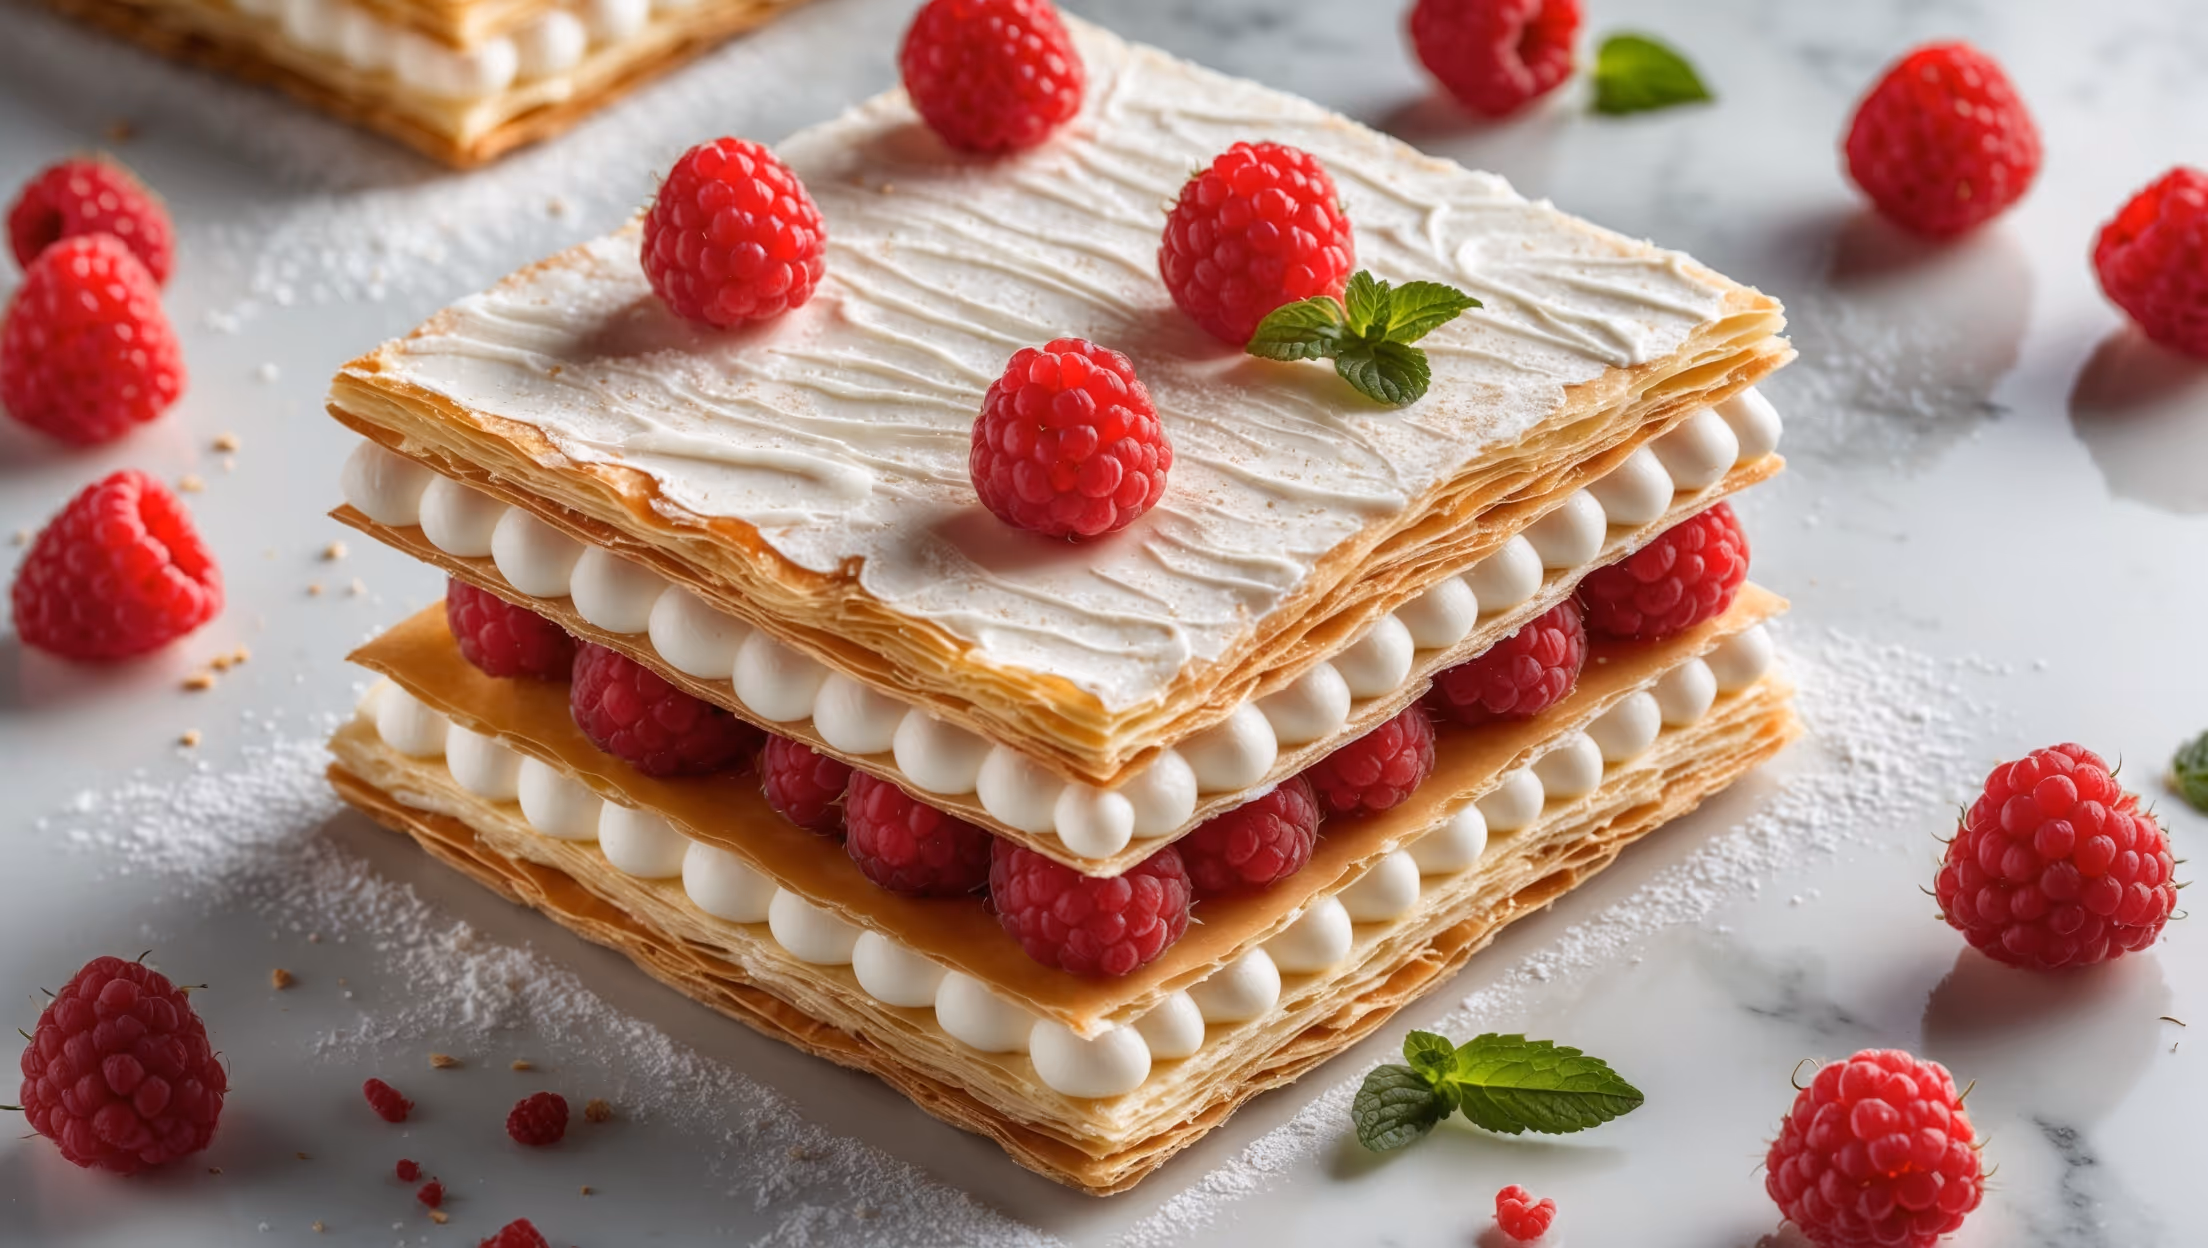
Raspberry Mille-Feuille Recipe
Ingredients
Equipment
Directions
FAQs
Find answers to your most pressing questions about this delicious recipe right here.
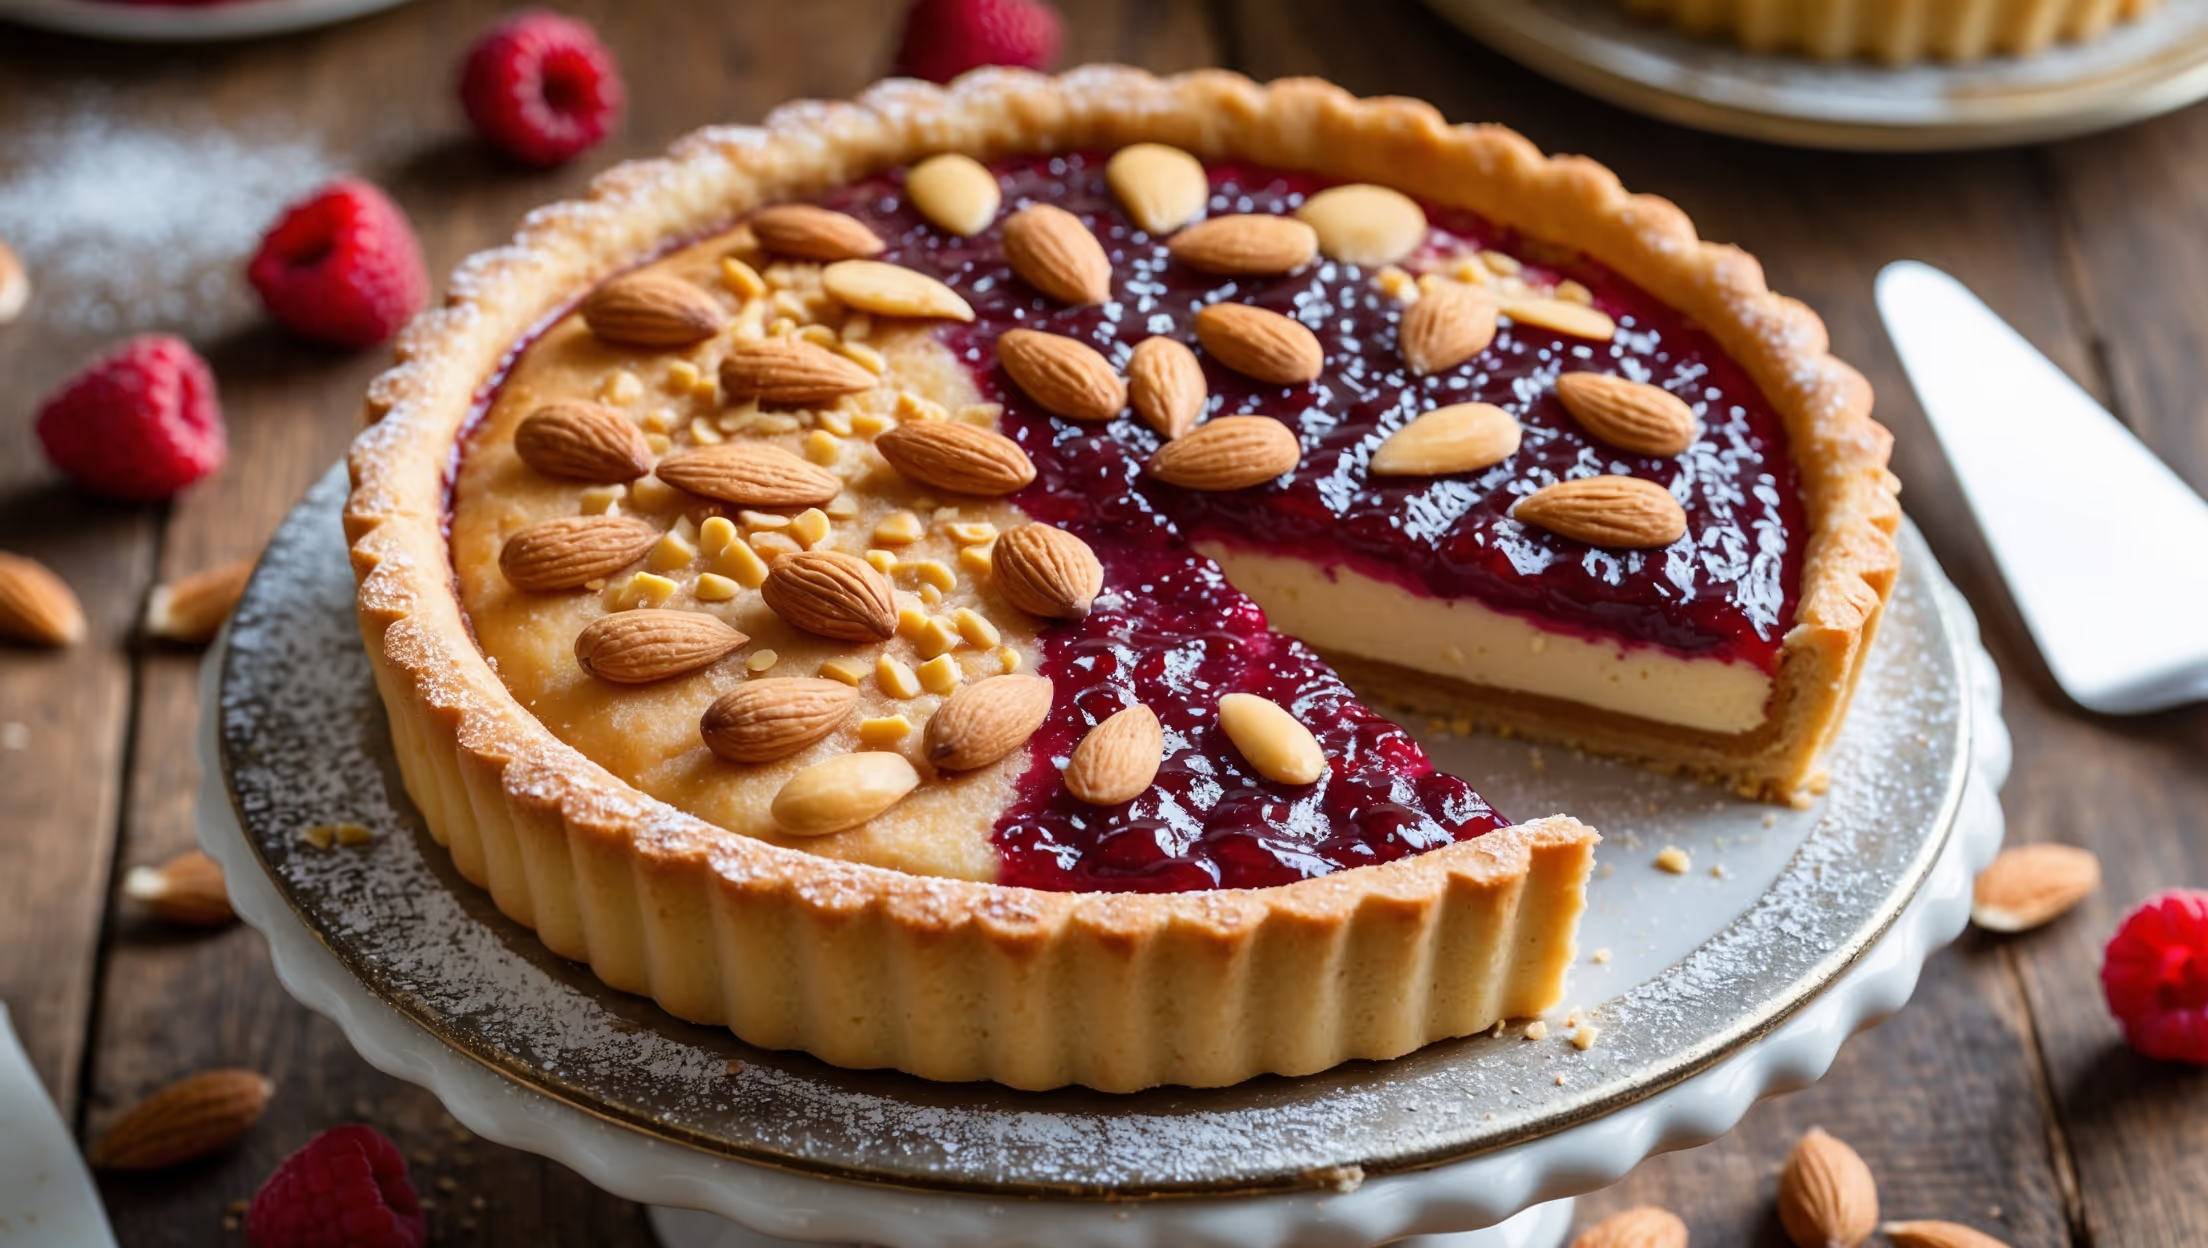
The key ingredients are all-butter puff pastry, fresh raspberries, and vanilla pastry cream made with whole milk, egg yolks, sugar, cornflour, plain flour, and butter. For the classic feathered topping, you'll need icing sugar, water, and dark chocolate.
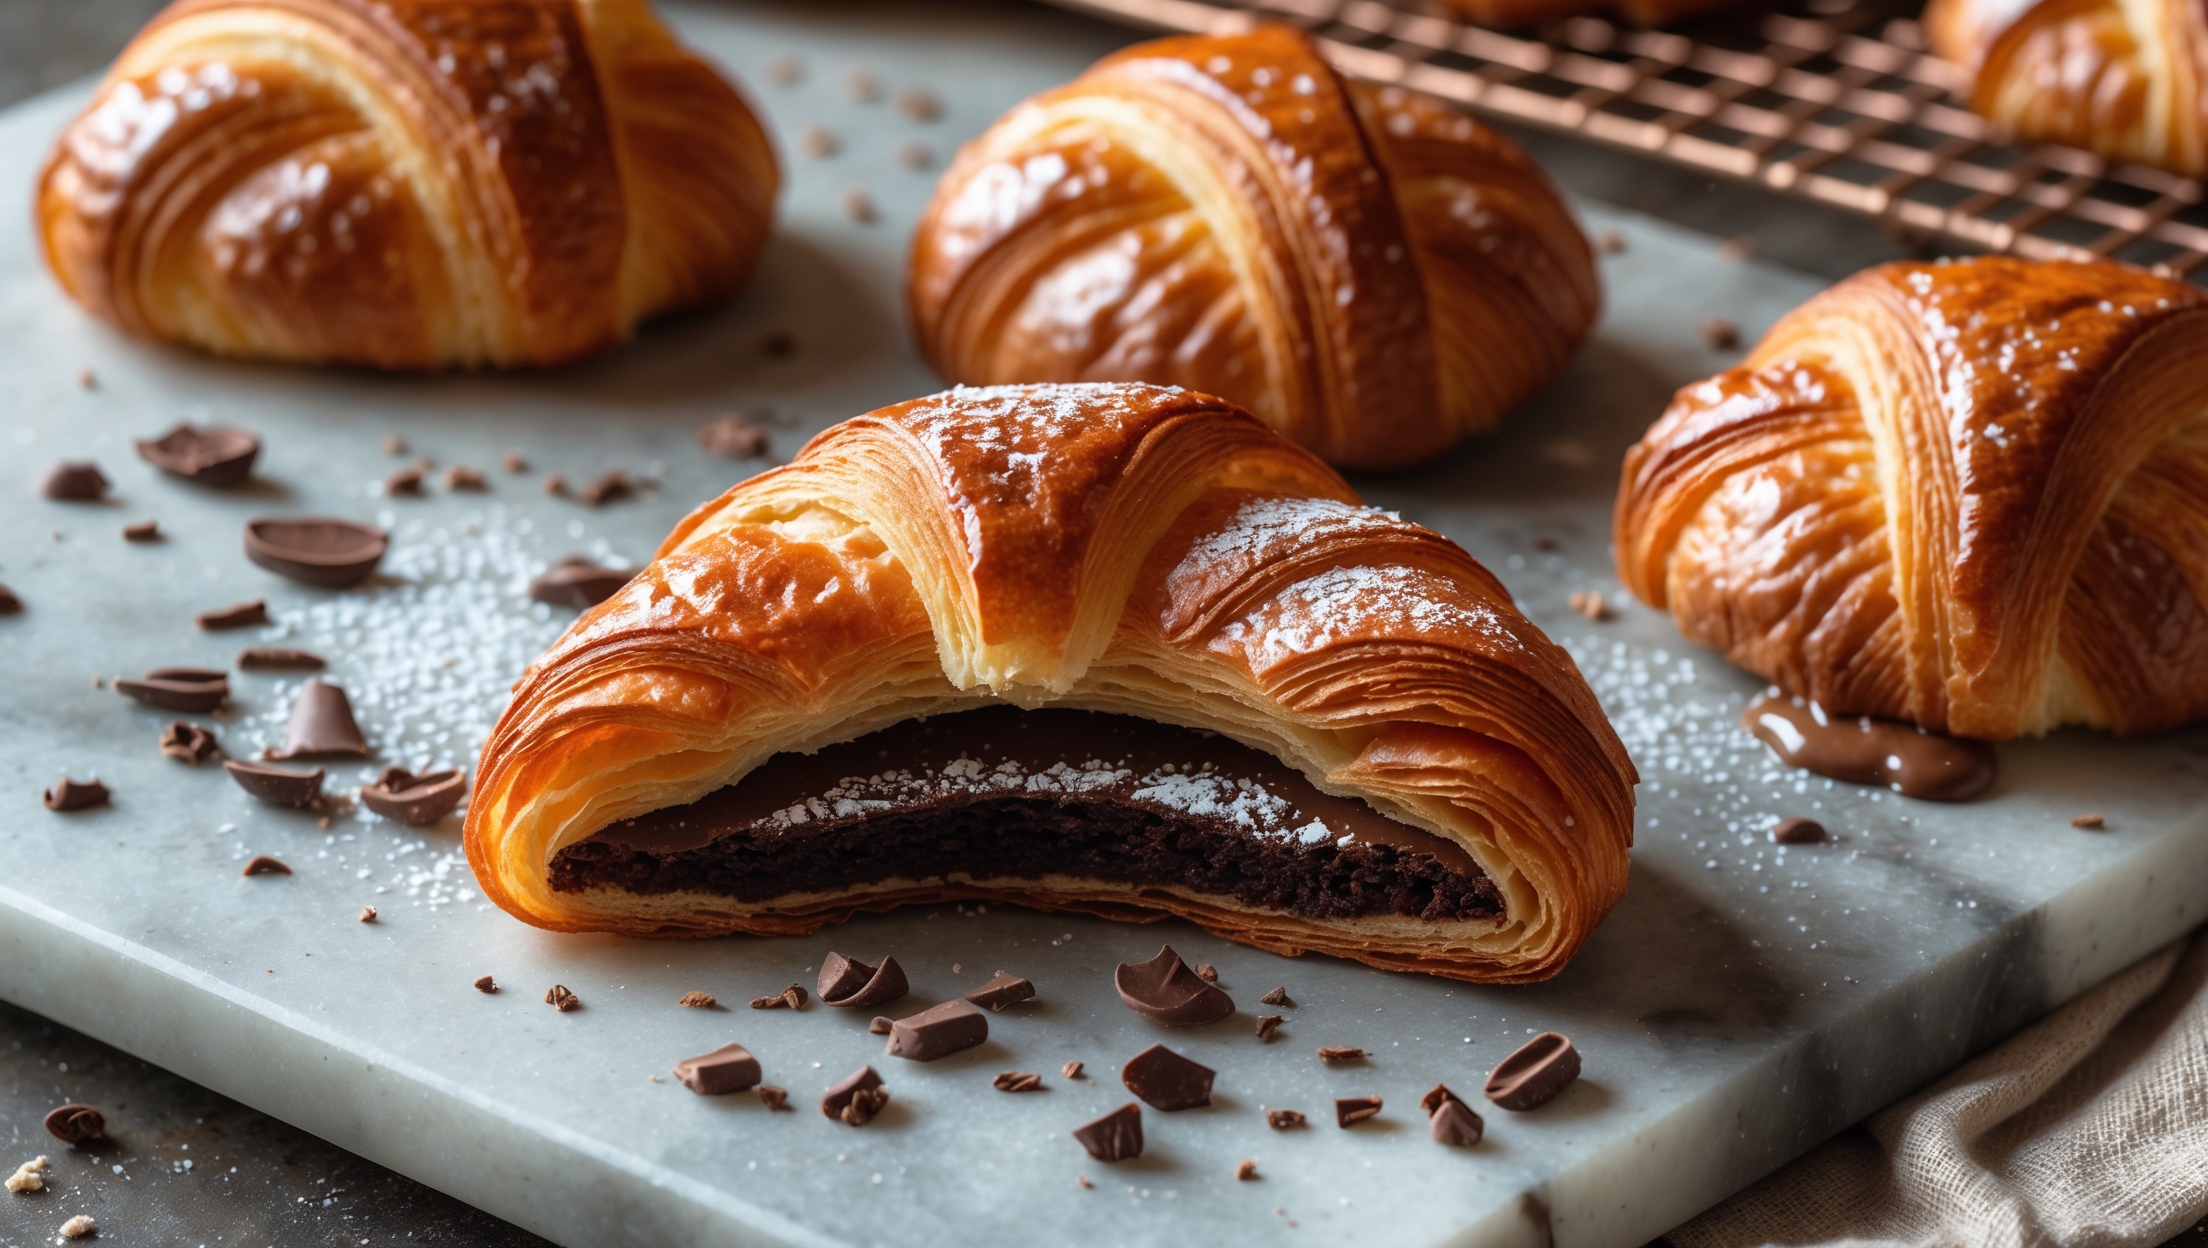
Learn how to cook Raspberry Mille-Feuille by baking puff pastry rectangles until golden and crisp, preparing a silky vanilla pastry cream, then assembling by layering the pastry with cream and fresh raspberries. Finish with the signature feathered icing pattern made by dragging lines through white icing and melted chocolate for that authentic French patisserie look.
For crispy puff pastry, ensure your oven is properly preheated to 200°C, dust the pastry with icing sugar before baking for caramelisation, prick it thoroughly with a fork, and use a second baking sheet to weight it down. Also, allow it to cool completely before assembling to prevent softening from the cream.
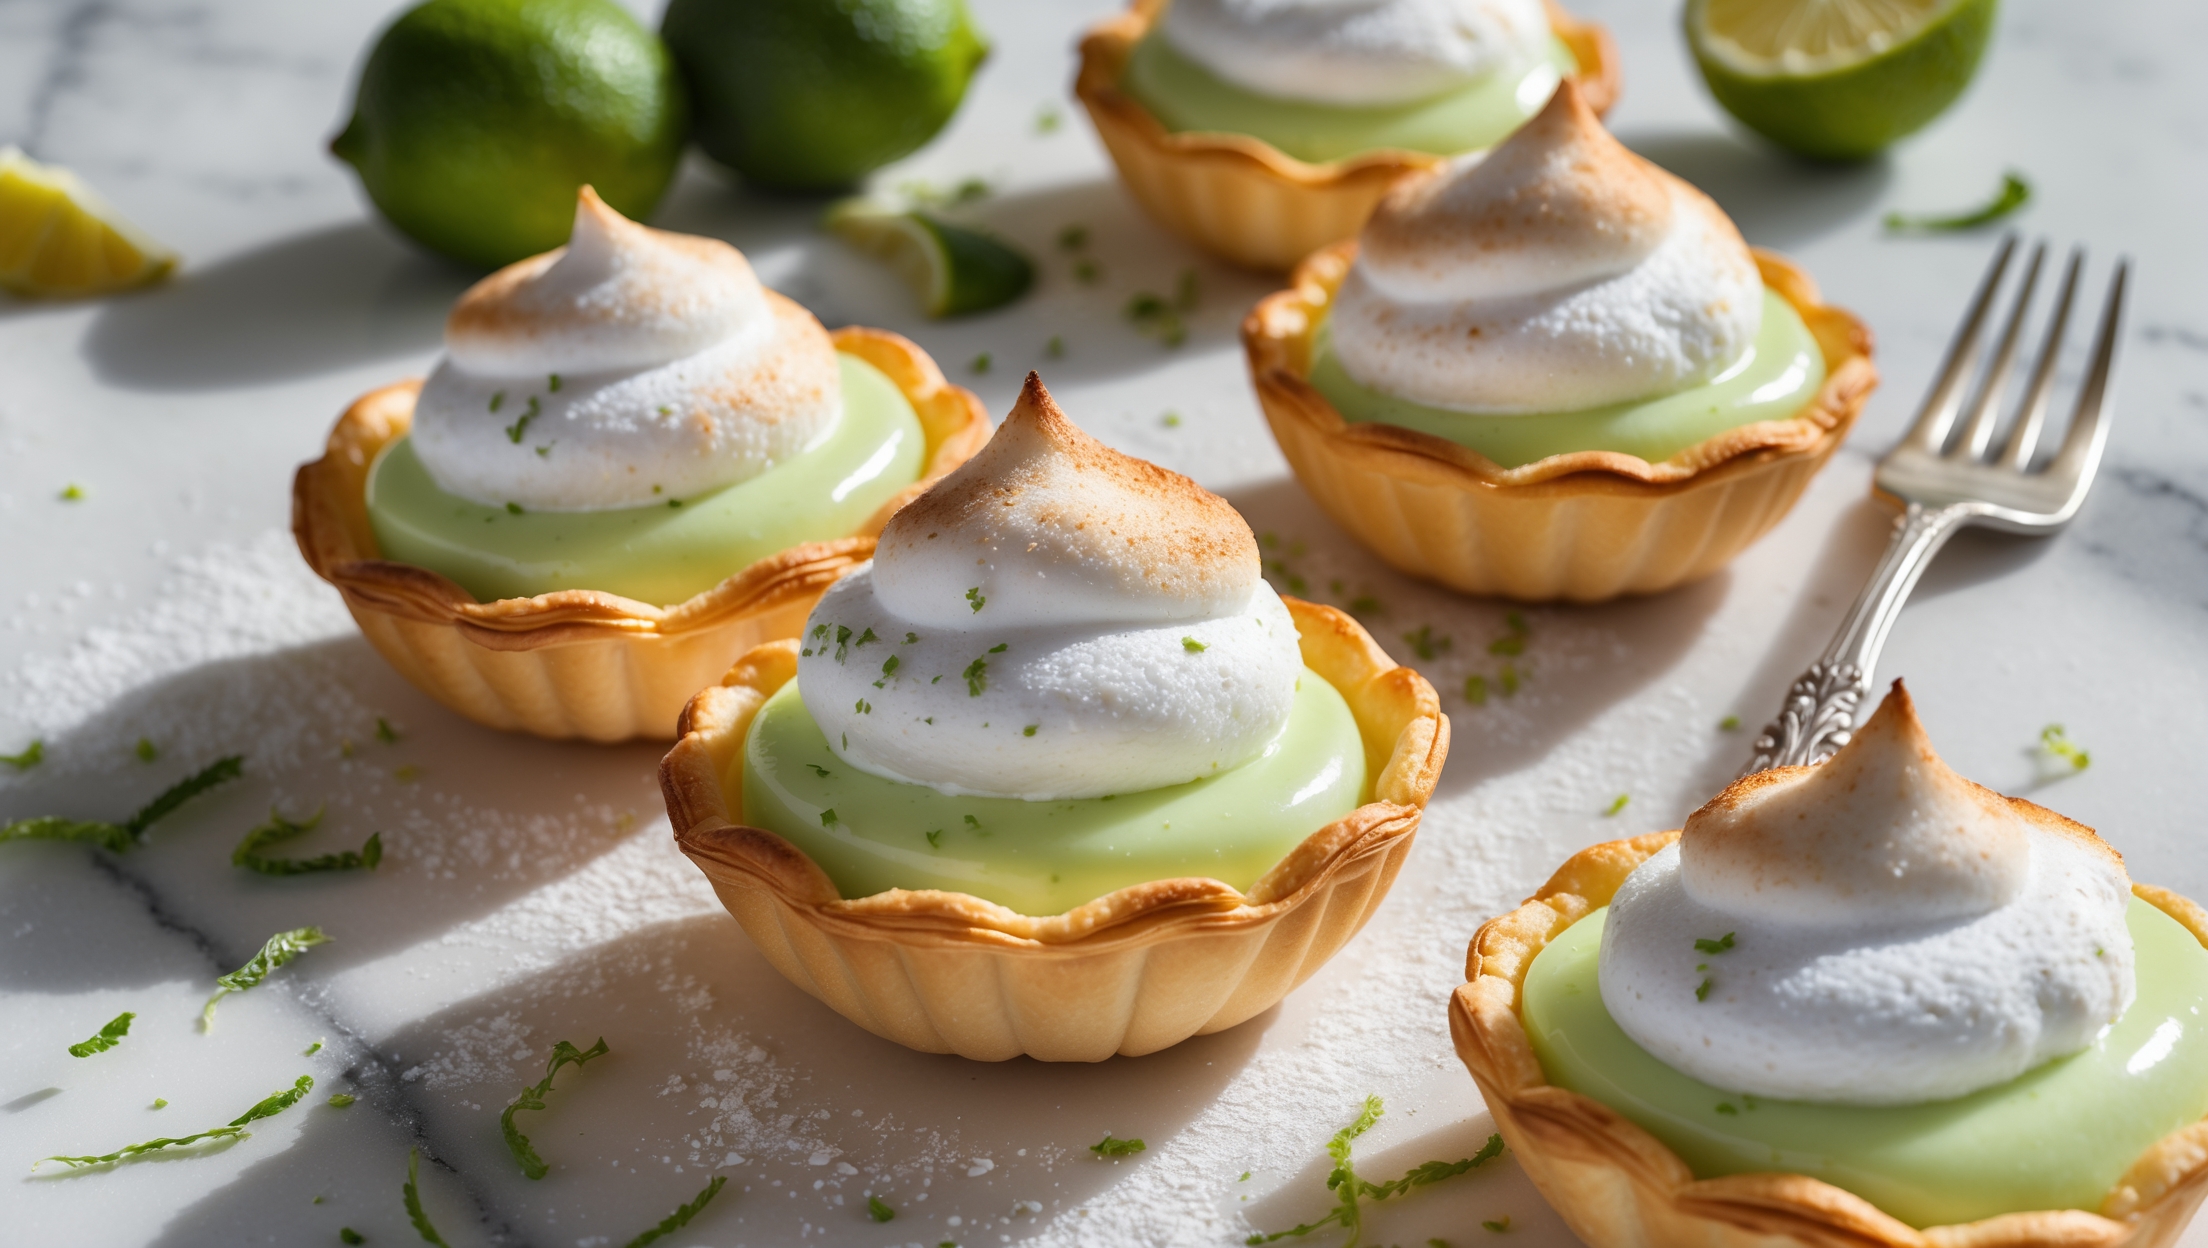
You can prepare components separately in advance—the pastry cream can be made 2 days ahead and the baked pastry sheets 1 day ahead (stored in an airtight container). However, assemble the final dessert no more than 4 hours before serving to maintain the perfect contrast between crisp pastry and creamy filling.
For clean, professional slices, chill the assembled dessert for at least 30 minutes to firm up the cream. Then use a sharp serrated knife dipped in hot water and wiped dry between each cut. Use a gentle sawing motion rather than pressing down, which can crush the delicate layers.
Puff Pastry
Try following recommended recipes