Directions
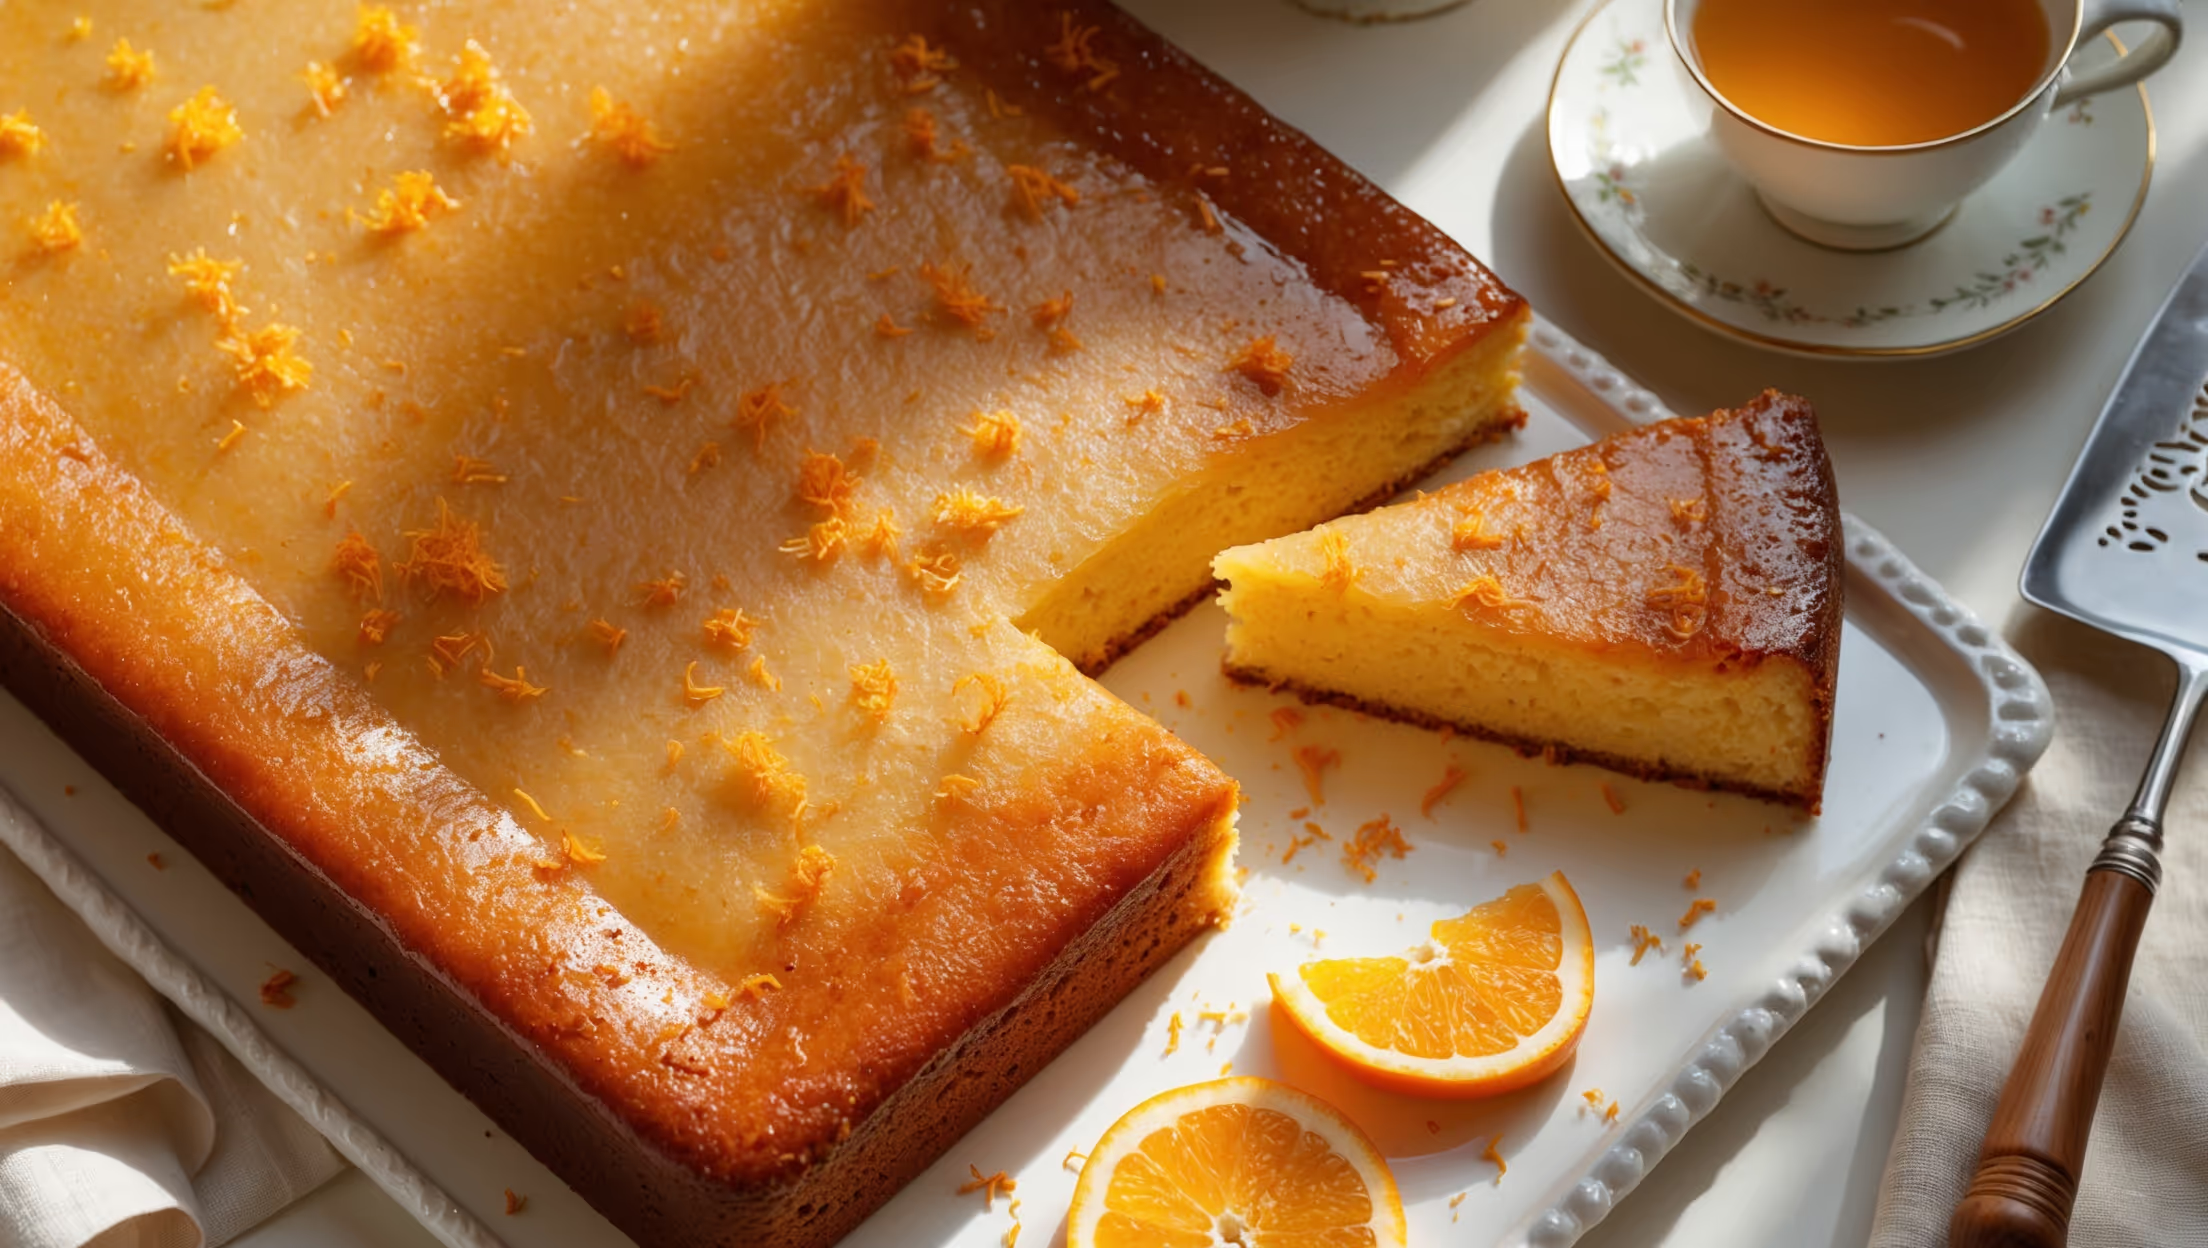
<ol class="no-list-style"><li class="MethodStepper"><h4 class="step-title">Step 1</h4>Preheat your oven to 180°C (350°F). Grease your 23x33cm baking pan and line with parchment paper, leaving some overhang on the sides for easy removal later. The parchment will ensure your cake doesn't stick and makes cleanup much easier.</li><li class="MethodStepper"><h4 class="step-title">Step 2</h4>In a medium bowl, whisk together the flour, baking powder, and salt. This pre-mixing of dry ingredients ensures they'll incorporate evenly throughout the batter, preventing any pockets of baking powder or salt in your finished cake.</li><li class="MethodStepper"><h4 class="step-title">Step 3</h4>In a large bowl or stand mixer, cream the softened butter and sugar on medium-high speed for 4-5 minutes until very light and fluffy. Don't rush this step! This process, called creaming, creates tiny air pockets that help your cake rise beautifully during baking.</li><li class="MethodStepper"><h4 class="step-title">Step 4</h4>Add eggs one at a time, beating well after each addition until fully incorporated. Scrape down the sides of the bowl frequently. The gradual addition allows each egg to be properly emulsified into the fat-sugar mixture, creating a stable, silky batter.</li><li class="MethodStepper"><h4 class="step-title">Step 5</h4>Mix the orange juice, milk, vanilla extract, and orange zest together in a measuring cup. The acid in the orange juice will react with the baking powder to create additional lift in your cake.</li><li class="MethodStepper"><h4 class="step-title">Step 6</h4>Beginning and ending with the flour mixture, add the dry ingredients and orange juice mixture to the butter mixture in alternating batches (flour-liquid-flour-liquid-flour). Mix on low speed just until combined after each addition. This alternating method prevents gluten from overdeveloping, resulting in a tender crumb.</li><li class="MethodStepper"><h4 class="step-title">Step 7</h4>Pour the batter into your prepared pan, using a spatula to spread it evenly to the corners. Gently tap the pan on the counter a few times to release any large air bubbles that might cause holes in your cake.</li><li class="MethodStepper"><h4 class="step-title">Step 8</h4>Bake for 28-32 minutes, or until a toothpick inserted in the center comes out clean or with a few moist crumbs. The cake should spring back lightly when touched and will have pulled away slightly from the edges of the pan. Avoid opening the oven door during the first 20 minutes as this can cause your cake to sink.</li><li class="MethodStepper"><h4 class="step-title">Step 9</h4>Allow the cake to cool in the pan for 15 minutes, then use the parchment overhang to carefully lift it out onto a wire rack to cool completely. The cake needs to be fully cooled before glazing, otherwise the glaze will simply melt and be absorbed.</li><li class="MethodStepper"><h4 class="step-title">Step 10</h4>For the glaze, whisk together the powdered sugar, orange juice (start with 3 tablespoons and add more if needed), and orange zest in a bowl until smooth. The consistency should be thick but pourable - like warm honey. If it's too thick, add a tiny bit more orange juice; if too thin, add more powdered sugar.</li><li class="MethodStepper"><h4 class="step-title">Step 11</h4>When the cake is completely cool, pour the glaze over the top, using a spatula to spread it evenly if needed. The glaze will naturally settle and create a smooth finish if you allow it a few minutes. For a more finished look, you can sprinkle additional orange zest over the top.</li><li class="MethodStepper"><h4 class="step-title">Step 12</h4>Allow the glaze to set for at least 30 minutes before slicing the cake. This cake keeps beautifully at room temperature in an airtight container for up to 3 days, or in the refrigerator for up to 5 days. The flavor even improves on the second day as the orange notes develop further!</li></ol>