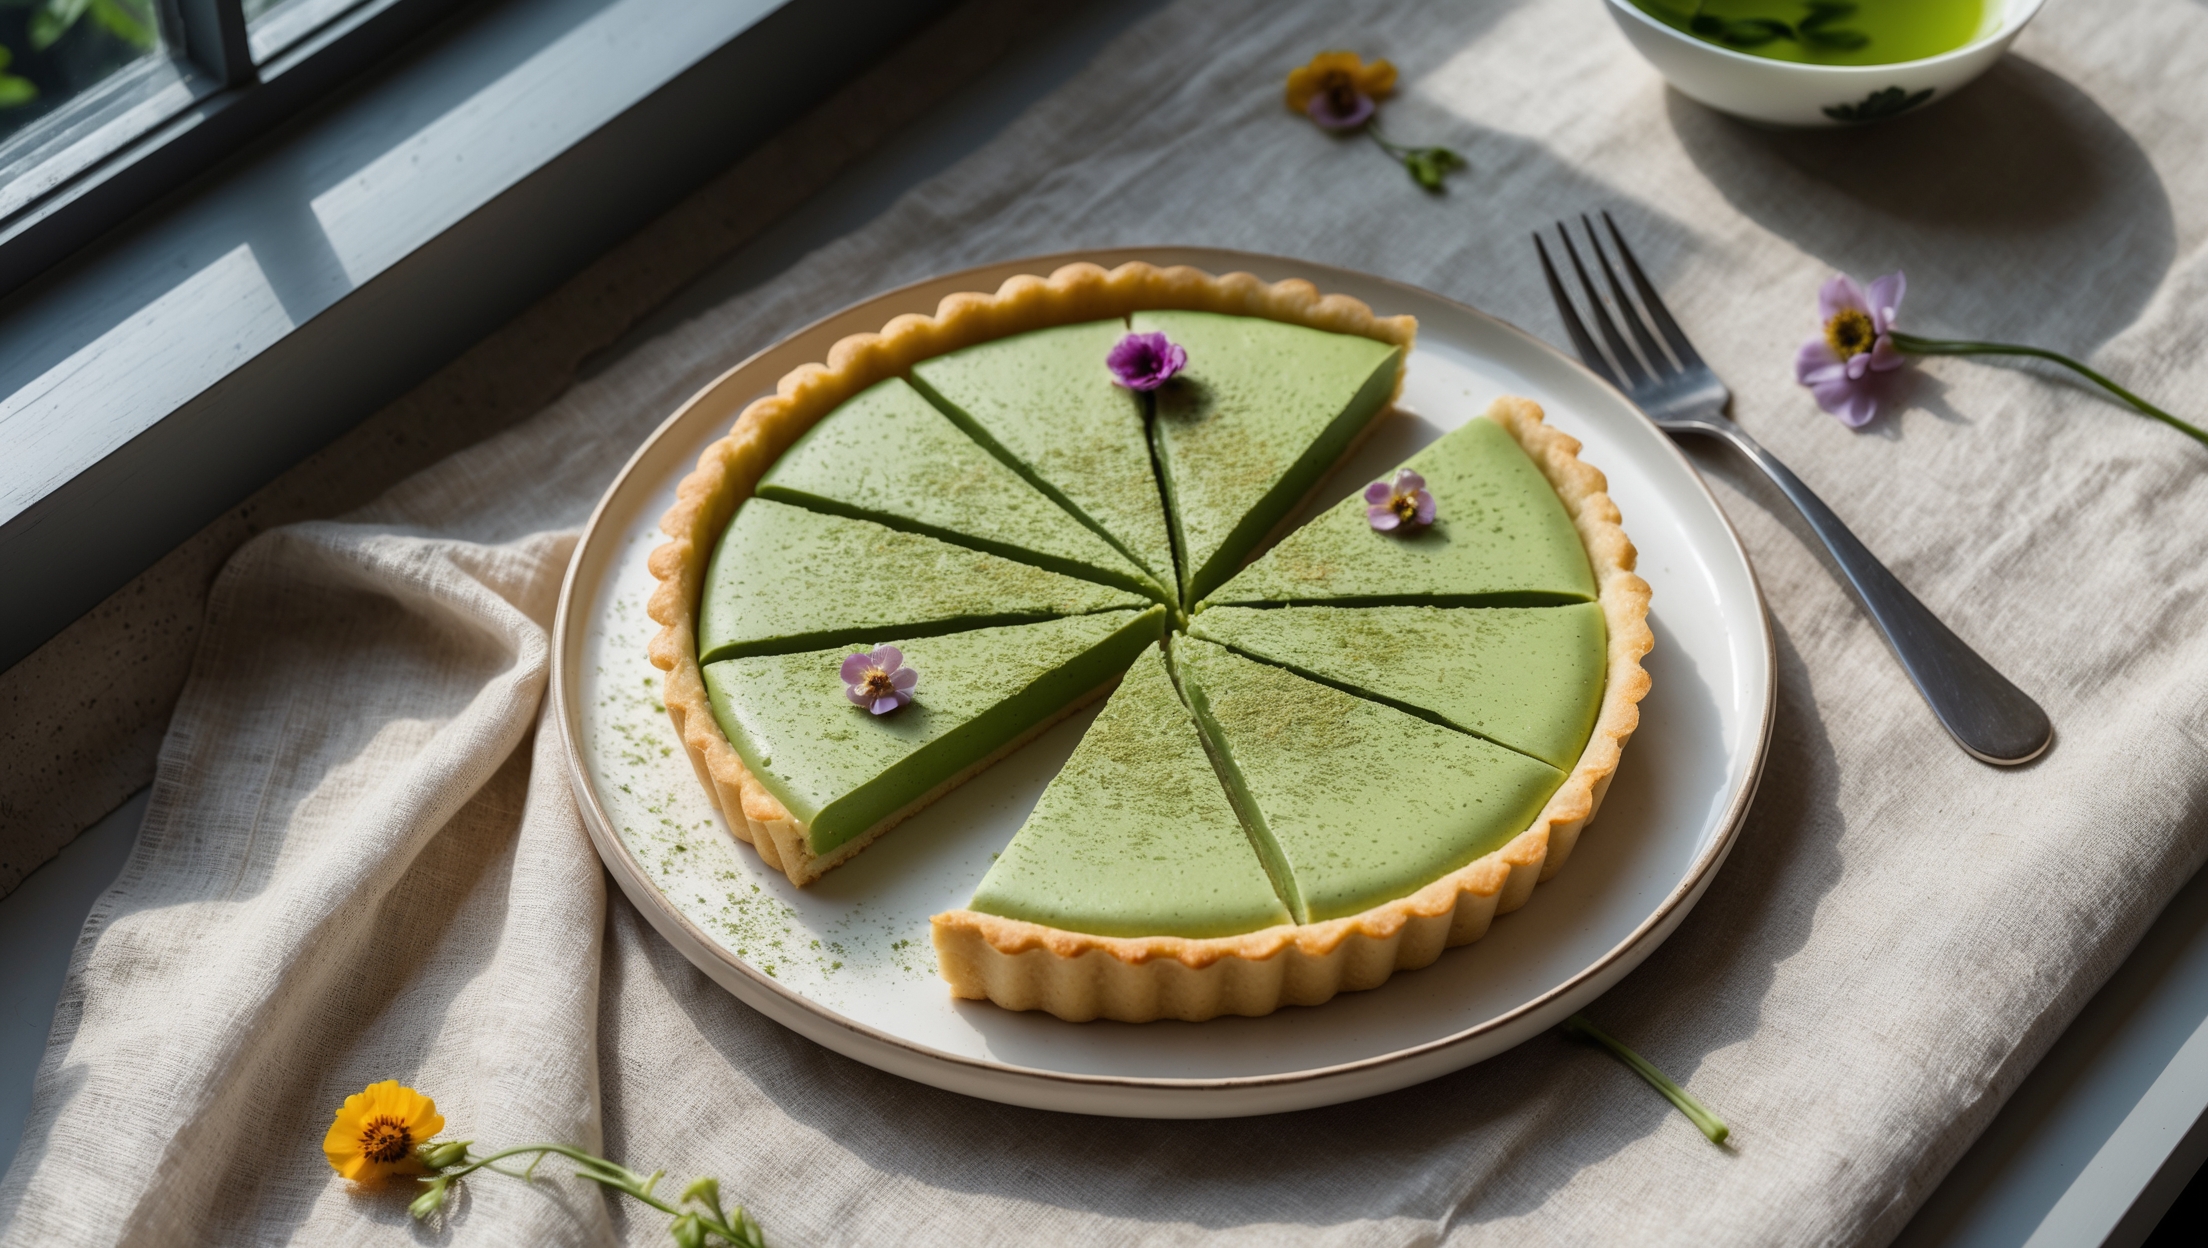
Directions
<ol class="no-list-style"> <li class="MethodStepper"> <h4 class="step-title">Step 1</h4> Begin by making the shortcrust pastry. In a food processor (or by hand using your fingertips), combine the flour, cold cubed butter, and salt until the mixture resembles fine breadcrumbs. The cold butter is crucial here as it creates steam pockets during baking that result in a flaky texture. </li> <li class="MethodStepper"> <h4 class="step-title">Step 2</h4> Add the powdered sugar and pulse briefly to combine. Then add the egg yolk and gradually add the ice water, 1 tablespoon at a time, until the dough just comes together. Be careful not to overwork the dough or it will become tough. Form into a disc, wrap in plastic wrap, and refrigerate for at least 30 minutes to relax the gluten. </li> <li class="MethodStepper"> <h4 class="step-title">Step 3</h4> Preheat your oven to 180°C. Roll out the chilled pastry on a lightly floured surface to about 3-4mm thickness. Carefully transfer to your tart pan, gently pressing into the corners without stretching the dough. Trim any excess pastry and prick the base all over with a fork to prevent air bubbles. </li> <li class="MethodStepper"> <h4 class="step-title">Step 4</h4> Line the pastry case with parchment paper and fill with baking beans or weights. Blind bake for 15 minutes, then remove the paper and weights and bake for another 5-7 minutes until the base is lightly golden and dry to the touch. Set aside to cool while you prepare the filling. Reduce oven temperature to 160°C. </li> <li class="MethodStepper"> <h4 class="step-title">Step 5</h4> For the matcha filling, sift the matcha powder and cornstarch through a fine mesh sieve into a medium bowl to remove any lumps. Matcha tends to clump easily, and sifting ensures a smooth, silky filling. Add the sugar and whisk to combine. </li> <li class="MethodStepper"> <h4 class="step-title">Step 6</h4> In a separate bowl, whisk the egg yolks until smooth. Gradually add the matcha mixture to the eggs, whisking constantly to prevent the eggs from cooking. The mixture should be a vibrant green color at this stage. </li> <li class="MethodStepper"> <h4 class="step-title">Step 7</h4> In a medium saucepan, heat the cream and milk until just below simmering point - you'll see small bubbles forming at the edge. Remove from heat. Very slowly pour about a third of the hot cream mixture into the egg mixture, whisking vigorously to temper the eggs (this prevents them from scrambling). </li> <li class="MethodStepper"> <h4 class="step-title">Step 8</h4> Pour the tempered egg mixture back into the saucepan with the remaining cream. Return to medium-low heat and cook, stirring constantly with a wooden spoon, until the mixture thickens enough to coat the back of the spoon (about 5-7 minutes). When you run your finger through the custard on the spoon, it should leave a clear path. Add vanilla extract and stir to combine. </li> <li class="MethodStepper"> <h4 class="step-title">Step 9</h4> Strain the matcha custard through a fine-mesh sieve into a clean bowl to remove any lumps. This extra step ensures your filling will have that perfectly smooth, professional finish. Let cool for about 10 minutes, stirring occasionally to prevent a skin from forming. </li> <li class="MethodStepper"> <h4 class="step-title">Step 10</h4> Pour the slightly cooled filling into the baked tart shell. Smooth the top with an offset spatula if needed. Bake in the preheated oven at 160°C for 20-25 minutes, or until the filling is mostly set but still has a slight wobble in the center when gently shaken. It will continue to firm up as it cools. </li> <li class="MethodStepper"> <h4 class="step-title">Step 11</h4> Allow the tart to cool completely at room temperature, then refrigerate for at least 2 hours or overnight to fully set. The waiting is the hardest part, but it ensures the perfect texture! </li> <li class="MethodStepper"> <h4 class="step-title">Step 12</h4> Before serving, dust the top with a little extra matcha powder using a fine sieve. If desired, serve with a dollop of freshly whipped cream and fresh berries for a beautiful color contrast that complements the earthy matcha flavor. The tart is best enjoyed on the day it's made, but will keep covered in the refrigerator for up to 2 days. </li> </ol>