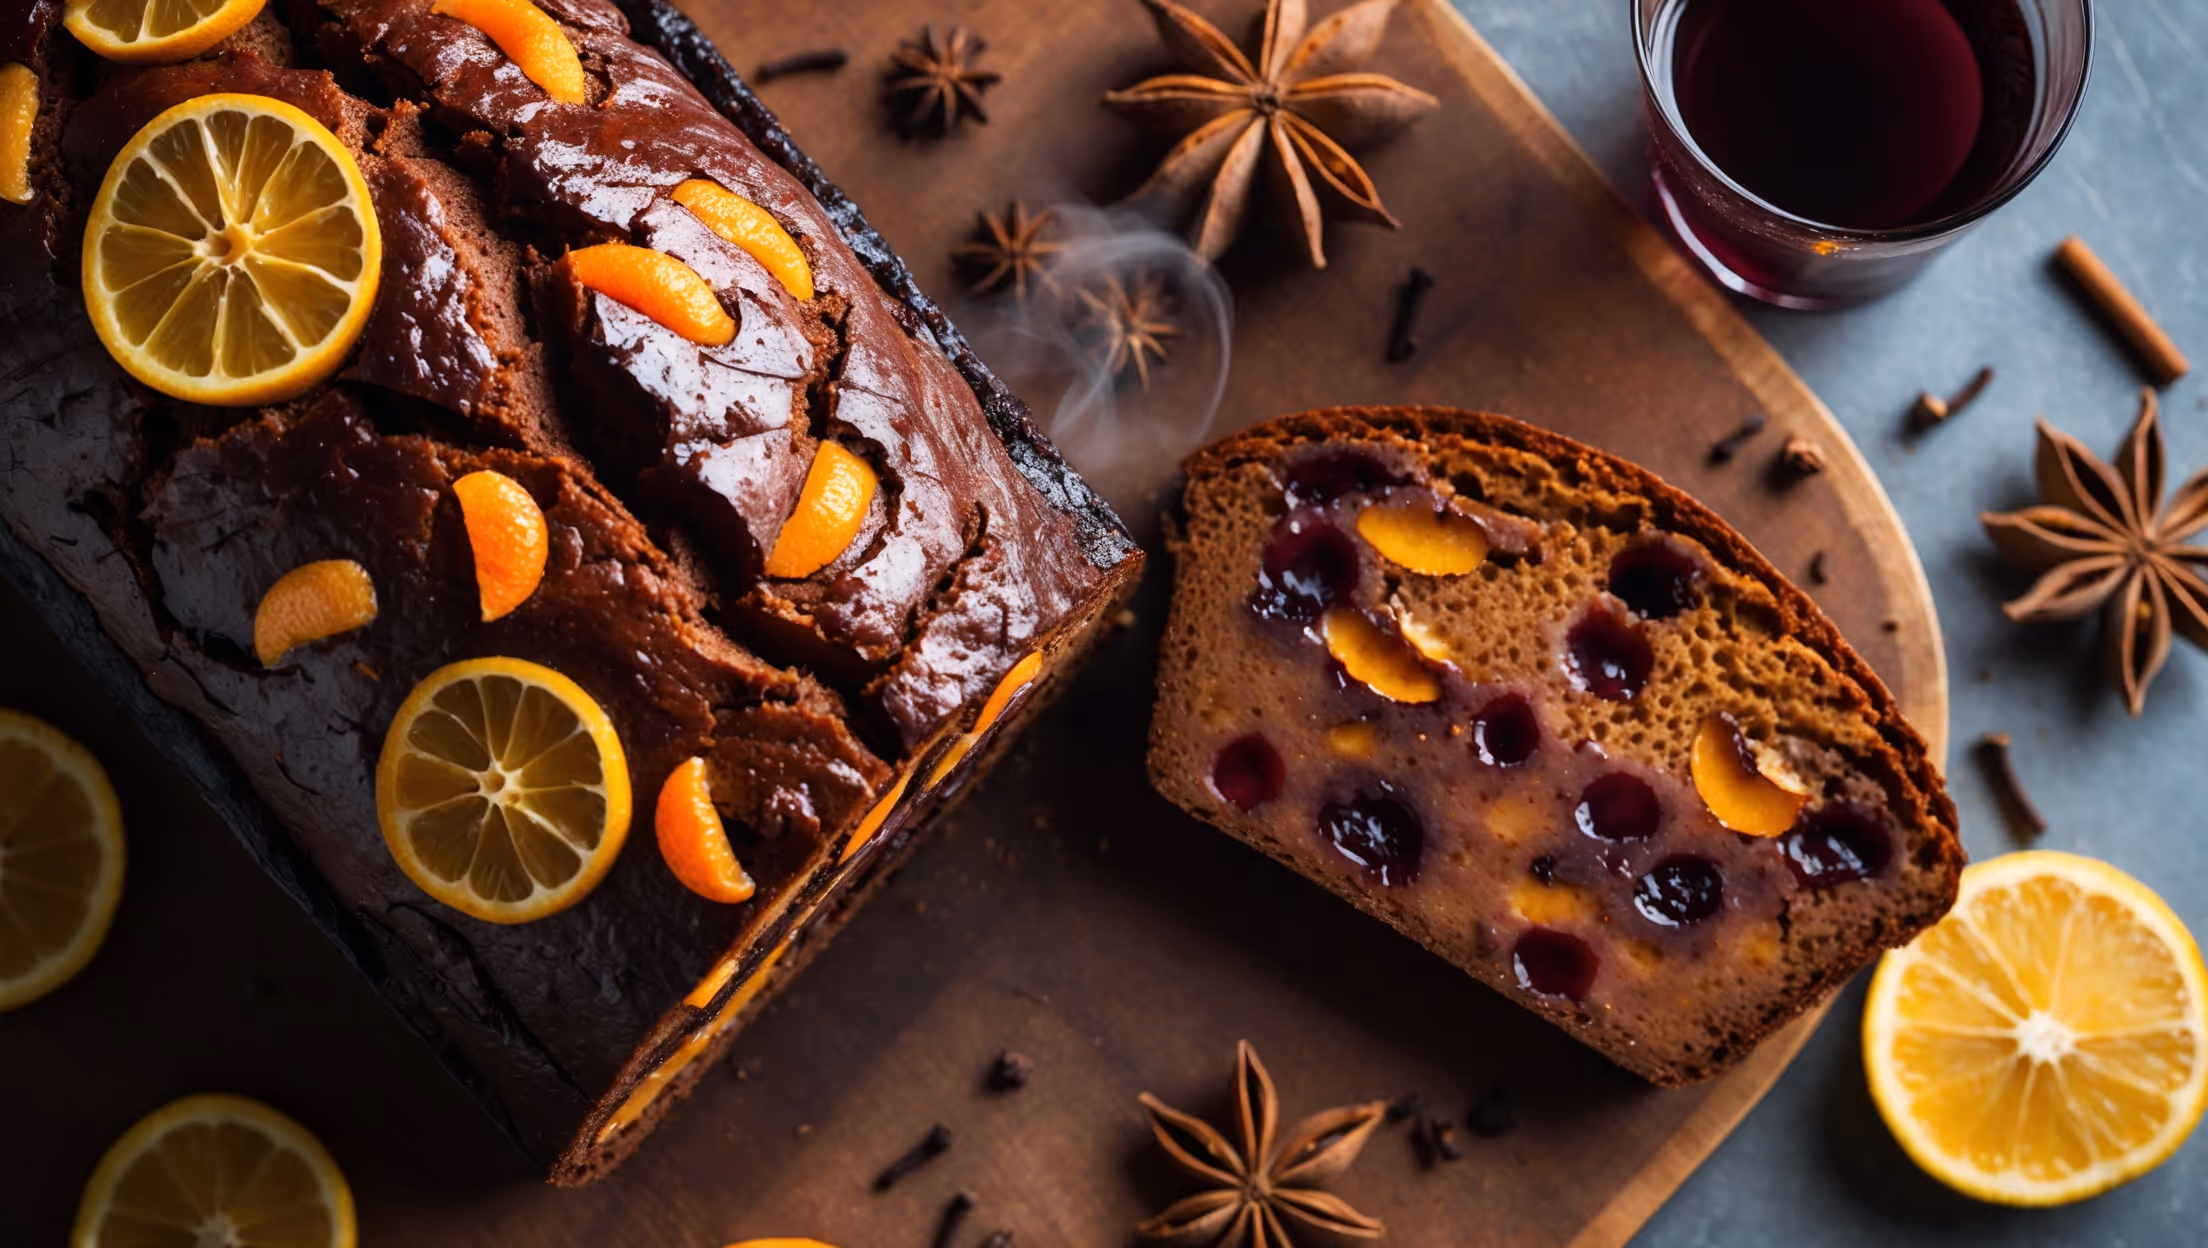
Marbled Chocolate Bread Recipe
Ingredients
Equipment
Directions
FAQs
Find answers to your most pressing questions about this delicious recipe right here.
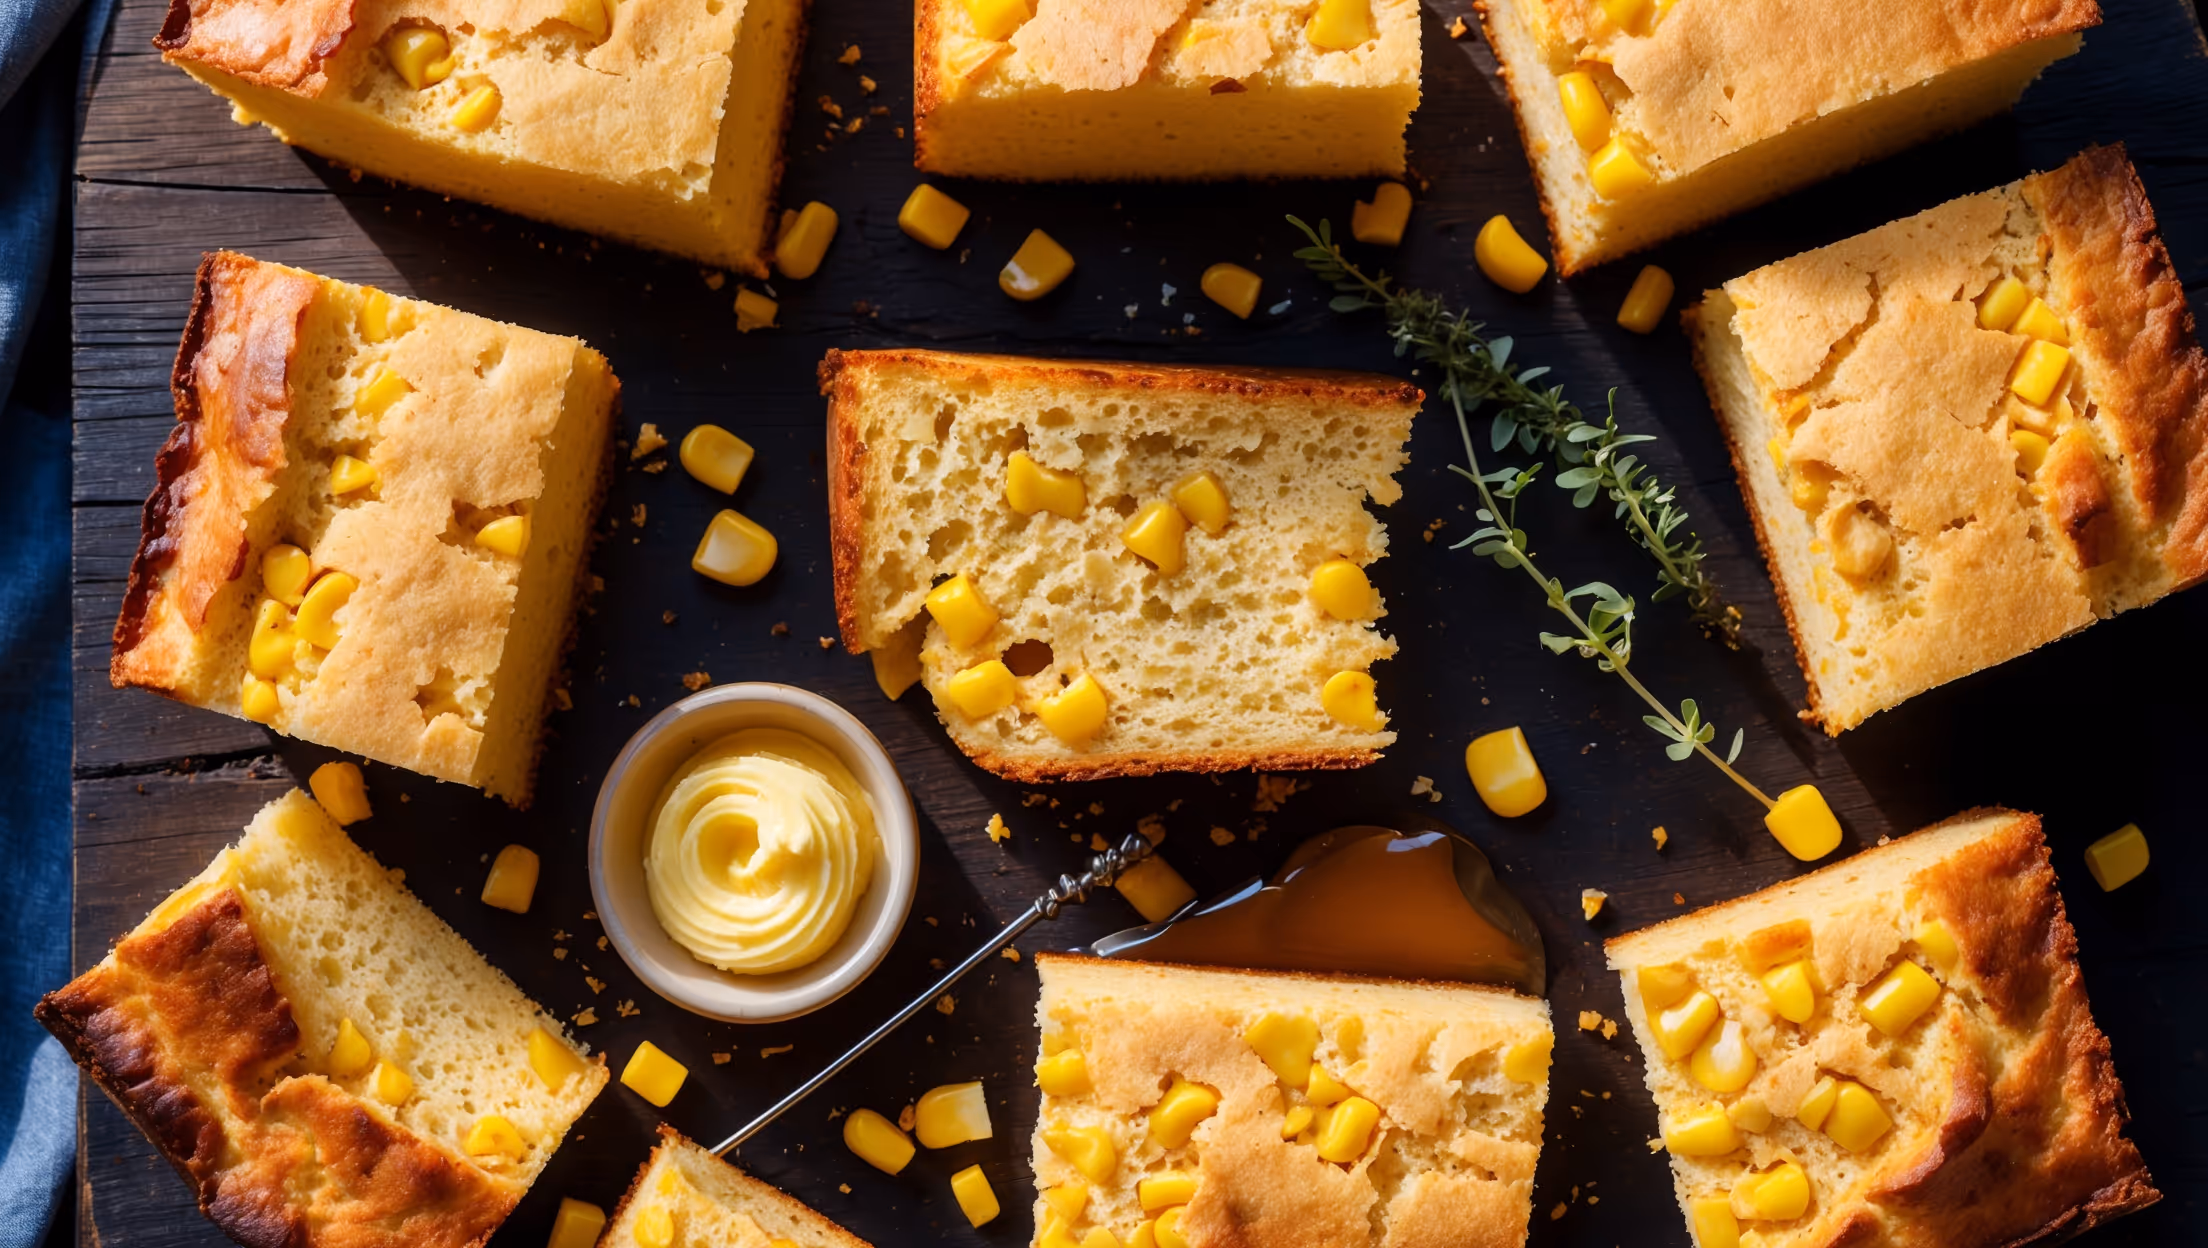
This marble bread requires all-purpose flour, baking powder, salt, unsalted butter, sugar, eggs, milk, vanilla extract, cocoa powder, hot water, and optional dark chocolate chips. These ingredients create the perfect balance between the vanilla and chocolate batters for beautiful swirls.
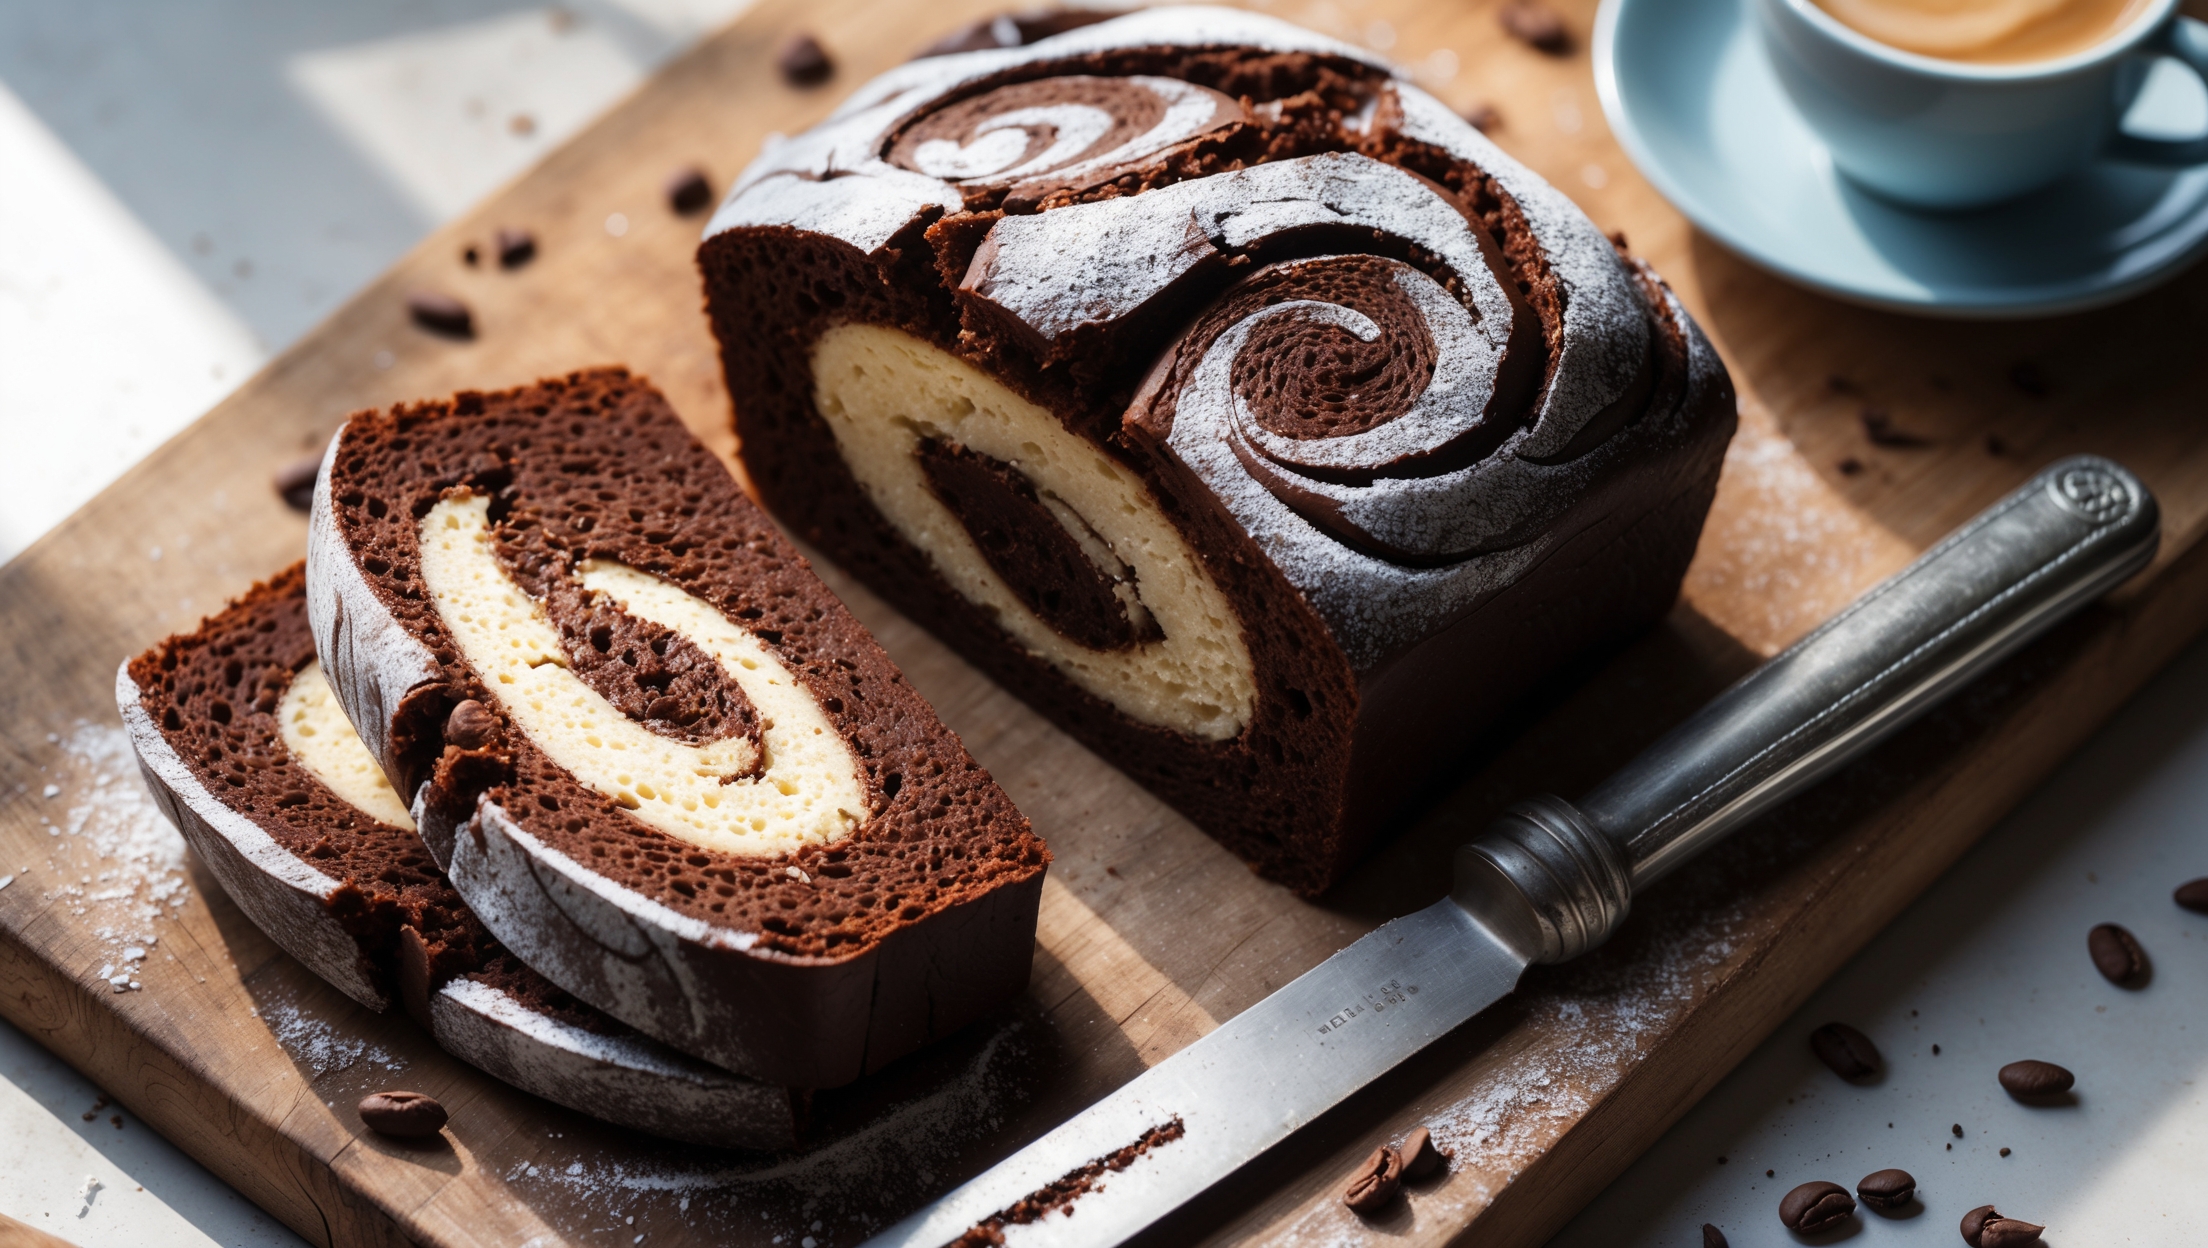
Learn how to cook Marbled Chocolate Bread by preparing two separate batters (vanilla and chocolate), alternating spoonfuls into a loaf tin, then swirling with a skewer to create the marble effect. Bake at 175°C for about 60 minutes until a skewer comes out clean, then cool completely before slicing to reveal the beautiful swirls.
A sinking marble loaf usually indicates underbaking, opening the oven door too early, or overmixing the batter. Ensure your oven is properly preheated, avoid peeking during the first 40 minutes of baking, and gently fold batters to maintain air bubbles for proper structure.
For perfect marble swirls, alternate spoonfuls of each batter in layers, then use a skewer to make figure-eight motions through the batters. The key is restraint—limit your swirling to 8-10 motions to maintain distinct patterns rather than blending the batters completely.
Yes, chocolate swirl bread freezes beautifully. Once completely cooled, wrap it tightly in cling film, then foil, and freeze for up to one month. Thaw overnight at room temperature, or slice before freezing for individual portions you can defrost as needed.
Quick Breads
Try following recommended recipes