Directions
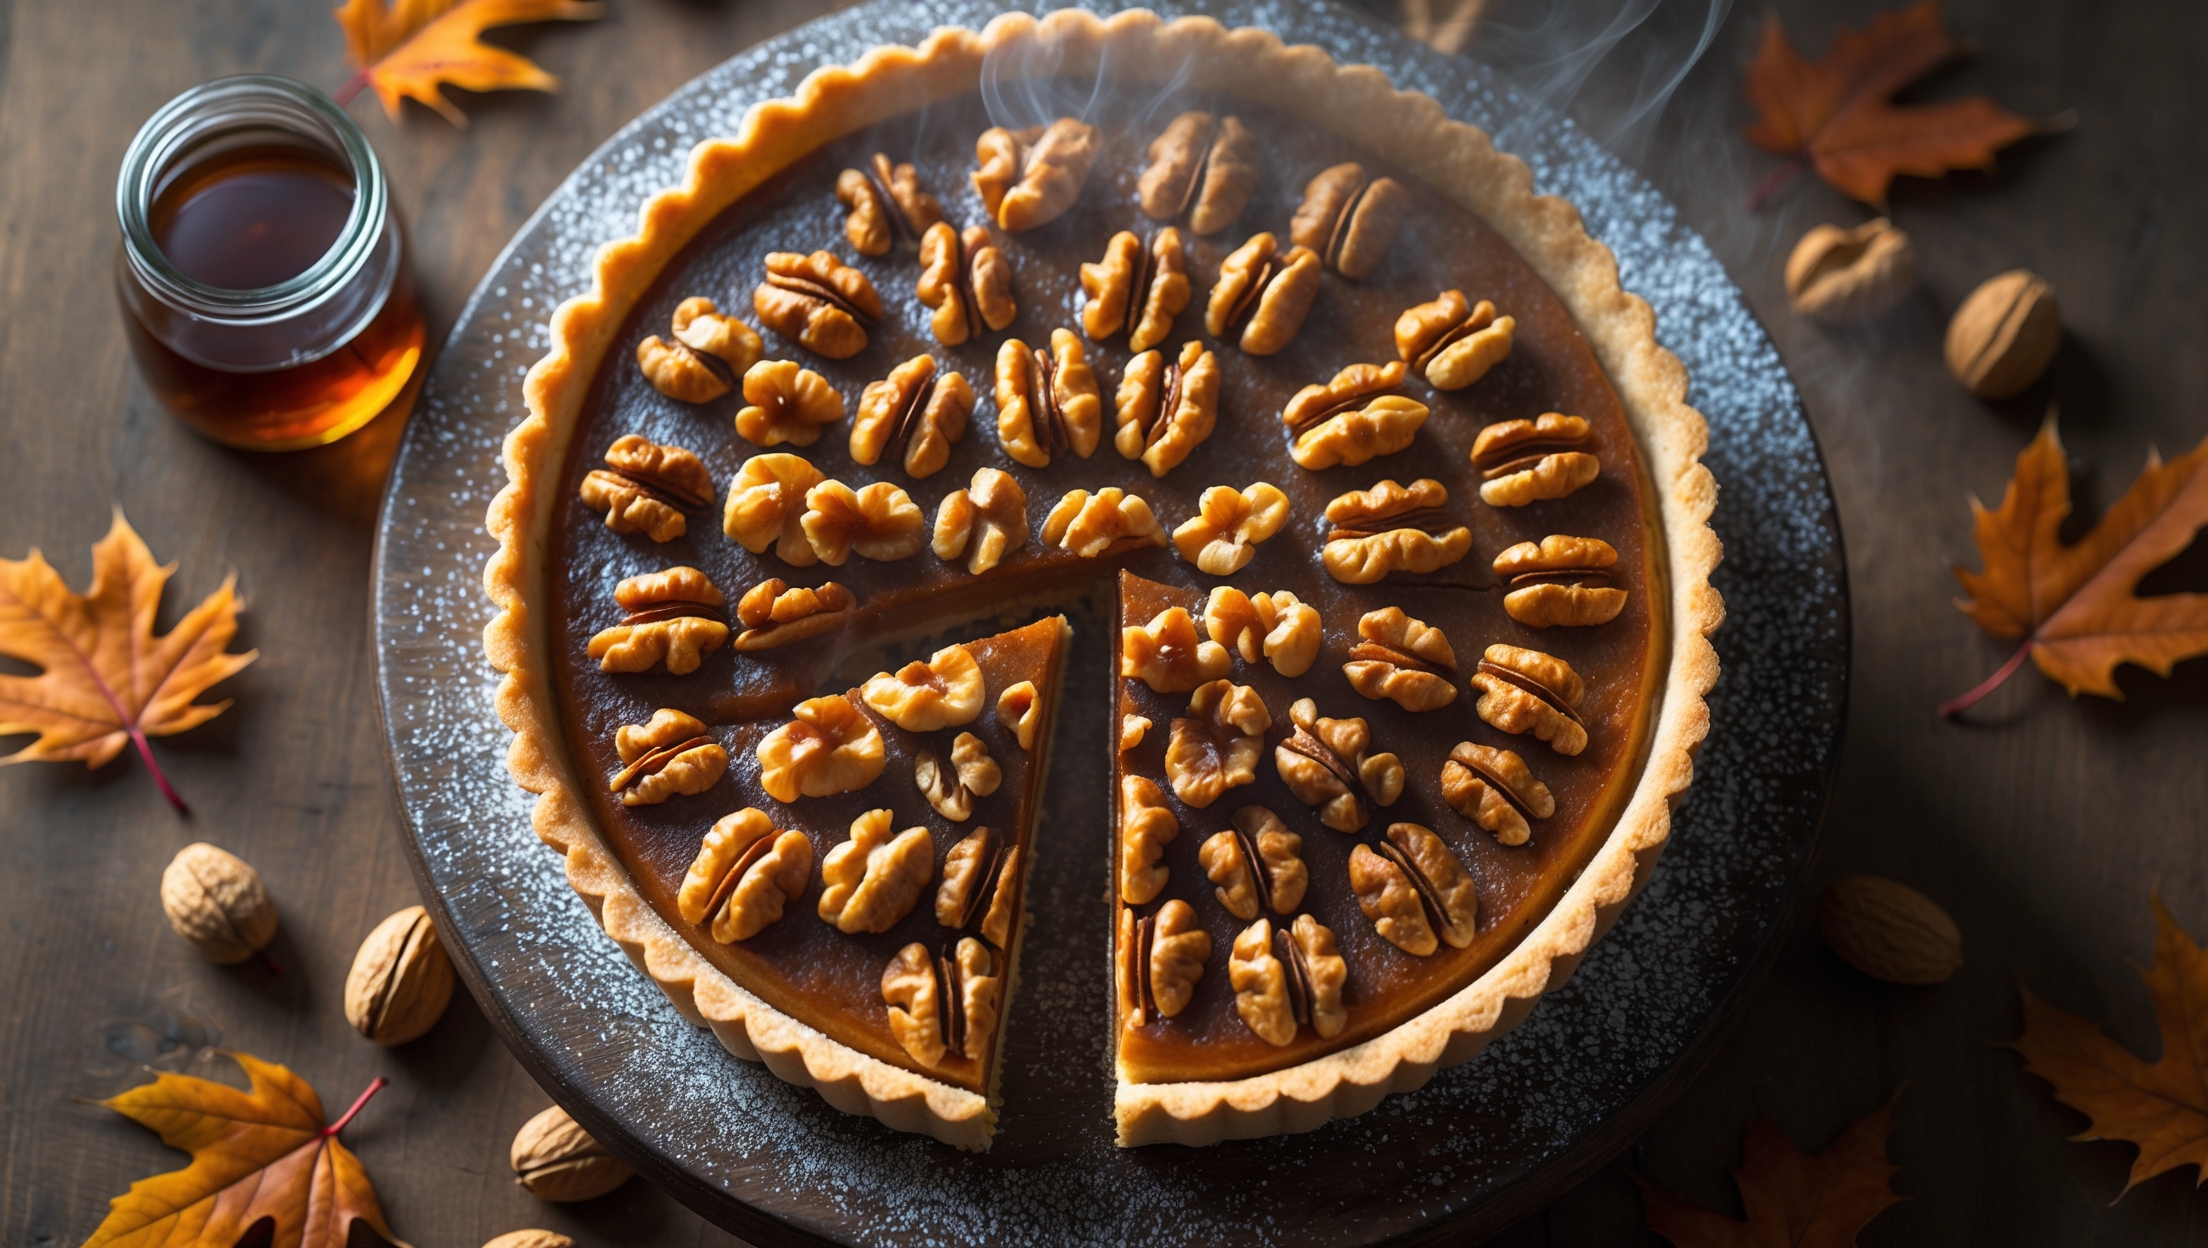
<ol class="no-list-style"><li class="MethodStepper"><h4 class="step-title">Step 1</h4>First, make the pastry. If using a food processor, pulse the flour, salt and butter until the mixture resembles breadcrumbs. If making by hand, rub the cold butter into the flour and salt using your fingertips until you achieve the same consistency. The cold butter creates pockets of steam during baking, resulting in flaky layers.</li><li class="MethodStepper"><h4 class="step-title">Step 2</h4>Add the caster sugar and mix briefly. In a small bowl, whisk together the egg yolk with 2 tablespoons of ice-cold water. Gradually add this to the flour mixture, pulsing or stirring until the dough just begins to come together. If needed, add the remaining tablespoon of water, but be careful not to overwork the dough or it will become tough.</li><li class="MethodStepper"><h4 class="step-title">Step 3</h4>Turn the dough onto a lightly floured surface and gently shape into a disc. Wrap in cling film and refrigerate for at least 30 minutes. This resting period allows the gluten to relax and prevents shrinkage during baking.</li><li class="MethodStepper"><h4 class="step-title">Step 4</h4>Meanwhile, preheat your oven to 180°C (160°C fan/gas mark 4). Roll out the chilled pastry on a lightly floured surface to about 3mm thickness and large enough to line your tart tin. Carefully transfer the pastry to the tin, pressing it gently into the corners without stretching. Trim the excess pastry, leaving a slight overhang to allow for shrinkage.</li><li class="MethodStepper"><h4 class="step-title">Step 5</h4>Line the pastry case with baking parchment and fill with baking beans or pie weights. Blind bake for 15 minutes, then remove the parchment and weights and bake for another 5-7 minutes until the base is dry and pale golden. The blind baking ensures your pastry will be fully cooked and crisp, not soggy from the wet filling.</li><li class="MethodStepper"><h4 class="step-title">Step 6</h4>While the pastry case is baking, make the filling. Spread the walnut halves on a baking tray and toast them in the oven for 5-7 minutes until fragrant, being careful not to burn them. Toasting enhances the natural oils in the nuts, intensifying their flavor.</li><li class="MethodStepper"><h4 class="step-title">Step 7</h4>In a medium saucepan, combine the maple syrup, brown sugar, and butter. Heat gently until the butter has melted and sugar has dissolved. Remove from heat and allow to cool slightly for about 5 minutes – this prevents the eggs from curdling when added.</li><li class="MethodStepper"><h4 class="step-title">Step 8</h4>In a large bowl, whisk the eggs, vanilla extract and salt together. Gradually pour in the warm maple mixture, whisking continuously to combine. Stir in the flour until fully incorporated – this will help stabilize the filling as it bakes.</li><li class="MethodStepper"><h4 class="step-title">Step 9</h4>Scatter three-quarters of the toasted walnuts over the base of the blind-baked pastry case. Pour the maple filling over the nuts. The walnuts will float to the surface, but you can arrange the remaining quarter of walnuts on top in a decorative pattern if desired.</li><li class="MethodStepper"><h4 class="step-title">Step 10</h4>Carefully transfer the tart to the oven and bake for 25-30 minutes until the filling is set around the edges but still has a slight wobble in the center, like a custard tart. The filling will continue to set as it cools. If the pastry edges start to brown too quickly, cover them loosely with foil.</li><li class="MethodStepper"><h4 class="step-title">Step 11</h4>Remove from the oven and allow the tart to cool completely in the tin on a wire rack. The cooling process is crucial for the filling to set properly – rushing this step may result in a runny filling.</li><li class="MethodStepper"><h4 class="step-title">Step 12</h4>Once cooled, carefully remove the tart from the tin. If desired, whip cream with a little maple syrup for serving. The tart will keep well for 3-4 days in an airtight container. For the best flavor experience, allow the tart to come to room temperature before serving to fully appreciate the complex maple notes.</li></ol>