Directions
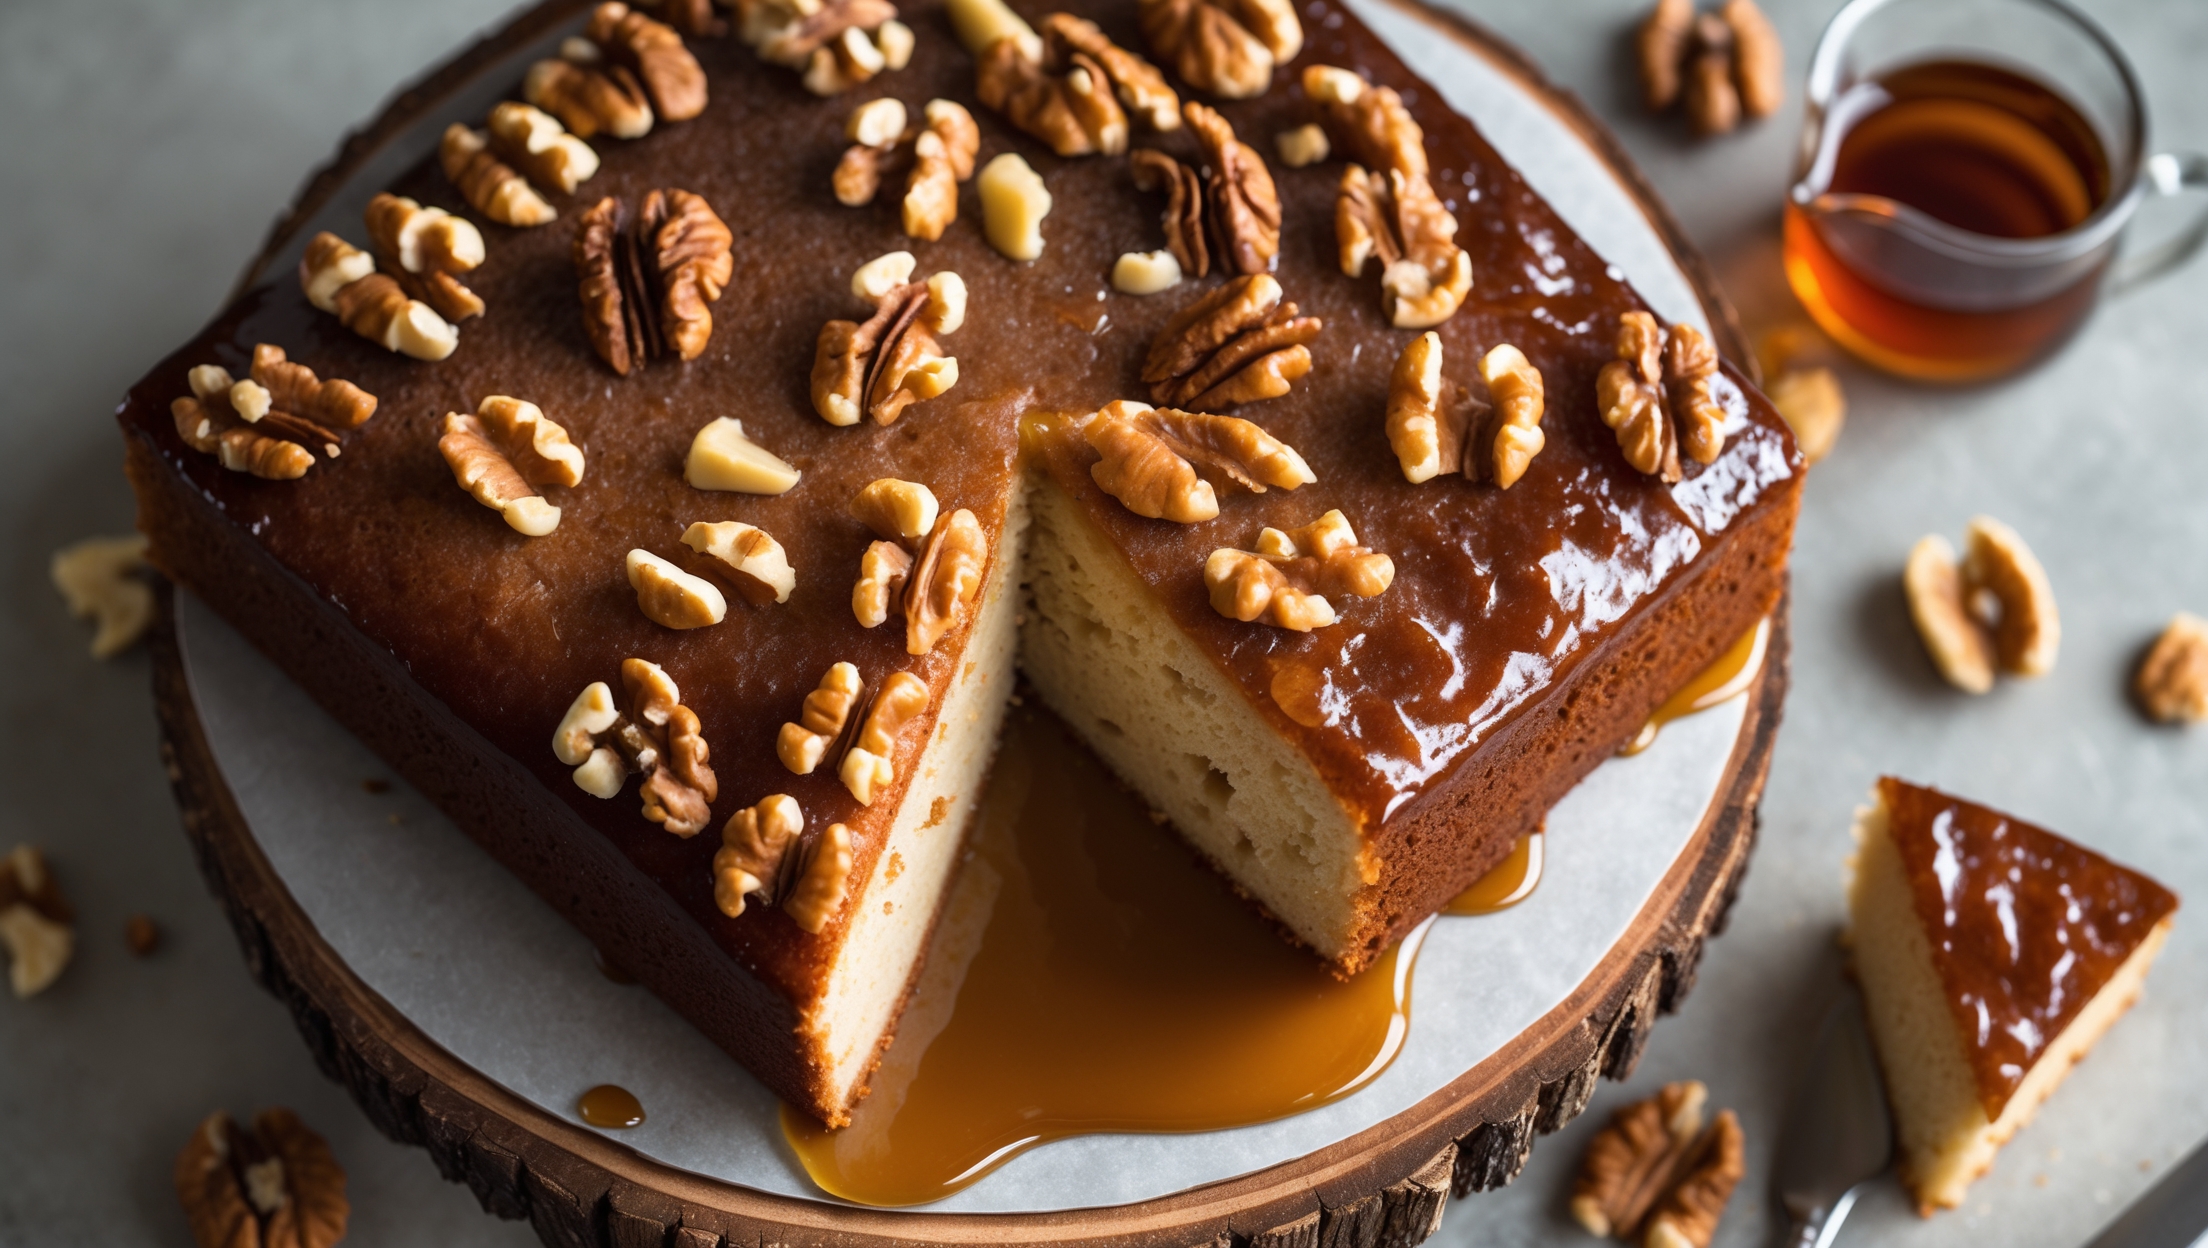
<ol class="no-list-style"><li class="MethodStepper"><h4 class="step-title">Step 1</h4>Preheat your oven to 180°C (350°F) and position a rack in the center. Line a 23x33cm (9x13-inch) baking pan with parchment paper, leaving an overhang on two sides for easy removal. Lightly grease any exposed pan areas.</li><li class="MethodStepper"><h4 class="step-title">Step 2</h4>Toast the walnuts by spreading them on a baking sheet and placing in the preheated oven for 8-10 minutes until fragrant and slightly darker. Watch them carefully as they can burn quickly! Let cool completely before chopping. Toasting intensifies the walnut flavor and creates a more pleasant texture in the finished cake.</li><li class="MethodStepper"><h4 class="step-title">Step 3</h4>In a medium bowl, whisk together the flour, baking powder, baking soda, salt, and cinnamon until well combined. This even distribution of leavening agents ensures your cake will rise uniformly.</li><li class="MethodStepper"><h4 class="step-title">Step 4</h4>In a large mixing bowl, beat the softened butter and granulated sugar on medium-high speed for 3-4 minutes until pale and fluffy. This incorporates air into the batter, creating a lighter texture. The mixture should be noticeably lighter in both color and texture.</li><li class="MethodStepper"><h4 class="step-title">Step 5</h4>Add eggs one at a time, beating well after each addition until fully incorporated. Scrape down the sides of the bowl as needed. This gradual addition prevents the batter from curdling and ensures a smooth, emulsified mixture.</li><li class="MethodStepper"><h4 class="step-title">Step 6</h4>Beat in the vanilla extract and maple syrup until well combined. The mixture might look slightly curdled at this point, but don't worry - it will come together when you add the dry ingredients.</li><li class="MethodStepper"><h4 class="step-title">Step 7</h4>Reduce mixer speed to low. Add the flour mixture in three additions, alternating with the buttermilk (beginning and ending with flour). Mix just until combined after each addition. Overmixing develops gluten, which can make your cake tough rather than tender.</li><li class="MethodStepper"><h4 class="step-title">Step 8</h4>Gently fold in the toasted and chopped walnuts using a rubber spatula. Reserve a small handful for decoration if desired.</li><li class="MethodStepper"><h4 class="step-title">Step 9</h4>Pour the batter into the prepared pan, spreading it evenly into the corners with your spatula. Tap the pan gently on the counter a few times to release any large air bubbles.</li><li class="MethodStepper"><h4 class="step-title">Step 10</h4>Bake for 30-35 minutes, or until a toothpick inserted in the center comes out with just a few moist crumbs (not wet batter). The cake should spring back when lightly touched, and the edges will begin to pull away from the sides of the pan. Avoid opening the oven door during the first 25 minutes of baking.</li><li class="MethodStepper"><h4 class="step-title">Step 11</h4>Place the cake pan on a wire rack and allow it to cool for 15 minutes. Then, using the parchment paper overhang, carefully lift the cake out of the pan and place directly on the wire rack to cool completely before glazing.</li><li class="MethodStepper"><h4 class="step-title">Step 12</h4>For the maple glaze, whisk together the powdered sugar, maple syrup, melted butter, and salt in a bowl until smooth and pourable. If it's too thick, add a little more maple syrup or a splash of milk. If it's too thin, add more powdered sugar, a tablespoon at a time.</li><li class="MethodStepper"><h4 class="step-title">Step 13</h4>Once the cake has cooled completely (this is important or your glaze will melt), pour the glaze over the top, using an offset spatula to spread it if needed. Immediately sprinkle with the reserved chopped walnuts before the glaze sets.</li><li class="MethodStepper"><h4 class="step-title">Step 14</h4>Allow the glaze to set for about 30 minutes before slicing. This cake stays moist for several days stored in an airtight container at room temperature. For the cleanest slices, wipe your knife between cuts.</li></ol>