Malted Grain and Brown Sugar Aged Dough Recipe

Rich, complex cookies with hints of toasted malt, caramel undertones of brown sugar, and an extraordinary depth of flavor achieved through the patience of time.
Difficulty:
Intermediate
Prep Time:
20 mins (plus 72 hours aging)
Cook Time:
12 mins
Serves:
18 cookies
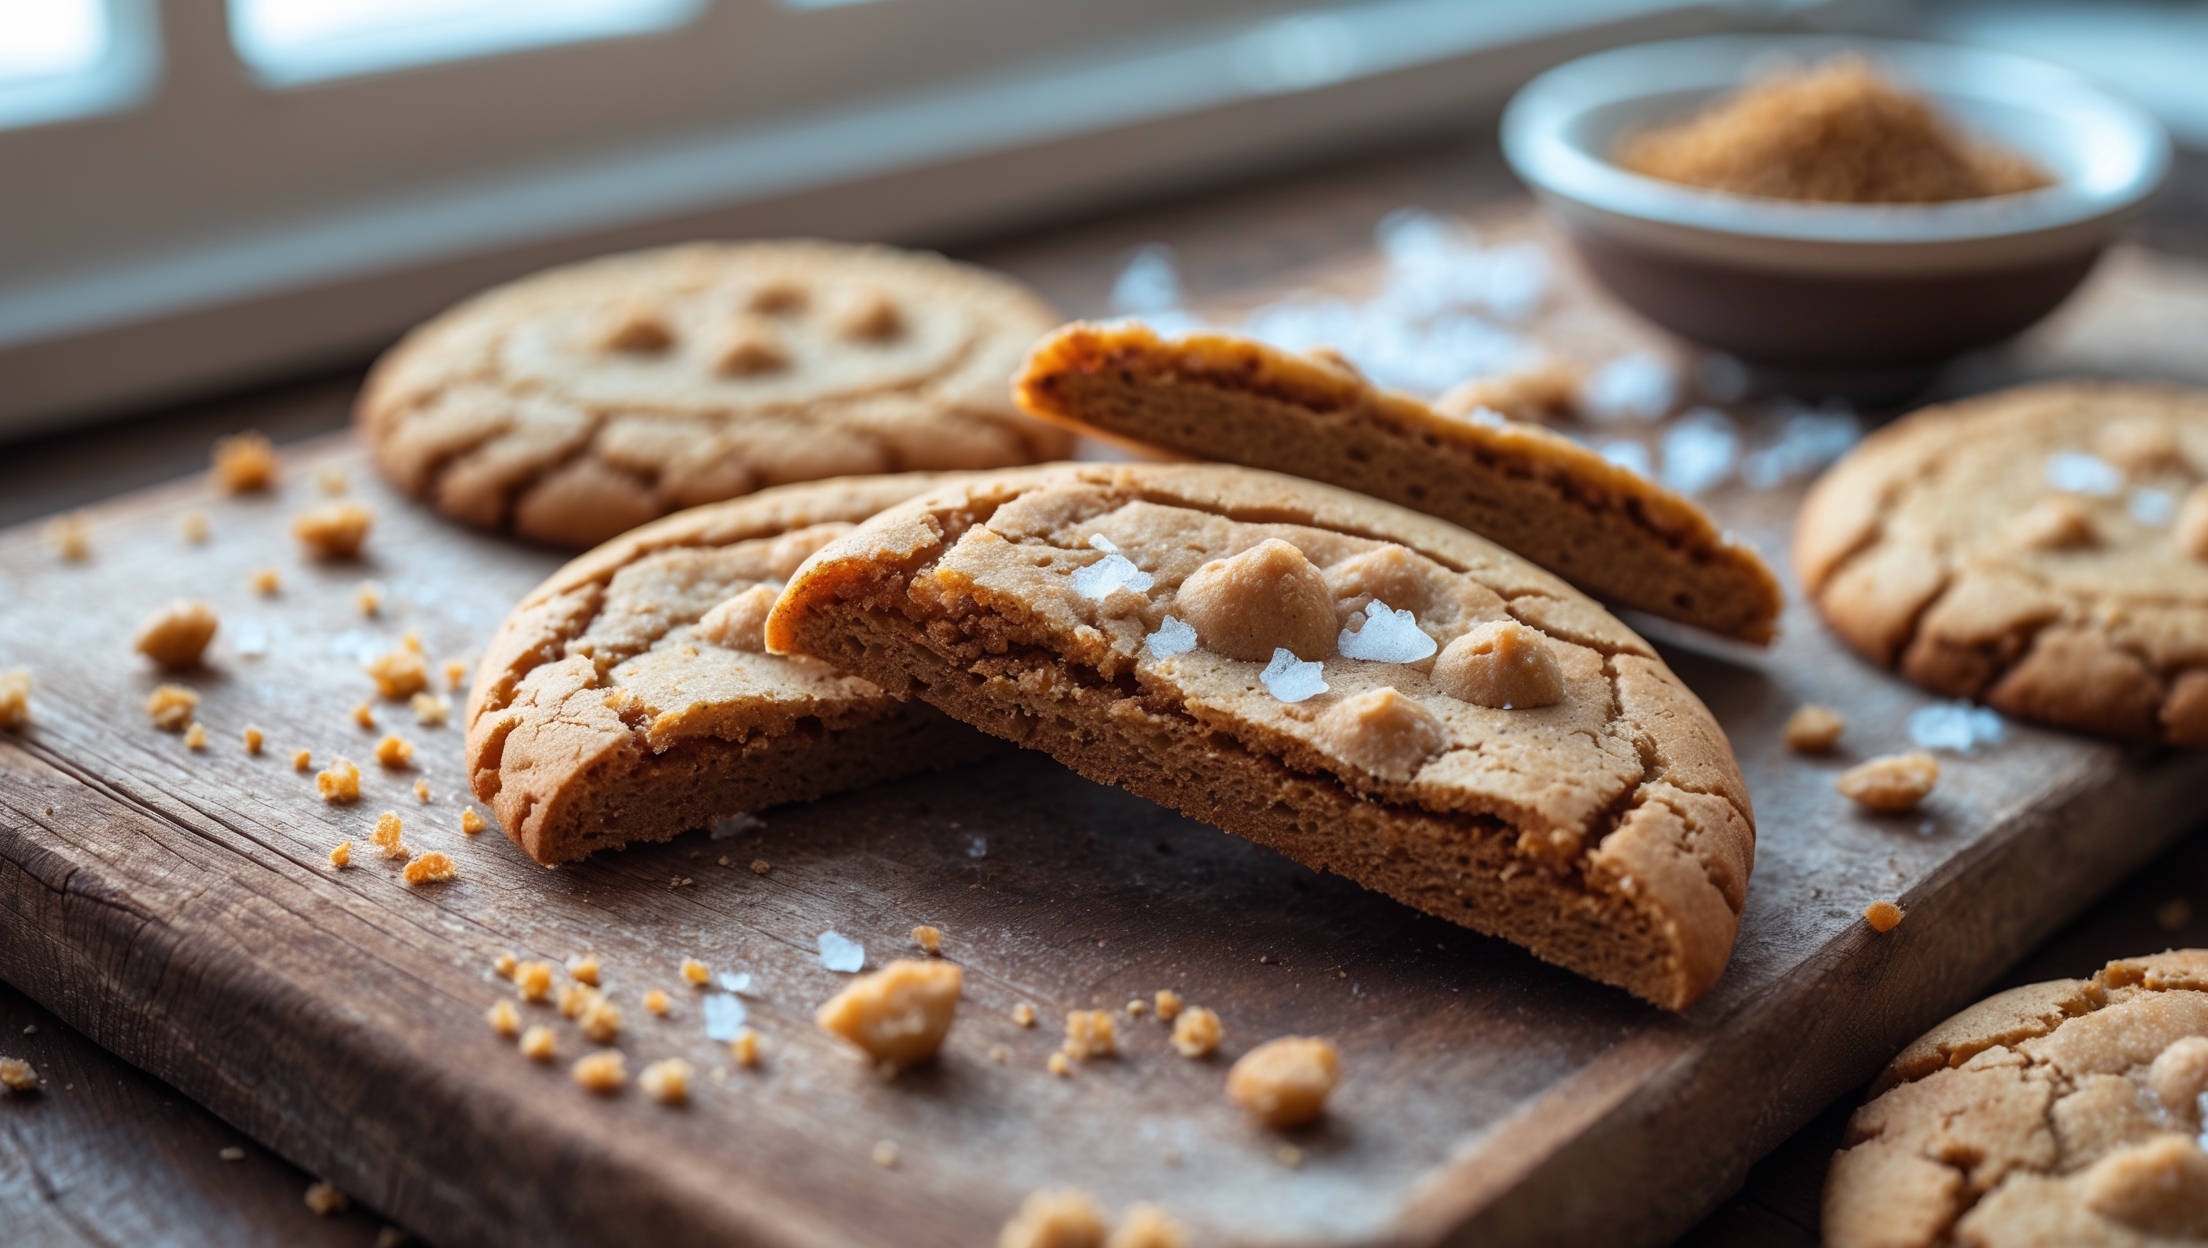
A cross-section view captures the perfect contrast between the golden-brown exterior and tender interior of these remarkable cookies, photographed in soft natural light streaming through kitchen windows. The cookies rest on a rustic wooden board with scattered malted grains and a small bowl of dark brown sugar adding context. Close-up details reveal the intricate texture—slightly crisp edges giving way to a chewy center with small pockets where the malted flavor concentrates. The cookies' surface shows a beautiful crackling pattern where brown sugar has caramelized during baking, and a light dusting of flaky sea salt catches the light, suggesting the sweet-savory balance within.

Ingredients

<ul class="ingredients-main-list"><li class="ingredients-single-item">225g all-purpose flour</li><li class="ingredients-single-item">30g malted milk powder</li><li class="ingredients-single-item">1/2 tsp baking soda</li><li class="ingredients-single-item">1/2 tsp baking powder</li><li class="ingredients-single-item">3/4 tsp fine sea salt</li><li class="ingredients-single-item">170g unsalted butter, room temperature</li><li class="ingredients-single-item">200g dark brown sugar</li><li class="ingredients-single-item">50g granulated sugar</li><li class="ingredients-single-item">1 large egg</li><li class="ingredients-single-item">1 large egg yolk</li><li class="ingredients-single-item">2 tsp vanilla extract</li><li class="ingredients-single-item">100g malted milk balls, roughly chopped (or chocolate-covered malt balls)</li><li class="ingredients-single-item">150g dark chocolate, chopped into chunks</li><li class="ingredients-single-item">Flaky sea salt, for sprinkling</li></ul>

Equipment

<ul class="equipment-main-list"><li class="equipment-single-item">Stand mixer with paddle attachment</li><li class="equipment-single-item">Airtight container for aging dough</li><li class="equipment-single-item">Baking sheets</li><li class="equipment-single-item">Silicone baking mats or parchment paper</li><li class="equipment-single-item">Ice cream scoop or cookie scoop</li></ul>
BAKE SMARTER

Kitchen Converter

Quickly switch between common baking units without leaving the recipe.

Convert
Result—

Volume uses US cups, tablespoons, and teaspoons. Converting weight to volume depends on the ingredient.

Directions

<ol class="no-list-style"><li class="MethodStepper"><h4 class="step-title">Step 1</h4>In a medium bowl, whisk together the flour, malted milk powder, baking soda, baking powder, and fine sea salt until thoroughly combined. This even distribution ensures consistent leavening and flavor throughout your cookies.</li><li class="MethodStepper"><h4 class="step-title">Step 2</h4>In the bowl of your stand mixer fitted with the paddle attachment, cream the butter, dark brown sugar, and granulated sugar on medium speed for 5 minutes until extremely light and fluffy. This extended creaming creates air pockets that give the cookies their perfect texture and helps dissolve the sugar crystals for a smoother dough.</li><li class="MethodStepper"><h4 class="step-title">Step 3</h4>Add the egg and egg yolk one at a time, beating for 30 seconds after each addition until fully incorporated. Scrape down the sides of the bowl, then mix in the vanilla extract until combined. The extra yolk adds richness and contributes to the chewy texture we're aiming for.</li><li class="MethodStepper"><h4 class="step-title">Step 4</h4>With the mixer on low speed, gradually add the dry ingredients to the butter mixture, mixing just until no streaks of flour remain—about 30 seconds. Overmixing at this stage can develop too much gluten, resulting in tough cookies.</li><li class="MethodStepper"><h4 class="step-title">Step 5</h4>Fold in the chopped malted milk balls and chocolate chunks by hand using a rubber spatula. This gentle method prevents crushing your mix-ins and ensures even distribution through the dough.</li><li class="MethodStepper"><h4 class="step-title">Step 6</h4>Transfer the dough to an airtight container or tightly wrap with plastic wrap. Refrigerate for at least 72 hours, though you can extend this up to 5 days. This aging process is crucial—the enzymes in the flour break down starches into sugars, creating complex flavors and improving texture. The butter also fully solidifies, preventing over-spreading during baking.</li><li class="MethodStepper"><h4 class="step-title">Step 7</h4>When ready to bake, preheat your oven to 175°C (350°F) and line baking sheets with silicone mats or parchment paper. Remove the dough from the refrigerator and let it sit at room temperature for 15-20 minutes to soften slightly—this makes it easier to scoop while still maintaining its structure.</li><li class="MethodStepper"><h4 class="step-title">Step 8</h4>Using an ice cream scoop or cookie scoop (about 50g each), portion the dough onto the prepared baking sheets, leaving 5cm between each ball of dough. The generous spacing accommodates the controlled spread that creates the perfect cookie texture.</li><li class="MethodStepper"><h4 class="step-title">Step 9</h4>Sprinkle each cookie dough ball with a small pinch of flaky sea salt. This enhances the complex malted flavor and balances the sweetness beautifully.</li><li class="MethodStepper"><h4 class="step-title">Step 10</h4>Bake for 11-13 minutes, rotating the pan halfway through baking, until the edges are set and golden brown while the centers still appear slightly underdone. You'll notice a beautiful crackling on the surface—that's the mark of perfect cookies! Remember that cookies continue to bake after being removed from the oven.</li><li class="MethodStepper"><h4 class="step-title">Step 11</h4>Allow the cookies to cool on the baking sheets for 5 minutes before transferring to a wire rack to cool completely. This brief resting period on the warm tray allows the cookies to set properly without overcooking.</li><li class="MethodStepper"><h4 class="step-title">Step 12</h4>Store completely cooled cookies in an airtight container at room temperature for up to 5 days. For longer storage, the aged dough can be portioned and frozen for up to 3 months—simply add 1-2 minutes to the baking time when cooking from frozen.</li></ol>
Nutrition Facts (per serving)

🍽️ Serving Size: 1 serving
🔥 Calories: 365 calories
🥑 Fat: 8 g
🧈 Saturated Fat: 4 g
🍞 Carbohydrates: 72 g
🍭 Sugar: 48 g
🍗 Protein: 7 g
🫀 Cholesterol: 0 mg
🧂 Sodium: 42 mg

Chef’s Notes

A few helpful details for making this recipe.

Why is ageing cookie dough important and what difference does it make?

Ageing cookie dough allows enzymes to break down starches into complex sugars, creating deeper flavour profiles. It also firms up the butter, preventing over-spreading during baking, and dries the dough slightly for better texture—resulting in cookies with crisp edges and chewy centres.

Can I substitute regular chocolate chips for the malted milk balls?

Yes, though you'll lose some of the signature malt flavour. To compensate, increase the malted milk powder to 45g. Alternatively, try a mix of chocolate chips with toffee bits or crushed Maltesers to maintain the unique taste profile that makes these cookies special.

How do I achieve the perfect chewy centre with crisp edges in malted cookies?

For the perfect texture contrast, use the right ratio of brown to white sugar (more brown creates chewiness), don't overmix after adding flour, chill the dough thoroughly, slightly underbake (edges golden but centres soft), and allow cookies to finish setting on the hot baking sheet.

Want to try something else in ...

More recipes you might like

Keep exploring with more recipes from What's Baking.