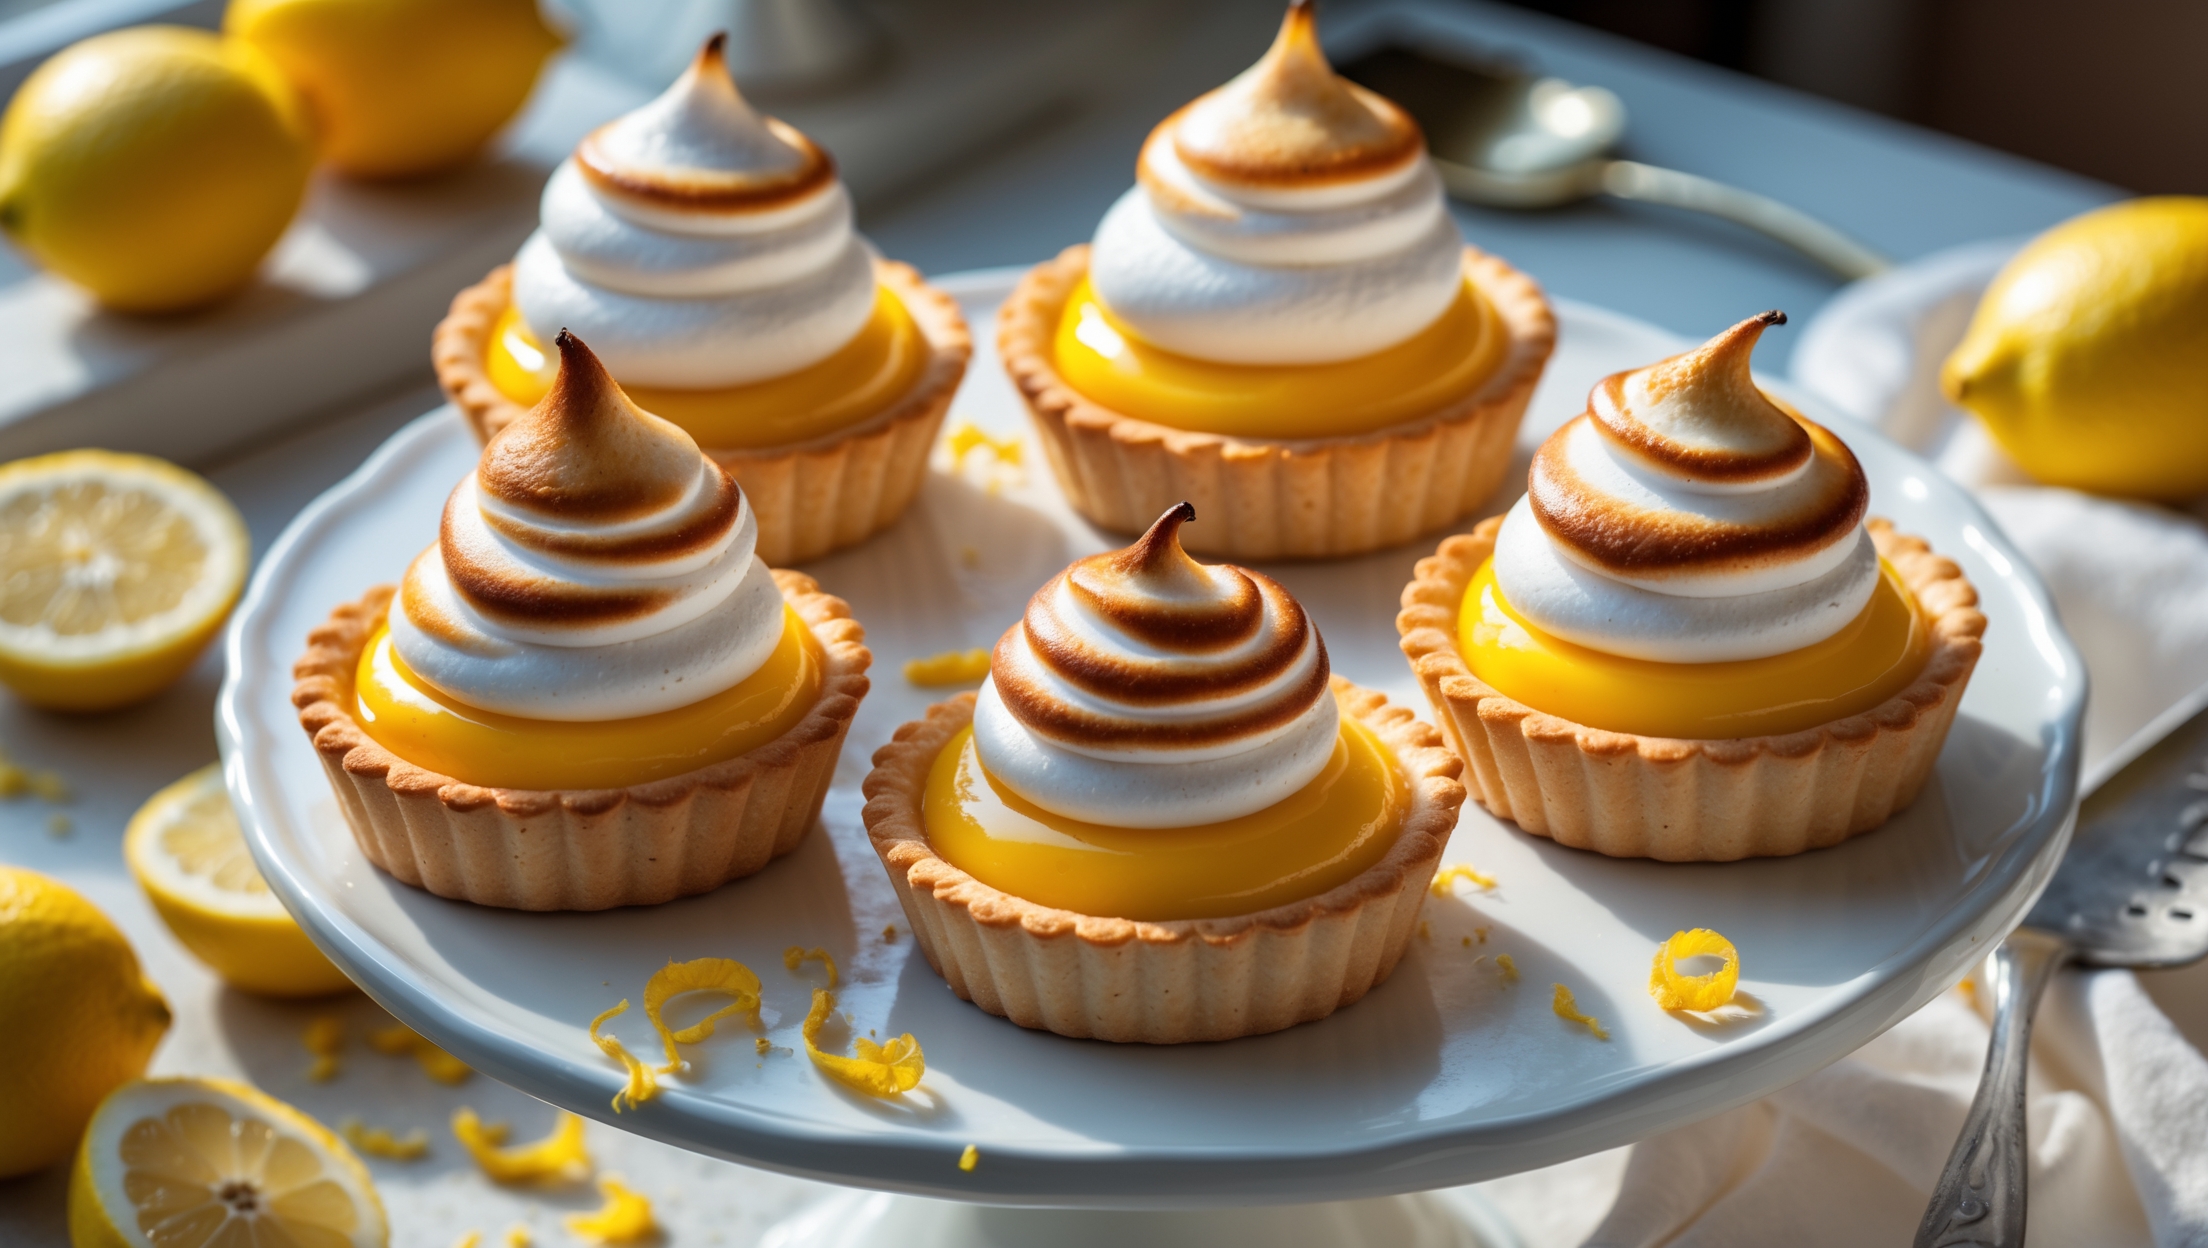
Lemon Meringue Tartlets Recipe
Ingredients
Equipment
Directions
FAQs
Find answers to your most pressing questions about this delicious recipe right here.
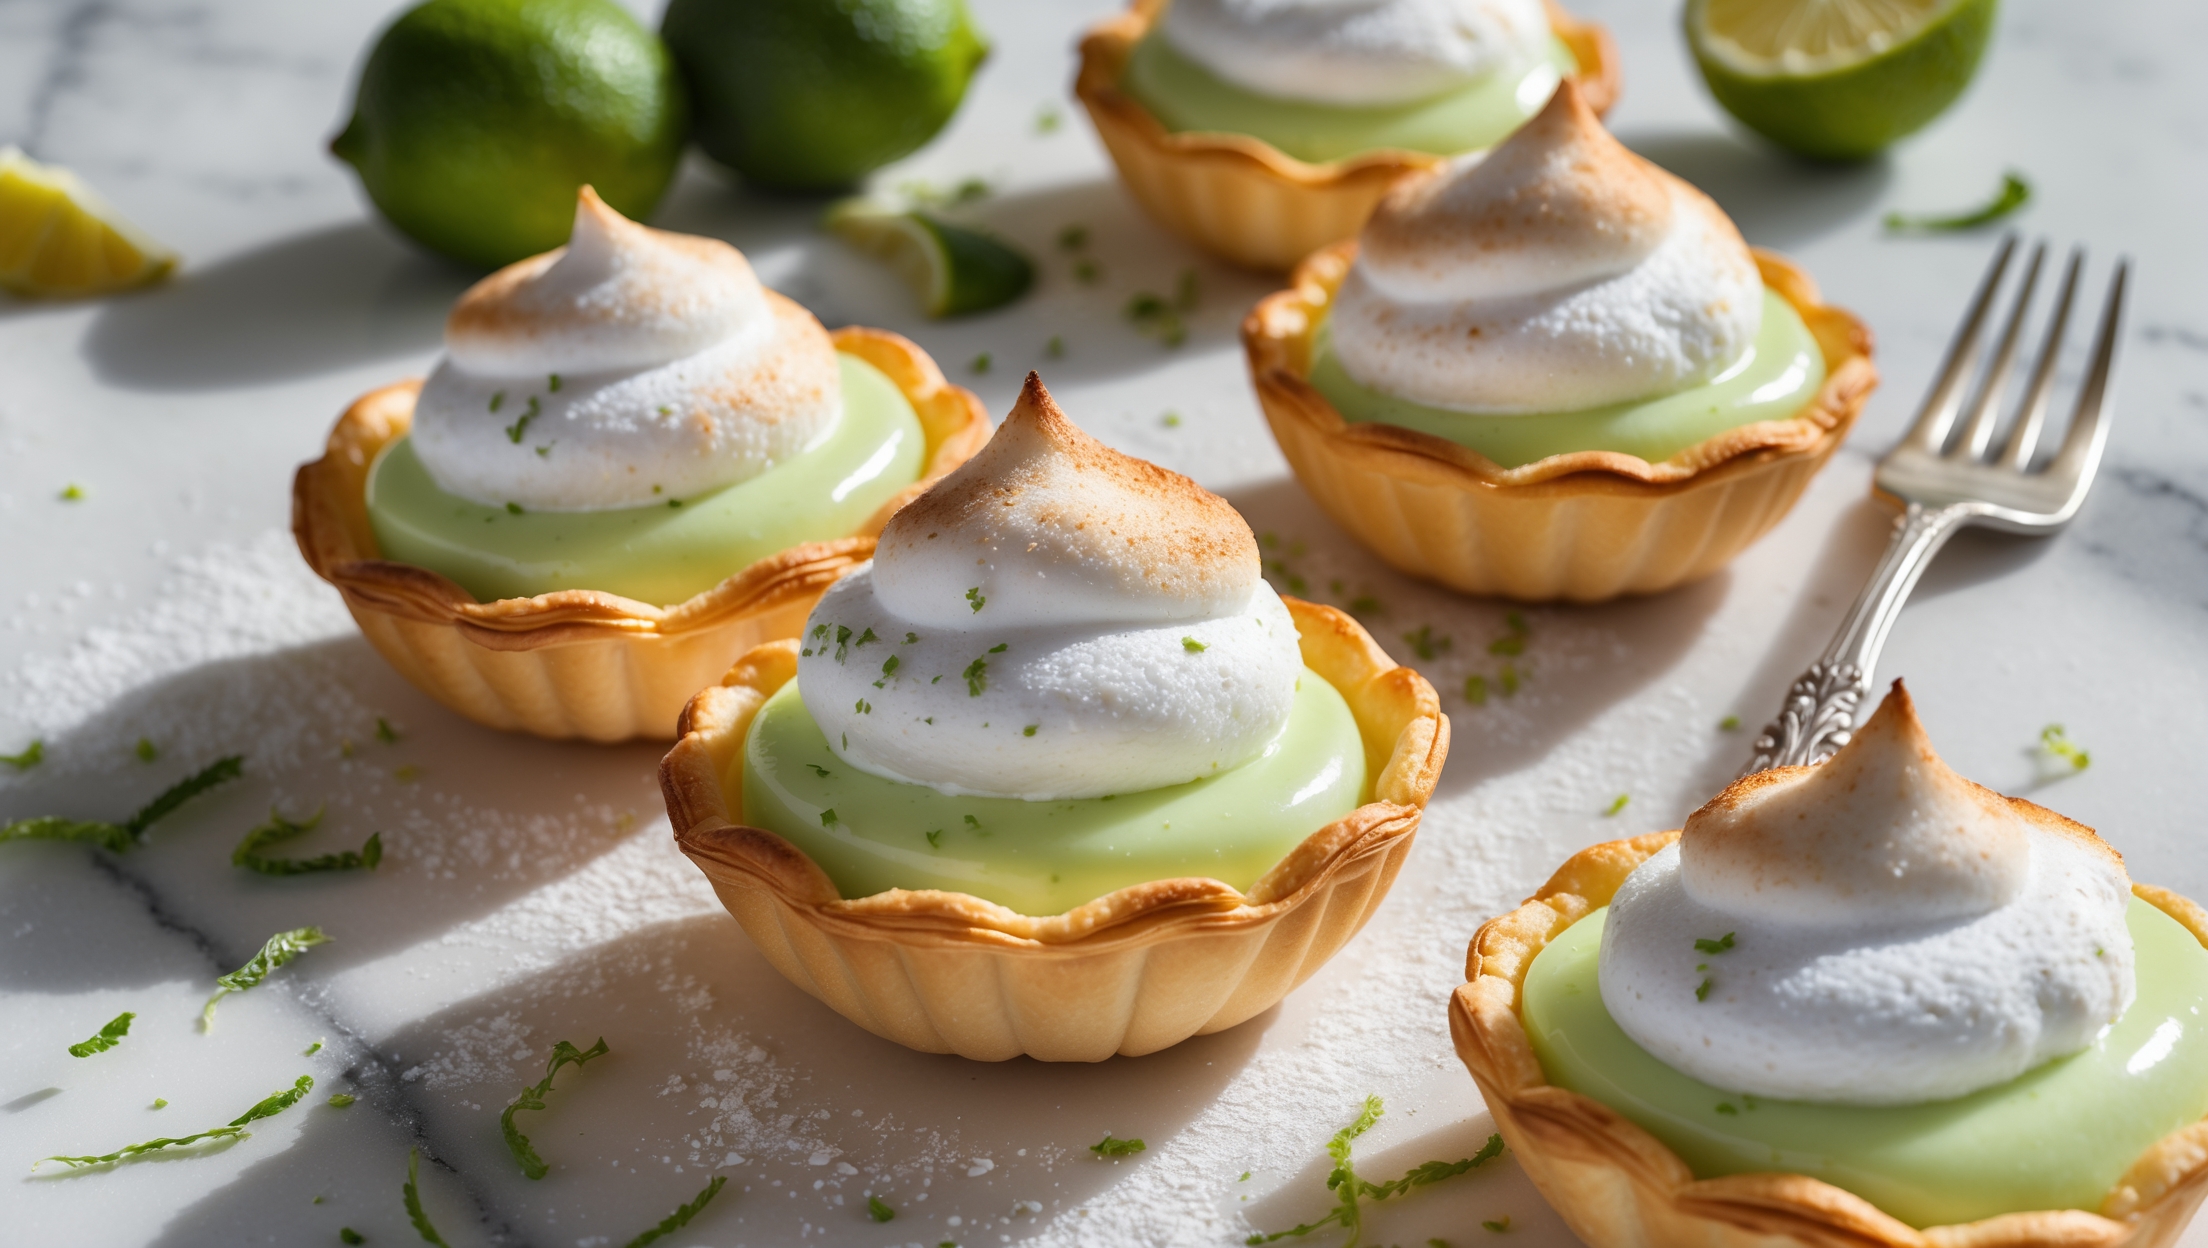
These tartlets require three main components: a buttery shortcrust pastry made with flour, cold butter, icing sugar and egg; a tangy lemon filling using lemon zest, juice, butter, sugar and eggs; and a fluffy meringue topping made from egg whites, sugar and cream of tartar.
Learn how to cook Lemon Meringue Tartlets by first blind-baking shortcrust pastry cases until golden and crisp. Then prepare a tangy lemon curd by gently heating lemon juice, zest, butter and eggs until thickened. Fill the cooled pastry cases with the lemon filling, top with freshly whipped meringue, and carefully toast until golden using a blowtorch or grill.
Meringue weeping occurs when moisture seeps between the filling and topping. To prevent this, ensure your lemon filling is completely cool before adding meringue, seal the meringue to the pastry edges, and avoid overbeating the egg whites. Also, toast the meringue immediately after application for best results.
Yes, but for best results, prepare components separately. Make the pastry shells and lemon filling up to 2 days ahead and store separately (refrigerate the filling). Add and toast the meringue on the day of serving to maintain the perfect texture contrast between crisp pastry, cool filling and fluffy meringue.
For perfectly crisp tartlet bases, blind bake thoroughly until golden and completely dry. Allow to cool fully before adding filling. You can also brush the inside with a thin layer of egg white after initial baking and return to the oven briefly – this creates a moisture barrier between the pastry and lemon filling.
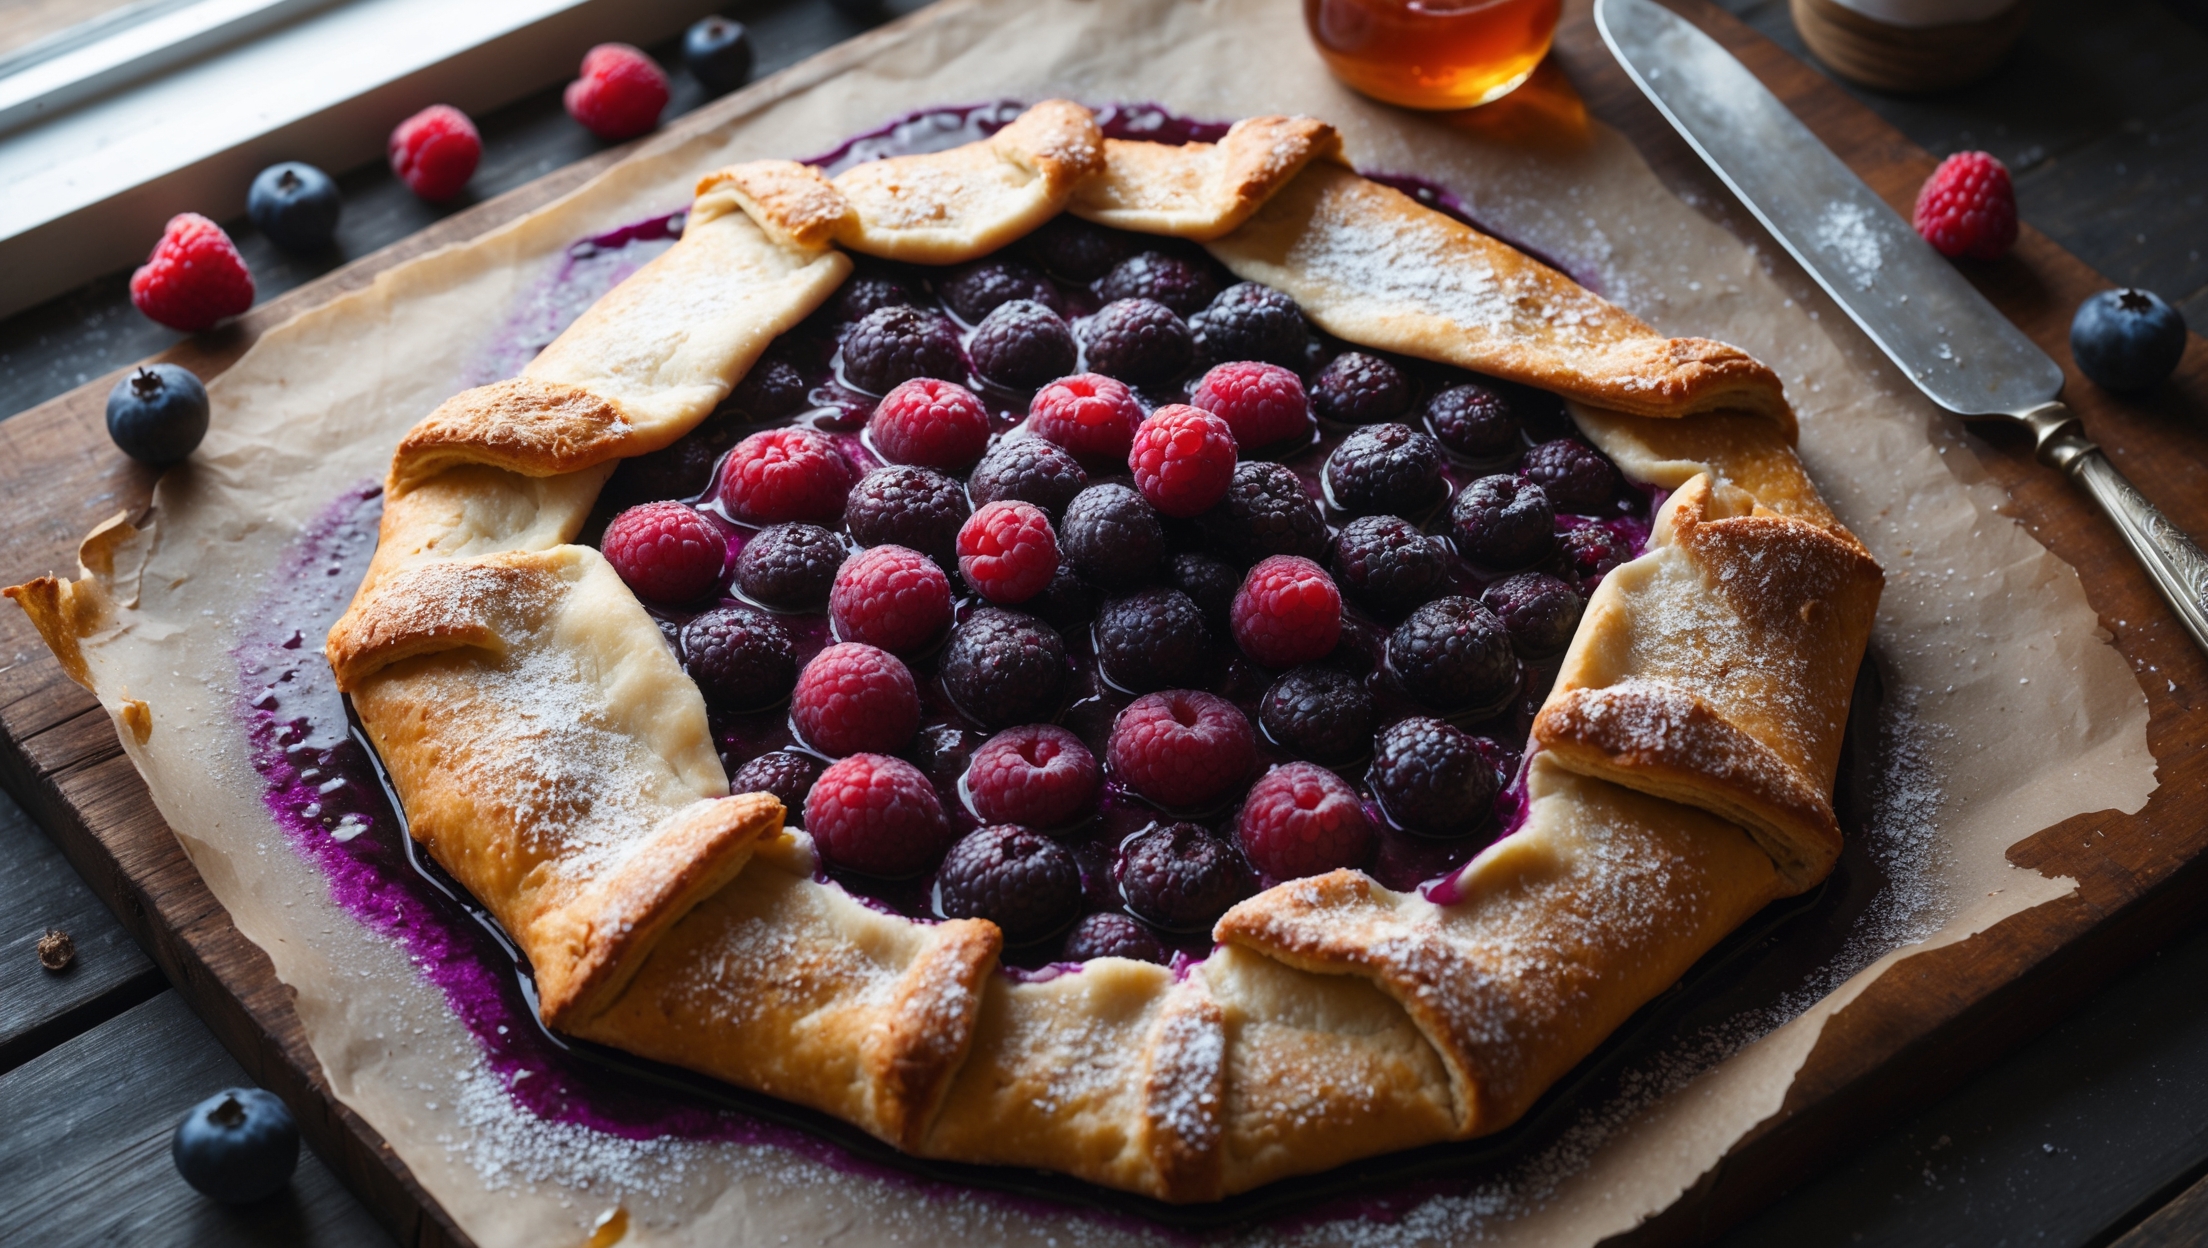
Puff Pastry
Try following recommended recipes