Directions
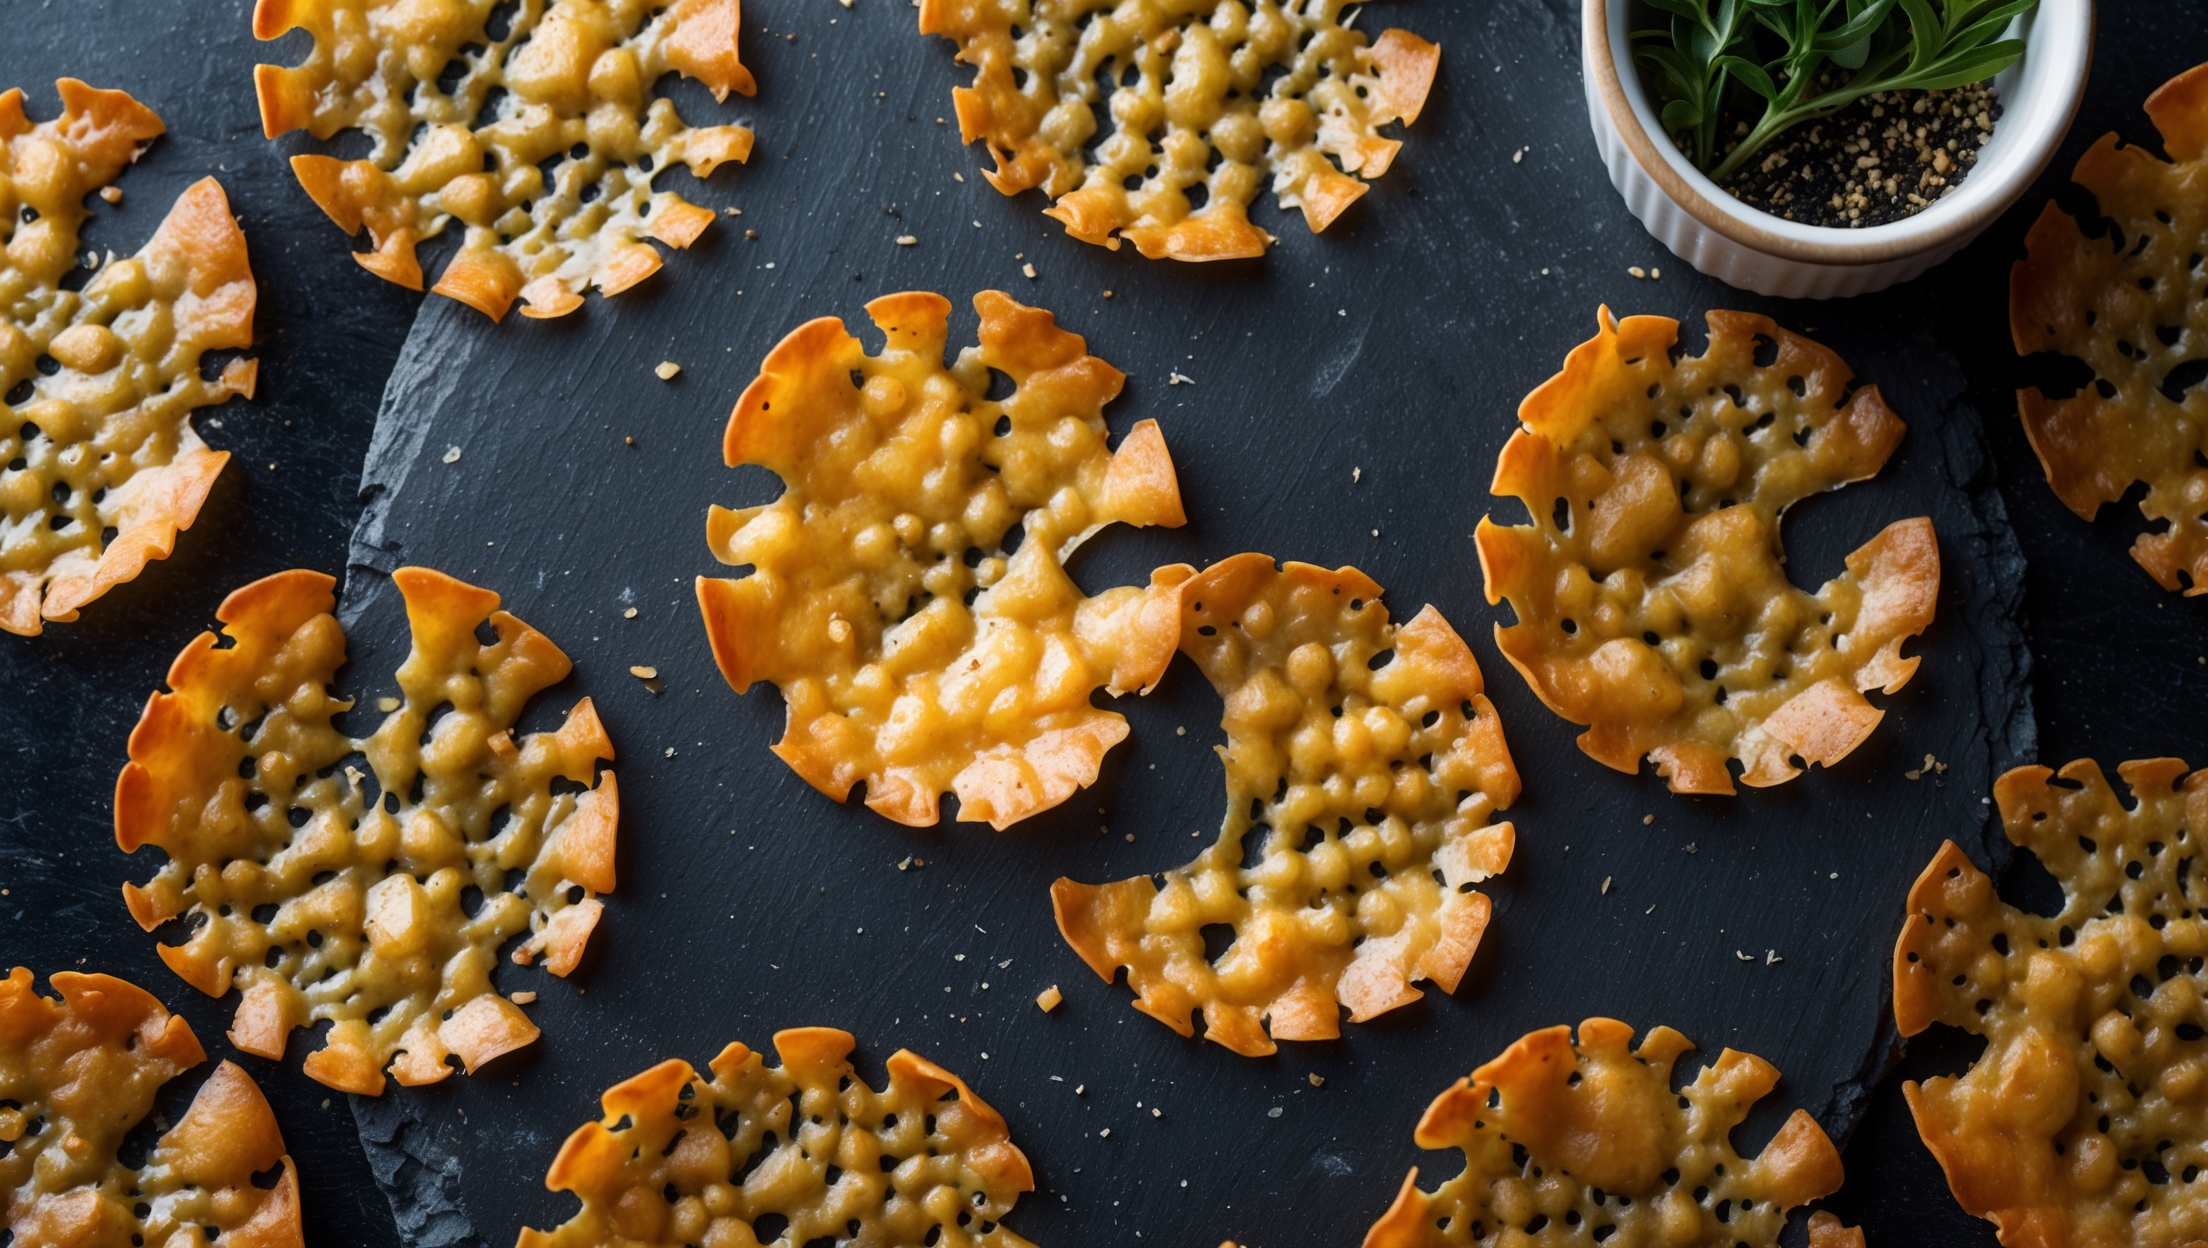
<ol class="no-list-style"> <li class="MethodStepper"> <h4 class="step-title">Step 1</h4> Preheat your oven to 190°C (375°F). Line a baking sheet with a silicone mat or parchment paper – this is absolutely essential as the cheese will stick to an unlined sheet. Ensure your silicone mat is completely clean and dry before using, as any moisture will prevent proper crisping. </li> <li class="MethodStepper"> <h4 class="step-title">Step 2</h4> Grate your Parmesan cheese freshly if possible. Pre-packaged grated cheese often contains anti-caking agents that can affect the melting quality. The cheese should be finely grated but not powdered – you want it to melt together properly while maintaining some texture. </li> <li class="MethodStepper"> <h4 class="step-title">Step 3</h4> If using any herbs or spices, gently mix them with your grated cheese. This step is optional but adds wonderful complexity to your crisps. </li> <li class="MethodStepper"> <h4 class="step-title">Step 4</h4> Place tablespoon-sized mounds of the cheese mixture onto your prepared baking sheet, spacing them at least 5cm apart. The cheese will spread as it melts, so give them plenty of room. For perfectly round crisps, you can use a round cookie cutter as a guide, placing the cheese inside and then removing the cutter. </li> <li class="MethodStepper"> <h4 class="step-title">Step 5</h4> Use your finger or the back of a spoon to gently flatten each mound slightly into an even layer. This helps ensure even cooking and a consistent thickness throughout each crisp. </li> <li class="MethodStepper"> <h4 class="step-title">Step 6</h4> Bake in the preheated oven for 5-6 minutes. Watch them closely as they can quickly go from perfectly golden to burnt! You're looking for a uniform golden-brown color across the entire crisp. The color change indicates the proteins and fats in the cheese are caramelizing, which creates that distinctive umami flavor. </li> <li class="MethodStepper"> <h4 class="step-title">Step 7</h4> Remove from the oven and allow the crisps to cool on the baking sheet for 1-2 minutes. During this time, they'll continue cooking slightly from residual heat and will begin to firm up. Don't try to remove them too soon or they'll be too soft and may tear. </li> <li class="MethodStepper"> <h4 class="step-title">Step 8</h4> Once they've cooled for a minute or two but are still warm and pliable, you can gently shape them if desired. For example, drape them over the handle of a wooden spoon to create taco shell shapes for filling later, or mold them into small cups using the back of a mini muffin tin. </li> <li class="MethodStepper"> <h4 class="step-title">Step 9</h4> Transfer the crisps to a paper towel-lined plate to absorb any excess oil and finish cooling completely, about 5 minutes. As they cool, they'll become increasingly crisp and brittle – this is exactly what you want! The evaporation of remaining moisture is what gives them that perfect snap. </li> <li class="MethodStepper"> <h4 class="step-title">Step 10</h4> Store completely cooled crisps in an airtight container at room temperature for up to 3 days. If they soften over time, you can recrisp them by placing in a preheated oven at 150°C (300°F) for 1-2 minutes. Enjoy as a snack, as "crackers" with dips, or as a garnish for soups and salads! </li> </ol>