Directions
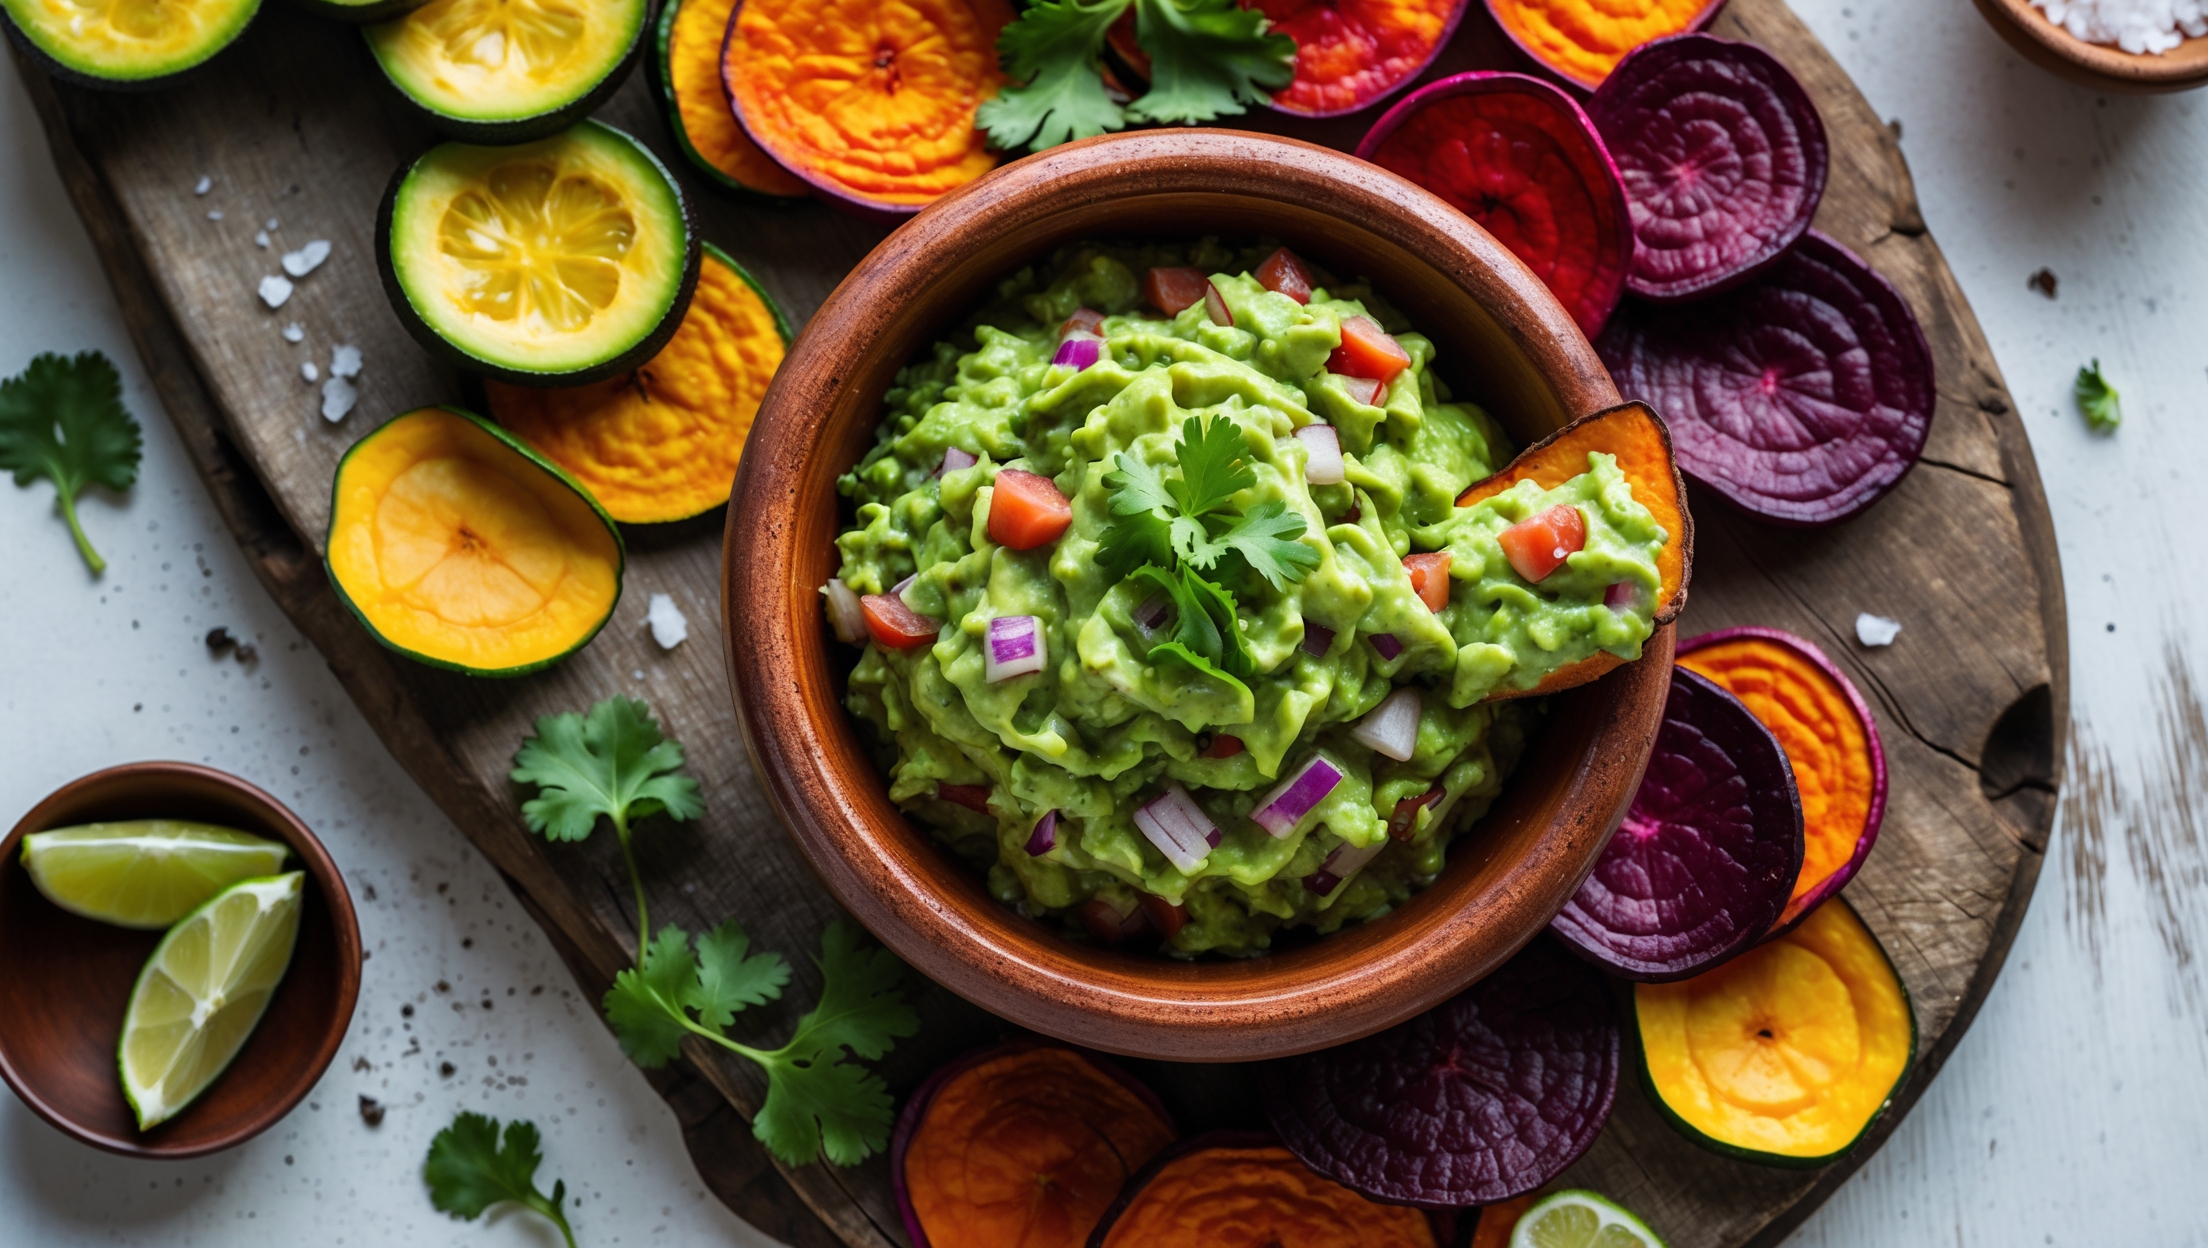
<ol class="no-list-style"><li class="MethodStepper"><h4 class="step-title">Step 1</h4>Preheat your oven to 140°C (275°F). This lower temperature is crucial for properly dehydrating the vegetables without burning them, allowing them to become crisp rather than just dried. Line 2-3 large baking sheets with parchment paper.</li><li class="MethodStepper"><h4 class="step-title">Step 2</h4>Using a mandoline slicer (for consistency in thickness), slice your zucchini, turnip, and beetroot into very thin rounds, approximately 1-2mm thick. The uniformity is important—too thick and they won't crisp properly; too thin and they'll burn quickly.</li><li class="MethodStepper"><h4 class="step-title">Step 3</h4>Place the vegetable slices in separate bowls (keep beetroot separate to prevent staining). Pat them dry with paper towels to remove excess moisture—this is essential for achieving crispness. Removing moisture before baking prevents the vegetables from steaming instead of crisping.</li><li class="MethodStepper"><h4 class="step-title">Step 4</h4>In each bowl, toss the vegetable slices with 1 tablespoon olive oil until lightly coated. Season each batch with equal parts of garlic powder, paprika, dried oregano, and a pinch of salt. Toss gently to evenly distribute the seasonings without breaking the delicate slices.</li><li class="MethodStepper"><h4 class="step-title">Step 5</h4>Arrange the seasoned vegetable slices in single layers on the prepared baking sheets, ensuring they don't overlap. Overlapping will cause steaming rather than crisping, resulting in soggy chips.</li><li class="MethodStepper"><h4 class="step-title">Step 6</h4>Bake for 20-25 minutes, rotating the pans halfway through. Watch them closely after the 15-minute mark as they can quickly go from perfectly crisp to burnt. Different vegetables may cook at slightly different rates—zucchini typically finishes first, followed by turnip, with beetroot taking the longest.</li><li class="MethodStepper"><h4 class="step-title">Step 7</h4>Once baked, immediately transfer the chips to wire racks to cool completely. They'll continue to crisp up as they cool. If any chips aren't fully crisp after cooling, you can return them to the oven for an additional 3-5 minutes.</li><li class="MethodStepper"><h4 class="step-title">Step 8</h4>While the veggie chips are baking, prepare the guacamole. Cut the avocados in half, remove the pits, and scoop the flesh into a medium bowl. Mash with a fork to your preferred consistency—I recommend leaving some chunks for texture.</li><li class="MethodStepper"><h4 class="step-title">Step 9</h4>Add the diced tomato, red onion, minced garlic, jalapeño (if using), and chopped cilantro to the avocados. Squeeze in the lime juice immediately—the acidity not only adds flavor but prevents the avocado from browning by inhibiting enzymatic oxidation.</li><li class="MethodStepper"><h4 class="step-title">Step 10</h4>Season with ground cumin, sea salt, and black pepper. Gently fold all ingredients together to maintain some texture. Taste and adjust seasoning as needed—this is your opportunity to perfect the balance of flavors.</li><li class="MethodStepper"><h4 class="step-title">Step 11</h4>For the best flavor development, cover the surface of the guacamole with plastic wrap, pressing it directly onto the surface to prevent air contact, and refrigerate for 30 minutes (if time allows). This resting period allows the flavors to meld together beautifully.</li><li class="MethodStepper"><h4 class="step-title">Step 12</h4>Serve the chilled guacamole in a bowl surrounded by your homemade veggie chips. For presentation, consider garnishing with additional cilantro leaves, a sprinkle of paprika, or a slice of lime. Enjoy immediately while the chips are still crisp!</li></ol>