Directions
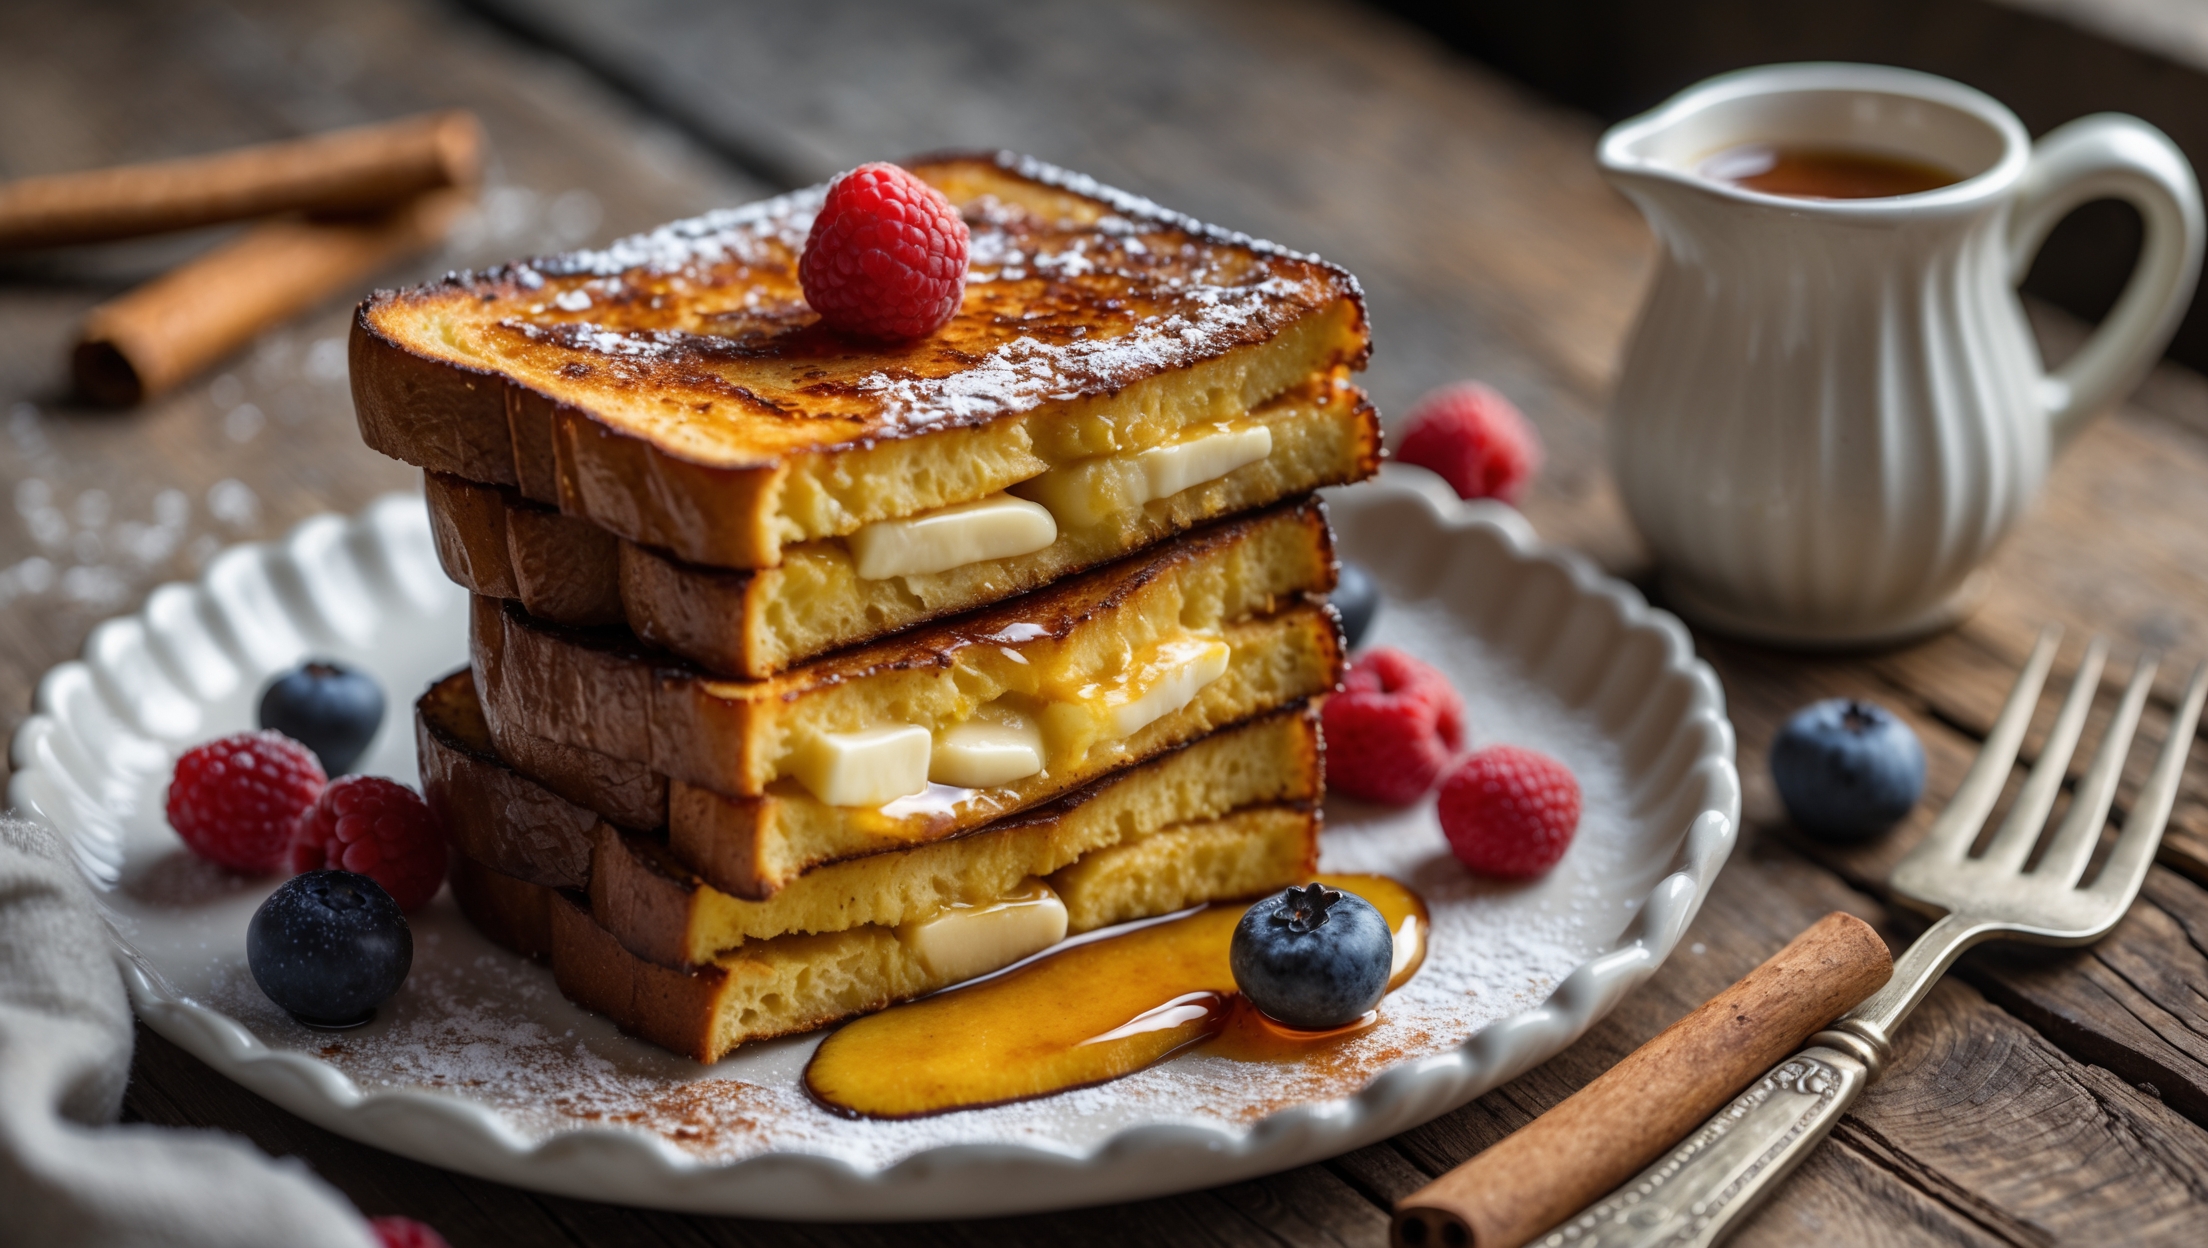
<ol class="no-list-style"><li class="MethodStepper"><h4 class="step-title">Step 1</h4>Preheat your oven to 180°C and line a loaf pan with parchment paper, allowing some overhang for easy removal later. In a medium bowl, whisk together the almond flour, psyllium husk powder, baking powder, and salt until well combined. These dry ingredients form the foundation of our keto-friendly bread, with the psyllium husk providing crucial structure that's normally provided by gluten in traditional bread.</li><li class="MethodStepper"><h4 class="step-title">Step 2</h4>Separate the 4 eggs, placing the whites in a clean, grease-free bowl (even a tiny bit of fat will prevent proper whipping). Using an electric mixer, whip the egg whites until stiff peaks form – this means when you lift the beaters, the peaks stand up straight without folding over. This step is crucial as incorporating air into the egg whites will help give our keto bread more volume and a lighter texture.</li><li class="MethodStepper"><h4 class="step-title">Step 3</h4>In another bowl, whisk together the egg yolks, water, and melted butter until smooth. Gradually add the dry ingredient mixture to the wet ingredients, stirring until a thick batter forms. The batter will be quite dense at this stage – that's perfectly normal.</li><li class="MethodStepper"><h4 class="step-title">Step 4</h4>Using a rubber spatula, gently fold one-third of the whipped egg whites into the batter to lighten it. Then carefully fold in the remaining egg whites in two additions, maintaining as much air as possible. Fold just until no streaks of egg white remain visible – overmixing will deflate your batter and result in a denser bread.</li><li class="MethodStepper"><h4 class="step-title">Step 5</h4>Pour the batter into the prepared loaf pan, smoothing the top gently. Bake for 30-35 minutes until golden brown and a toothpick inserted in the center comes out clean. Allow the bread to cool in the pan for 10 minutes, then use the parchment paper to lift it out onto a wire rack to cool completely. For best results, let the bread cool for at least 1 hour before slicing – this allows the texture to set properly.</li><li class="MethodStepper"><h4 class="step-title">Step 6</h4>Once cooled, slice the bread into 8 even slices about 1.5cm thick. The ideal French toast comes from day-old bread, so if you have time, leave the sliced bread uncovered overnight to dry out slightly. This helps the bread absorb more of the custard mixture without falling apart.</li><li class="MethodStepper"><h4 class="step-title">Step 7</h4>Prepare your French toast coating by whisking together the 3 eggs, heavy cream, vanilla extract, cinnamon, erythritol, and a pinch of salt in a wide, shallow bowl. The heavy cream adds richness that milk would typically provide in traditional French toast, while keeping the carb count low.</li><li class="MethodStepper"><h4 class="step-title">Step 8</h4>Heat a non-stick frying pan over medium heat and add a tablespoon of butter. While the butter melts, dip a slice of bread into the egg mixture, allowing it to soak for about 10 seconds on each side. Don't soak it too long or it might become too fragile. Let any excess mixture drip off before transferring to the hot pan.</li><li class="MethodStepper"><h4 class="step-title">Step 9</h4>Cook the French toast for 2-3 minutes on each side until golden brown and slightly crisp on the edges. The exterior should develop a beautiful caramelization while the inside remains soft and custard-like. Continue with remaining slices, adding more butter to the pan as needed.</li><li class="MethodStepper"><h4 class="step-title">Step 10</h4>Serve immediately while hot, topped with a pat of butter, sugar-free maple syrup, and fresh berries if desired. Enjoy your keto-friendly French toast that tastes just like the classic version but with a fraction of the carbs! If you have leftovers, store them in an airtight container in the refrigerator for up to 3 days, reheating in a toaster or briefly in a pan.</li></ol>