Directions
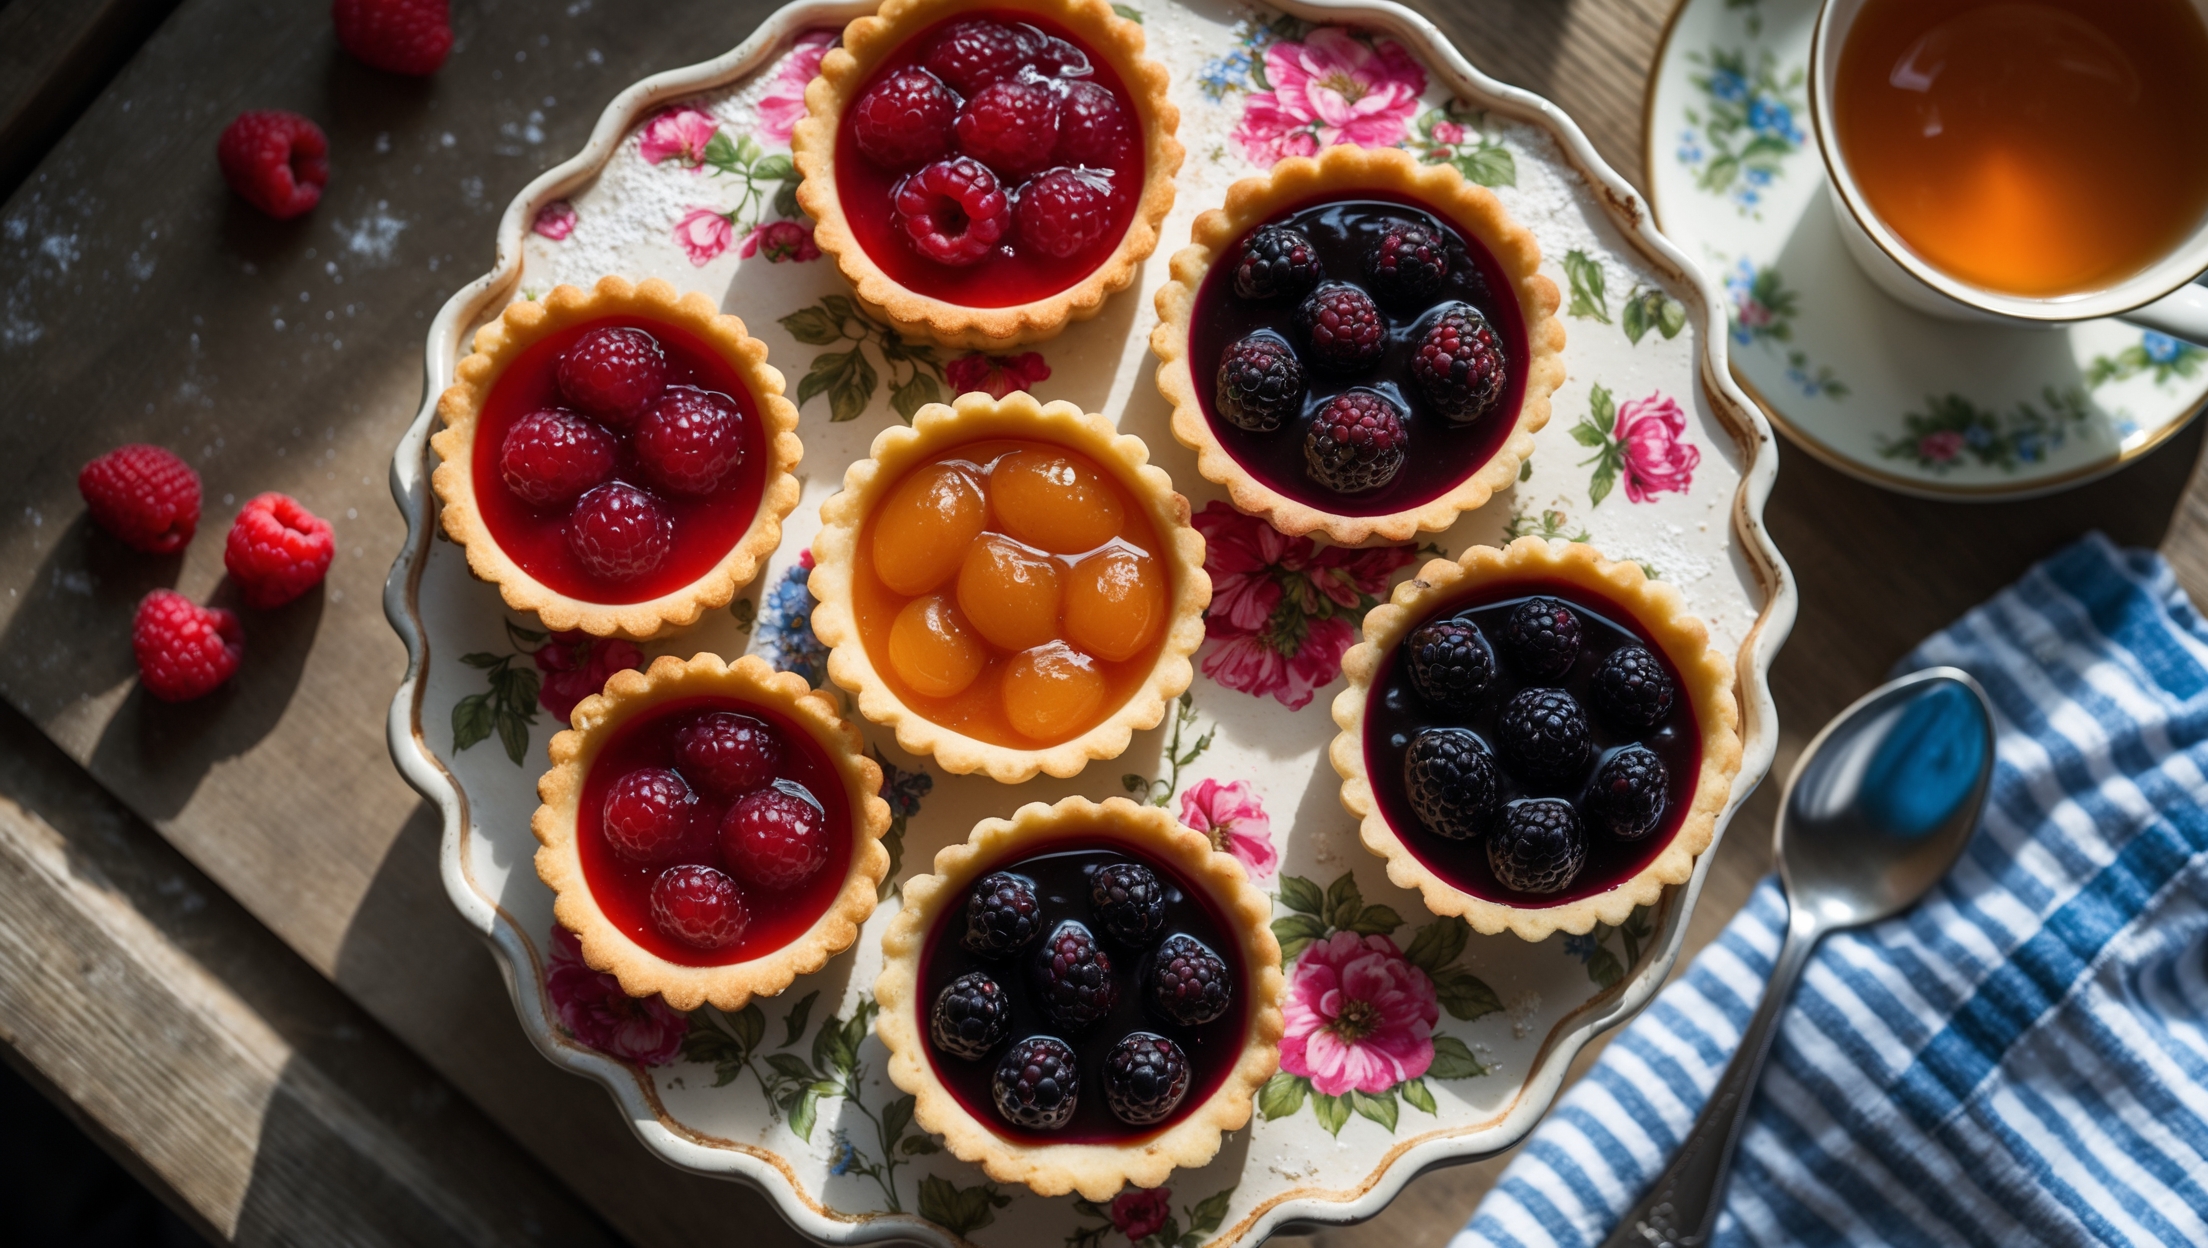
<ol class="no-list-style"><li class="MethodStepper"><h4 class="step-title">Step 1</h4>Place the flour and salt in a large mixing bowl. Add the cold cubed butter and rub it into the flour using your fingertips until the mixture resembles fine breadcrumbs. Working with cold butter is crucial as it creates those little pockets of fat that will melt during baking, creating flaky layers in your pastry.</li><li class="MethodStepper"><h4 class="step-title">Step 2</h4>Stir in the icing sugar. Make a well in the center and add the egg yolk and 2 tablespoons of cold water. Mix with a knife initially, then bring the dough together with your hands. If it seems too dry, add another tablespoon of water, but be careful not to make the dough too wet – it should just come together without being sticky.</li><li class="MethodStepper"><h4 class="step-title">Step 3</h4>Form the dough into a disc, wrap in cling film and chill in the refrigerator for at least 30 minutes. This resting time is essential as it allows the gluten to relax (preventing shrinkage) and the butter to firm up again, which will give you that delicious shortbread-like texture.</li><li class="MethodStepper"><h4 class="step-title">Step 4</h4>Preheat your oven to 180°C (160°C fan/350°F/Gas Mark 4). Lightly grease your tart tin or muffin tin.</li><li class="MethodStepper"><h4 class="step-title">Step 5</h4>On a lightly floured surface, roll out the pastry to about 3mm thickness. Using your pastry cutter, cut out 12 rounds slightly larger than the holes in your tin. Press each round gently into the tin, ensuring there are no air bubbles trapped underneath.</li><li class="MethodStepper"><h4 class="step-title">Step 6</h4>Prick the base of each tart with a fork a few times – this prevents the pastry from puffing up during baking. If time allows, place the tin in the freezer for 10 minutes to firm up again, which will help maintain the shape of your tarts during baking.</li><li class="MethodStepper"><h4 class="step-title">Step 7</h4>Spoon about 1-2 teaspoons of jam into each pastry case, filling them about ¾ full. Be careful not to overfill, as the jam will bubble and may overflow during baking. For visual appeal, use a variety of different colored jams.</li><li class="MethodStepper"><h4 class="step-title">Step 8</h4>Brush the exposed pastry edges lightly with milk to promote even browning. Bake in the preheated oven for 12-15 minutes, until the pastry is golden and the jam is bubbling. Look for a slight caramelization around the edges of the jam – this indicates they're perfectly done.</li><li class="MethodStepper"><h4 class="step-title">Step 9</h4>Remove from the oven and allow to cool in the tin for 5 minutes, then carefully transfer to a wire rack to cool completely. The jam will be extremely hot straight from the oven, so be patient before tasting!</li><li class="MethodStepper"><h4 class="step-title">Step 10</h4>Once cooled, the jam will set slightly and the tarts can be stored in an airtight container for up to 3 days, though they're at their absolute best on the day of baking when the contrast between crisp pastry and sweet jam is most pronounced.</li></ol>