Icelandic Snúður Recipe

Ingredients
Equipment
Directions
FAQs
Find answers to your most pressing questions about this delicious recipe right here.
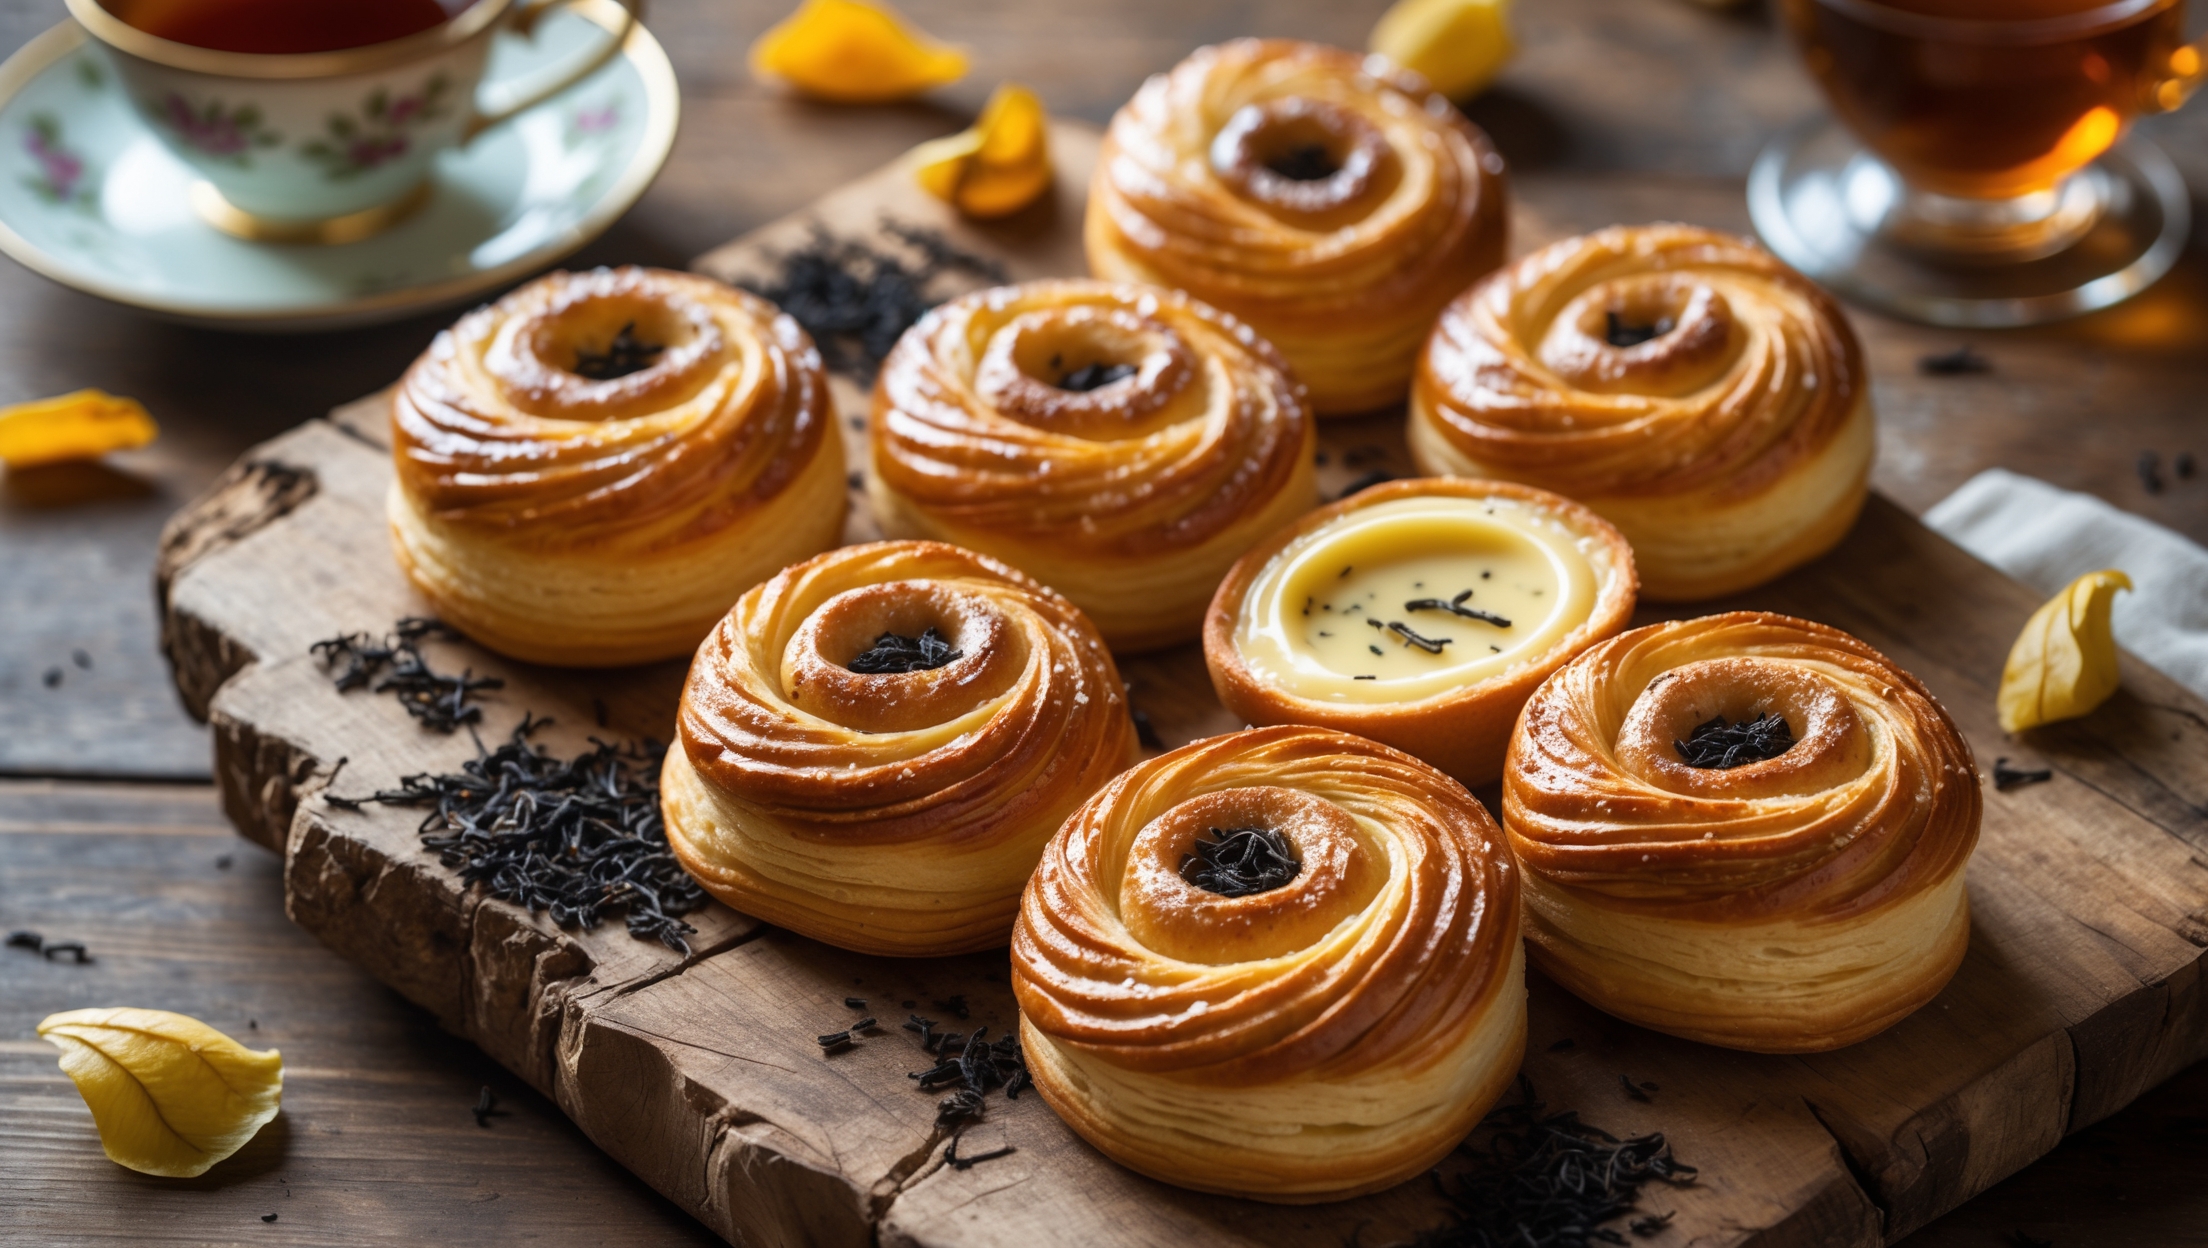
Traditional Icelandic Snúður requires all-purpose flour, sugar, yeast, butter, milk, eggs, salt, and cardamom for the dough. The filling consists of butter, brown sugar, and cinnamon, while the signature chocolate glaze needs dark chocolate, butter, honey, and milk.
Learn how to cook Icelandic Snúður by making a cardamom-spiced yeasted dough, letting it rise until doubled in size, then rolling it out and spreading with cinnamon-sugar filling. Roll into a log, slice into rounds, and allow a second rise before baking at 180°C for 14-16 minutes. Finish with the signature dark chocolate glaze for an authentic taste of Iceland.
Icelandic cinnamon rolls (Snúður) differ from American versions with their cardamom-infused dough, less sweet filling, and signature chocolate glaze instead of cream cheese frosting. They're also typically denser with a chewier texture and are considered everyday pastries rather than special occasion treats in Iceland.
Yes, you can prepare the dough the night before and refrigerate it for its first rise overnight. Alternatively, freeze fully baked but unglazed rolls for up to a month. Thaw at room temperature, warm briefly in the oven, then add fresh chocolate glaze for that authentic taste experience.
The secret to achieving perfectly soft, fluffy cinnamon rolls lies in proper kneading to develop gluten, allowing adequate rising time (patience is key!), avoiding adding too much flour, and being careful not to overbake. The addition of cardamom in the dough also contributes to the signature tender texture.
Danish Pastry
Try following recommended recipes