Blue Lagoon Mocktail Cake Recipe
Ingredients
Equipment
Directions
FAQs
Find answers to your most pressing questions about this delicious recipe right here.
The Blue Lagoon Mocktail Cake uses plain flour, caster sugar, butter, eggs, buttermilk, lemon juice and zest, coconut extract, blue food colouring, and ingredients for the buttercream and mirror glaze including icing sugar, coconut cream, and white chocolate.
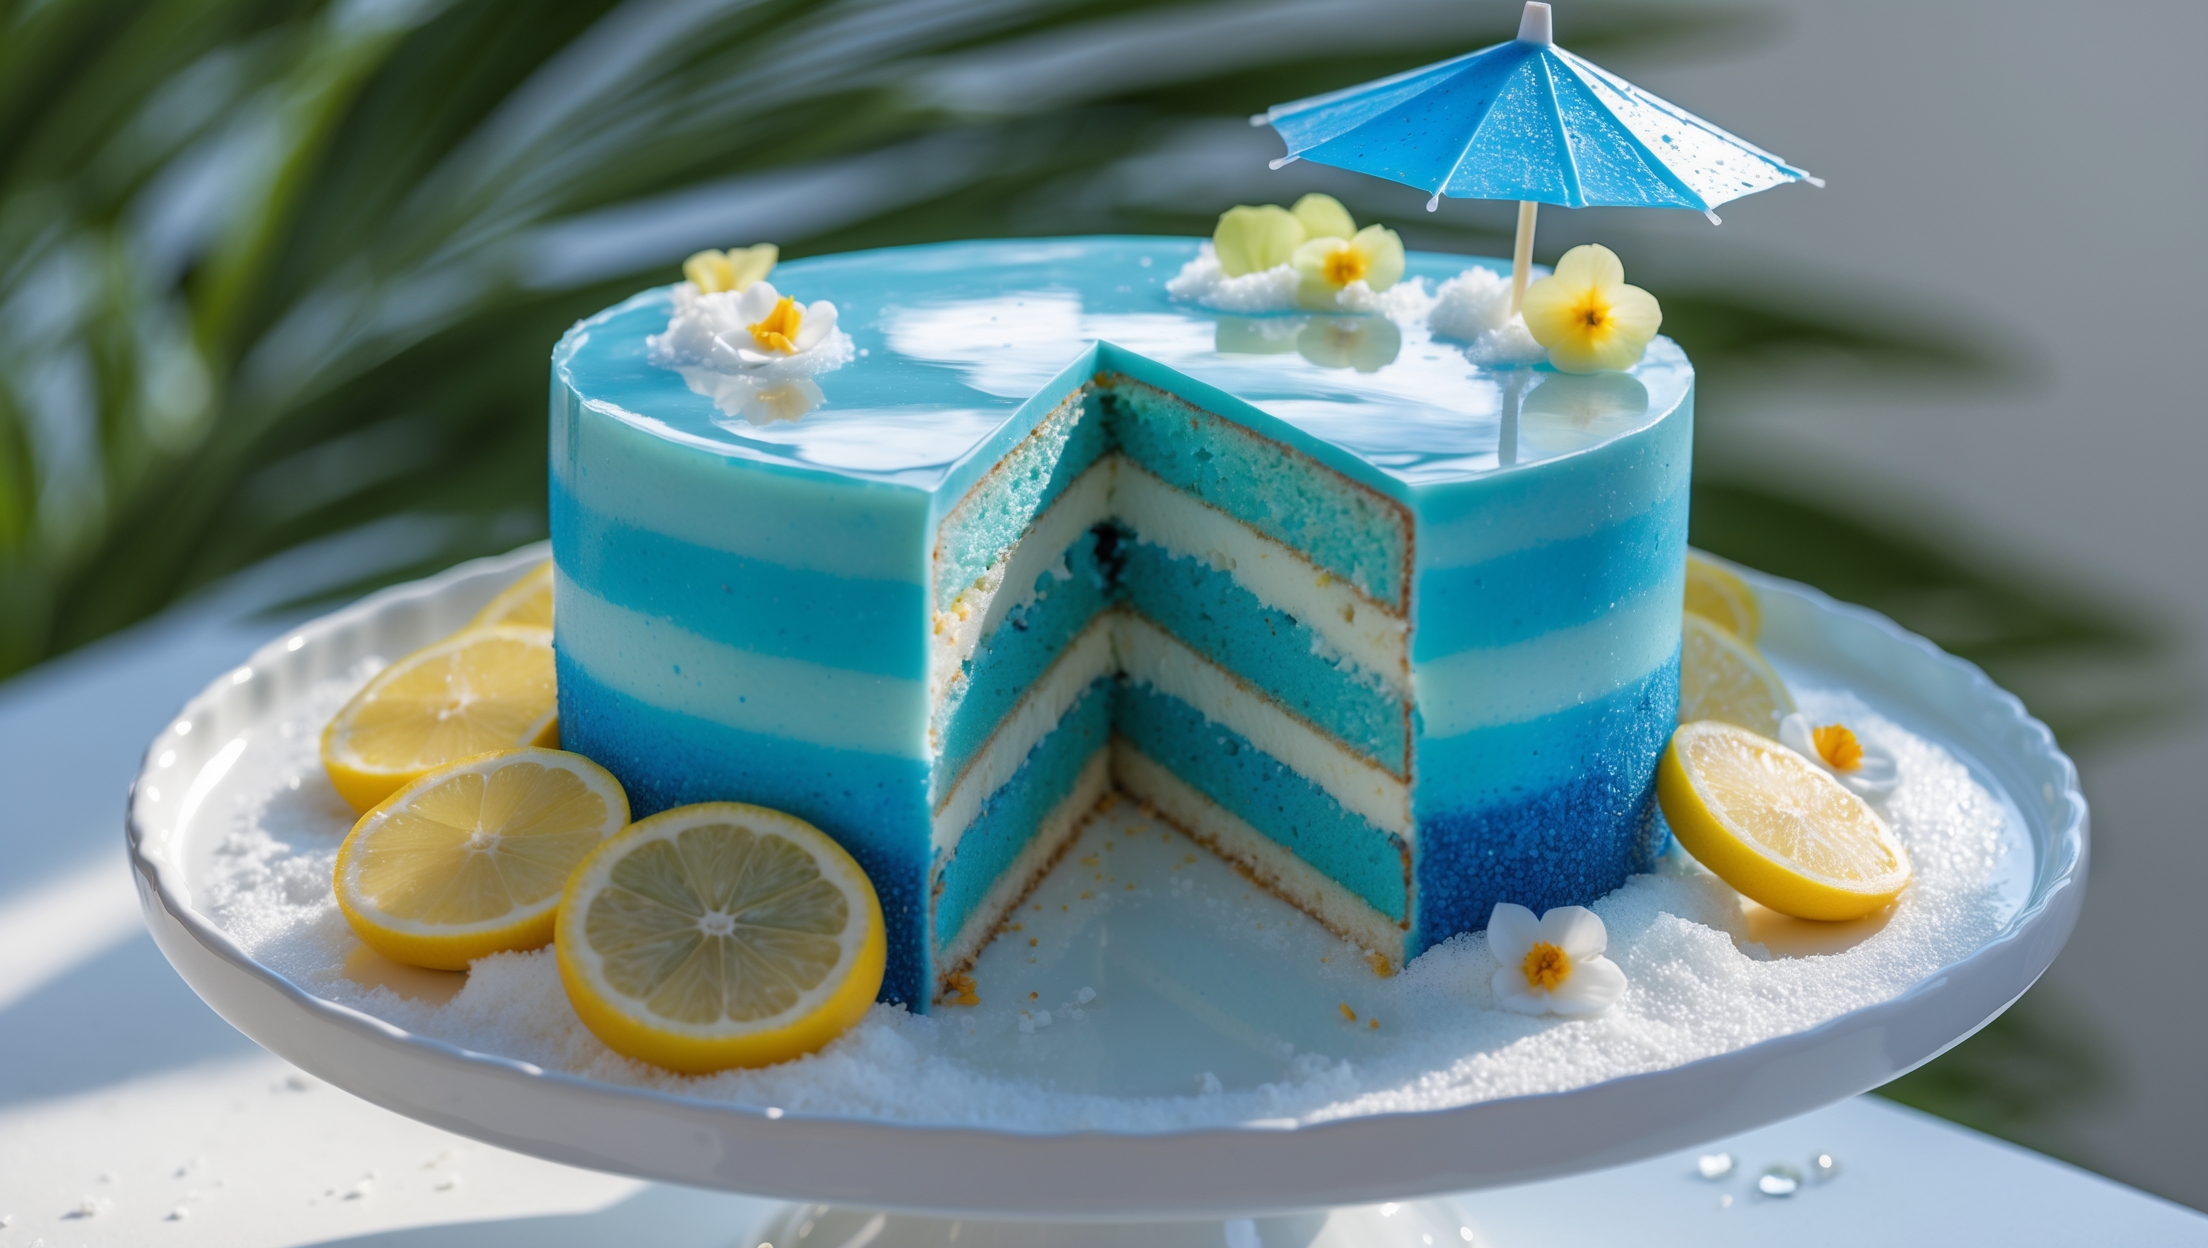
Learn how to cook Blue Lagoon Mocktail Cake by creating an ombré effect with three differently coloured cake batters, baking them separately, then layering with coconut buttercream. The showstopping mirror glaze requires precise temperature control (32-35°C) for that perfect blue lagoon finish that cascades beautifully down the chilled cake layers.
The mirror glaze must be at 32-35°C before pouring because if it's too hot, it will melt the buttercream underneath, and if too cool, it won't flow smoothly over the cake. This specific temperature range ensures proper viscosity for that perfectly glossy, smooth finish that resembles water.
Absolutely! You can omit the blue food colouring and instead use natural alternatives like butterfly pea flower tea to achieve a subtle blue tint, or skip the colouring entirely and focus on the coconut-citrus flavour profile. The cake will still have a delicious tropical taste.
The secret to distinct ombré layers is measuring your batter precisely before dividing, using gel (not liquid) food colouring for intensity control, and ensuring each layer is completely cool before stacking. Thin crumb coating between layers prevents colour bleeding for that crisp, defined gradient effect.
Mocktails Cakes
Try following recommended recipes