Homemade Yogurt Pouches Recipe
Ingredients
Equipment
Directions
FAQs
Find answers to your most pressing questions about this delicious recipe right here.
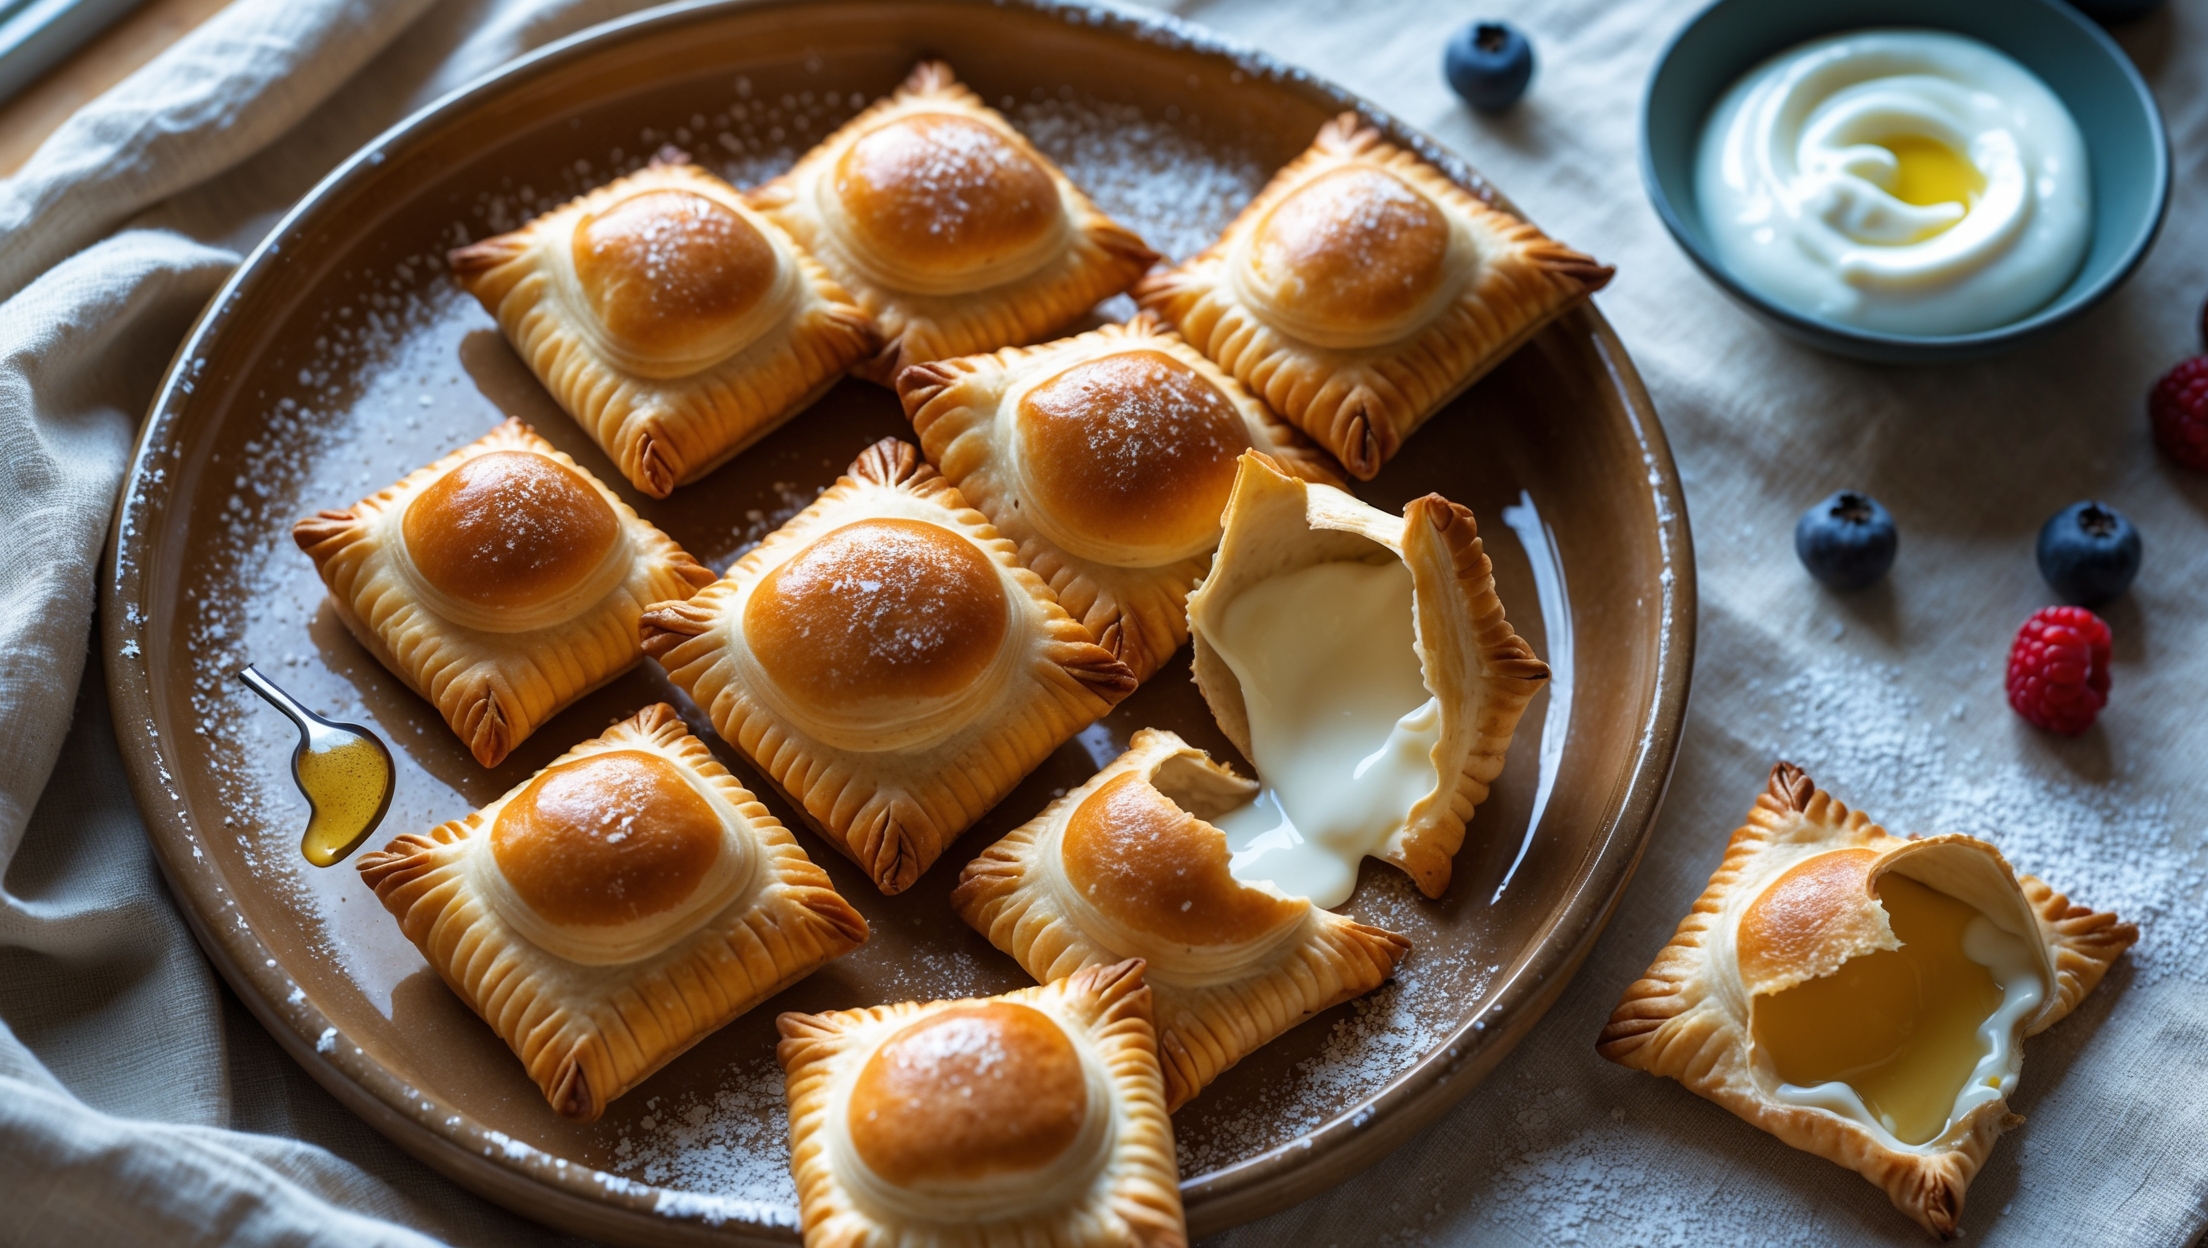
The recipe uses all-purpose flour, baking powder, salt, sugar, cold butter, milk, eggs, Greek yogurt, honey, vanilla extract, and lemon zest. These ingredients create a buttery, flaky dough wrapped around a creamy, tangy yogurt filling.
Learn how to cook Homemade Yogurt Pouches by preparing a chilled yogurt filling, making a buttery dough, rolling it into circles, adding the filling, pleating the edges to form pouches, and baking at 180°C for 22-25 minutes until golden brown. Finish with a drizzle of honey and a dusting of powdered sugar for a professional touch.
Absolutely! While the classic lemon and honey combination works beautifully, you can experiment with different flavours by adding fresh berries, fruit preserves, cinnamon, nutmeg, orange zest, or even a tablespoon of cocoa powder to the yogurt filling.
Flakiness comes from keeping the butter cold throughout preparation. Make sure to use cold butter, chill the dough properly, work quickly, and don't overmix. The cold butter pieces create steam pockets during baking that result in those desirable flaky layers.
To prevent leaking, ensure you're not overfilling (2 tablespoons is perfect), pinch and seal the pleats firmly, allow the filling to chill and thicken before using, and consider straining regular yogurt if not using Greek yogurt to remove excess moisture.
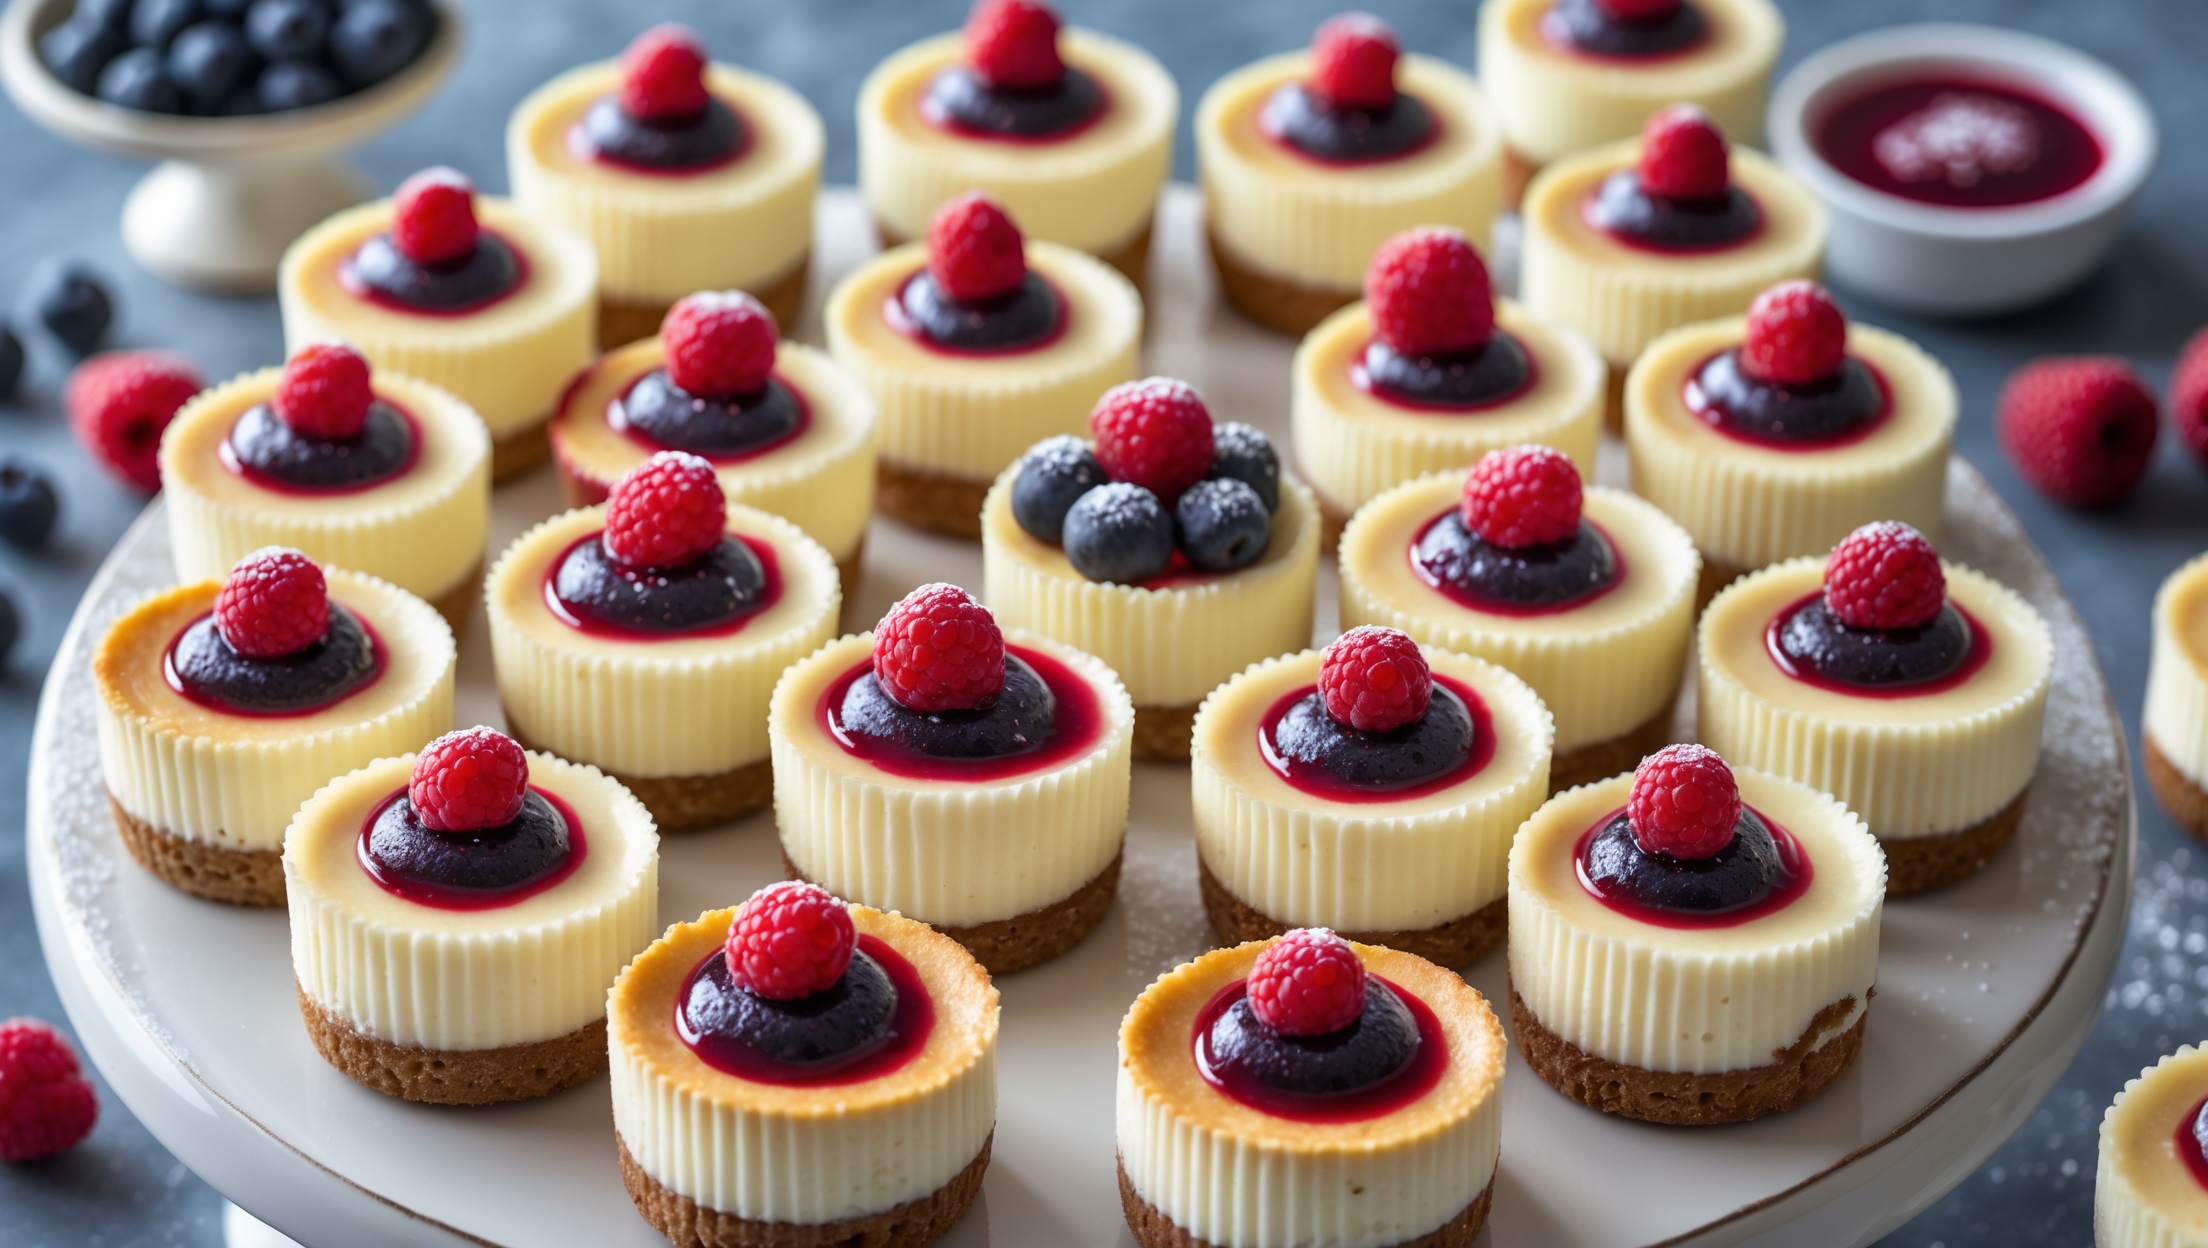
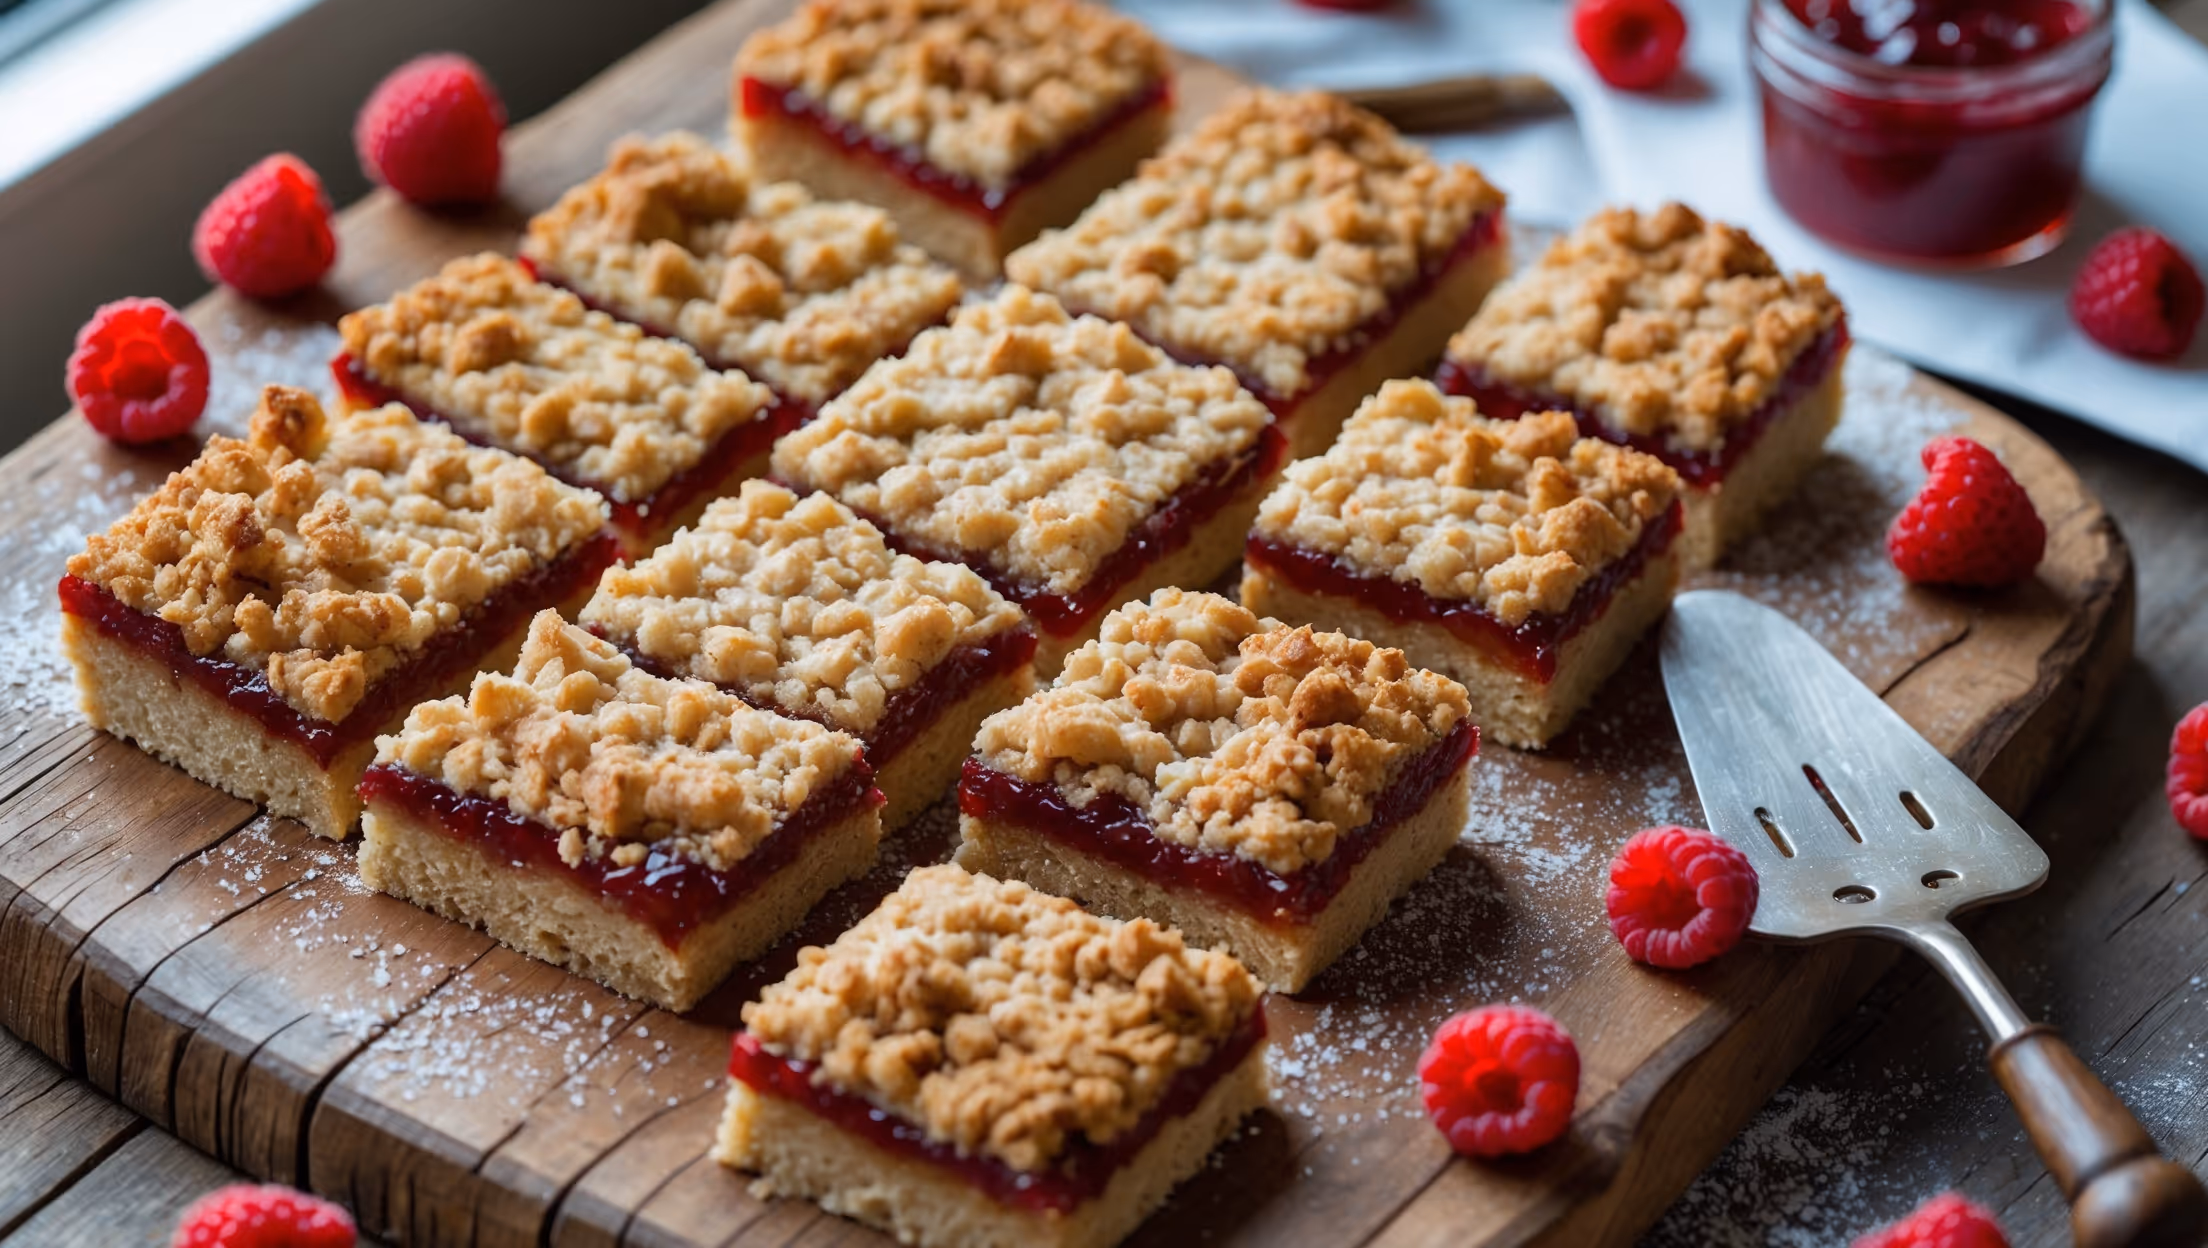
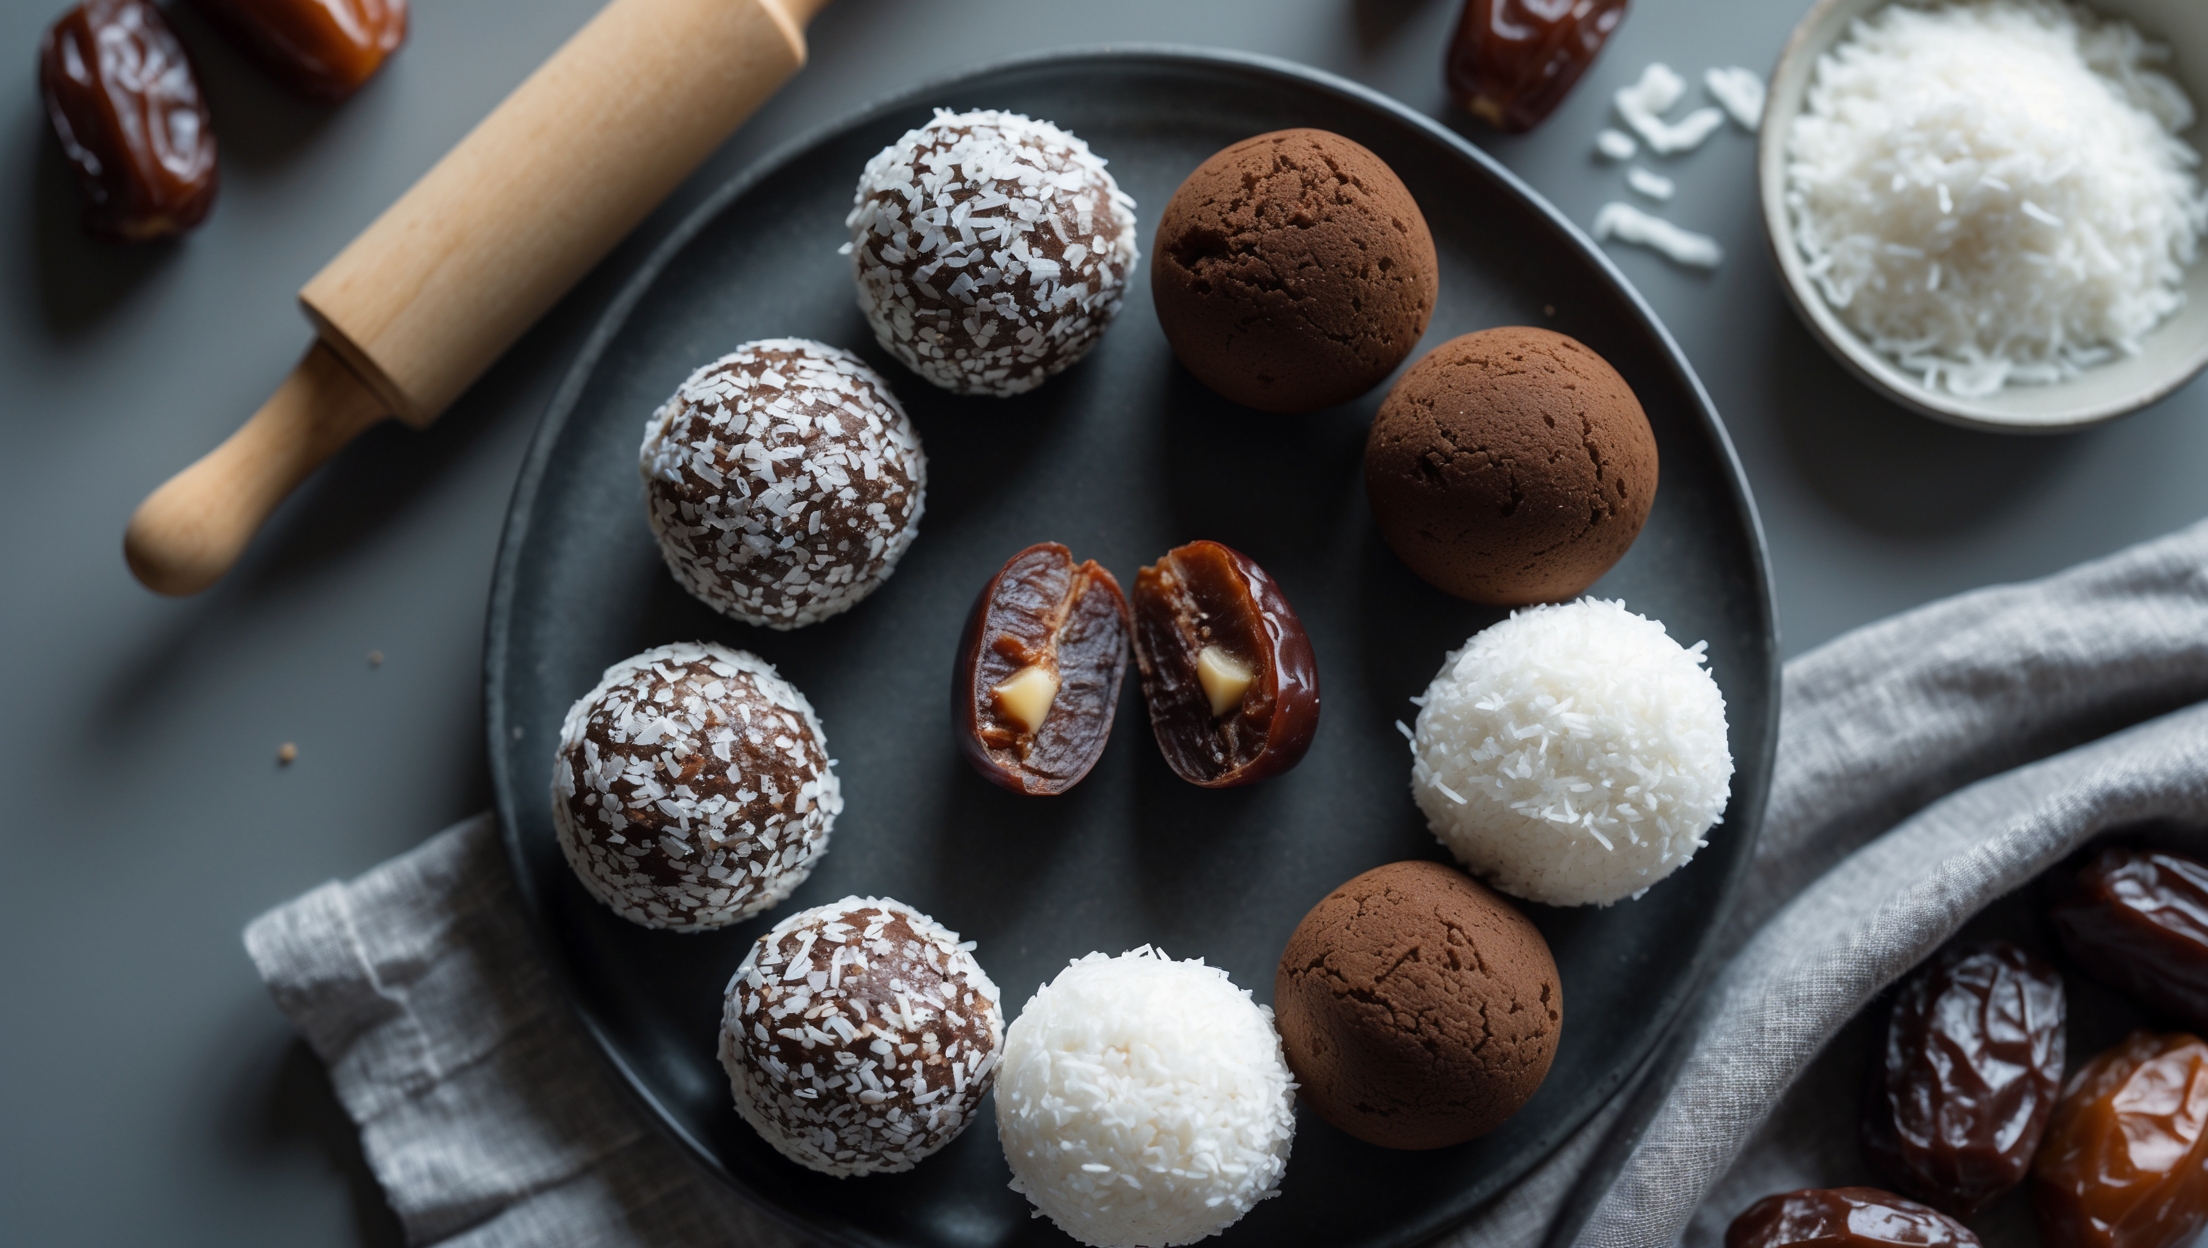
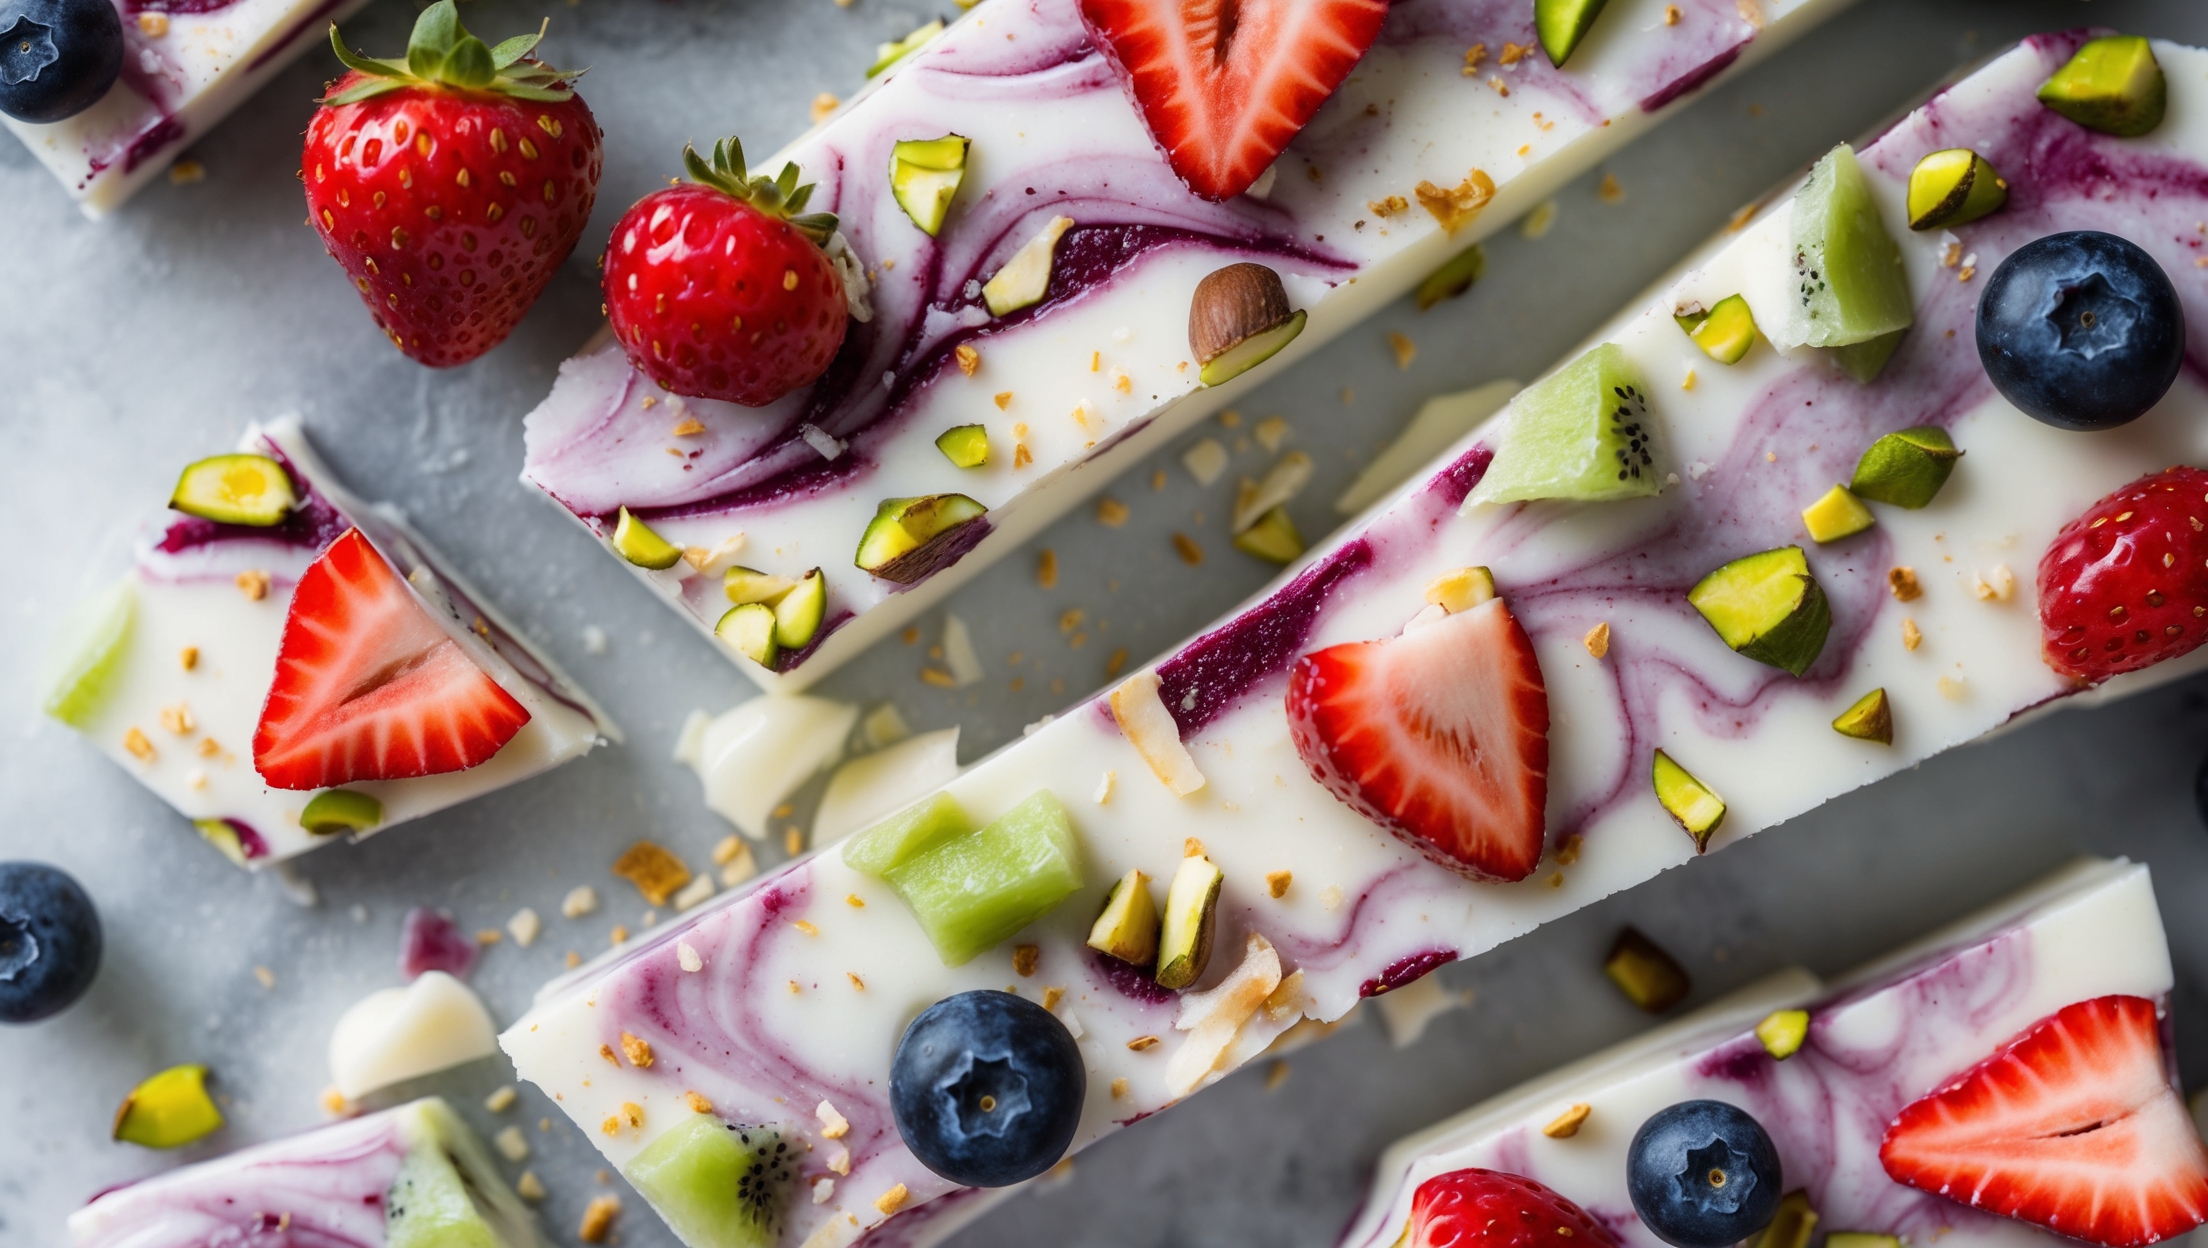
Kid-Friendly Nut-Free Snacks
Try following recommended recipes