Directions
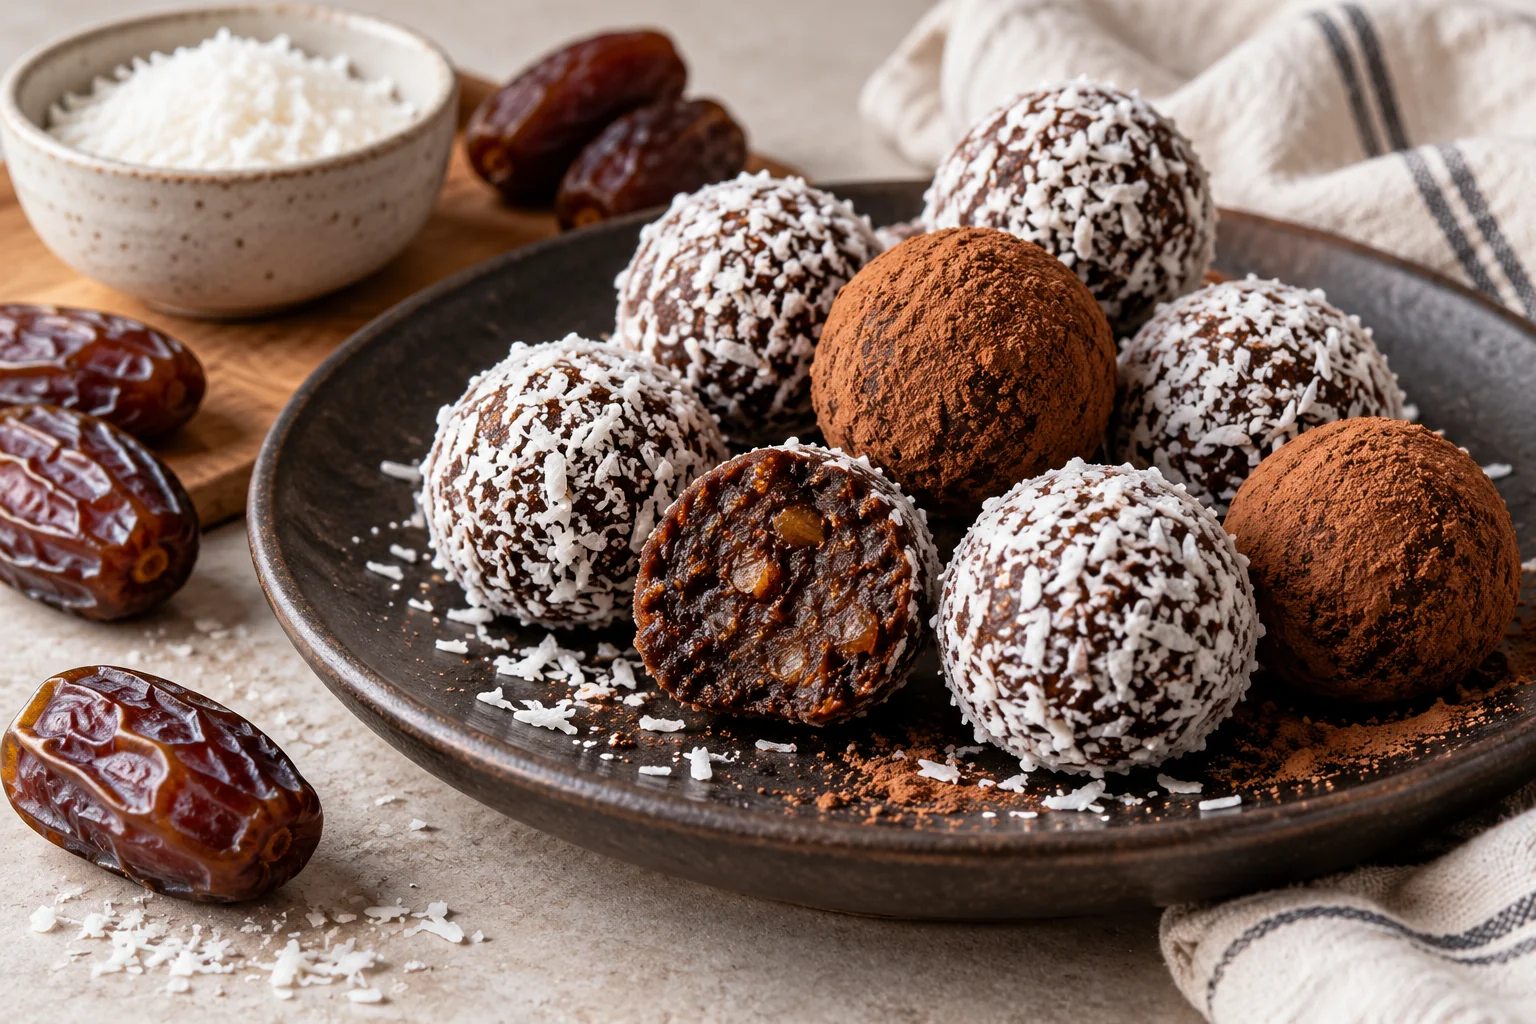
<ol class="no-list-style"><li class="MethodStepper"><h4 class="step-title">Step 1</h4>If your dates aren't soft and sticky, place them in a small bowl and cover with warm water for about 10 minutes to soften. This ensures they'll blend smoothly and help bind your mixture together. Drain thoroughly and pat dry with paper towels before using.</li><li class="MethodStepper"><h4 class="step-title">Step 2</h4>Add the pitted dates to your food processor and pulse several times until they break down into small pieces. The dates will initially form a ball but will eventually break down into a sticky paste with continued processing.</li><li class="MethodStepper"><h4 class="step-title">Step 3</h4>Add the cocoa powder, rolled oats, desiccated coconut, maple syrup, melted coconut oil, vanilla extract, and salt to the food processor. The coconut oil helps bind the ingredients while adding richness, and the salt enhances the chocolate flavor by balancing the sweetness.</li><li class="MethodStepper"><h4 class="step-title">Step 4</h4>Process everything together until thoroughly combined, stopping to scrape down the sides as needed. You're looking for a cohesive mixture that holds together when pressed between your fingers. If the mixture seems too dry, add water one tablespoon at a time until you reach the right consistency – it should be sticky but not wet.</li><li class="MethodStepper"><h4 class="step-title">Step 5</h4>Transfer the mixture to a bowl and let it rest for 5 minutes. This allows the oats to absorb some moisture, making the mixture easier to roll and improving the final texture of your date balls.</li><li class="MethodStepper"><h4 class="step-title">Step 6</h4>Place additional desiccated coconut and/or cocoa powder in shallow dishes for coating. Having slightly damp hands will prevent the mixture from sticking to your palms during rolling.</li><li class="MethodStepper"><h4 class="step-title">Step 7</h4>Take about a tablespoon of the mixture and roll it between your palms to form a ball approximately 2-3 cm in diameter. Work quickly but gently – too much handling can warm the coconut oil and make the mixture sticky.</li><li class="MethodStepper"><h4 class="step-title">Step 8</h4>Roll each ball in your chosen coating until completely covered. For variety, coat some in coconut and others in cocoa powder, or leave some uncoated if you prefer.</li><li class="MethodStepper"><h4 class="step-title">Step 9</h4>Place the finished balls on a baking sheet or plate lined with parchment paper and refrigerate for at least 30 minutes to firm up. The chilling process helps the coconut oil solidify, giving the balls a firmer texture and allowing the flavors to meld together.</li><li class="MethodStepper"><h4 class="step-title">Step 10</h4>Store your date-chocolate balls in an airtight container in the refrigerator for up to two weeks, or freeze for up to three months. If freezing, place them in a single layer initially until solid, then transfer to a container. Allow frozen balls to thaw for 5-10 minutes before enjoying.</li></ol>