Directions
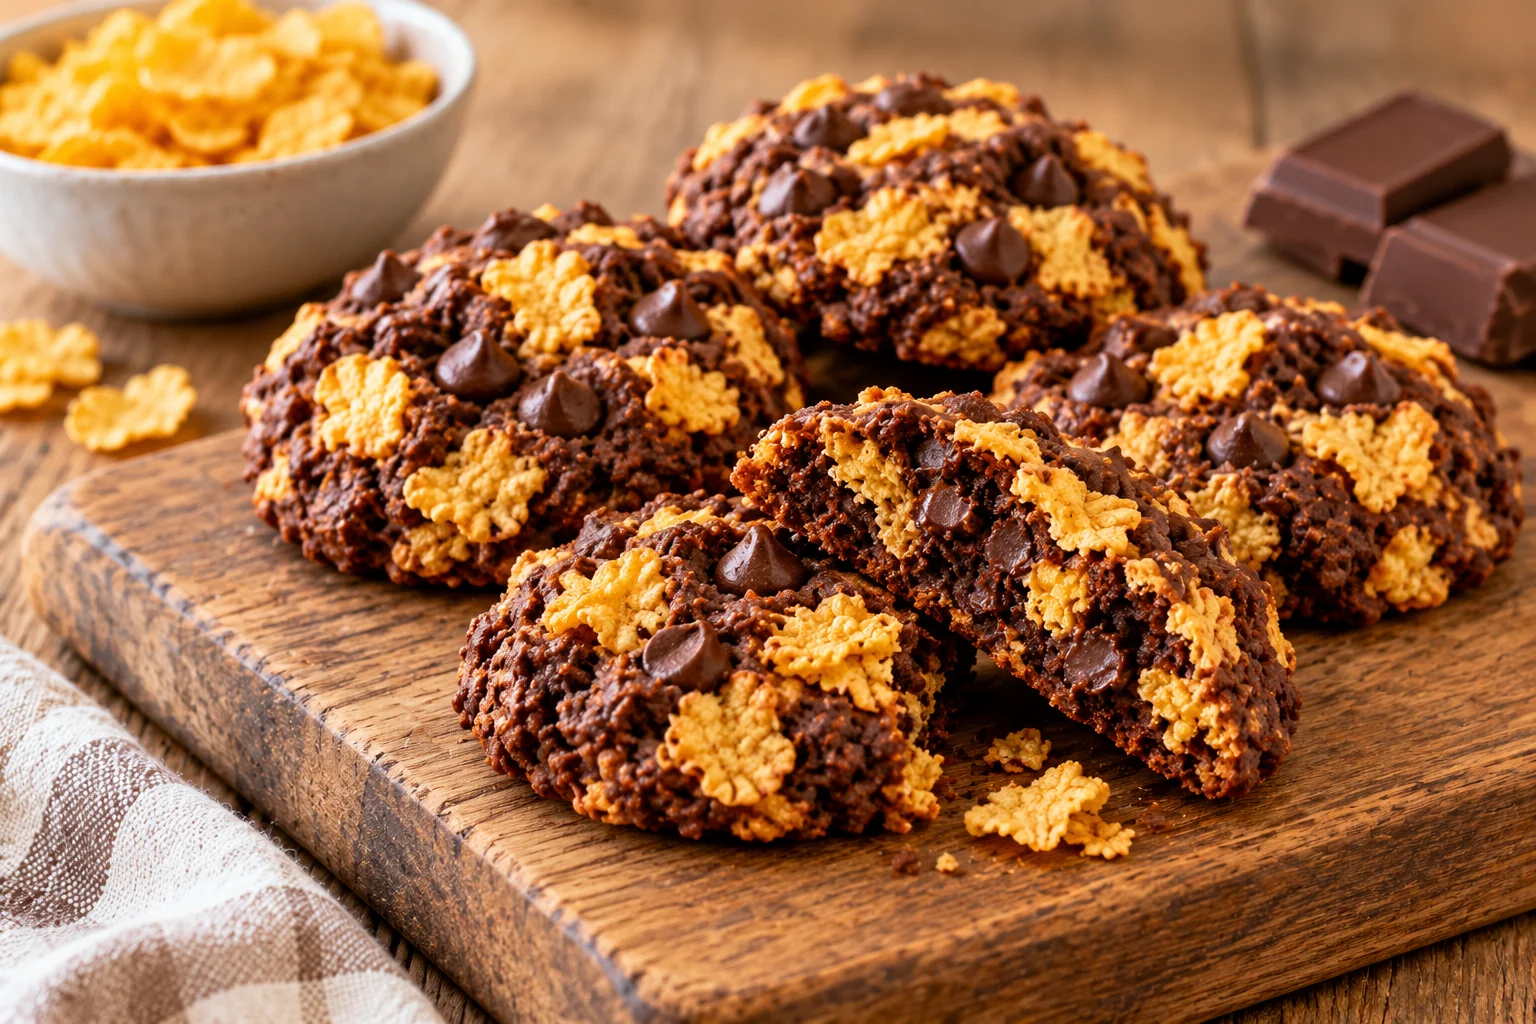
<ol class="no-list-style"> <li class="MethodStepper"> <h4 class="step-title">Step 1</h4> Preheat your oven to 180°C (160°C fan) and line two baking trays with parchment paper. Having your oven at the correct temperature is crucial for these cookies as it ensures they spread properly while maintaining their crisp texture. </li> <li class="MethodStepper"> <h4 class="step-title">Step 2</h4> In a large bowl, cream together the softened butter and caster sugar until light and fluffy, about 3-4 minutes. This extended beating incorporates air into the mixture, creating a lighter cookie texture and allows the sugar to begin dissolving into the butter. </li> <li class="MethodStepper"> <h4 class="step-title">Step 3</h4> Add the egg and vanilla extract to the butter mixture and beat until fully incorporated. The mixture might look slightly curdled at first, but continue mixing and it will come together beautifully. </li> <li class="MethodStepper"> <h4 class="step-title">Step 4</h4> In a separate bowl, sift together the flour, cocoa powder, baking powder, and salt. Sifting removes any lumps in the dry ingredients and helps aerate the flour for a better texture. </li> <li class="MethodStepper"> <h4 class="step-title">Step 5</h4> Gradually fold the dry ingredients into the wet mixture using a spatula or wooden spoon, mixing until just combined. Over-mixing will develop the gluten in the flour and result in tough cookies, so be gentle but thorough. </li> <li class="MethodStepper"> <h4 class="step-title">Step 6</h4> Add the chocolate chips and gently crush about half of the cornflakes slightly before folding them into the dough. The cornflakes should remain somewhat intact to provide that signature crunch, but breaking some helps them distribute evenly through the dough. </li> <li class="MethodStepper"> <h4 class="step-title">Step 7</h4> Using a tablespoon or cookie scoop, drop rounded portions of cookie dough onto the prepared baking sheets, leaving about 5cm between each to allow for spreading. Press a few additional cornflakes gently into the top of each cookie for visual appeal and extra crunch. </li> <li class="MethodStepper"> <h4 class="step-title">Step 8</h4> Bake in the preheated oven for 9-10 minutes. The cookies will still look slightly soft in the center – this is perfect! They'll firm up as they cool and this ensures a chewy center with crisp edges. If you prefer crispier cookies, bake for 1-2 minutes longer. </li> <li class="MethodStepper"> <h4 class="step-title">Step 9</h4> Allow the cookies to cool on the baking sheets for about 5 minutes before transferring them to a wire rack to cool completely. This resting period allows the cookies to set up properly – if moved too soon, they might break apart. </li> <li class="MethodStepper"> <h4 class="step-title">Step 10</h4> Once completely cooled, you can drizzle with melted milk chocolate if desired. This adds a beautiful finishing touch and enhances the chocolate flavor. Allow the chocolate to set before serving or storing. </li> <li class="MethodStepper"> <h4 class="step-title">Step 11</h4> Store your chocolate cornflake cookies in an airtight container at room temperature for up to 5 days. The contrast between the crisp cornflakes and the chewy cookie base is most pronounced in the first 2-3 days after baking. </li> </ol>