Directions
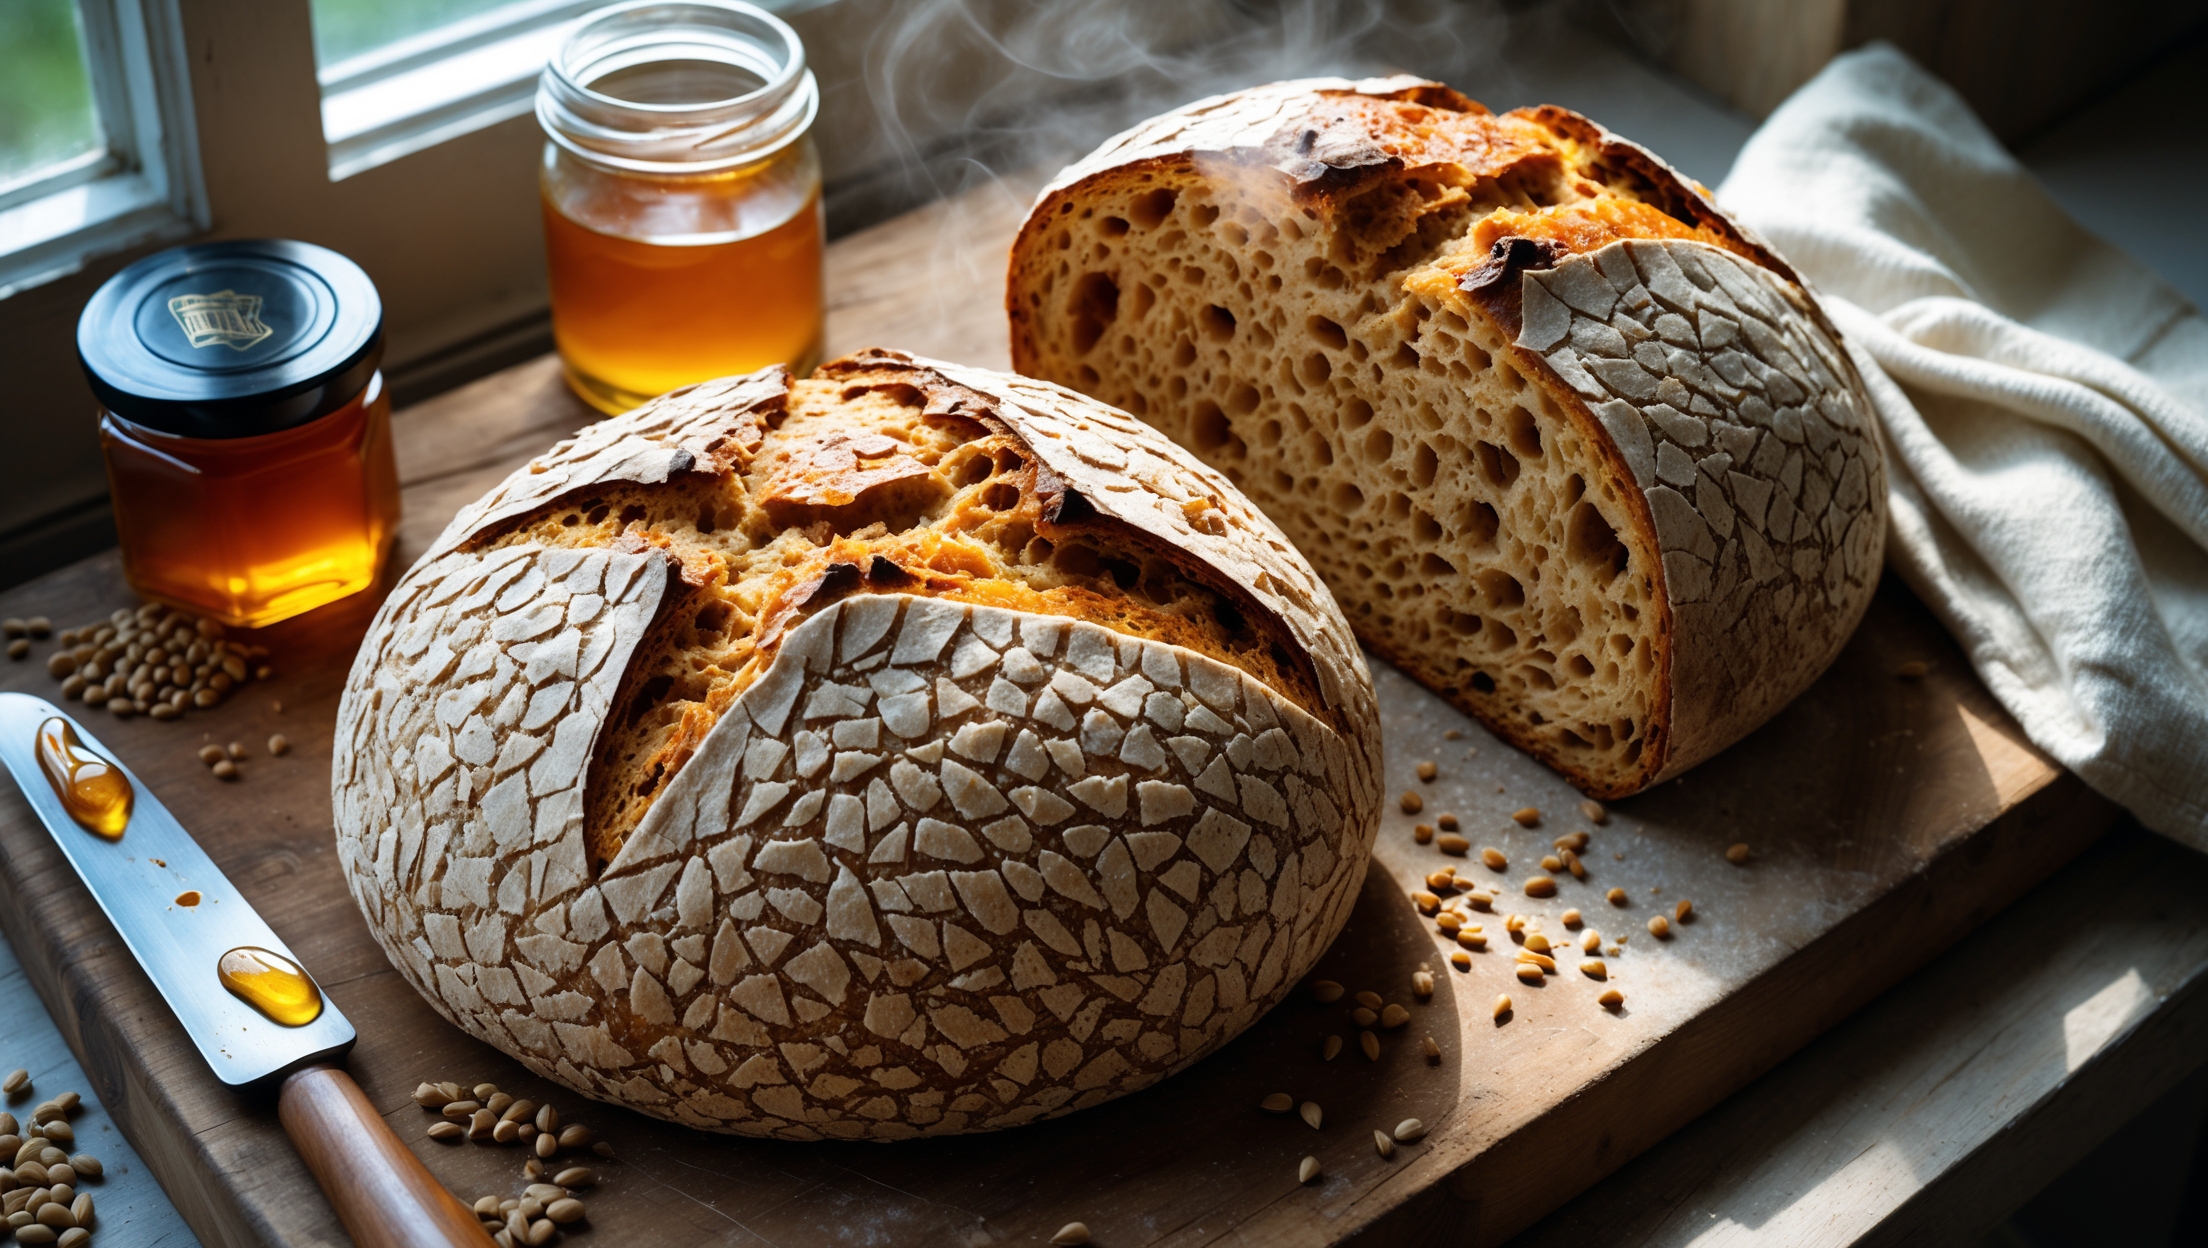
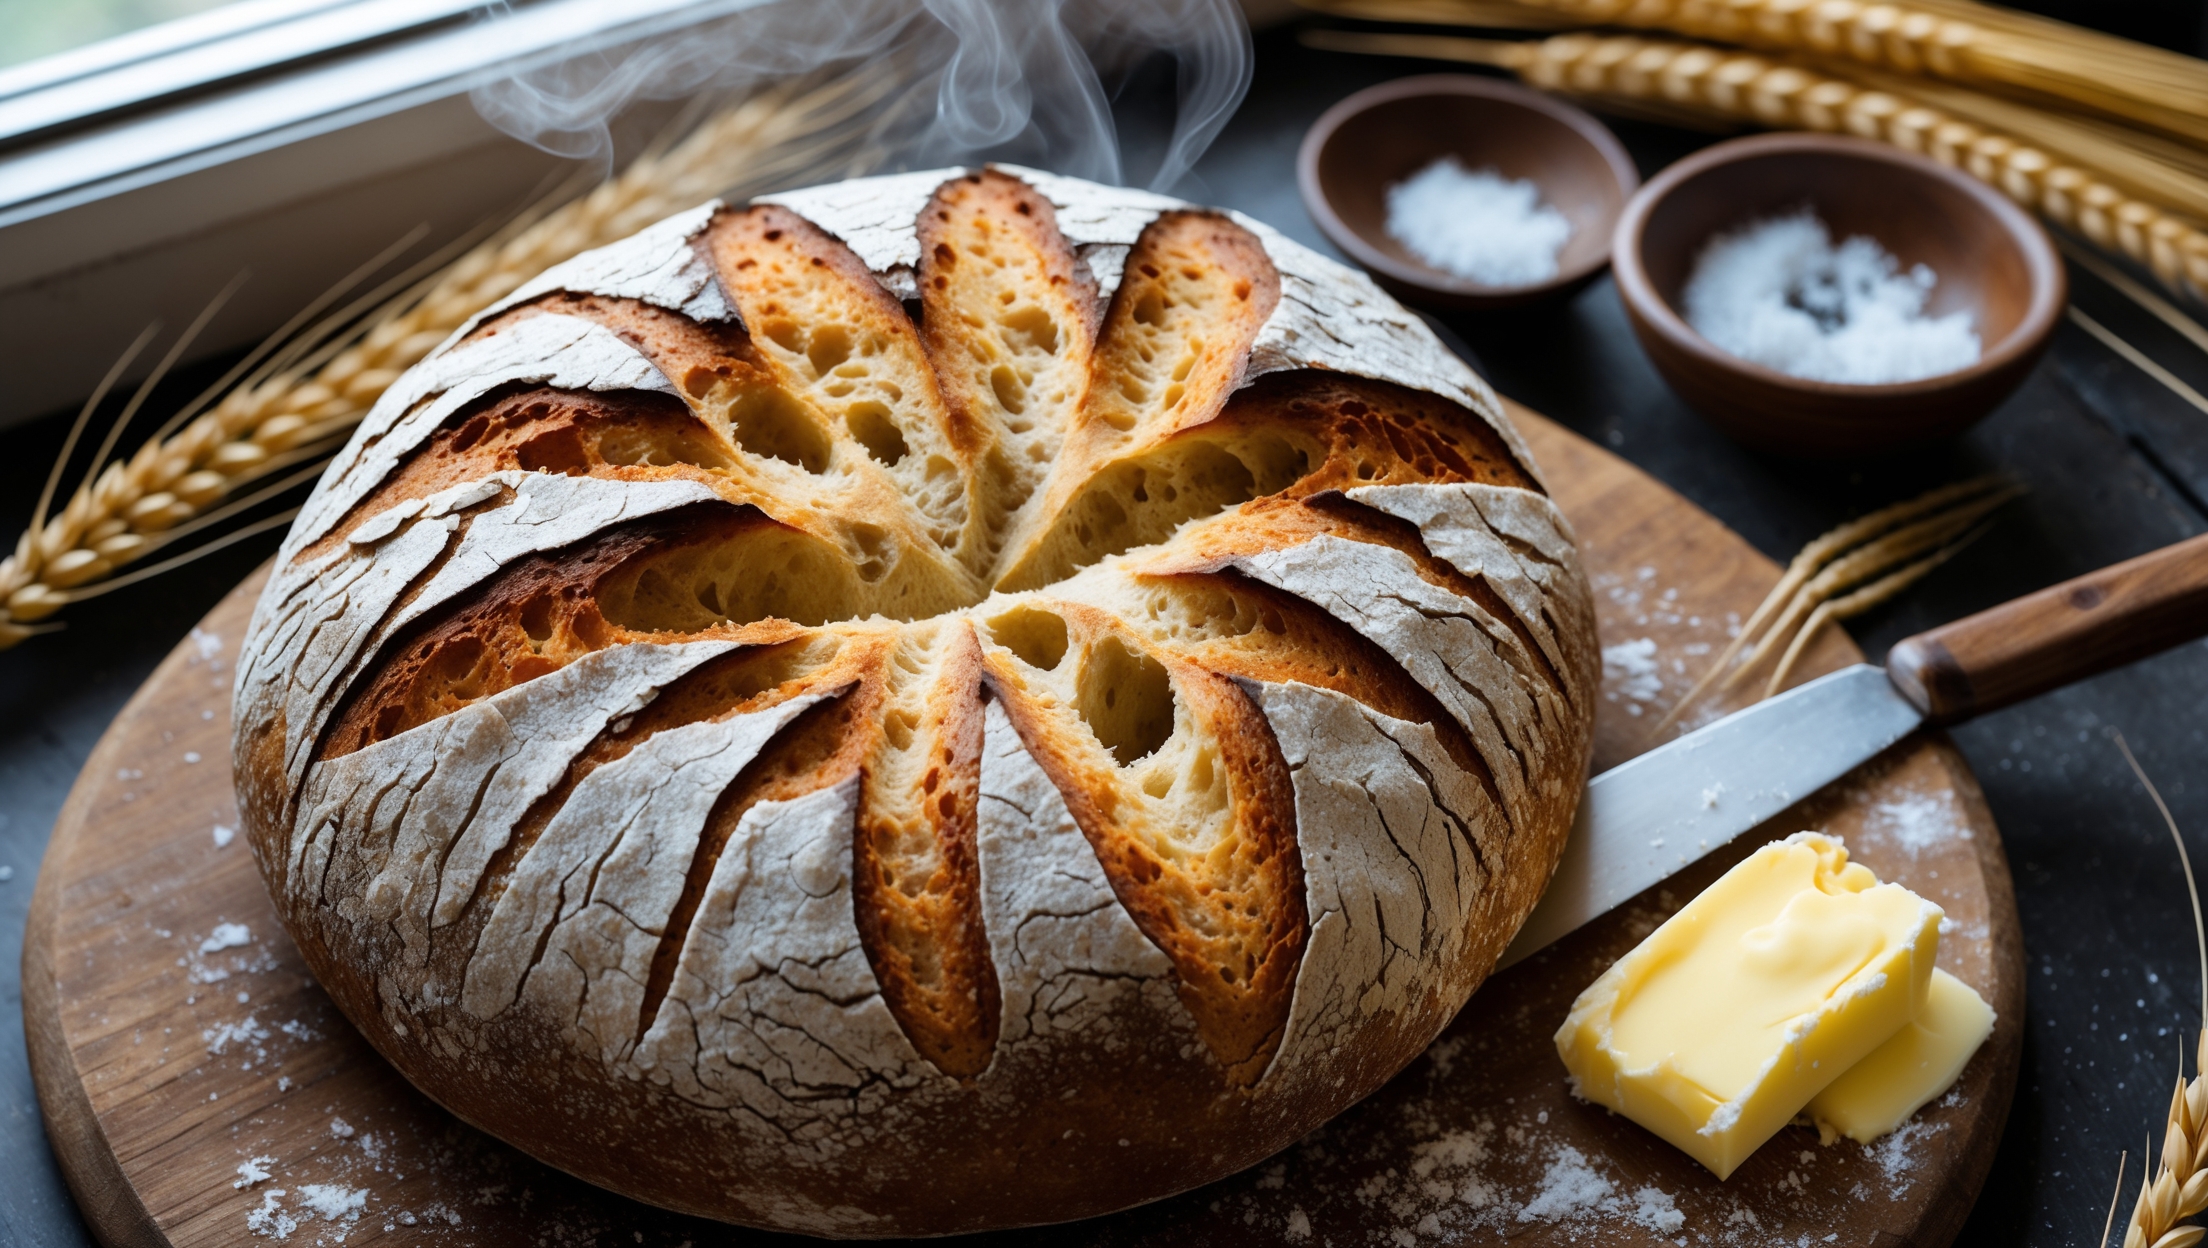
<ol class="no-list-style"><li class="MethodStepper"><h4 class="step-title">Step 1</h4>Begin by combining the lukewarm water (ensure it's around 38°C, warm but not hot to touch) with the fermented honey in a large mixing bowl. Stir until the honey dissolves, then sprinkle the yeast over this mixture. Allow it to sit for 10 minutes until foamy – this indicates your yeast is active and healthy. The natural enzymes in fermented honey help kickstart the fermentation process and add complexity to your bread's flavor.</li><li class="MethodStepper"><h4 class="step-title">Step 2</h4>In a separate bowl, combine all the flours, salt, and ground flaxseed. The variety of ancient grains creates a nutritionally dense bread with complex flavors that commercial wheat bread can't match. Whisk these dry ingredients thoroughly to ensure even distribution of salt and flours.</li><li class="MethodStepper"><h4 class="step-title">Step 3</h4>Add the apple cider vinegar to your yeast mixture – this helps create an environment where beneficial bacteria thrive during fermentation. Then gradually incorporate the flour mixture, stirring with a wooden spoon until a shaggy dough forms. The dough will look rough and uneven at this stage, which is perfect.</li><li class="MethodStepper"><h4 class="step-title">Step 4</h4>Add the softened butter in small pieces, working it into the dough with your fingers. Turn the dough onto a lightly floured surface and knead for about 8-10 minutes until it becomes smooth but still slightly tacky. The butter enriches the bread while helping to maintain moisture during the long fermentation. The dough should pass the window pane test – a small piece should stretch thin enough to see light through without tearing.</li><li class="MethodStepper"><h4 class="step-title">Step 5</h4>Soak the mixed ancient grain berries in warm water for 10 minutes, then drain thoroughly. Gently fold these into your dough, distributing them evenly. These whole grains will add delightful texture and nutritional benefits to your finished bread.</li><li class="MethodStepper"><h4 class="step-title">Step 6</h4>Place the dough in a clean, lightly oiled bowl, cover with plastic wrap or a damp kitchen towel, and leave at room temperature (about 20-22°C) for 2 hours until it begins to rise. Then transfer to the refrigerator for 10-14 hours overnight. This slow, cold fermentation develops complex flavors, improves digestibility, and breaks down phytic acid in the grains, making nutrients more bioavailable.</li><li class="MethodStepper"><h4 class="step-title">Step 7</h4>The next morning, remove the dough from the refrigerator and let it sit at room temperature for 1 hour. Meanwhile, place your Dutch oven with the lid on in the oven and preheat to 240°C. The preheated Dutch oven creates steam that gives your bread an amazing crust.</li><li class="MethodStepper"><h4 class="step-title">Step 8</h4>Gently turn the dough onto a lightly floured surface, being careful not to deflate it too much. Shape it into a tight round by pulling the edges toward the center, then flip it over and use your hands to rotate it while applying gentle pressure to create surface tension. Place it seam-side up in a proofing basket or bowl lined with a well-floured cloth.</li><li class="MethodStepper"><h4 class="step-title">Step 9</h4>Let the dough rise at room temperature for another 45-60 minutes until it has noticeably expanded but not quite doubled. It should feel puffy and spring back slowly when gently pressed with a finger, leaving a slight indentation.</li><li class="MethodStepper"><h4 class="step-title">Step 10</h4>When ready to bake, carefully remove the hot Dutch oven from the oven. Turn your dough out onto a piece of parchment paper (seam-side down), score the top with a lame or sharp knife to allow for expansion, and quickly transfer it using the parchment paper into the hot Dutch oven. The scoring pattern is both functional and decorative – a simple cross or curved slash works beautifully.</li><li class="MethodStepper"><h4 class="step-title">Step 11</h4>Cover with the lid and return to the oven. Reduce the temperature to 220°C and bake for 25 minutes with the lid on. This creates steam that helps develop a beautiful crust. Then remove the lid and bake for another 15-20 minutes until the bread is deeply golden and sounds hollow when tapped on the bottom. An internal temperature of 96-98°C indicates it's fully baked.</li><li class="MethodStepper"><h4 class="step-title">Step 12</h4>Transfer to a wire rack and resist the temptation to cut into it immediately! Allow the bread to cool completely for at least 2 hours – this resting period is crucial as it allows the crumb to set and flavors to develop fully. Cutting too soon will result in a gummy texture. Once cooled, your Fermented Honey and Ancient Grain Breakfast Bread will keep for 3-4 days in a bread bag or wrapped in a clean kitchen towel, or freeze slices for up to 3 months.</li></ol>