Directions
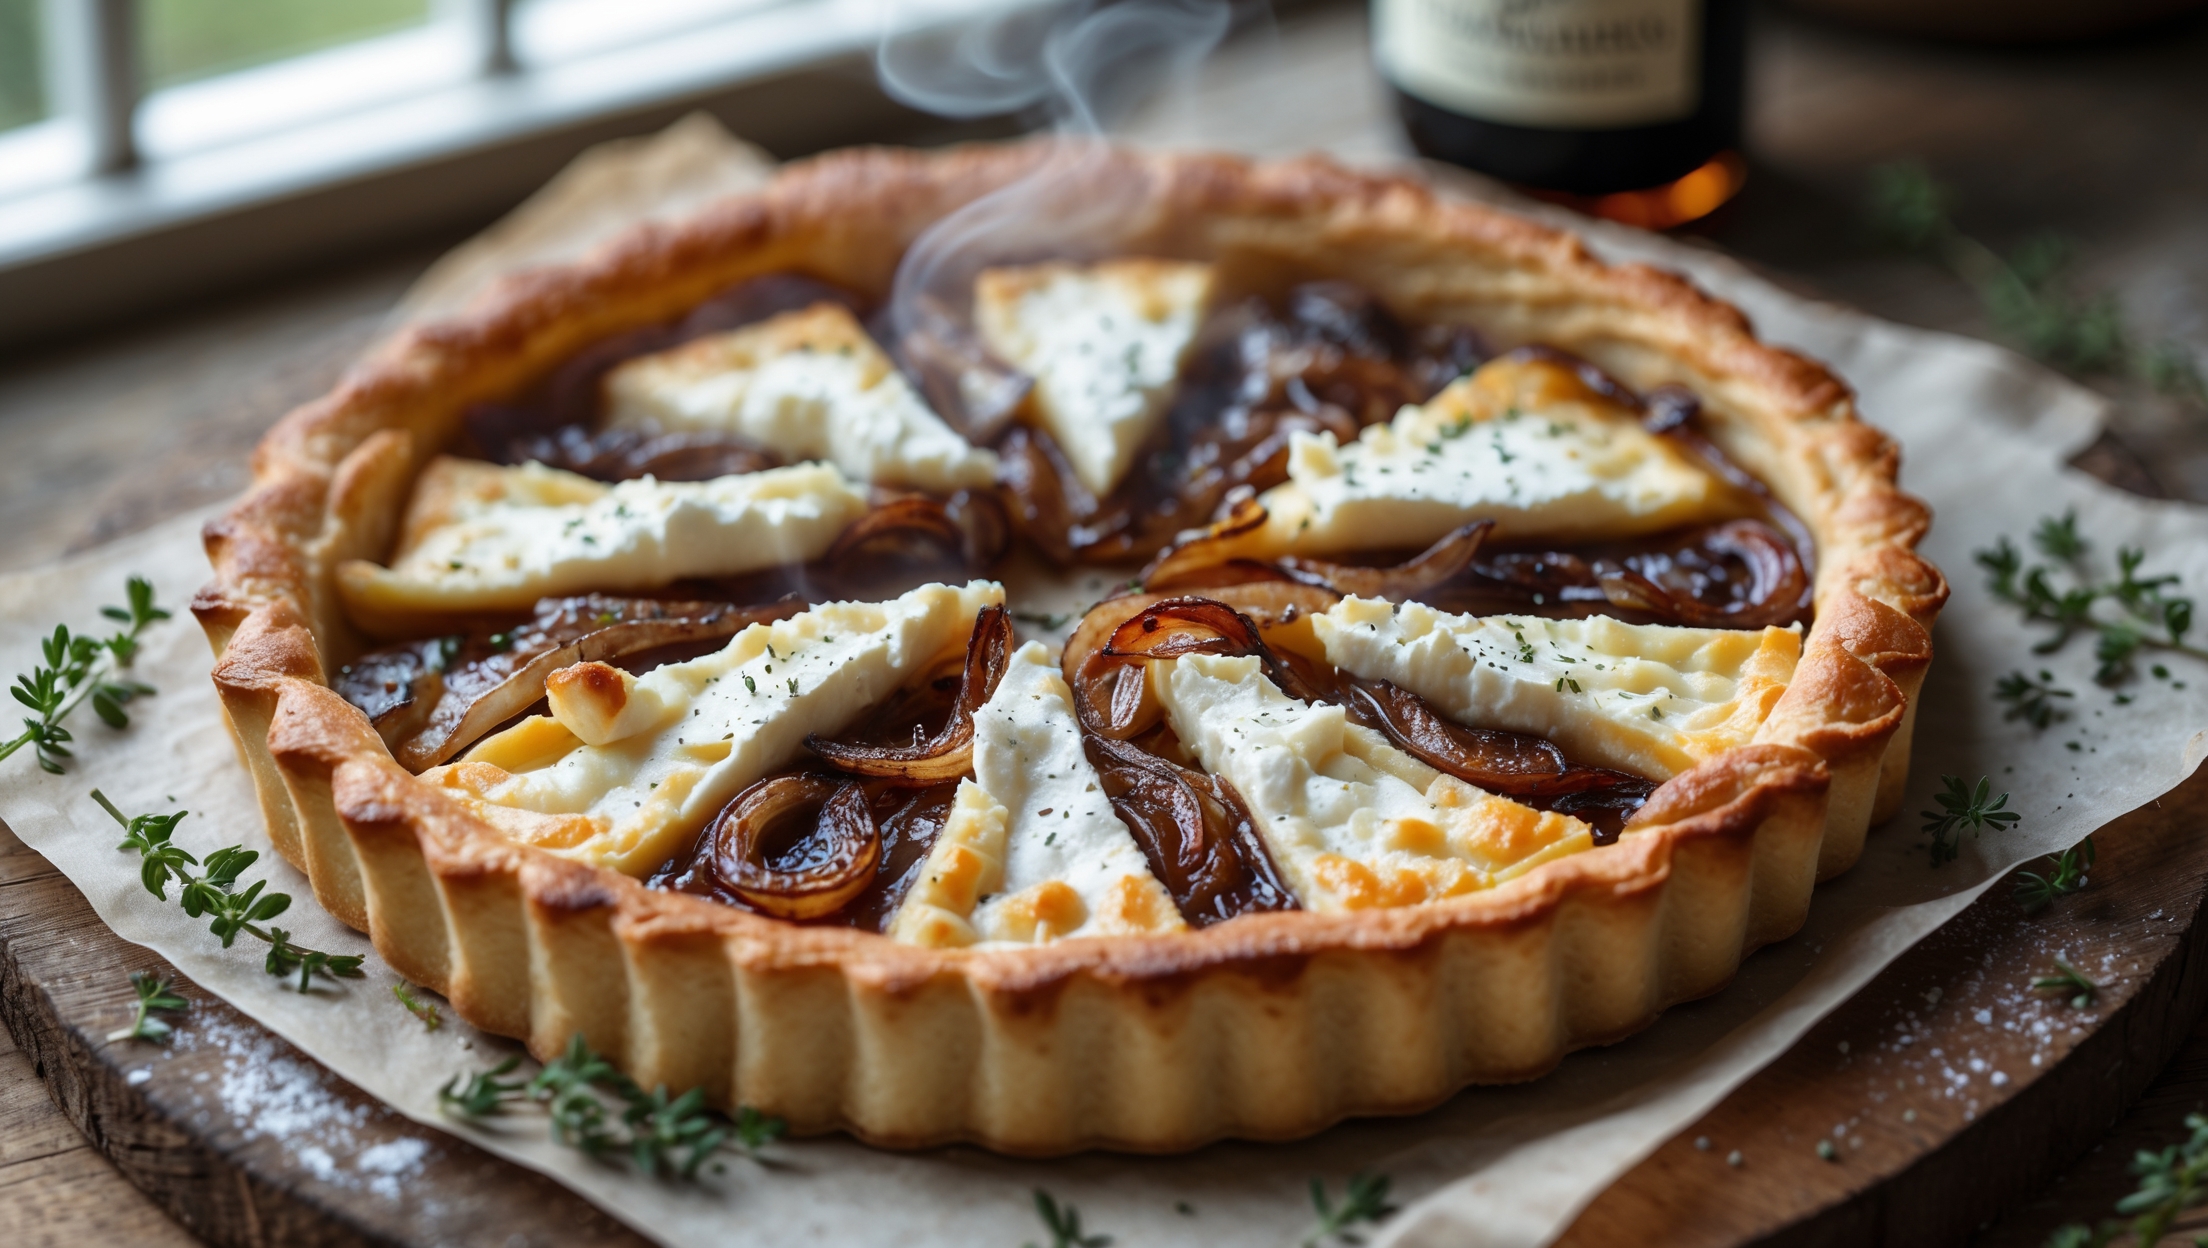
<ol class="no-list-style"><li class="MethodStepper"><h4 class="step-title">Step 1</h4>Begin by making the pastry. Place the flour and salt in a food processor (or a large bowl if working by hand). Add the cold cubed butter and pulse until the mixture resembles breadcrumbs. The cold butter is essential as it creates steam pockets during baking, resulting in a flaky texture.</li><li class="MethodStepper"><h4 class="step-title">Step 2</h4>Gradually add the ice-cold water, 1 tablespoon at a time, pulsing between additions until the dough just begins to come together. Be careful not to add too much water or overwork the dough, which can make the pastry tough rather than tender.</li><li class="MethodStepper"><h4 class="step-title">Step 3</h4>Turn the dough onto a lightly floured surface and gently shape into a disc without kneading. Wrap in cling film and refrigerate for at least 30 minutes. This resting period allows the gluten to relax and the butter to firm up, preventing shrinkage during baking.</li><li class="MethodStepper"><h4 class="step-title">Step 4</h4>While the pastry chills, prepare the caramelized onions. Heat the olive oil and butter in a large, heavy-bottomed pan over medium-low heat. Add the thinly sliced onions with a pinch of salt and stir to coat. Cook slowly for about 40-45 minutes, stirring occasionally to prevent burning. Patience is key – proper caramelization cannot be rushed as the slow cooking develops the complex sweet flavors.</li><li class="MethodStepper"><h4 class="step-title">Step 5</h4>When the onions have reduced significantly and turned a deep golden-amber color, add the brown sugar, balsamic vinegar, and thyme. Cook for another 5 minutes until the mixture is jammy. The sugar and vinegar help to deglaze the pan and add depth to the caramelization. Remove from heat and let cool slightly.</li><li class="MethodStepper"><h4 class="step-title">Step 6</h4>Preheat your oven to 190°C (170°C fan/gas mark 5). Roll out the chilled pastry on a lightly floured surface to about 3mm thickness, making it large enough to line your tart tin with some overhang. The thin pastry will cook evenly and remain crisp under the moist filling.</li><li class="MethodStepper"><h4 class="step-title">Step 7</h4>Carefully lift the pastry into your tart tin, pressing it gently into the corners without stretching. Trim the excess, leaving a small overhang to allow for shrinkage. Prick the base all over with a fork (this prevents air bubbles), then line with baking parchment and fill with baking beans or rice.</li><li class="MethodStepper"><h4 class="step-title">Step 8</h4>Blind bake the pastry case for 15 minutes, then remove the beans and parchment and bake for a further 5-7 minutes until the base is lightly golden but not fully cooked. This partial baking ensures the bottom doesn't become soggy when filled.</li><li class="MethodStepper"><h4 class="step-title">Step 9</h4>While the pastry is baking, prepare the custard mixture. In a bowl, whisk together the eggs and cream. Crumble in about two-thirds of the goat cheese, season with salt and pepper, and mix gently. The eggs provide structure to the filling while the cream adds richness.</li><li class="MethodStepper"><h4 class="step-title">Step 10</h4>When the pastry case is ready, spread the caramelized onions evenly over the base. Pour the egg and cream mixture over the onions, then crumble the remaining goat cheese on top. The layering ensures beautiful distribution of flavors throughout each slice.</li><li class="MethodStepper"><h4 class="step-title">Step 11</h4>Reduce the oven temperature to 180°C (160°C fan/gas mark 4) and bake the tart for 25-30 minutes until the filling is set with a slight wobble in the center and the top is golden brown. The lower temperature ensures the custard cooks gently without curdling.</li><li class="MethodStepper"><h4 class="step-title">Step 12</h4>Allow the tart to cool in the tin for 10-15 minutes before removing. This cooling period helps the filling to set completely, making it easier to get clean slices. Serve warm or at room temperature with a light green salad. The tart can be made a day ahead and gently reheated, making it perfect for entertaining.</li></ol>