Dark Chocolate and Orange Tart Recipe

A silky, bittersweet dark chocolate ganache infused with bright orange zest, nestled in a buttery shortcrust pastry that shatters delicately with each indulgent bite.
Difficulty:
Intermediate
Prep Time:
40 mins
Cook Time:
30 mins
Serves:
1 tart (10 slices)
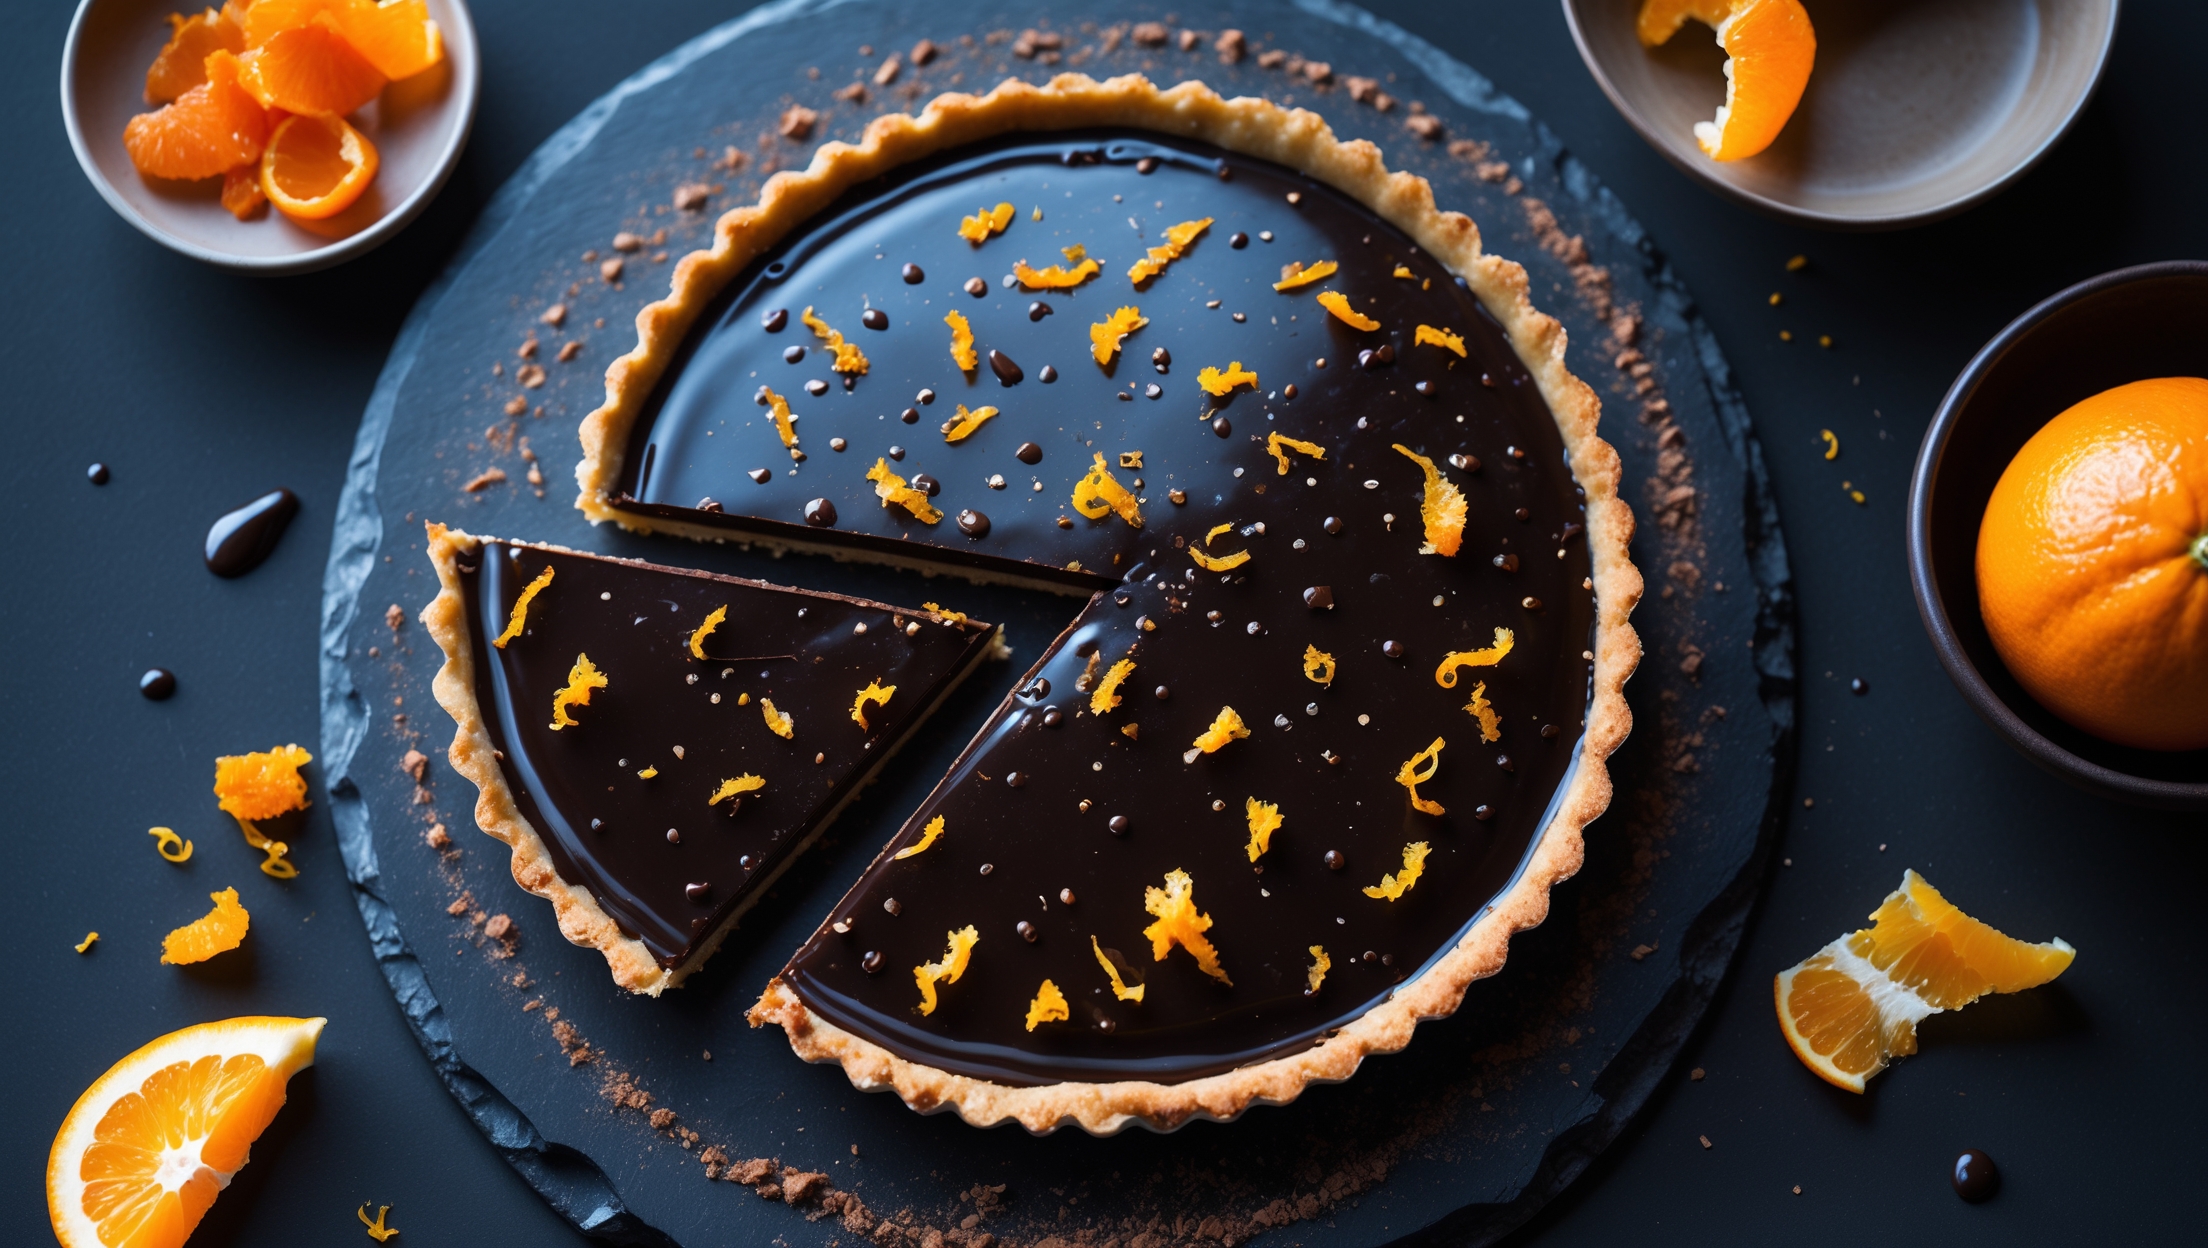
Overhead shot of a glossy dark chocolate tart with vibrant orange zest scattered across its mirror-like surface, captured in soft natural light. A single slice has been removed, revealing the perfect contrast between the crisp golden pastry and the velvety chocolate filling. The tart rests on a textured slate serving board alongside a small bowl of candied orange peel and a partially peeled fresh orange. Droplets of orange oil glisten on the chocolate surface, while a light dusting of cocoa powder softens the edges, creating a moody, sophisticated composition that highlights the tart's decadent texture and the aromatic marriage of citrus and chocolate.

Ingredients

<ul class="ingredients-main-list"><li class="ingredients-single-item">For the pastry:</li><li class="ingredients-single-item">200g plain flour</li><li class="ingredients-single-item">100g cold unsalted butter, cubed</li><li class="ingredients-single-item">30g icing sugar</li><li class="ingredients-single-item">1 large egg yolk</li><li class="ingredients-single-item">2-3 tbsp ice-cold water</li><li class="ingredients-single-item">Pinch of salt</li><li class="ingredients-single-item">For the filling:</li><li class="ingredients-single-item">300g high-quality dark chocolate (70% cocoa solids), chopped</li><li class="ingredients-single-item">300ml double cream</li><li class="ingredients-single-item">50g unsalted butter, softened</li><li class="ingredients-single-item">75g caster sugar</li><li class="ingredients-single-item">Zest of 2 oranges</li><li class="ingredients-single-item">2 tbsp orange juice</li><li class="ingredients-single-item">1 tsp orange extract (optional, for stronger flavor)</li><li class="ingredients-single-item">For decoration:</li><li class="ingredients-single-item">Extra orange zest</li><li class="ingredients-single-item">Candied orange peel (optional)</li><li class="ingredients-single-item">Cocoa powder for dusting</li></ul>

Equipment

<ul class="equipment-main-list"><li class="equipment-single-item">23cm loose-bottomed tart tin</li><li class="equipment-single-item">Baking beans or rice (for blind baking)</li><li class="equipment-single-item">Microplane or fine grater</li><li class="equipment-single-item">Food processor (optional)</li></ul>
BAKE SMARTER

Kitchen Converter

Quickly switch between common baking units without leaving the recipe.

Convert
Result—

Volume uses US cups, tablespoons, and teaspoons. Converting weight to volume depends on the ingredient.

Directions

<ol class="no-list-style"><li class="MethodStepper"><h4 class="step-title">Step 1</h4>Start by making the pastry. If using a food processor, pulse the flour, icing sugar and salt together briefly. Add the cold cubed butter and pulse until the mixture resembles breadcrumbs (this creates tiny pockets of butter that will make your pastry flaky). If making by hand, rub the butter into the dry ingredients using your fingertips until you achieve the same breadcrumb texture.</li><li class="MethodStepper"><h4 class="step-title">Step 2</h4>Add the egg yolk and 2 tablespoons of ice-cold water, mixing until the dough just comes together (cold ingredients are crucial for a crisp pastry as they prevent the butter from melting before baking). Add the remaining tablespoon of water only if needed. The dough should be soft but not sticky.</li><li class="MethodStepper"><h4 class="step-title">Step 3</h4>Form the dough into a disc, wrap in cling film, and refrigerate for at least 30 minutes. This resting period allows the gluten to relax, preventing your pastry from shrinking during baking.</li><li class="MethodStepper"><h4 class="step-title">Step 4</h4>Preheat your oven to 180°C (160°C fan). Roll the chilled pastry on a lightly floured surface to about 3mm thickness, creating a circle large enough to line your tart tin with some overhang. Work quickly to keep the butter cold.</li><li class="MethodStepper"><h4 class="step-title">Step 5</h4>Carefully drape the pastry over your rolling pin and transfer it to the tart tin. Press it gently into the corners without stretching it (stretching causes shrinkage). Trim any excess, leaving a slight overhang which you can neaten after blind baking. Prick the base all over with a fork to prevent air bubbles.</li><li class="MethodStepper"><h4 class="step-title">Step 6</h4>Line the pastry case with baking paper and fill with baking beans or rice. Blind bake for 15 minutes, then remove the paper and beans and bake for a further 5-8 minutes until the pastry is golden and crisp. The blind baking ensures your pastry is fully cooked before adding the wet filling. Allow to cool completely in the tin, then trim any uneven edges with a sharp knife.</li><li class="MethodStepper"><h4 class="step-title">Step 7</h4>For the filling, place the chopped chocolate in a large heatproof bowl. In a saucepan, heat the cream until it just starts to simmer (small bubbles appear around the edge) – don't boil it as this can affect the texture of your ganache.</li><li class="MethodStepper"><h4 class="step-title">Step 8</h4>Pour the hot cream over the chocolate and let it sit for 1 minute without stirring (this initial melting period ensures a smoother ganache). Then gently stir with a spatula until the chocolate has completely melted and the mixture is smooth and glossy.</li><li class="MethodStepper"><h4 class="step-title">Step 9</h4>Add the softened butter and stir until incorporated – the butter adds shine and creates a softer set to your ganache. Stir in the sugar, orange zest, juice, and extract if using. The acidity in the orange juice helps to cut through the richness of the chocolate, creating a balanced flavor profile.</li><li class="MethodStepper"><h4 class="step-title">Step 10</h4>Pour the ganache mixture into the cooled pastry case and gently tap the tin on the counter to remove any air bubbles. Refrigerate for at least 3 hours or until set. The ganache needs time to firm up completely – patience here is rewarded with the perfect slice!</li><li class="MethodStepper"><h4 class="step-title">Step 11</h4>Before serving, allow the tart to sit at room temperature for 15-20 minutes to soften slightly for the best flavor and texture. Cold chocolate mutes flavor, while room temperature chocolate allows the orange notes to shine through.</li><li class="MethodStepper"><h4 class="step-title">Step 12</h4>Decorate with additional orange zest, candied orange peel if using, and a light dusting of cocoa powder. Serve with a dollop of lightly whipped cream if desired. The tart will keep in the refrigerator for up to 3 days, though the pastry may soften slightly over time.</li></ol>
Nutrition Facts (per serving)

🍽️ Serving Size: 1 slice
🔥 Calories: 425 calories
🥑 Fat: 32 g
🧈 Saturated Fat: 19 g
🍞 Carbohydrates: 34 g
🍭 Sugar: 22 g
🍗 Protein: 5 g
🫀 Cholesterol: 105 mg
🧂 Sodium: 110 mg

Chef’s Notes

A few helpful details for making this recipe.

Why does my chocolate ganache sometimes split or become grainy?

Ganache typically splits due to temperature issues. Ensure your chocolate and cream aren't too hot, and add them together gradually. If it does split, gently warm the mixture while whisking, or add a splash of warm cream and stir until smooth. Using high-quality chocolate with sufficient cocoa butter also helps prevent graininess.

Can I make this chocolate dessert in advance for a dinner party?

Yes, this tart is perfect for preparing ahead! Make it up to 3 days in advance and store in the refrigerator. For the best texture and flavour, remove from the fridge 15-20 minutes before serving. The flavours actually develop and improve after a day, making it an excellent stress-free dinner party dessert.

What's the secret to a perfectly crisp tart base that doesn't go soggy?

The key is thorough blind baking until the pastry is completely cooked and golden. Ensure your pastry is cold before baking, prick the base with a fork, and use baking beans. For extra protection, you can brush the inside with egg white after blind baking and return to the oven for 1 minute – this creates a moisture barrier.

Want to try something else in ...

More recipes you might like

Keep exploring with more recipes from What's Baking.