Directions
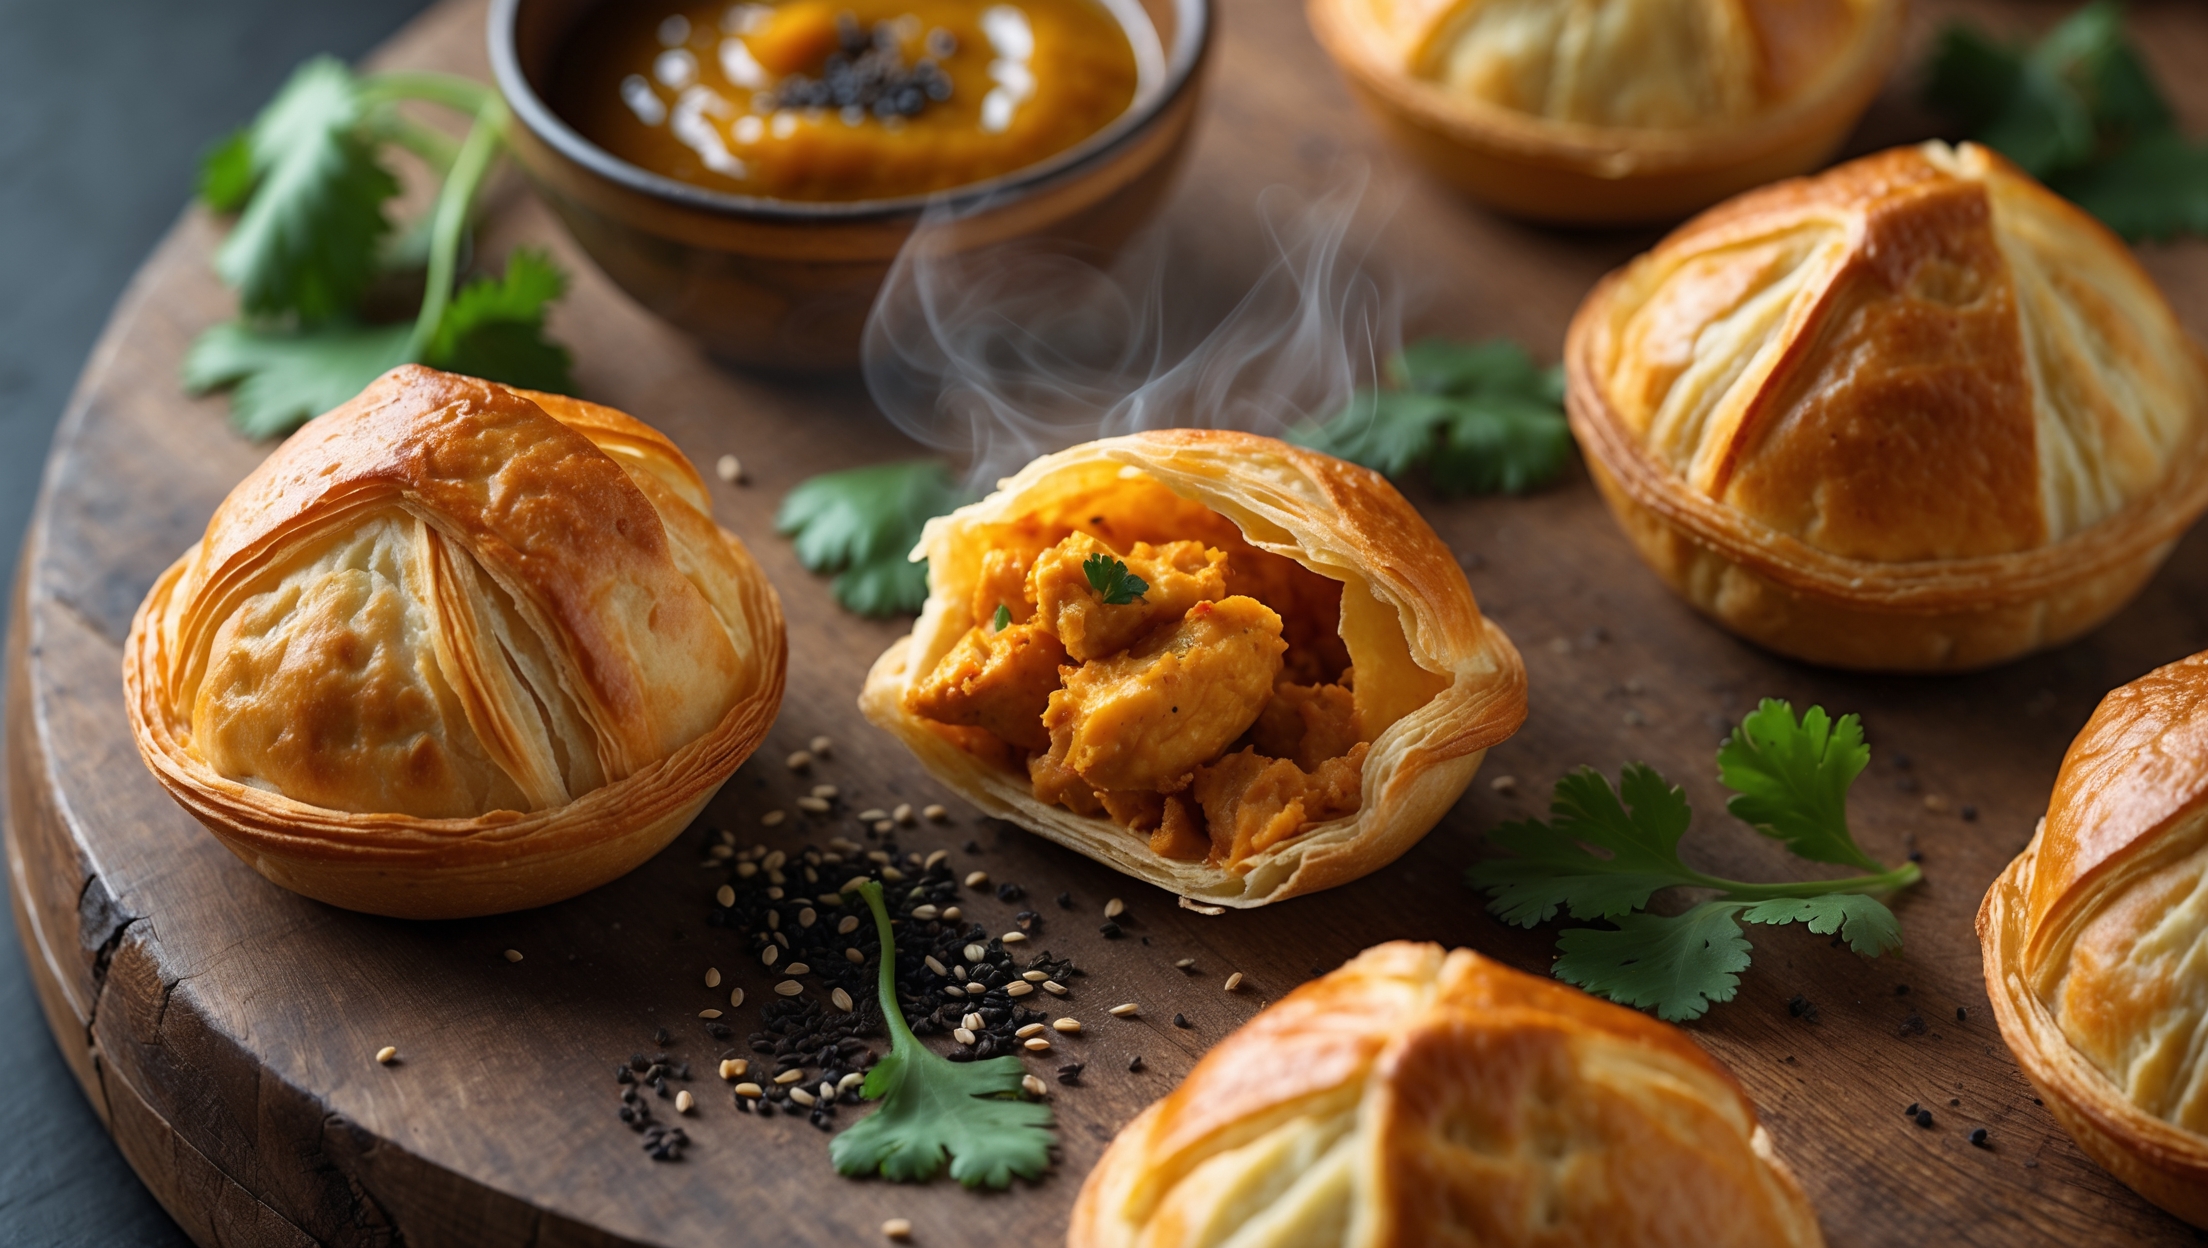
<ol class="no-list-style"><li class="MethodStepper"><h4 class="step-title">Step 1</h4>Remove your puff pastry from the refrigerator 20 minutes before starting to allow it to slightly soften. This makes it easier to handle without compromising the all-important butter layers that create flakiness.</li><li class="MethodStepper"><h4 class="step-title">Step 2</h4>Heat vegetable oil in a large frying pan over medium heat. Add the finely diced onion and cook for 4-5 minutes until soft and translucent. Add the garlic and cook for another minute until fragrant, being careful not to let it brown as this can create bitterness.</li><li class="MethodStepper"><h4 class="step-title">Step 3</h4>Add the curry powder, cumin, turmeric, and cayenne pepper (if using) to the pan. Cook the spices for about 1 minute, stirring constantly – this "blooms" the spices, releasing their essential oils and deepening their flavor profile.</li><li class="MethodStepper"><h4 class="step-title">Step 4</h4>Add the diced cooked chicken to the pan and stir to coat with the spice mixture. Pour in the coconut milk and stir well. Simmer for 5 minutes until the sauce begins to thicken around the chicken. The mixture should be moist but not watery.</li><li class="MethodStepper"><h4 class="step-title">Step 5</h4>Add the frozen peas and cook for another 2 minutes. Remove from heat and stir in the fresh coriander and lemon juice. Season with salt and pepper to taste. Transfer the filling to a bowl and allow to cool completely – a warm filling will melt the butter in your pastry, preventing proper lamination and flakiness.</li><li class="MethodStepper"><h4 class="step-title">Step 6</h4>Preheat your oven to 200°C (180°C fan-forced) and line a baking tray with parchment paper. On a lightly floured surface, roll out the puff pastry until it's about 3mm thick. Using a 10cm round cookie cutter, cut out as many circles as possible.</li><li class="MethodStepper"><h4 class="step-title">Step 7</h4>Place about 1-1.5 tablespoons of filling in the center of each pastry circle, being careful not to overfill or get filling too close to the edges. Brush the edges with beaten egg to help them seal.</li><li class="MethodStepper"><h4 class="step-title">Step 8</h4>Fold the pastry over to create a half-moon shape. Press the edges firmly to seal, then crimp with a fork to create a decorative edge and ensure they're completely sealed. Proper sealing prevents filling from leaking during baking, which can prevent proper puffing.</li><li class="MethodStepper"><h4 class="step-title">Step 9</h4>Transfer the puffs to the prepared baking tray, spacing them about 2cm apart. Brush the tops generously with beaten egg (this creates that beautiful golden sheen) and sprinkle with nigella or sesame seeds.</li><li class="MethodStepper"><h4 class="step-title">Step 10</h4>Bake in the preheated oven for 20-25 minutes, or until the pastry is puffed and golden brown. The layers should visibly separate as they bake, creating that characteristic flaky texture. If some puffs are browning faster than others, rotate the tray halfway through baking.</li><li class="MethodStepper"><h4 class="step-title">Step 11</h4>Remove from the oven and let cool on the baking tray for 5 minutes before transferring to a wire rack. This brief resting period allows the filling to set slightly and prevents soggy bottoms. Serve warm or at room temperature – these puffs make delightful appetizers or pair wonderfully with a fresh salad for a light meal. They can be stored in an airtight container in the refrigerator for up to 3 days and reheated in a 160°C oven for 10 minutes until warmed through.</li></ol>