Coconut Cream Pie Recipe

This tropical delight showcases a buttery crust filled with silky coconut custard, topped with billowy whipped cream and toasted coconut flakes for the perfect balance of crisp, creamy, and nutty flavors.
Difficulty:
Intermediate
Prep Time:
30 mins
Cook Time:
40 mins
Serves:
1 pie (8 slices)
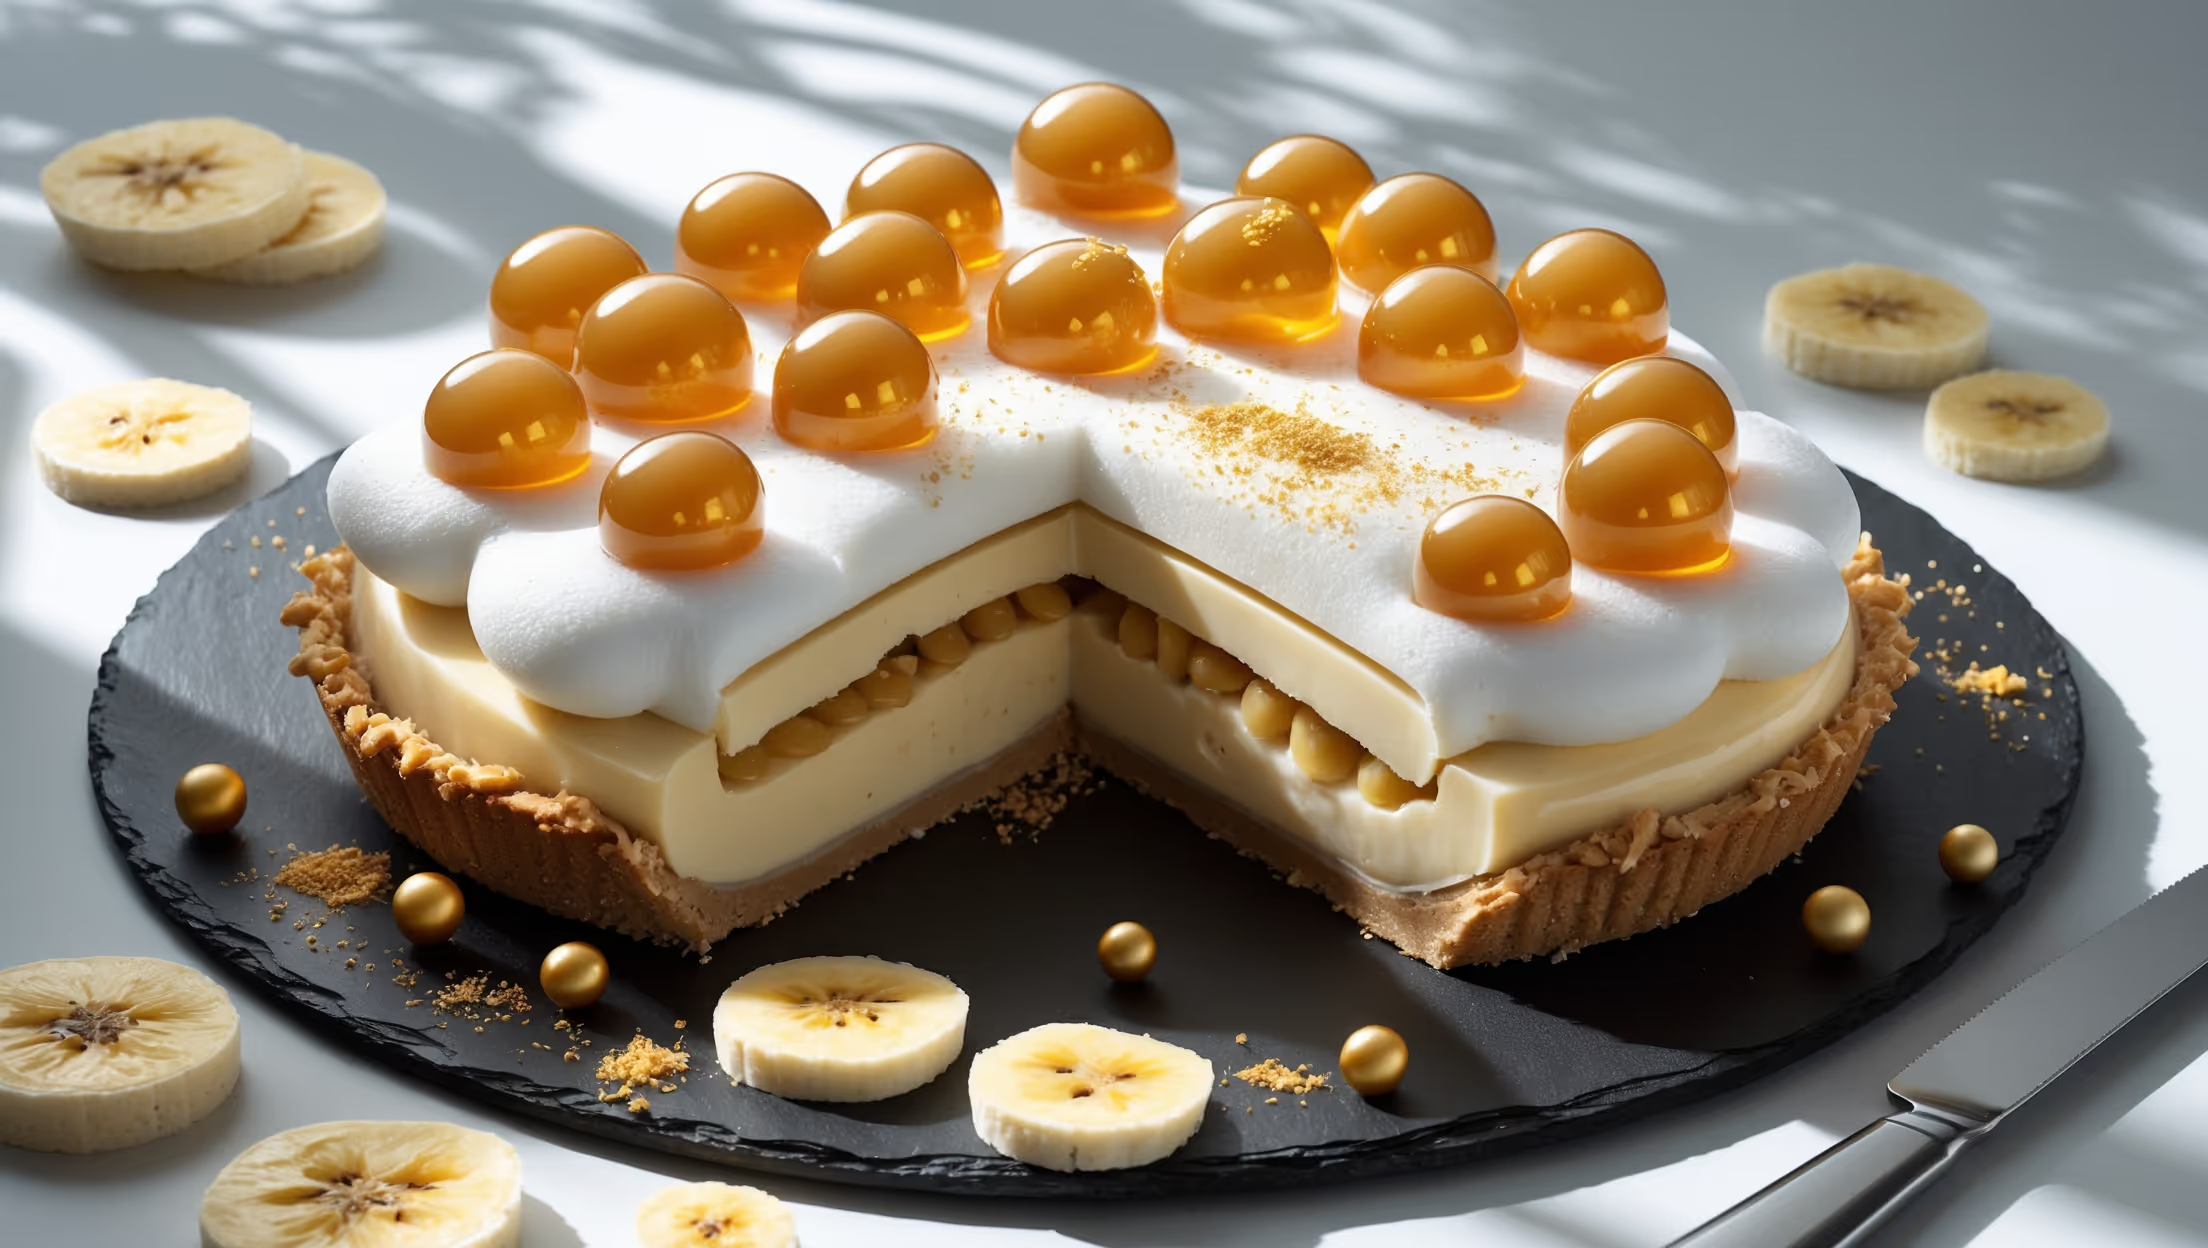
An overhead shot of a perfectly sliced coconut cream pie reveals its beautiful layers - a golden-brown flaky crust supporting a velvety coconut custard filling topped with pillowy whipped cream. The pie sits on a vintage glass cake stand against a light blue linen, with coconut flakes toasted to various shades of golden brown scattered across the cream. A cross-section view shows the distinct layers with the creamy filling holding its shape perfectly. Natural window light creates subtle shadows that highlight the pie's textures, while a few whole coconuts and scattered coconut shavings frame the composition, emphasizing the main ingredient.

Ingredients

<ul class="ingredients-main-list"><li class="ingredients-single-item">For the crust:</li><li class="ingredients-single-item">200g all-purpose flour</li><li class="ingredients-single-item">1/4 tsp salt</li><li class="ingredients-single-item">2 tbsp granulated sugar</li><li class="ingredients-single-item">115g cold unsalted butter, cubed</li><li class="ingredients-single-item">3-4 tbsp ice-cold water</li><li class="ingredients-single-item">For the coconut filling:</li><li class="ingredients-single-item">400ml full-fat coconut milk</li><li class="ingredients-single-item">250ml whole milk</li><li class="ingredients-single-item">100g granulated sugar</li><li class="ingredients-single-item">1/4 tsp salt</li><li class="ingredients-single-item">4 large egg yolks</li><li class="ingredients-single-item">45g cornstarch</li><li class="ingredients-single-item">25g unsalted butter</li><li class="ingredients-single-item">1 tsp vanilla extract</li><li class="ingredients-single-item">100g sweetened shredded coconut</li><li class="ingredients-single-item">For the topping:</li><li class="ingredients-single-item">300ml heavy cream (double cream)</li><li class="ingredients-single-item">3 tbsp powdered sugar</li><li class="ingredients-single-item">1 tsp vanilla extract</li><li class="ingredients-single-item">50g toasted coconut flakes</li></ul>

Equipment

<ul class="equipment-main-list"><li class="equipment-single-item">23cm (9-inch) pie dish</li><li class="equipment-single-item">Rolling pin</li><li class="equipment-single-item">Pie weights or dried beans</li><li class="equipment-single-item">Medium saucepan</li><li class="equipment-single-item">Fine mesh sieve</li><li class="equipment-single-item">Stand mixer or electric hand mixer</li></ul>
BAKE SMARTER

Kitchen Converter

Quickly switch between common baking units without leaving the recipe.

Convert
Result—

Volume uses US cups, tablespoons, and teaspoons. Converting weight to volume depends on the ingredient.

Directions

<ol class="no-list-style"><li class="MethodStepper"><h4 class="step-title">Step 1</h4>For the crust, combine flour, salt, and sugar in a large bowl. Add cold cubed butter and use your fingertips to rub it into the flour until the mixture resembles coarse breadcrumbs with some pea-sized pieces of butter remaining (these butter pockets will create flakiness in your crust).</li><li class="MethodStepper"><h4 class="step-title">Step 2</h4>Gradually add the ice-cold water, 1 tablespoon at a time, mixing gently with a fork until the dough just holds together when pinched. Be careful not to overwork the dough or add too much water, as this will make your crust tough.</li><li class="MethodStepper"><h4 class="step-title">Step 3</h4>Form the dough into a disc, wrap in plastic wrap, and refrigerate for at least 1 hour. Cold dough is essential for a flaky crust as it prevents the butter from melting too quickly.</li><li class="MethodStepper"><h4 class="step-title">Step 4</h4>Preheat your oven to 190°C. Roll out the chilled dough on a floured surface to a 30cm circle. Carefully transfer to your pie dish, gently pressing into the bottom and sides. Trim excess dough leaving a 2cm overhang, then fold and crimp the edges decoratively.</li><li class="MethodStepper"><h4 class="step-title">Step 5</h4>Line the crust with parchment paper and fill with pie weights or dried beans. Blind bake for 15 minutes, then remove weights and parchment and continue baking for 10-12 minutes until golden brown. Set aside to cool completely.</li><li class="MethodStepper"><h4 class="step-title">Step 6</h4>For the filling, combine coconut milk, whole milk, half the sugar, and salt in a medium saucepan. Heat over medium heat until steaming but not boiling.</li><li class="MethodStepper"><h4 class="step-title">Step 7</h4>In a separate bowl, whisk together egg yolks, remaining sugar, and cornstarch until smooth. This is your thickening mixture for the custard.</li><li class="MethodStepper"><h4 class="step-title">Step 8</h4>Temper the eggs by slowly pouring about 240ml of the hot milk mixture into the egg mixture while whisking constantly. This gradually raises the temperature of the eggs without scrambling them, creating a smooth custard base.</li><li class="MethodStepper"><h4 class="step-title">Step 9</h4>Pour the tempered egg mixture back into the saucepan with the remaining milk. Cook over medium heat, whisking constantly, until the mixture thickens and comes to a gentle boil. Continue cooking for 1-2 minutes until very thick (it should coat the back of a spoon).</li><li class="MethodStepper"><h4 class="step-title">Step 10</h4>Remove from heat and strain through a fine-mesh sieve to remove any lumps. Stir in butter, vanilla extract, and shredded coconut until well combined.</li><li class="MethodStepper"><h4 class="step-title">Step 11</h4>Pour the warm filling into your cooled pie crust and smooth the top with a spatula. Press a piece of plastic wrap directly on the surface of the filling to prevent a skin from forming. Refrigerate for at least 4 hours or overnight until completely set.</li><li class="MethodStepper"><h4 class="step-title">Step 12</h4>For the topping, toast coconut flakes in a dry skillet over medium-low heat, stirring constantly until golden brown (about 3-5 minutes). Watch carefully as coconut burns quickly! Set aside to cool.</li><li class="MethodStepper"><h4 class="step-title">Step 13</h4>Just before serving, whip the heavy cream with powdered sugar and vanilla until stiff peaks form. The cream should hold its shape but still look smooth and glossy - overwhipping will create a grainy texture.</li><li class="MethodStepper"><h4 class="step-title">Step 14</h4>Spread or pipe the whipped cream over the chilled pie and sprinkle generously with the toasted coconut flakes. For the best texture contrast and flavor, serve within a few hours of adding the topping.</li></ol>

Nutrition Facts (per serving)

🍽️ Serving Size: 1 slice
🔥 Calories: 420 calories
🥑 Fat: 28 g
🧈 Saturated Fat: 18 g
🍞 Carbohydrates: 36 g
🍭 Sugar: 24 g
🍗 Protein: 5 g
🫀 Cholesterol: 135 mg
🧂 Sodium: 210 mg

Chef’s Notes

A few helpful details for making this recipe.

Why is tempering eggs so important when making coconut custard filling?

Tempering gradually raises the temperature of eggs without scrambling them. By slowly adding hot liquid to eggs while whisking constantly, you prevent the proteins from coagulating too quickly. This technique is crucial for achieving a silky-smooth coconut custard without lumps or a grainy texture in your pie filling.

How can I prevent my coconut cream pie from becoming watery?

To prevent a watery pie, ensure your custard is cooked until properly thickened (it should coat the back of a spoon), chill the filled pie for at least 4 hours, and add the whipped cream topping just before serving. Using full-fat coconut milk and properly measuring the cornstarch are also essential.

What's the secret to perfectly toasted coconut flakes for garnishing?

The secret to perfectly toasted coconut is using a dry skillet over medium-low heat and stirring constantly. Watch it carefully as coconut burns quickly! For best results, remove from heat when the flakes are mostly golden with a few lighter pieces, as they'll continue to darken slightly after removal.

Want to try something else in ...

More recipes you might like

Keep exploring with more recipes from What's Baking.