Directions
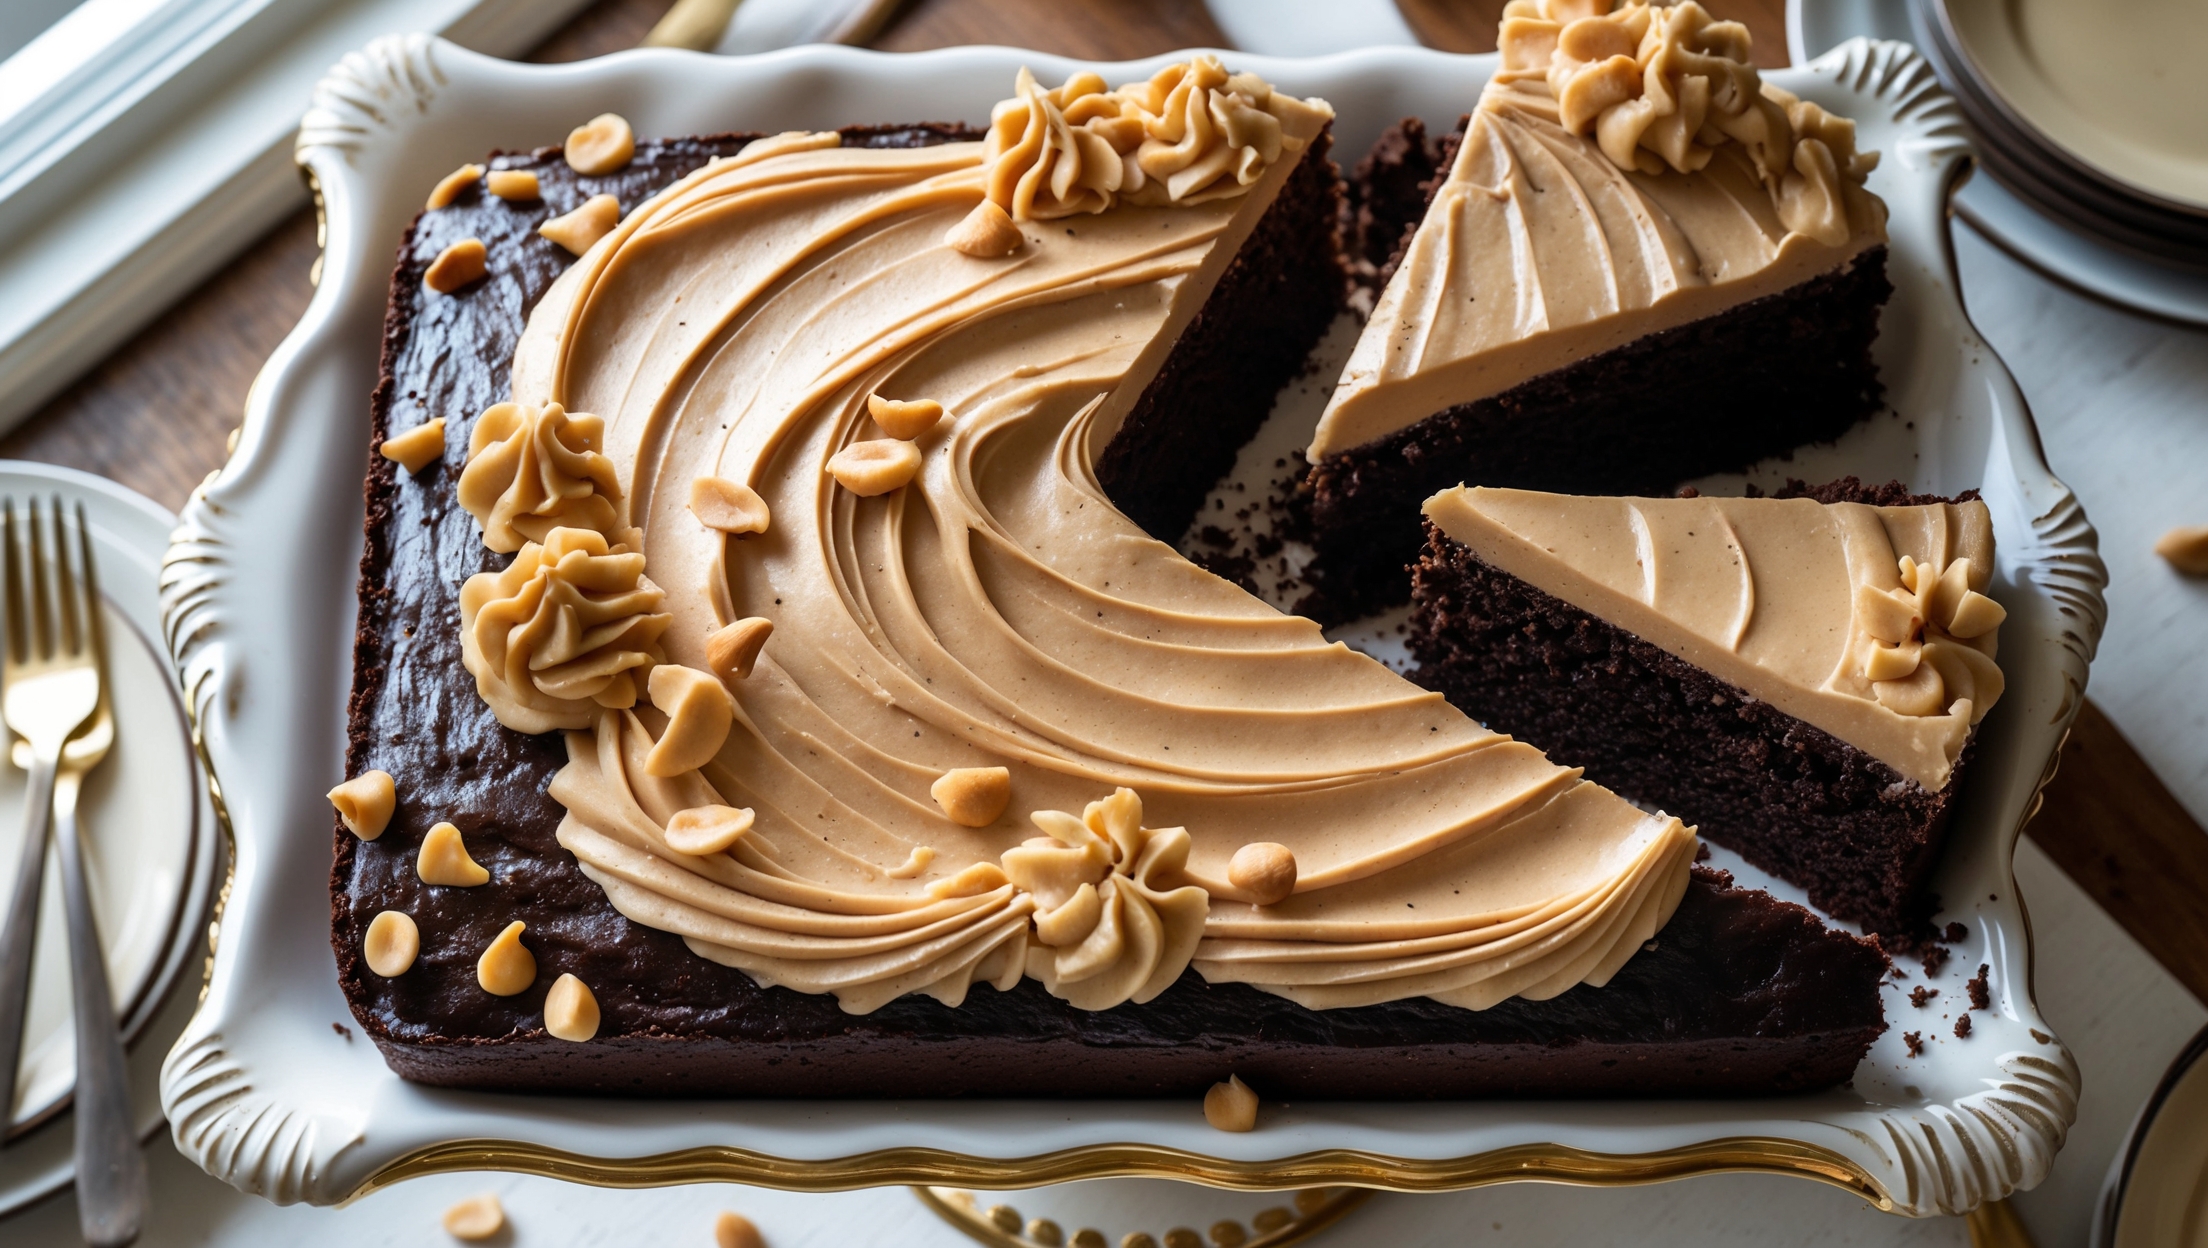
<ol class="no-list-style"><li class="MethodStepper"><h4 class="step-title">Step 1</h4>Preheat your oven to 180°C (350°F). Grease a 33 x 23 cm (13 x 9 inch) baking pan and line with parchment paper, leaving some overhang for easy removal. This ensures your cake won't stick and makes cleanup much easier.</li><li class="MethodStepper"><h4 class="step-title">Step 2</h4>In a large bowl, whisk together the flour, sugar, cocoa powder, baking soda, and salt until well combined. The thorough mixing of dry ingredients is crucial for an evenly textured cake without bitter cocoa pockets.</li><li class="MethodStepper"><h4 class="step-title">Step 3</h4>In a separate bowl, whisk together the buttermilk, vegetable oil, eggs, and vanilla extract until smooth. The acidity in buttermilk activates the baking soda, helping your cake rise and creating a tender crumb.</li><li class="MethodStepper"><h4 class="step-title">Step 4</h4>Pour the wet ingredients into the dry ingredients and mix with a whisk or wooden spoon until just combined. Don't overmix - stopping when the ingredients are just incorporated prevents gluten development that could make your cake tough.</li><li class="MethodStepper"><h4 class="step-title">Step 5</h4>Add the hot coffee (or hot water) to the batter and stir carefully until combined. The heat blooms the cocoa powder, intensifying its chocolate flavor, while the liquid creates a thinner batter that bakes into an exceptionally moist cake.</li><li class="MethodStepper"><h4 class="step-title">Step 6</h4>Pour the batter into your prepared pan and smooth the top with a spatula. The batter will be quite thin - this is exactly what you want for a moist sheet cake!</li><li class="MethodStepper"><h4 class="step-title">Step 7</h4>Bake for 28-32 minutes, or until a toothpick inserted in the center comes out with just a few moist crumbs (not wet batter). Look for the cake to slightly pull away from the sides of the pan - a visual cue that it's ready.</li><li class="MethodStepper"><h4 class="step-title">Step 8</h4>Place the pan on a wire rack and allow the cake to cool completely in the pan before frosting. Patience is key here - applying frosting to a warm cake will cause it to melt and slide off.</li><li class="MethodStepper"><h4 class="step-title">Step 9</h4>While the cake cools, prepare the peanut butter frosting. In a large bowl, use an electric mixer to beat the softened butter and peanut butter together until smooth and creamy, about 2 minutes. The proper creaming of these fats creates the base for a silky-smooth frosting.</li><li class="MethodStepper"><h4 class="step-title">Step 10</h4>Add the powdered sugar, heavy cream, vanilla extract, and salt to the bowl. Begin mixing on low speed until the sugar is incorporated (this prevents a powdery mess!), then increase to medium-high and beat for 3-4 minutes until the frosting is light and fluffy. If it seems too thick, add a tablespoon more cream; if too thin, add a bit more powdered sugar.</li><li class="MethodStepper"><h4 class="step-title">Step 11</h4>Once the cake is completely cool, spread the peanut butter frosting over the top in an even layer using an offset spatula. Create decorative swirls if desired for a beautiful presentation. The contrast between the dark cake and light frosting is visually stunning.</li><li class="MethodStepper"><h4 class="step-title">Step 12</h4>If using, sprinkle the chopped peanuts and mini chocolate chips over the frosting. These add a delightful textural contrast and emphasize the chocolate-peanut butter flavor profile.</li><li class="MethodStepper"><h4 class="step-title">Step 13</h4>For clean slices, chill the frosted cake for 30 minutes before cutting, then use a sharp knife wiped clean between cuts. Store any leftovers in an airtight container at room temperature for up to 3 days or in the refrigerator for up to a week. The flavors actually deepen and meld wonderfully after a day!</li></ol>