Directions
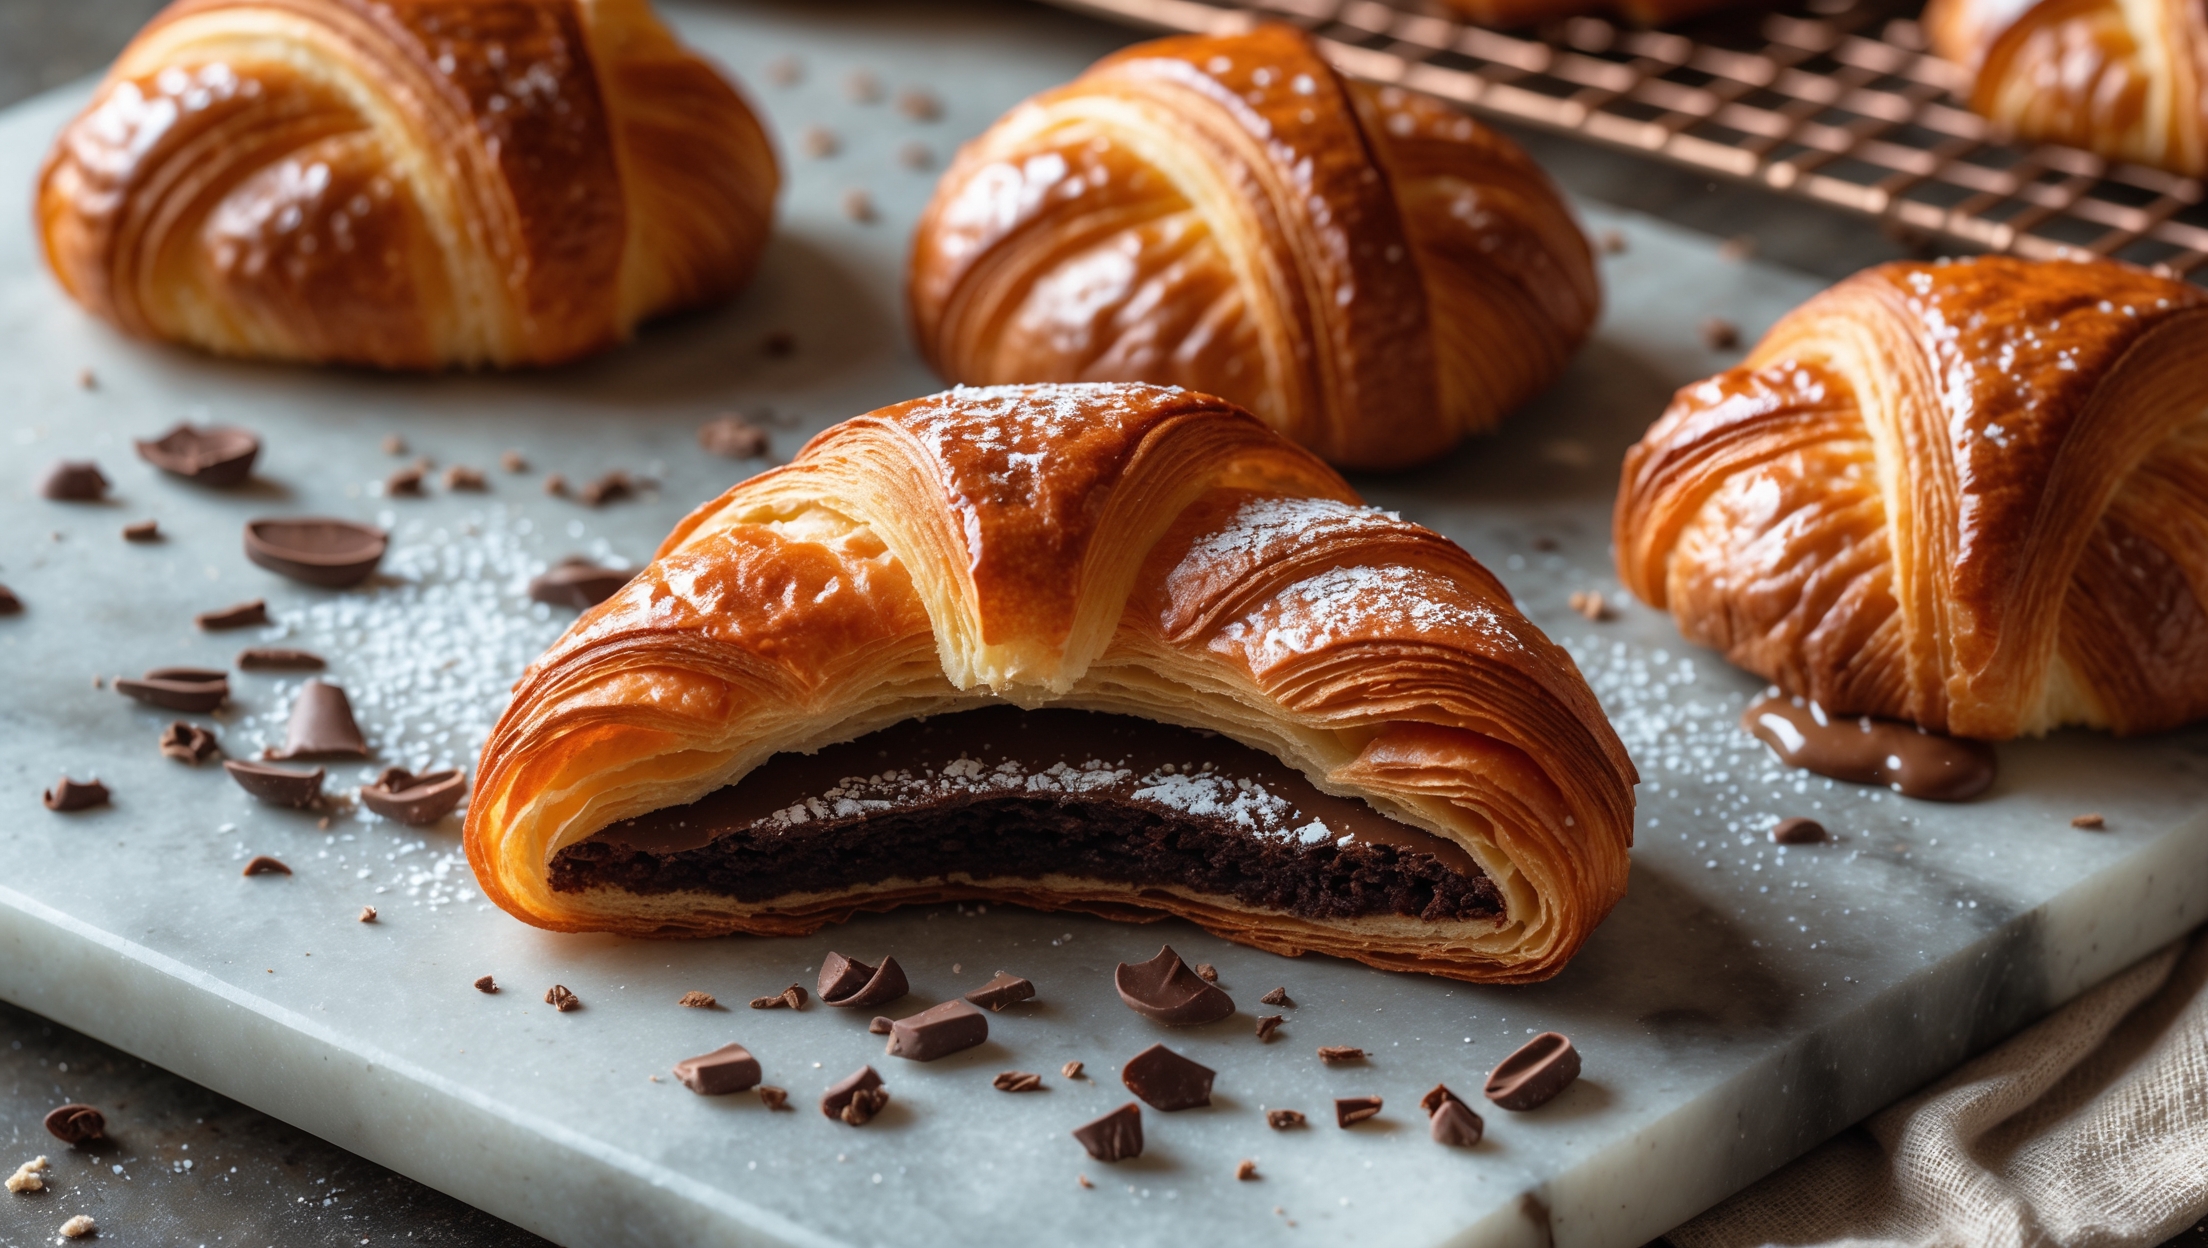
<ol class="no-list-style"> <li class="MethodStepper"> <h4 class="step-title">Step 1</h4> Preheat your oven to 190°C (170°C fan) and line a baking tray with parchment paper. If your puff pastry is frozen, allow it to thaw according to package instructions until pliable but still cool to touch. Cold pastry is easier to work with and produces flakier results. </li> <li class="MethodStepper"> <h4 class="step-title">Step 2</h4> Unroll your puff pastry onto a lightly floured surface. If using sheets, aim to create a rectangle approximately 30cm x 25cm. If the pastry feels too soft, place it in the refrigerator for 10 minutes to firm up. </li> <li class="MethodStepper"> <h4 class="step-title">Step 3</h4> Gently warm your chocolate hazelnut spread in the microwave for 20-30 seconds until just spreadable but not hot. Using a spatula or the back of a spoon, spread the chocolate hazelnut spread evenly over the entire surface of the pastry, leaving a 1cm border around the edges. This border helps to seal the pastry later. </li> <li class="MethodStepper"> <h4 class="step-title">Step 4</h4> Sprinkle the chopped hazelnuts evenly over the chocolate spread, gently pressing them in so they adhere. The nuts add wonderful texture contrast to the soft chocolate and flaky pastry. </li> <li class="MethodStepper"> <h4 class="step-title">Step 5</h4> Fold the pastry in half lengthways, pressing the edges together to seal. Using your fingers or a fork, firmly press along the three sealed edges to ensure no filling escapes during baking. </li> <li class="MethodStepper"> <h4 class="step-title">Step 6</h4> Using a sharp knife or pizza cutter, cut the folded pastry into 12 equal strips, approximately 2.5cm wide. Hold each strip at the ends and twist 3-4 times to create a spiral effect. The tighter you twist, the more defined your spiral will be, but be gentle to avoid tearing the pastry. </li> <li class="MethodStepper"> <h4 class="step-title">Step 7</h4> Place each twist onto your prepared baking tray, leaving about 3cm between each one as they will expand during baking. Gently press the ends down onto the tray to prevent them from unraveling. </li> <li class="MethodStepper"> <h4 class="step-title">Step 8</h4> Brush each twist generously with beaten egg - this creates that beautiful golden color during baking. Sprinkle with granulated sugar for a sweet, crunchy finish. </li> <li class="MethodStepper"> <h4 class="step-title">Step 9</h4> Bake in the preheated oven for 18-20 minutes, or until the twists are puffed up and golden brown. The caramelized sugar on top should be bubbling slightly. Check halfway through baking and rotate the tray if needed for even browning. </li> <li class="MethodStepper"> <h4 class="step-title">Step 10</h4> Allow the twists to cool on the baking tray for 5 minutes before transferring to a wire rack. They're delicious warm, but allow them to cool for at least 10 minutes so the chocolate filling can set slightly and won't burn your mouth. </li> <li class="MethodStepper"> <h4 class="step-title">Step 11</h4> Just before serving, dust lightly with powdered sugar for an elegant finish. These twists are best enjoyed on the day of baking when the pastry is at its crispest, but can be stored in an airtight container for up to 2 days. You can refresh them in a warm oven for 3-4 minutes to restore some crispness. </li> </ol>