Chocolate Cream Pie Recipe
Ingredients
Equipment
Directions
FAQs
Find answers to your most pressing questions about this delicious recipe right here.
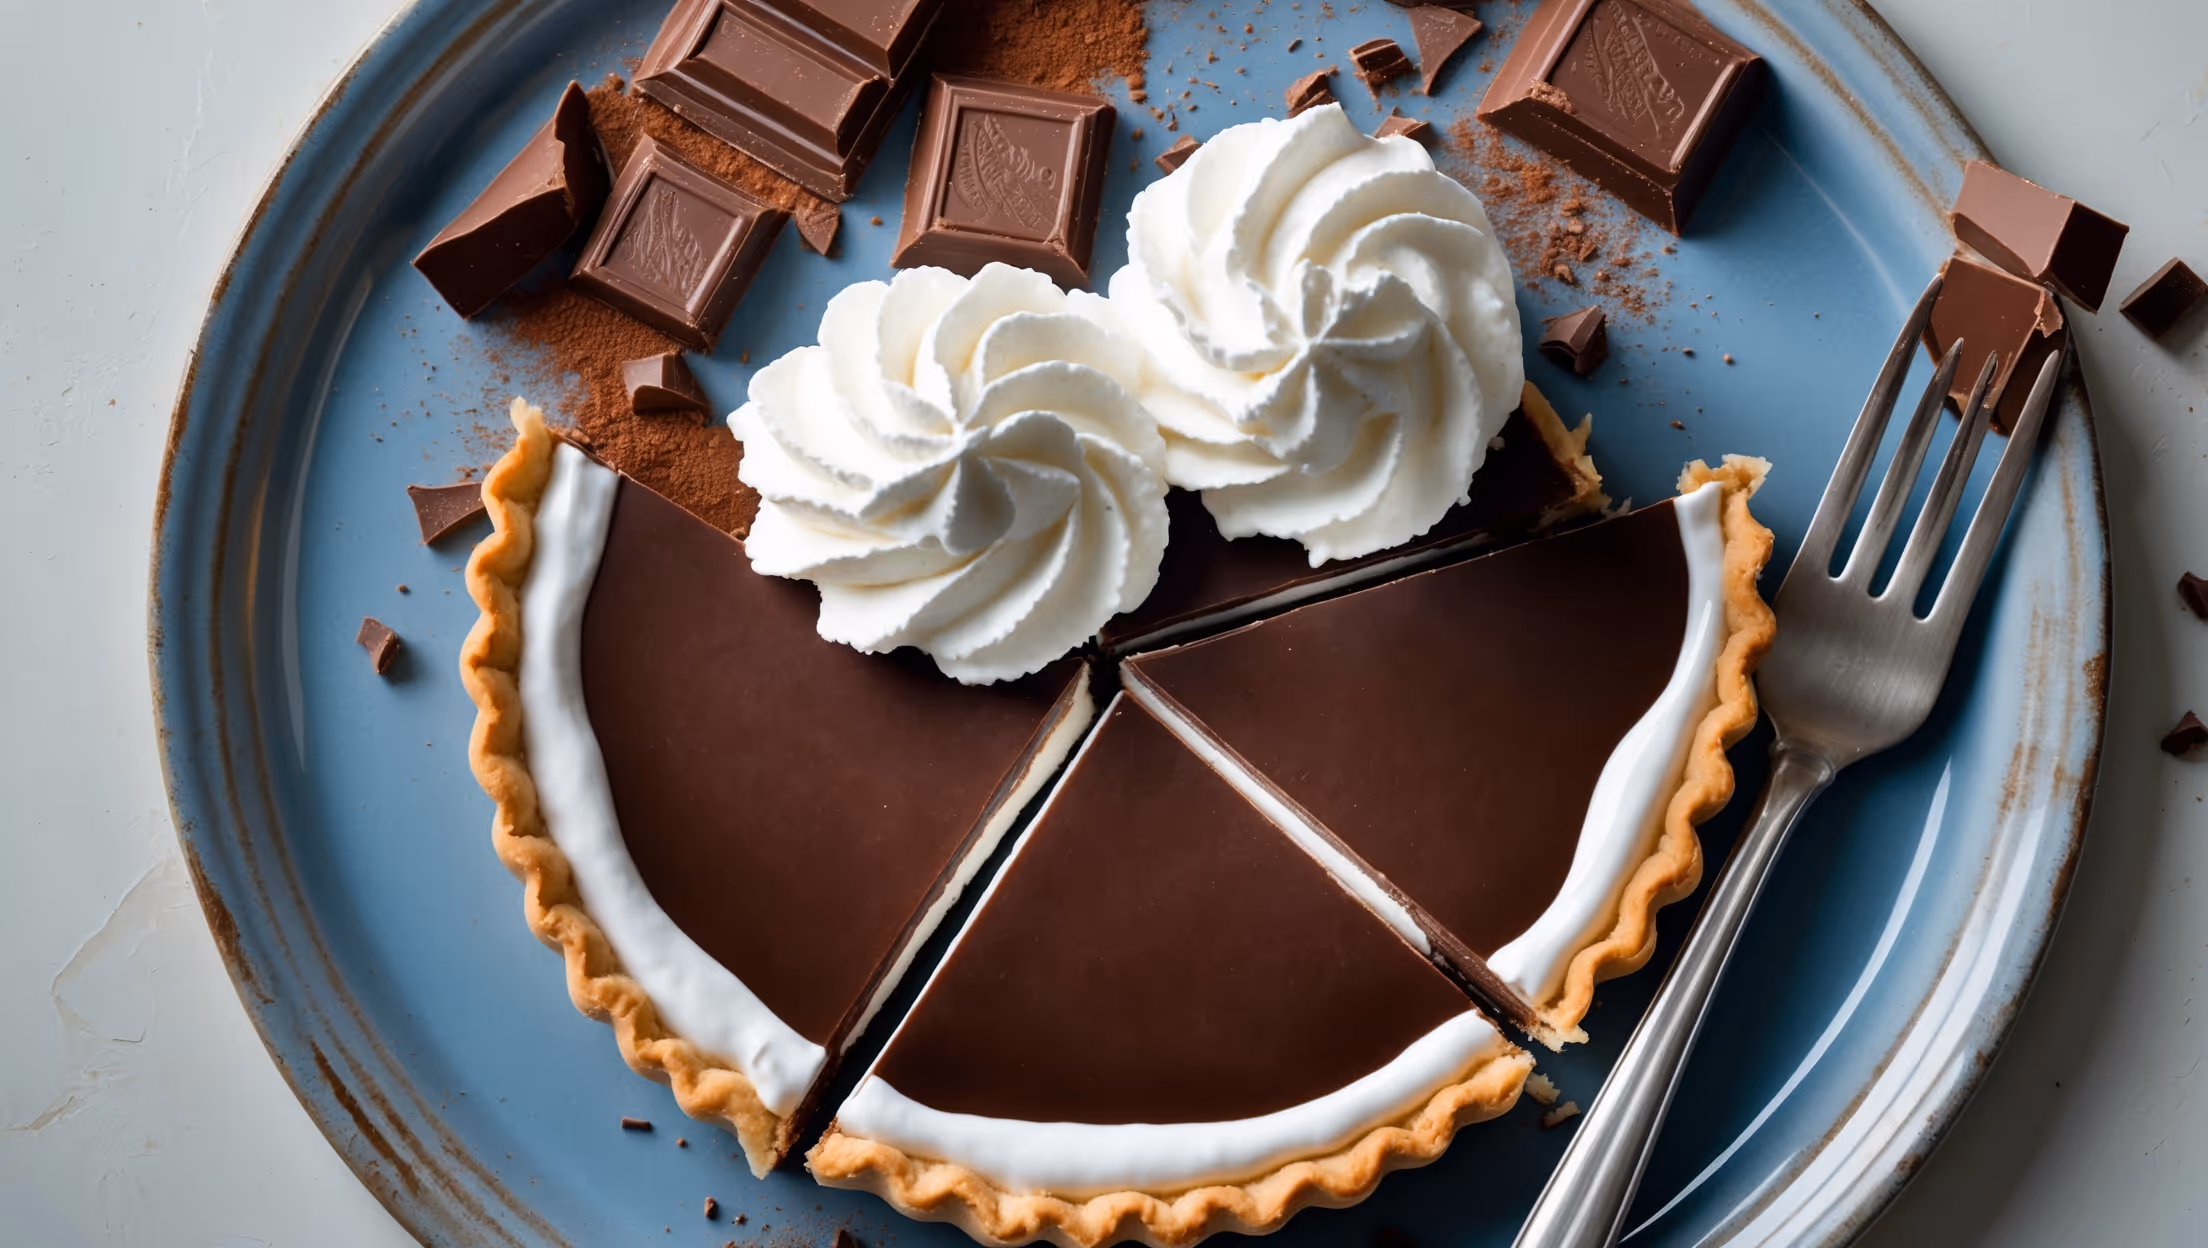
Chocolate Cream Pie requires chocolate biscuits and butter for the crust; dark chocolate, sugar, cornstarch, milk, egg yolks, butter and vanilla for the filling; and heavy cream, icing sugar and vanilla for the whipped topping, plus chocolate shavings for garnish.
Learn how to cook Chocolate Cream Pie by creating a press-in biscuit crust, preparing a silky stovetop chocolate custard filling, and topping with freshly whipped cream. The cooking process primarily involves making the chocolate filling, which requires careful whisking over medium heat until thickened, while the crust requires no baking.
Lumps typically form from overheating or insufficient whisking. Prevent them by whisking constantly, cooking over medium (not high) heat, tempering egg yolks properly, and straining the finished filling through a fine-mesh sieve before pouring into the crust.
Yes! The chocolate filling needs at least 4 hours to set properly, making this dessert perfect for preparing a day ahead. Make the crust and filling up to 2 days in advance, but add the whipped cream topping just a few hours before serving for best results.
The perfect sliceable consistency comes from the proper ratio of cornstarch to liquid and cooking the mixture until it properly thickens. The filling should coat the back of a spoon and show a clear line when you run your finger through it before adding chocolate.
Shortcrust Pastry
Try following recommended recipes


