Directions
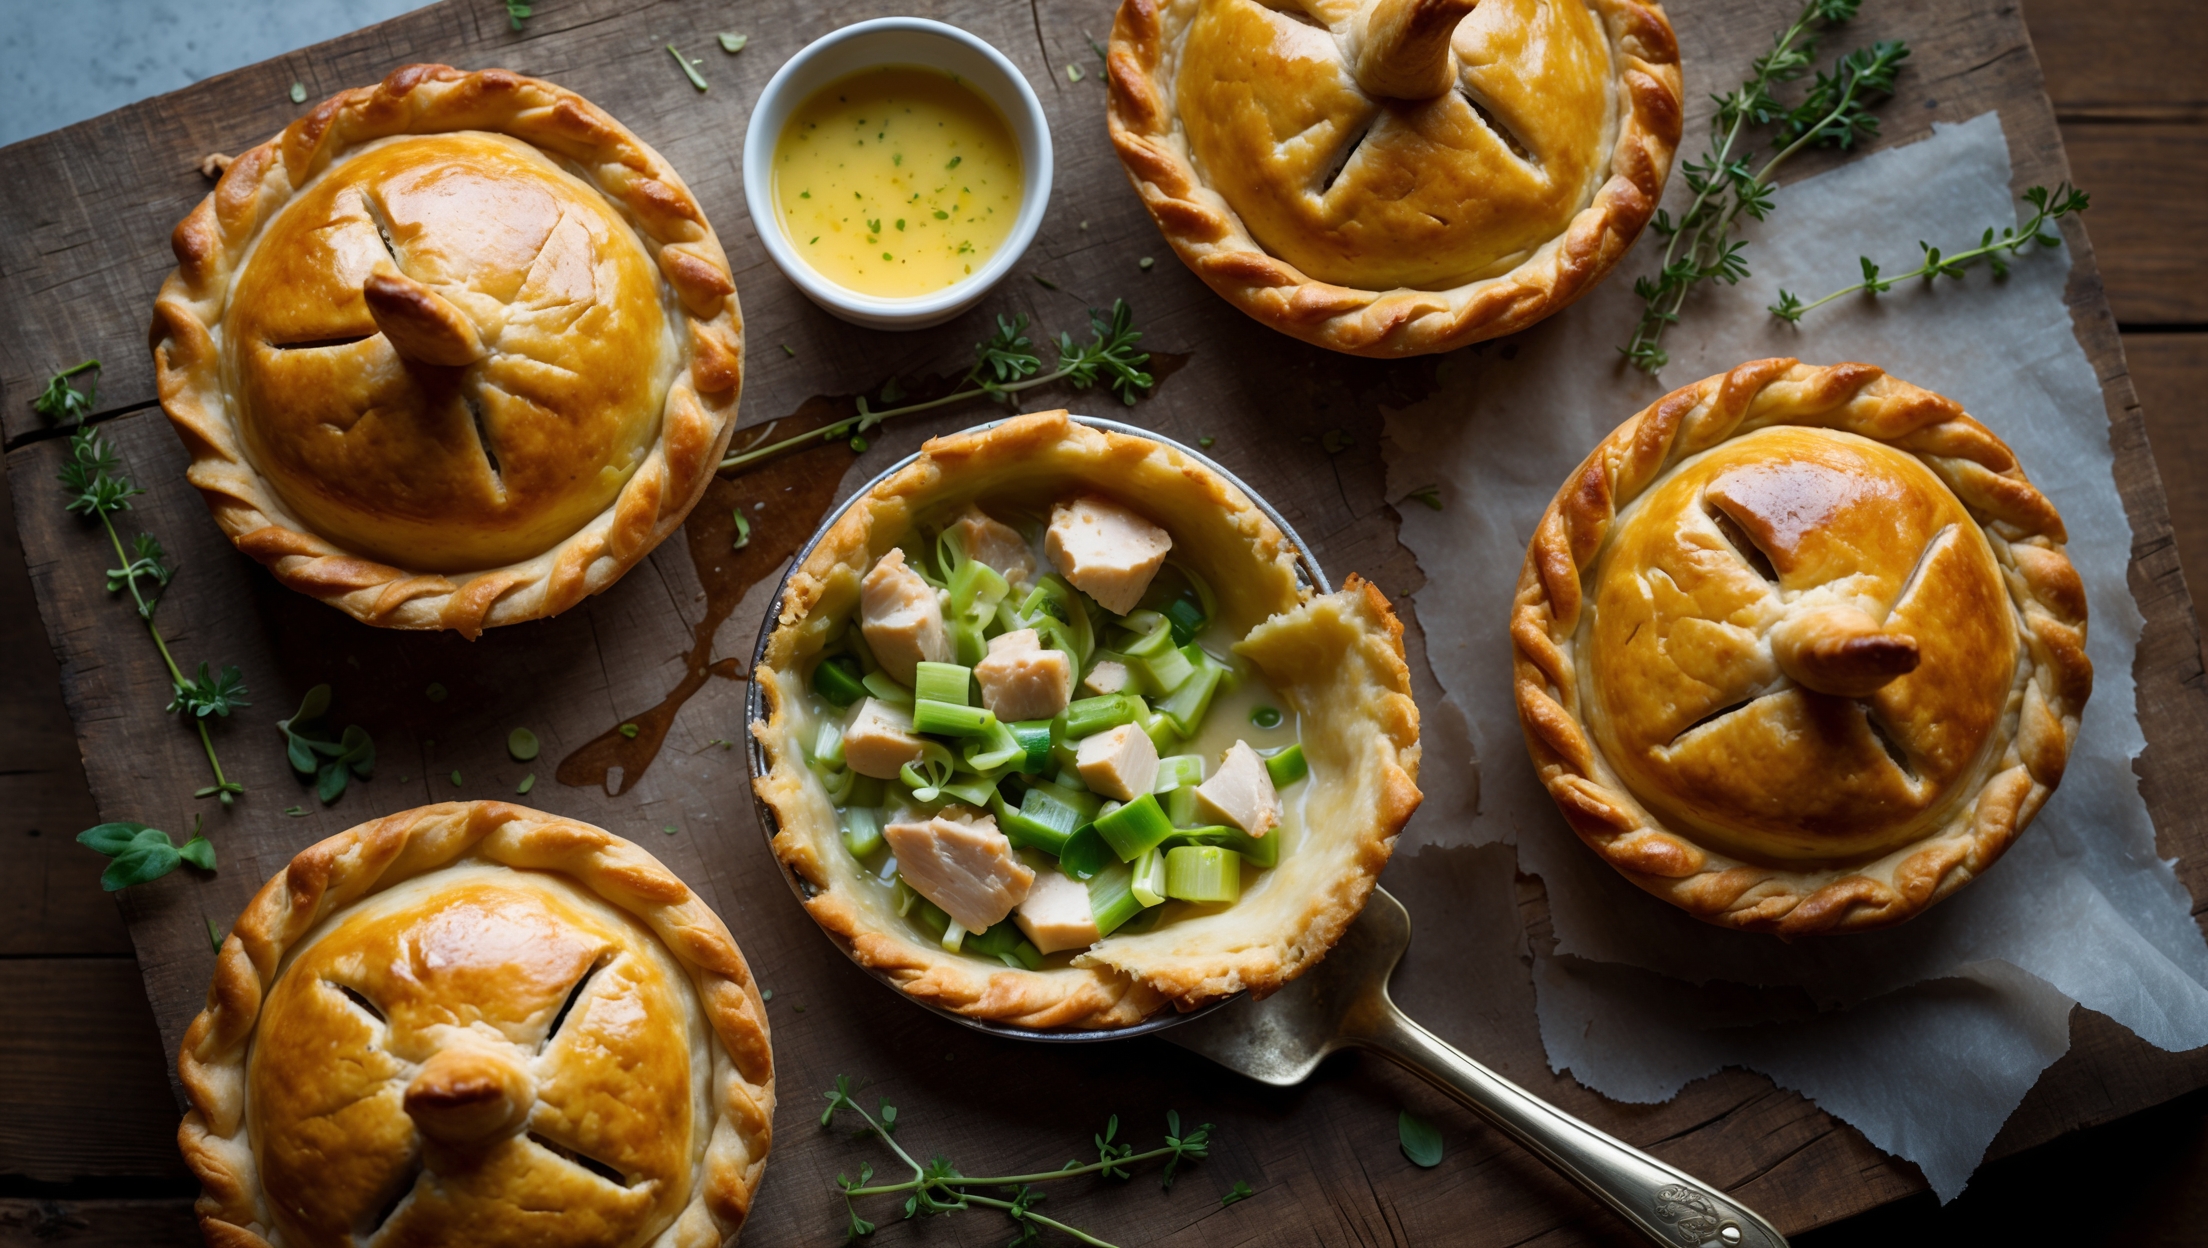
<ol class="no-list-style"><li class="MethodStepper"><h4 class="step-title">Step 1</h4>First, make the pastry. Place the flour and salt in a large bowl and add the cold cubed butter. Using your fingertips, rub the butter into the flour until the mixture resembles breadcrumbs with some pea-sized pieces of butter still visible (these butter pockets will create flaky layers in your pastry). Add the ice-cold water a little at a time, mixing with a knife until the dough just comes together - it should be slightly tacky but not sticky. Cold ingredients and minimal handling are crucial for creating a light, flaky pastry.</li><li class="MethodStepper"><h4 class="step-title">Step 2</h4>Form the dough into a disc, wrap in cling film, and refrigerate for at least 30 minutes. This resting period allows the gluten to relax and the butter to firm up again, preventing shrinkage during baking.</li><li class="MethodStepper"><h4 class="step-title">Step 3</h4>While the pastry is chilling, prepare your filling. Melt 20g of the butter in a large frying pan over medium-high heat. Season the chicken pieces with salt and pepper, then add to the pan and cook until golden brown all over and just cooked through, about 6-8 minutes. Remove the chicken to a plate and set aside.</li><li class="MethodStepper"><h4 class="step-title">Step 4</h4>In the same pan, add the remaining 30g butter. Once melted, add the sliced leeks with a pinch of salt. Lower the heat to medium-low and cook gently for 8-10 minutes until the leeks are soft and sweet but not colored. The slow cooking draws out the natural sweetness of the leeks, which balances beautifully with the savory chicken.</li><li class="MethodStepper"><h4 class="step-title">Step 5</h4>Sprinkle the flour over the leeks and stir continuously for 2 minutes to cook out the raw flour taste. This creates a roux that will thicken your sauce. Gradually add the chicken stock, stirring constantly to avoid lumps forming. Once incorporated, stir in the cream, thyme, and Dijon mustard.</li><li class="MethodStepper"><h4 class="step-title">Step 6</h4>Return the chicken to the pan along with any accumulated juices (these contain valuable flavor). Simmer gently for 5 minutes until the sauce has thickened to a coating consistency that will cling to the back of a spoon. Taste and adjust seasoning with salt and pepper. Remove from heat and allow to cool completely before filling your pies - hot filling will melt your pastry butter before baking.</li><li class="MethodStepper"><h4 class="step-title">Step 7</h4>Preheat your oven to 200°C (180°C fan/400°F/Gas 6). Remove the pastry from the refrigerator and divide into 5 portions - 4 slightly smaller ones for the pie bases and 1 larger portion (about 40% of the dough) for the lids. On a lightly floured surface, roll out each smaller portion to about 3-4mm thickness and large enough to line your pie dishes with a slight overhang.</li><li class="MethodStepper"><h4 class="step-title">Step 8</h4>Carefully line each pie dish with pastry, gently pressing into the corners without stretching the dough. Prick the bases several times with a fork to prevent air bubbles. Divide the cooled filling evenly between the dishes, mounding slightly in the center.</li><li class="MethodStepper"><h4 class="step-title">Step 9</h4>Roll out the remaining pastry and cut into rounds slightly larger than the tops of your dishes. Brush the edges of the pie crusts with beaten egg, then place the lids on top. Press the edges together firmly to seal, then trim any excess pastry and crimp the edges decoratively using your fingers or a fork. This not only looks attractive but ensures a good seal.</li><li class="MethodStepper"><h4 class="step-title">Step 10</h4>Make a small steam hole in the center of each pie lid. Brush the tops generously with beaten egg for a beautiful golden finish. If you have any pastry scraps, you can create decorative shapes to place on top (leaves or lattice work beautifully).</li><li class="MethodStepper"><h4 class="step-title">Step 11</h4>Place the pies on a baking tray and bake in the preheated oven for 30-35 minutes until the pastry is deeply golden and crisp. If the tops are browning too quickly, cover loosely with foil. The filling should be bubbling hot through the steam hole when ready.</li><li class="MethodStepper"><h4 class="step-title">Step 12</h4>Allow the pies to rest for 5-10 minutes before serving - this helps the filling to set slightly and prevents it from being scorching hot. Serve with seasonal vegetables or a crisp green salad. These pies can be made ahead and frozen before baking - simply add about 15 minutes to the baking time when cooking from frozen.</li></ol>