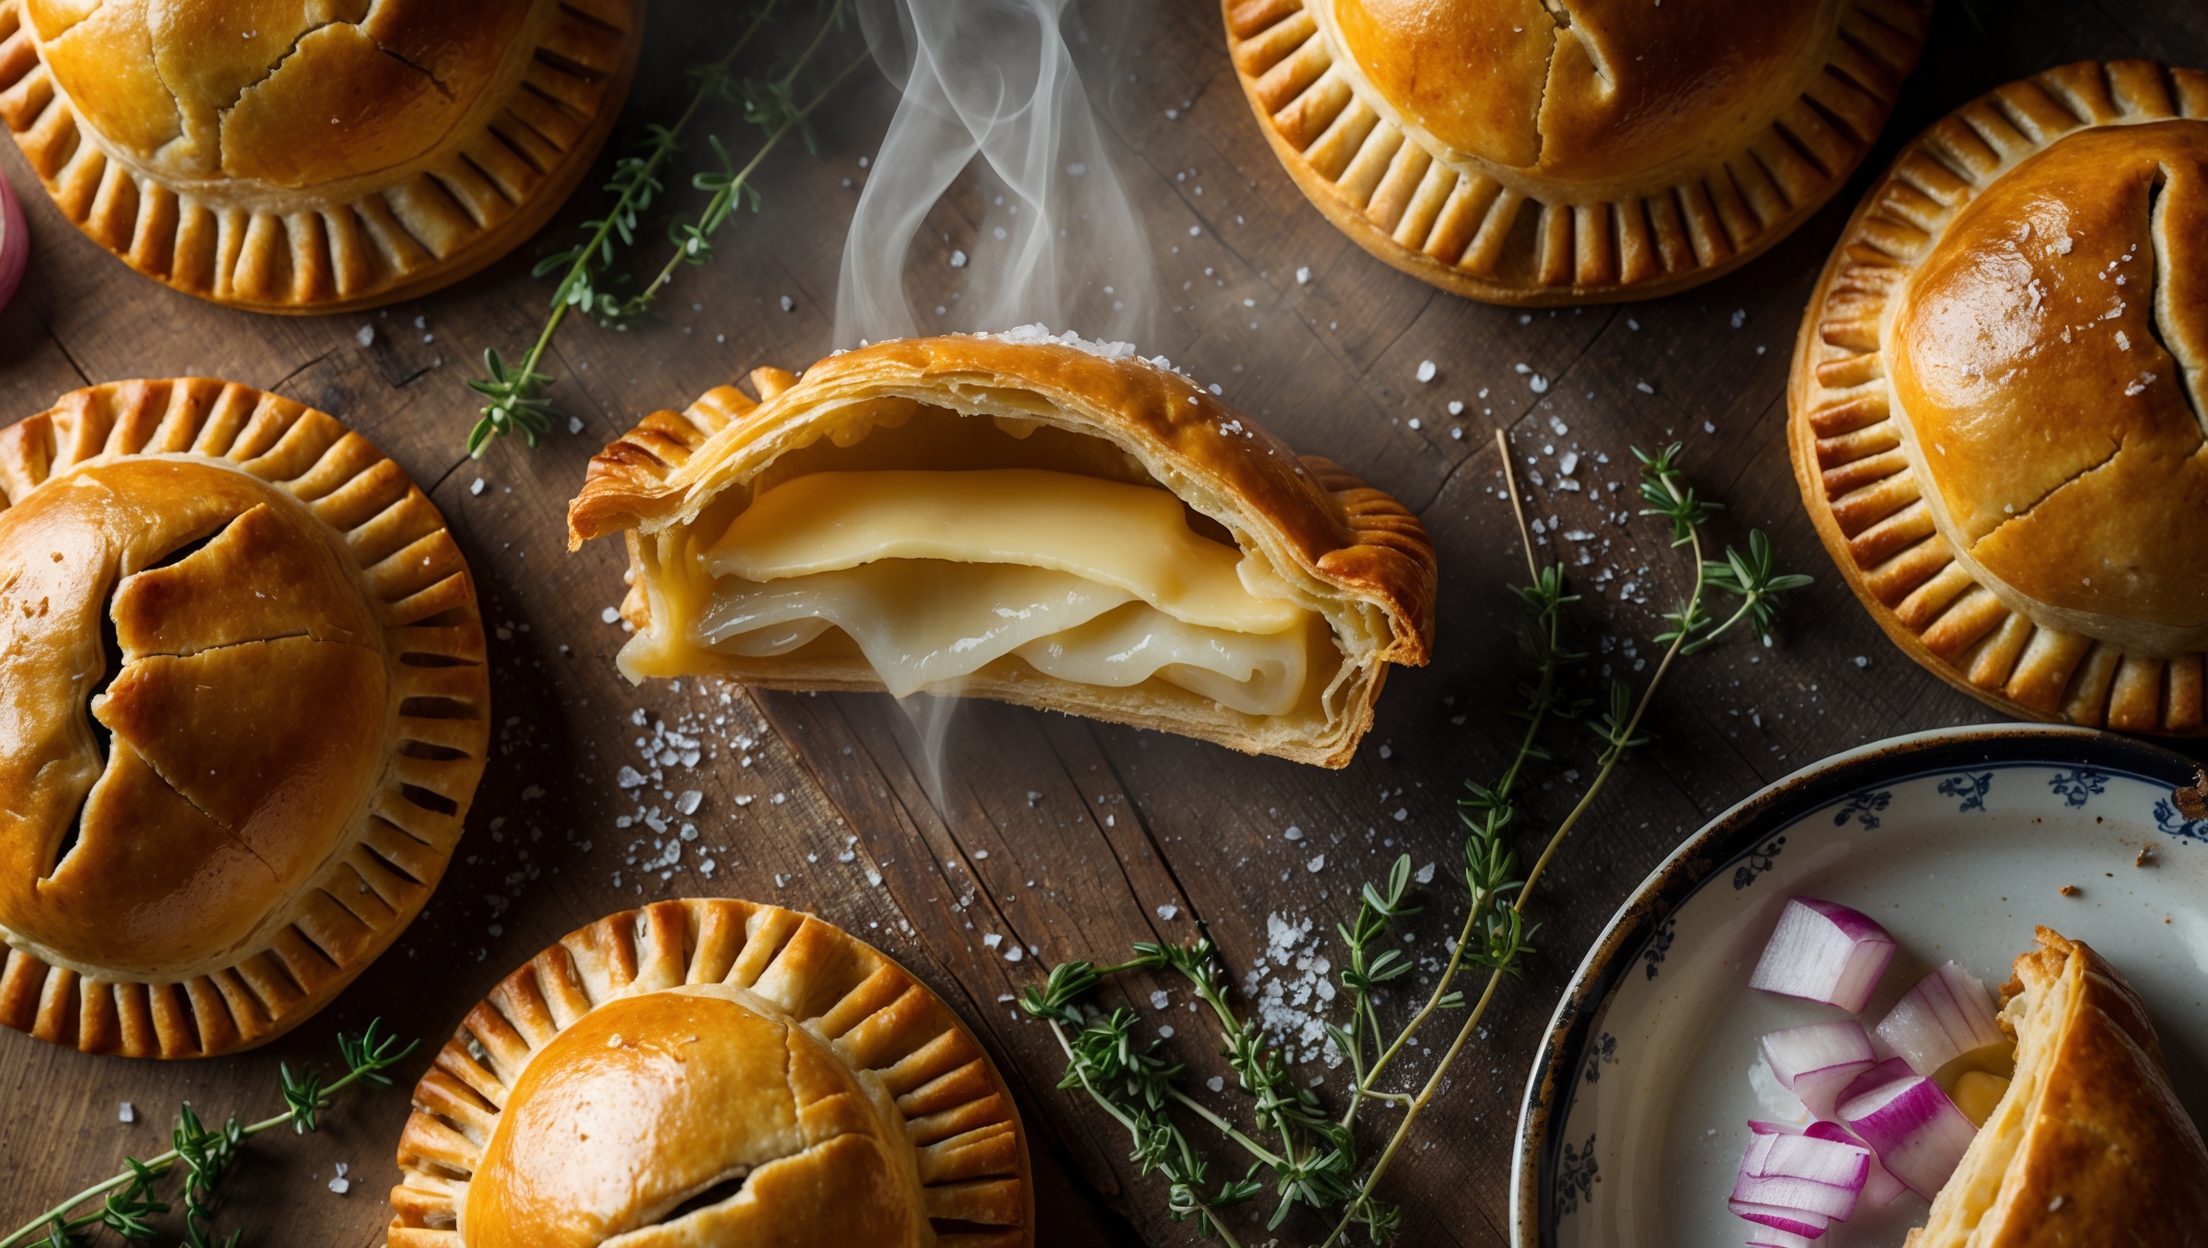
Directions
<ol class="no-list-style"><li class="MethodStepper"><h4 class="step-title">Step 1</h4>Start by making the pastry. In a large bowl or food processor, combine the flour and salt. Add the cold cubed butter and rub in with your fingertips (or pulse in the processor) until the mixture resembles fine breadcrumbs. Working with cold ingredients is crucial as it prevents the butter from melting before baking, which is what creates those lovely flaky layers.</li><li class="MethodStepper"><h4 class="step-title">Step 2</h4>Gradually add the ice-cold water, a tablespoon at a time, mixing until the dough just comes together. You might not need all the water – stop adding when the dough forms a ball that isn't sticky but holds together. The less you handle the dough, the more tender your pastry will be.</li><li class="MethodStepper"><h4 class="step-title">Step 3</h4>Shape the dough into a disc, wrap in cling film, and refrigerate for at least 30 minutes. This resting period allows the gluten to relax and the butter to firm up again, preventing shrinkage during baking.</li><li class="MethodStepper"><h4 class="step-title">Step 4</h4>While the pastry chills, prepare your filling. Heat the butter and oil in a large frying pan over low-medium heat. Add the sliced onions with a pinch of salt and cook gently for 20-25 minutes, stirring occasionally, until they become golden and caramelized. The slow cooking develops a natural sweetness that will balance the sharp cheese beautifully. Be patient here – rushing will result in bitter, burnt onions.</li><li class="MethodStepper"><h4 class="step-title">Step 5</h4>Remove the onions from the heat and allow to cool completely. Once cool, mix with the grated cheese, chopped chives, mustard powder, and season well with salt and pepper. The filling must be completely cool before assembling the pasties to prevent the pastry from becoming soggy.</li><li class="MethodStepper"><h4 class="step-title">Step 6</h4>Preheat your oven to 200°C (180°C fan/400°F/Gas 6) and line a baking tray with parchment paper. Remove the pastry from the refrigerator and allow it to sit at room temperature for 5 minutes to make it easier to roll.</li><li class="MethodStepper"><h4 class="step-title">Step 7</h4>On a lightly floured surface, roll out the pastry to about 3mm thickness. Using a 15cm plate or cutter as a guide, cut out 6 circles (you may need to re-roll the scraps). A sharp cut through the pastry helps maintain those all-important layers.</li><li class="MethodStepper"><h4 class="step-title">Step 8</h4>Place a generous portion of filling (about 2-3 tablespoons) on one half of each circle, leaving a 1cm border around the edge. Be careful not to overfill, as this could cause the pasties to burst during baking.</li><li class="MethodStepper"><h4 class="step-title">Step 9</h4>Brush the pastry edges with a little beaten egg, then fold the empty half over the filling to create a half-moon shape. Press the edges together firmly, then crimp by either pinching between your fingers or pressing with a fork to create a decorative sealed edge. The crimping isn't just decorative – it ensures the filling stays inside during baking.</li><li class="MethodStepper"><h4 class="step-title">Step 10</h4>Transfer the pasties to the prepared baking tray, brush the tops generously with beaten egg for a golden finish, and cut a small steam vent in the top of each. The vent allows steam to escape, preventing soggy pastry and filling leakage.</li><li class="MethodStepper"><h4 class="step-title">Step 11</h4>Bake in the preheated oven for 25-30 minutes until the pasties are golden brown and crisp. If they're browning too quickly, cover loosely with foil for the final 10 minutes of baking.</li><li class="MethodStepper"><h4 class="step-title">Step 12</h4>Remove from the oven and allow to cool on the tray for 10 minutes before serving – the filling will be extremely hot! These pasties can be enjoyed warm or at room temperature, and will keep for 2-3 days in an airtight container in the refrigerator. You can also freeze them for up to 3 months – either before or after baking.</li></ol>