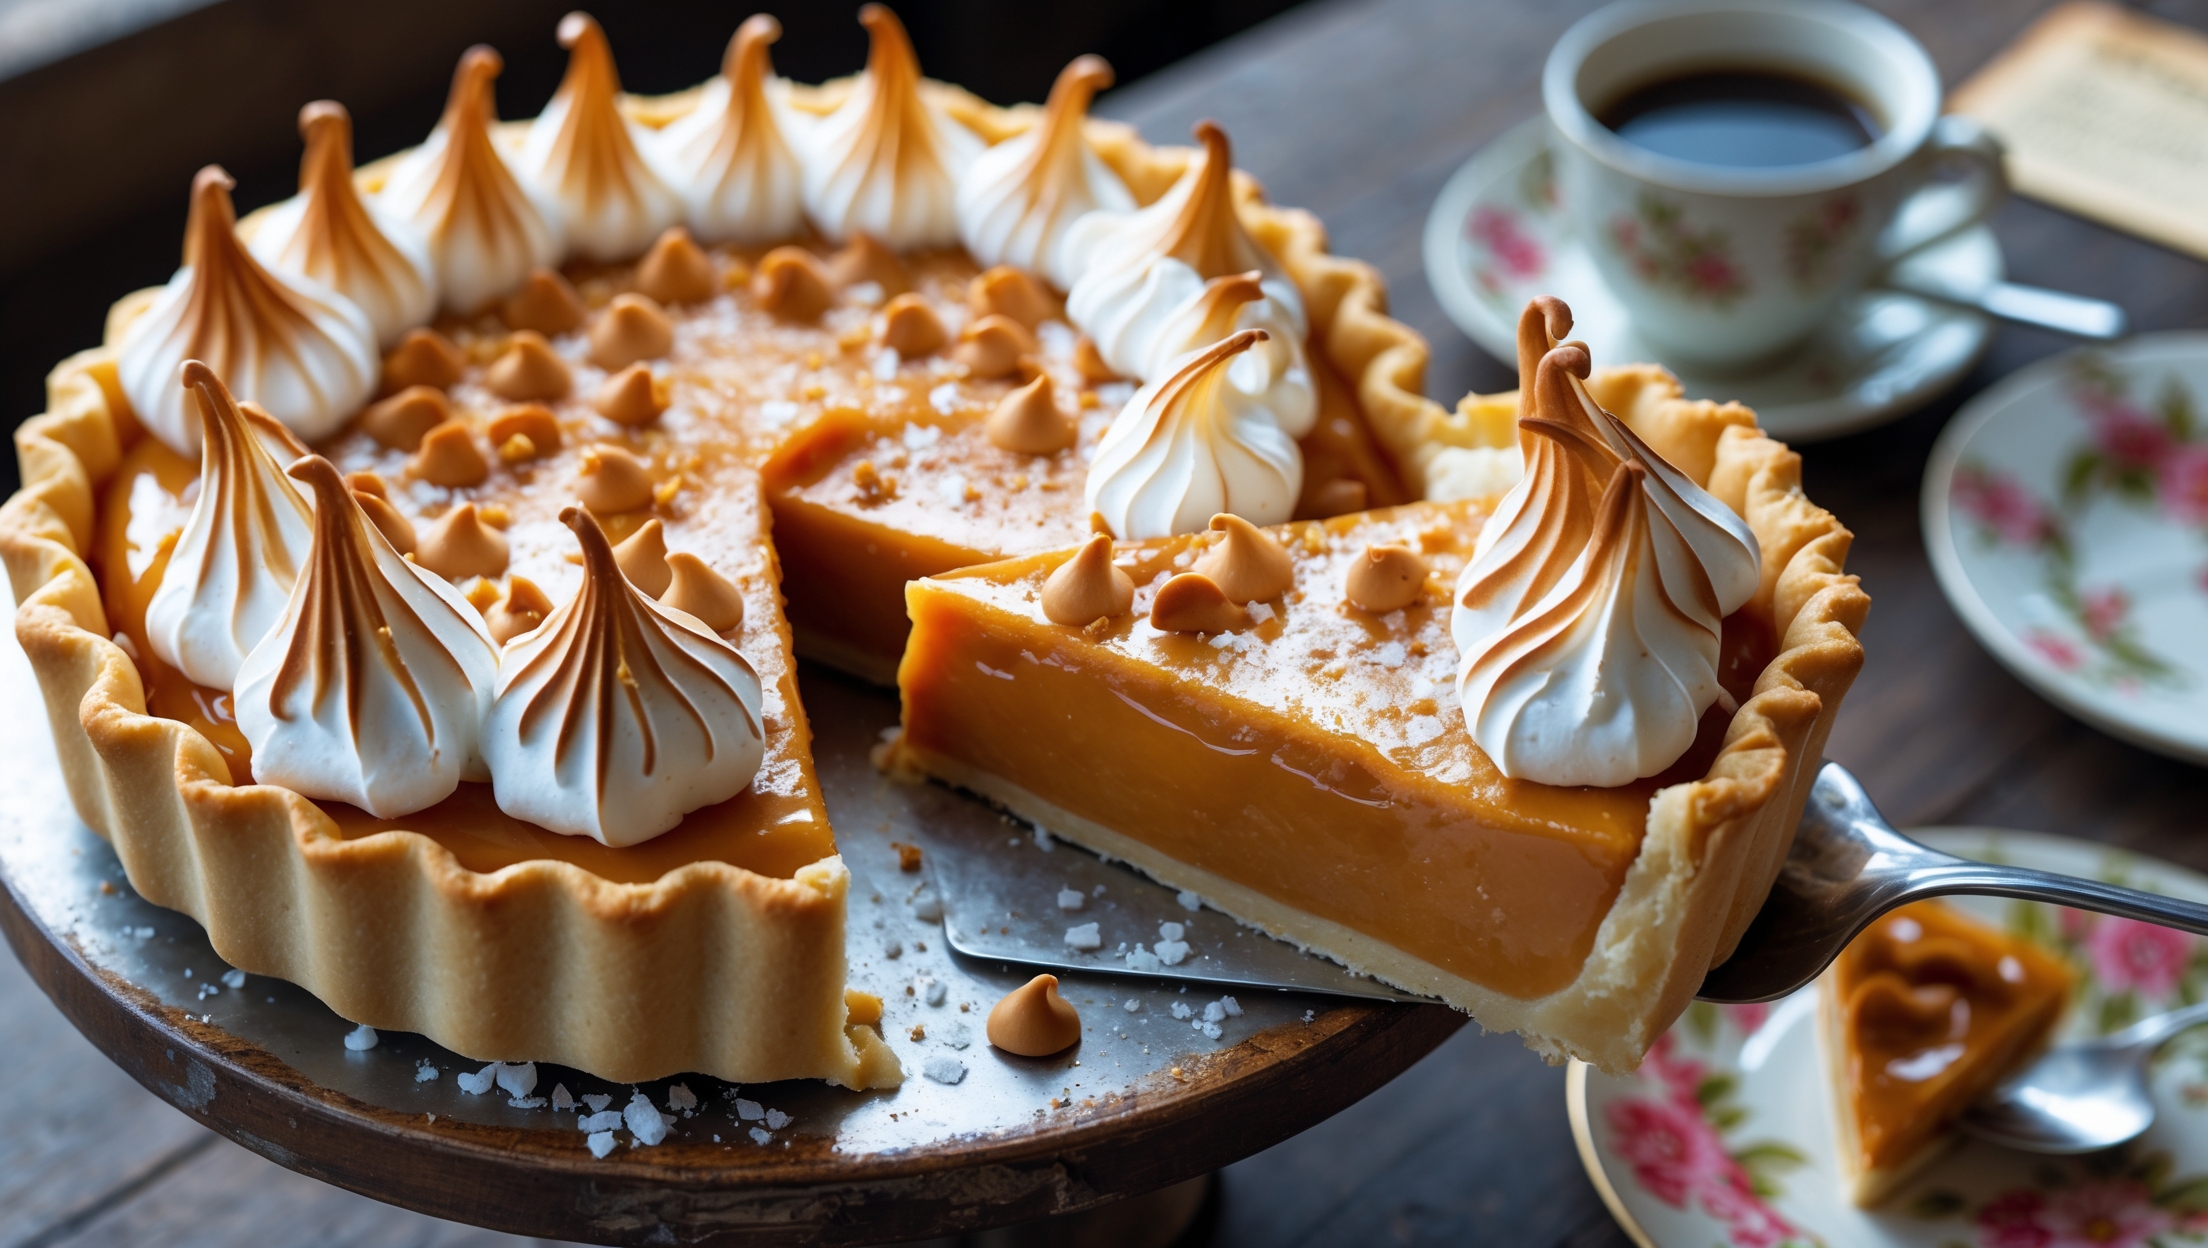
Directions
<ol class="no-list-style"><li class="MethodStepper"><h4 class="step-title">Step 1</h4>Begin by making the pie crust. In a large bowl, combine flour and salt. Add the cold cubed butter and use a pastry cutter or your fingertips to work it into the flour until the mixture resembles coarse breadcrumbs with some pea-sized pieces remaining. The varied butter sizes create layers in your crust that will result in that coveted flakiness.</li><li class="MethodStepper"><h4 class="step-title">Step 2</h4>Gradually add ice water, 1 tablespoon at a time, mixing gently with a fork until the dough just holds together when pinched. Be careful not to overwork the dough or add too much water, as this will develop gluten and make your crust tough rather than tender.</li><li class="MethodStepper"><h4 class="step-title">Step 3</h4>Form the dough into a disk, wrap in plastic wrap, and refrigerate for at least 1 hour. This crucial resting period allows the gluten to relax and the butter to firm up, ensuring your crust will hold its shape during baking.</li><li class="MethodStepper"><h4 class="step-title">Step 4</h4>Preheat your oven to 190°C. Roll out the chilled dough on a lightly floured surface to about 3mm thickness and a diameter of approximately 30cm. Carefully transfer to your pie dish, gently pressing it into the corners without stretching. Trim any excess, leaving a 2cm overhang, then fold under and crimp the edges decoratively.</li><li class="MethodStepper"><h4 class="step-title">Step 5</h4>Line the crust with parchment paper and fill with pie weights or dried beans. Blind bake for 15 minutes, then remove the weights and parchment and bake for another 5-7 minutes until the bottom is just beginning to color. Cool completely on a wire rack.</li><li class="MethodStepper"><h4 class="step-title">Step 6</h4>For the butterscotch filling, melt the butter in a heavy-bottomed saucepan over medium heat. Add the brown sugar and stir continuously until the mixture is bubbling and the sugar has completely dissolved, about 4-5 minutes. This caramelization process creates the deep, complex flavor that defines true butterscotch.</li><li class="MethodStepper"><h4 class="step-title">Step 7</h4>In a separate bowl, whisk together 400ml of the milk, cornstarch, and salt until smooth. Gradually whisk the remaining 100ml milk into the egg yolks. Set both mixtures aside.</li><li class="MethodStepper"><h4 class="step-title">Step 8</h4>Slowly pour the cornstarch mixture into the caramelized sugar, whisking constantly. The mixture will initially seize and harden - don't panic! Keep whisking over medium heat and it will gradually melt back into a smooth mixture as it heats through.</li><li class="MethodStepper"><h4 class="step-title">Step 9</h4>Continue cooking and whisking until the mixture thickens and large bubbles break on the surface, about 3-4 minutes. Remove from heat and gradually whisk a cup of the hot mixture into the egg yolks to temper them (this prevents them from curdling when added to the hot filling).</li><li class="MethodStepper"><h4 class="step-title">Step 10</h4>Pour the tempered egg mixture back into the saucepan, whisking constantly. Return to medium-low heat and cook for another 2-3 minutes until very thick and glossy. The filling should coat the back of a spoon and leave a clear path when you run your finger through it.</li><li class="MethodStepper"><h4 class="step-title">Step 11</h4>Remove from heat and stir in vanilla extract and Scotch whisky (if using). Pour the filling into the cooled pie crust, smoothing the top with a spatula. Press a piece of plastic wrap directly onto the surface to prevent a skin from forming and refrigerate for at least 4 hours or preferably overnight.</li><li class="MethodStepper"><h4 class="step-title">Step 12</h4>For the meringue topping, ensure your mixing bowl and beaters are completely grease-free (any fat will prevent the whites from whipping properly). In a stand mixer fitted with the whisk attachment, beat egg whites on medium speed until foamy. Add cream of tartar and continue beating until soft peaks form.</li><li class="MethodStepper"><h4 class="step-title">Step 13</h4>Gradually add sugar, one tablespoon at a time, while beating on high speed. Continue beating until stiff, glossy peaks form and all sugar has dissolved (rub a bit between your fingers - it shouldn't feel grainy). Add vanilla and beat just to combine.</li><li class="MethodStepper"><h4 class="step-title">Step 14</h4>Remove the chilled pie from the refrigerator and discard the plastic wrap. Heap the meringue onto the filling, making sure it touches the crust all around (this prevents shrinkage). Use a spatula to create decorative peaks and swirls.</li><li class="MethodStepper"><h4 class="step-title">Step 15</h4>Brown the meringue either by placing under a preheated broiler for 1-2 minutes (watch constantly to prevent burning!) or using a kitchen torch to toast the surface until golden brown. The caramelization adds flavor while creating a beautiful contrast with the bright white meringue beneath.</li><li class="MethodStepper"><h4 class="step-title">Step 16</h4>Refrigerate the pie for at least 2 hours before serving to allow the meringue to set. For the cleanest slices, dip your knife in hot water and wipe dry between cuts. Serve chilled and store any leftovers in the refrigerator for up to 3 days.</li></ol>