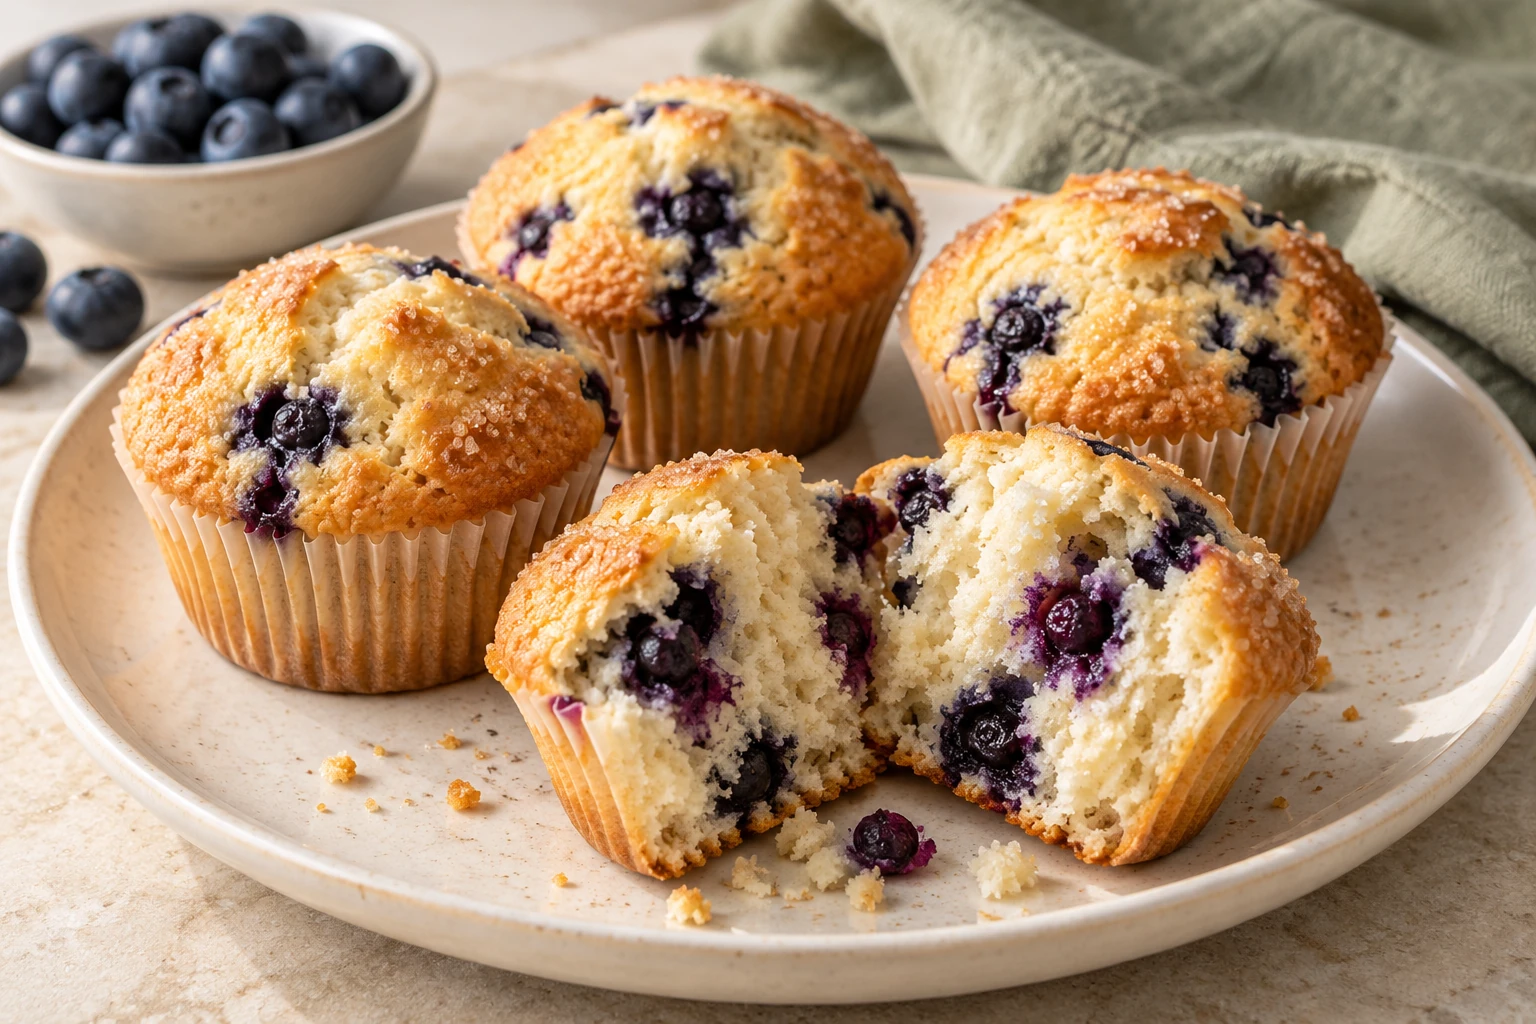
Directions
<ol class="no-list-style"><li class="MethodStepper"><h4 class="step-title">Step 1</h4>Preheat your oven to 190°C (375°F) and line a 12-cup muffin tin with paper liners. Position your oven rack in the middle position for even baking.</li><li class="MethodStepper"><h4 class="step-title">Step 2</h4>In a large bowl, whisk together the flour, baking powder, and salt. The thorough mixing of these dry ingredients ensures your muffins will rise evenly without any pockets of baking powder.</li><li class="MethodStepper"><h4 class="step-title">Step 3</h4>In a separate medium bowl, whisk the sugar, eggs, oil, milk, vanilla extract, and lemon zest (if using) until well combined. The oil, rather than butter, will give your muffins incredible moisture and a tender crumb that stays fresh longer.</li><li class="MethodStepper"><h4 class="step-title">Step 4</h4>Pour the wet ingredients into the dry ingredients and stir gently with a rubber spatula just until incorporated – you should still see some small streaks of flour. Overmixing develops gluten, which can make your muffins tough instead of tender.</li><li class="MethodStepper"><h4 class="step-title">Step 5</h4>Gently fold in the blueberries, being careful not to crush them. If using frozen berries, keep them frozen until the last moment – this prevents the color from bleeding too much into your batter.</li><li class="MethodStepper"><h4 class="step-title">Step 6</h4>Use an ice cream scoop or large spoon to divide the batter evenly among the muffin cups – they should be about 3/4 full. This ensures uniform baking and those beautiful domed tops we're aiming for.</li><li class="MethodStepper"><h4 class="step-title">Step 7</h4>Sprinkle the tops generously with turbinado sugar, which will create a delightful crunchy crust as the muffins bake – one of the hallmarks of professional bakery muffins.</li><li class="MethodStepper"><h4 class="step-title">Step 8</h4>Bake for 5 minutes at 190°C (375°F), then, without opening the oven, reduce the temperature to 180°C (350°F) and bake for an additional 15-17 minutes. This initial high heat helps create that coveted muffin dome.</li><li class="MethodStepper"><h4 class="step-title">Step 9</h4>Your muffins are done when they're golden brown on top and a toothpick inserted in the center comes out clean or with just a few moist crumbs (not wet batter). You might see some blue streaks on the toothpick from the berries – that's perfectly fine!</li><li class="MethodStepper"><h4 class="step-title">Step 10</h4>Allow the muffins to cool in the tin for 5 minutes before transferring to a wire rack. The residual heat will help them set up properly without becoming soggy from condensation.</li><li class="MethodStepper"><h4 class="step-title">Step 11</h4>Enjoy warm or at room temperature. Store completely cooled muffins in an airtight container at room temperature for up to 2 days, or freeze for up to 3 months for a quick breakfast treat anytime!</li></ol>