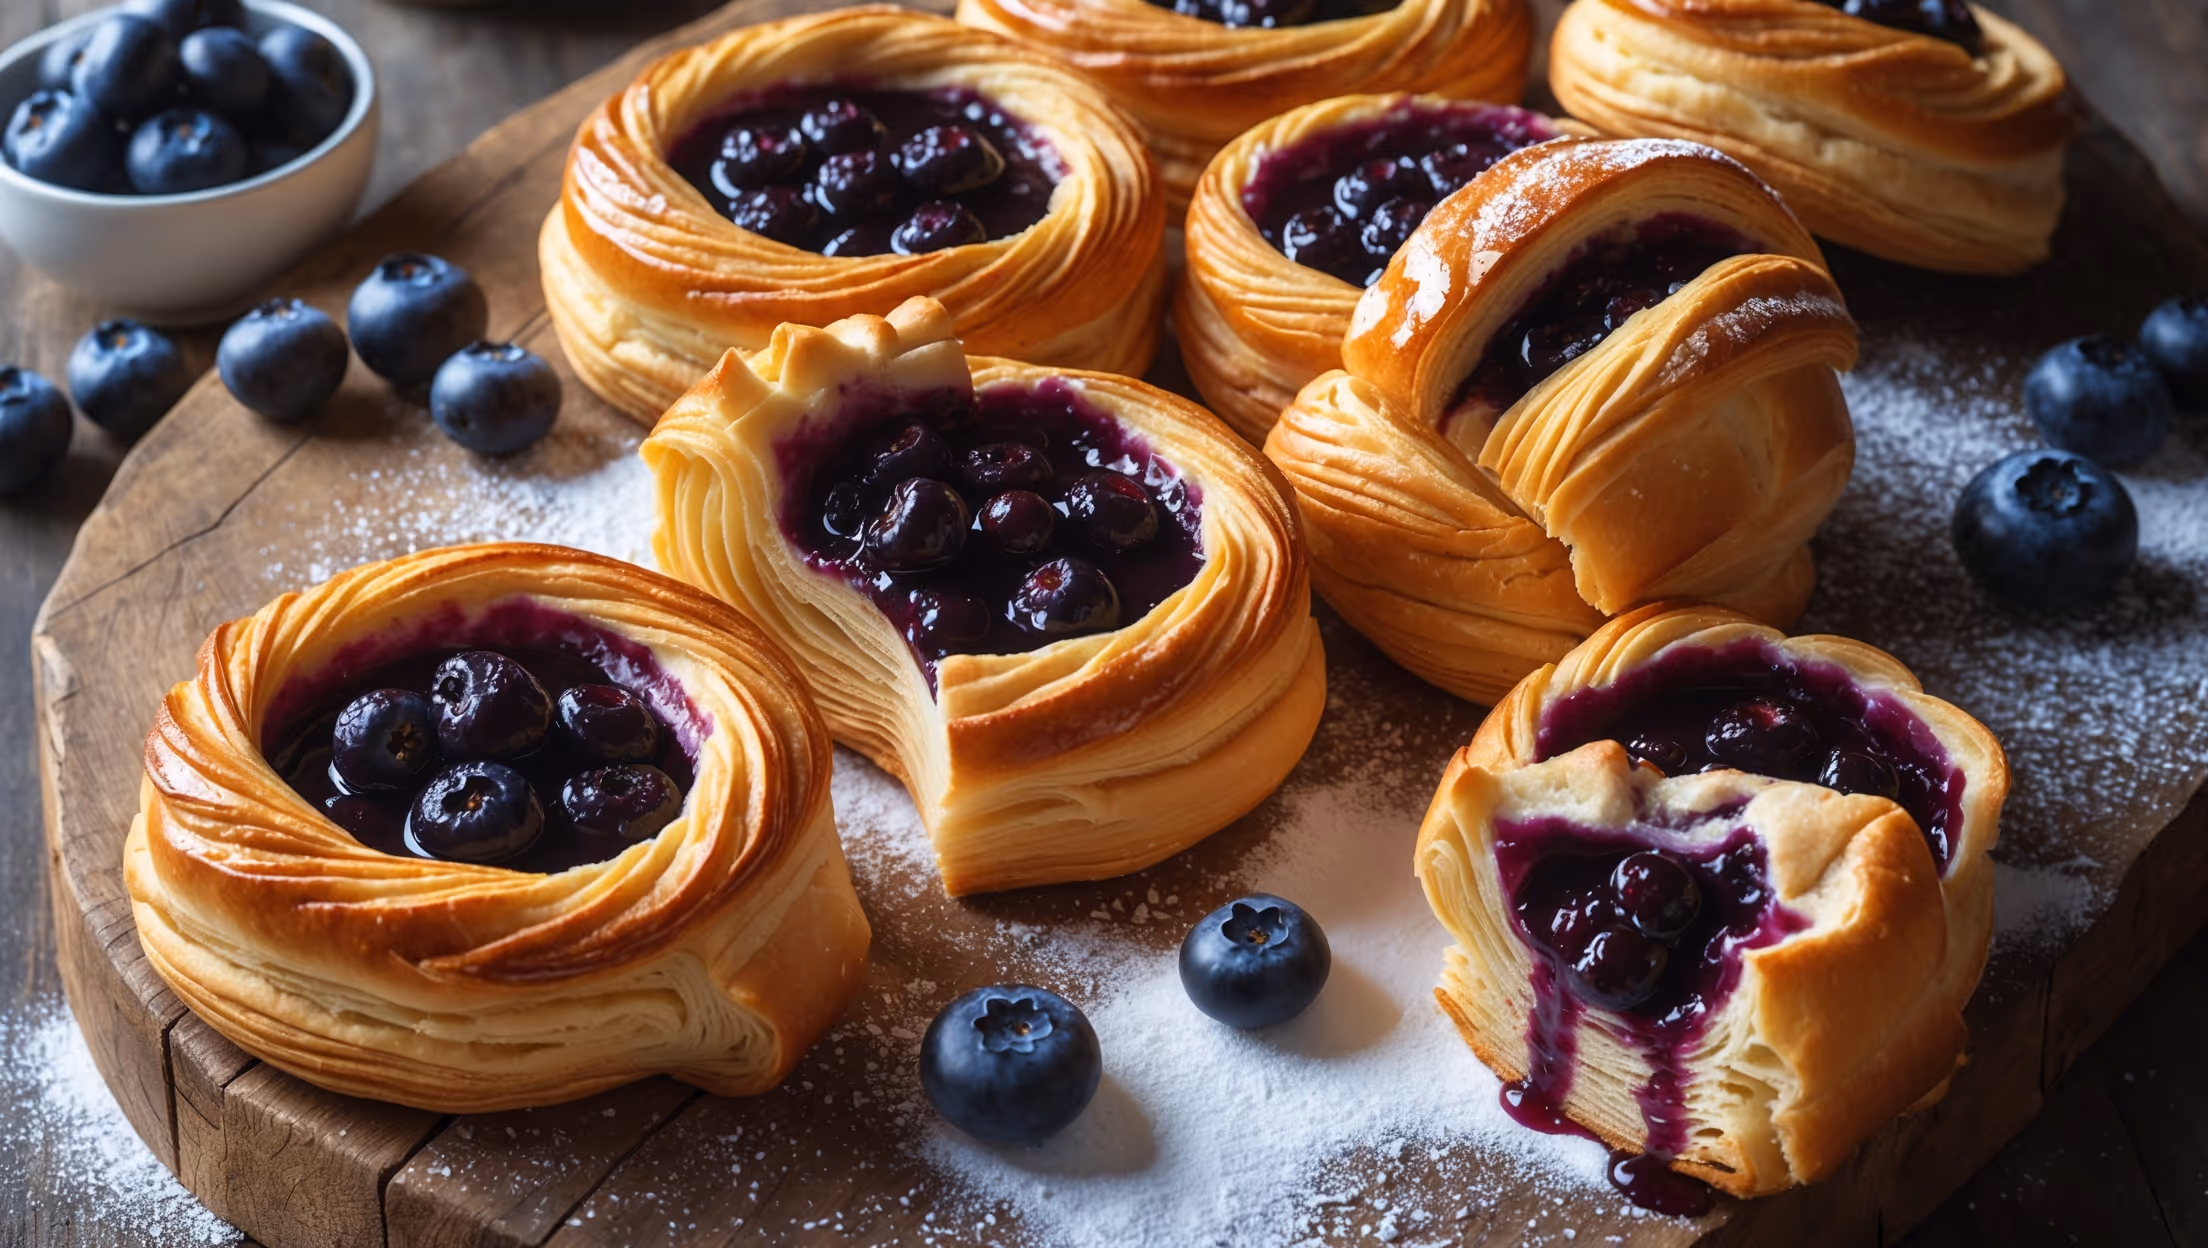
Blueberry Danish Recipe
Ingredients
Equipment
Directions
FAQs
Find answers to your most pressing questions about this delicious recipe right here.
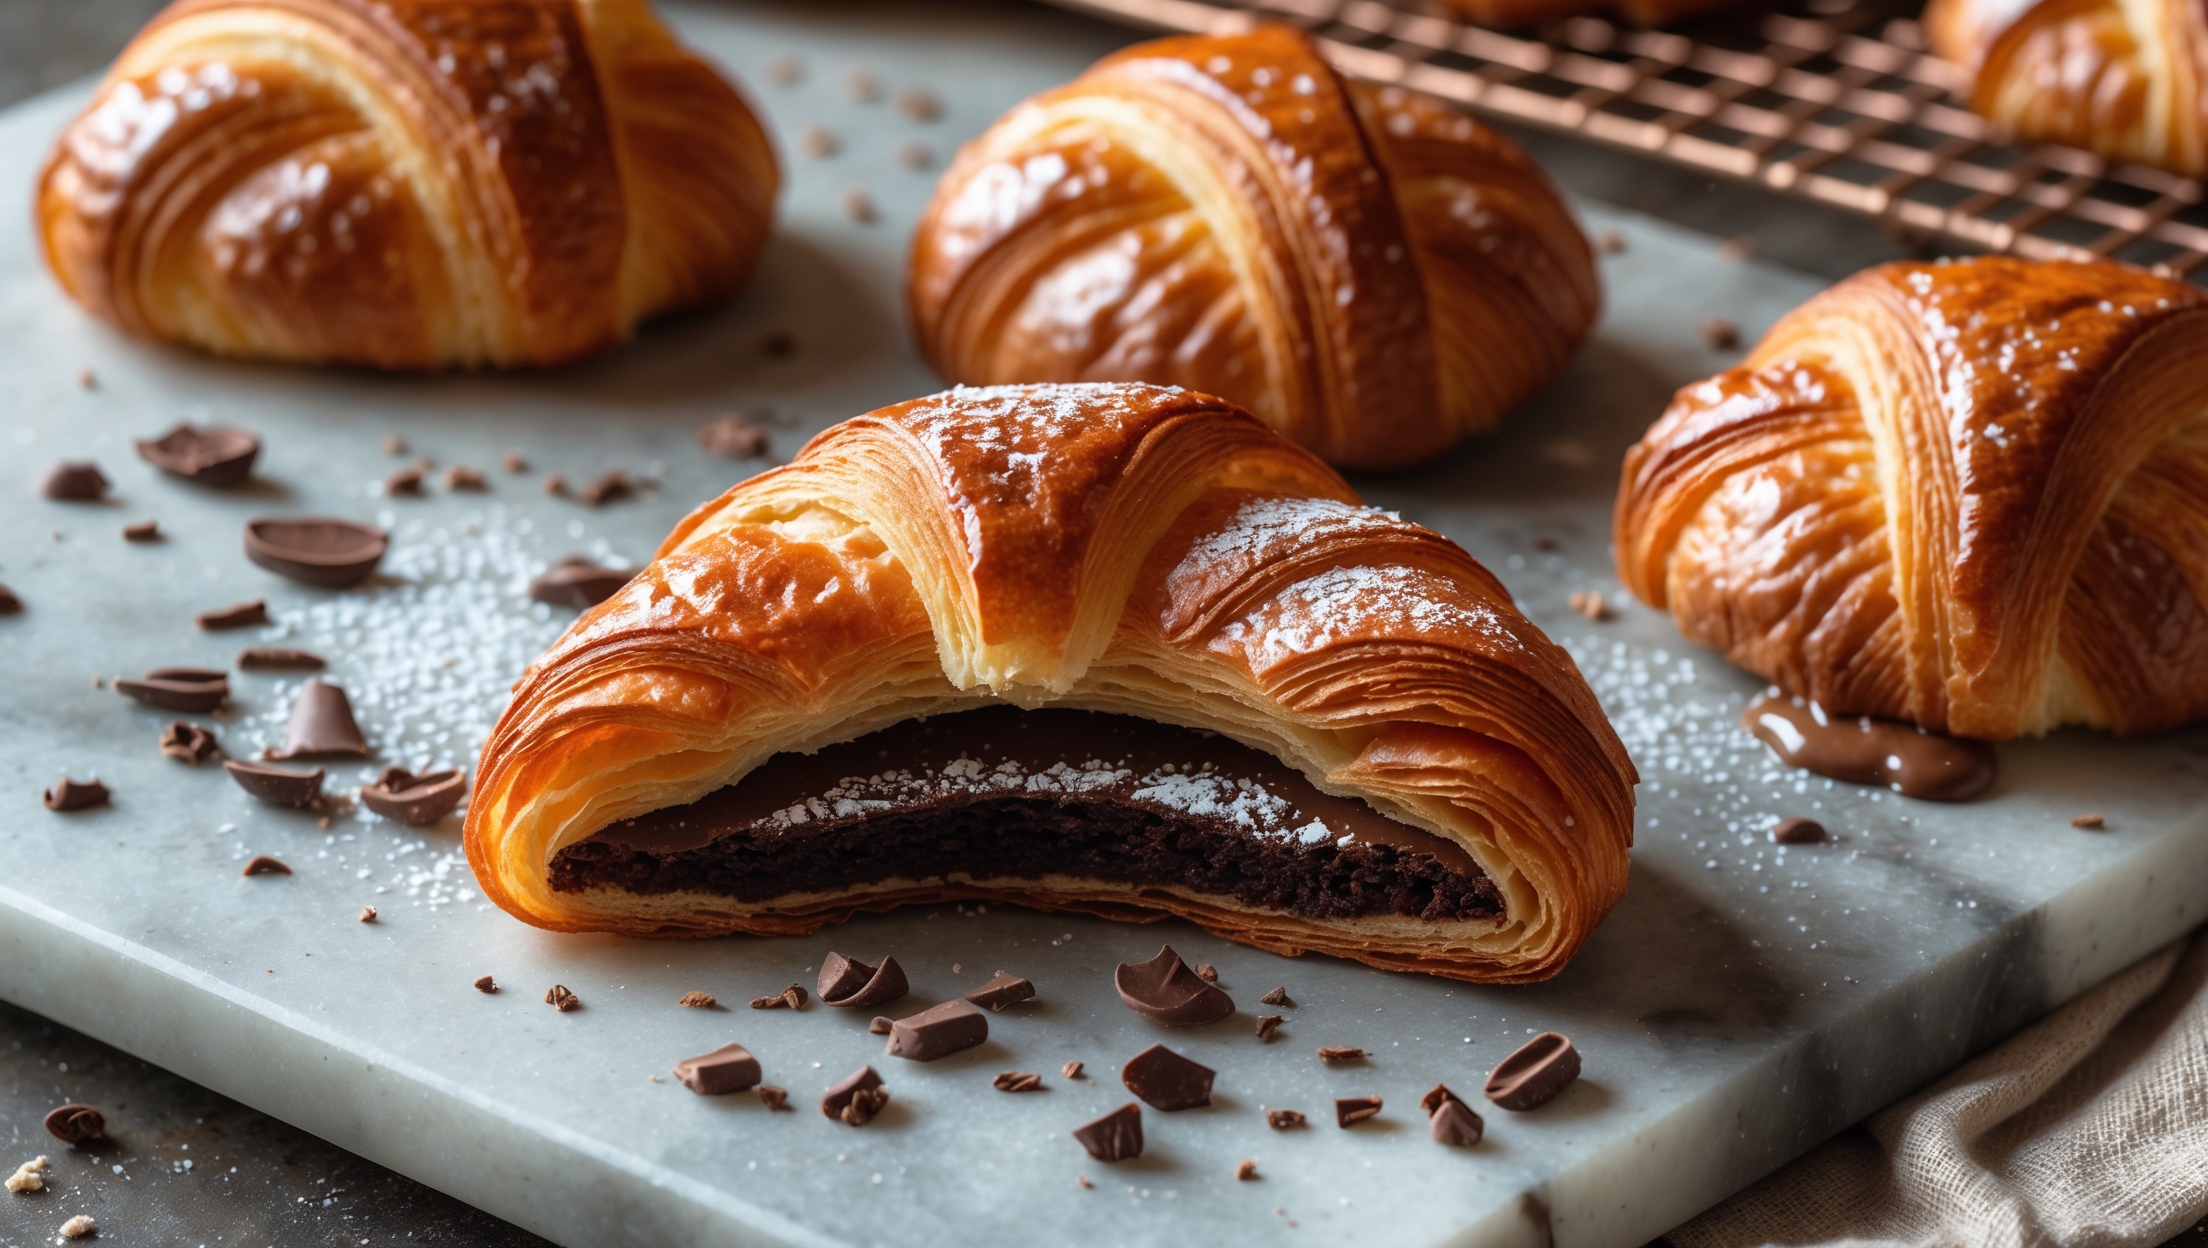
Blueberry Danish requires all-purpose flour, sugar, yeast, salt, milk, eggs, vanilla, cold butter for lamination, fresh blueberries, lemon juice, cornstarch, cinnamon, and powdered sugar for the glaze. The butter and proper lamination technique are essential for achieving authentic flaky layers.
Learn how to cook Blueberry Danish Recipe by mastering the lamination technique - folding butter between layers of yeasted dough, chilling between folds, then shaping into pastries with blueberry filling. Bake at 190°C until golden brown and flaky, then finish with a drizzle of vanilla glaze for bakery-quality results at home.
Yes, frozen blueberries work perfectly for Danish pastry filling. Thaw them first, then follow the recipe as directed. The natural juices released during thawing actually help create a more flavourful filling, though you might need slightly more cornstarch (about ½ tablespoon extra) to achieve the proper thickness.
Insufficient lamination or improper temperature control often causes flat Danish pastries. Keep butter cold but pliable during folding, ensure complete 1-hour chilling between folds, avoid overworking the dough, and use fresh yeast. The distinct layers come from cold butter creating steam pockets during baking.
The secret to flaky laminated pastry lies in temperature control. Keep butter cold but malleable, chill dough between folds, maintain straight edges when rolling, and fold precisely. Create proper "turns" by folding the dough in thirds like a letter. Patient chilling allows gluten to relax, ensuring maximum rise.
Puff Pastry
Try following recommended recipes