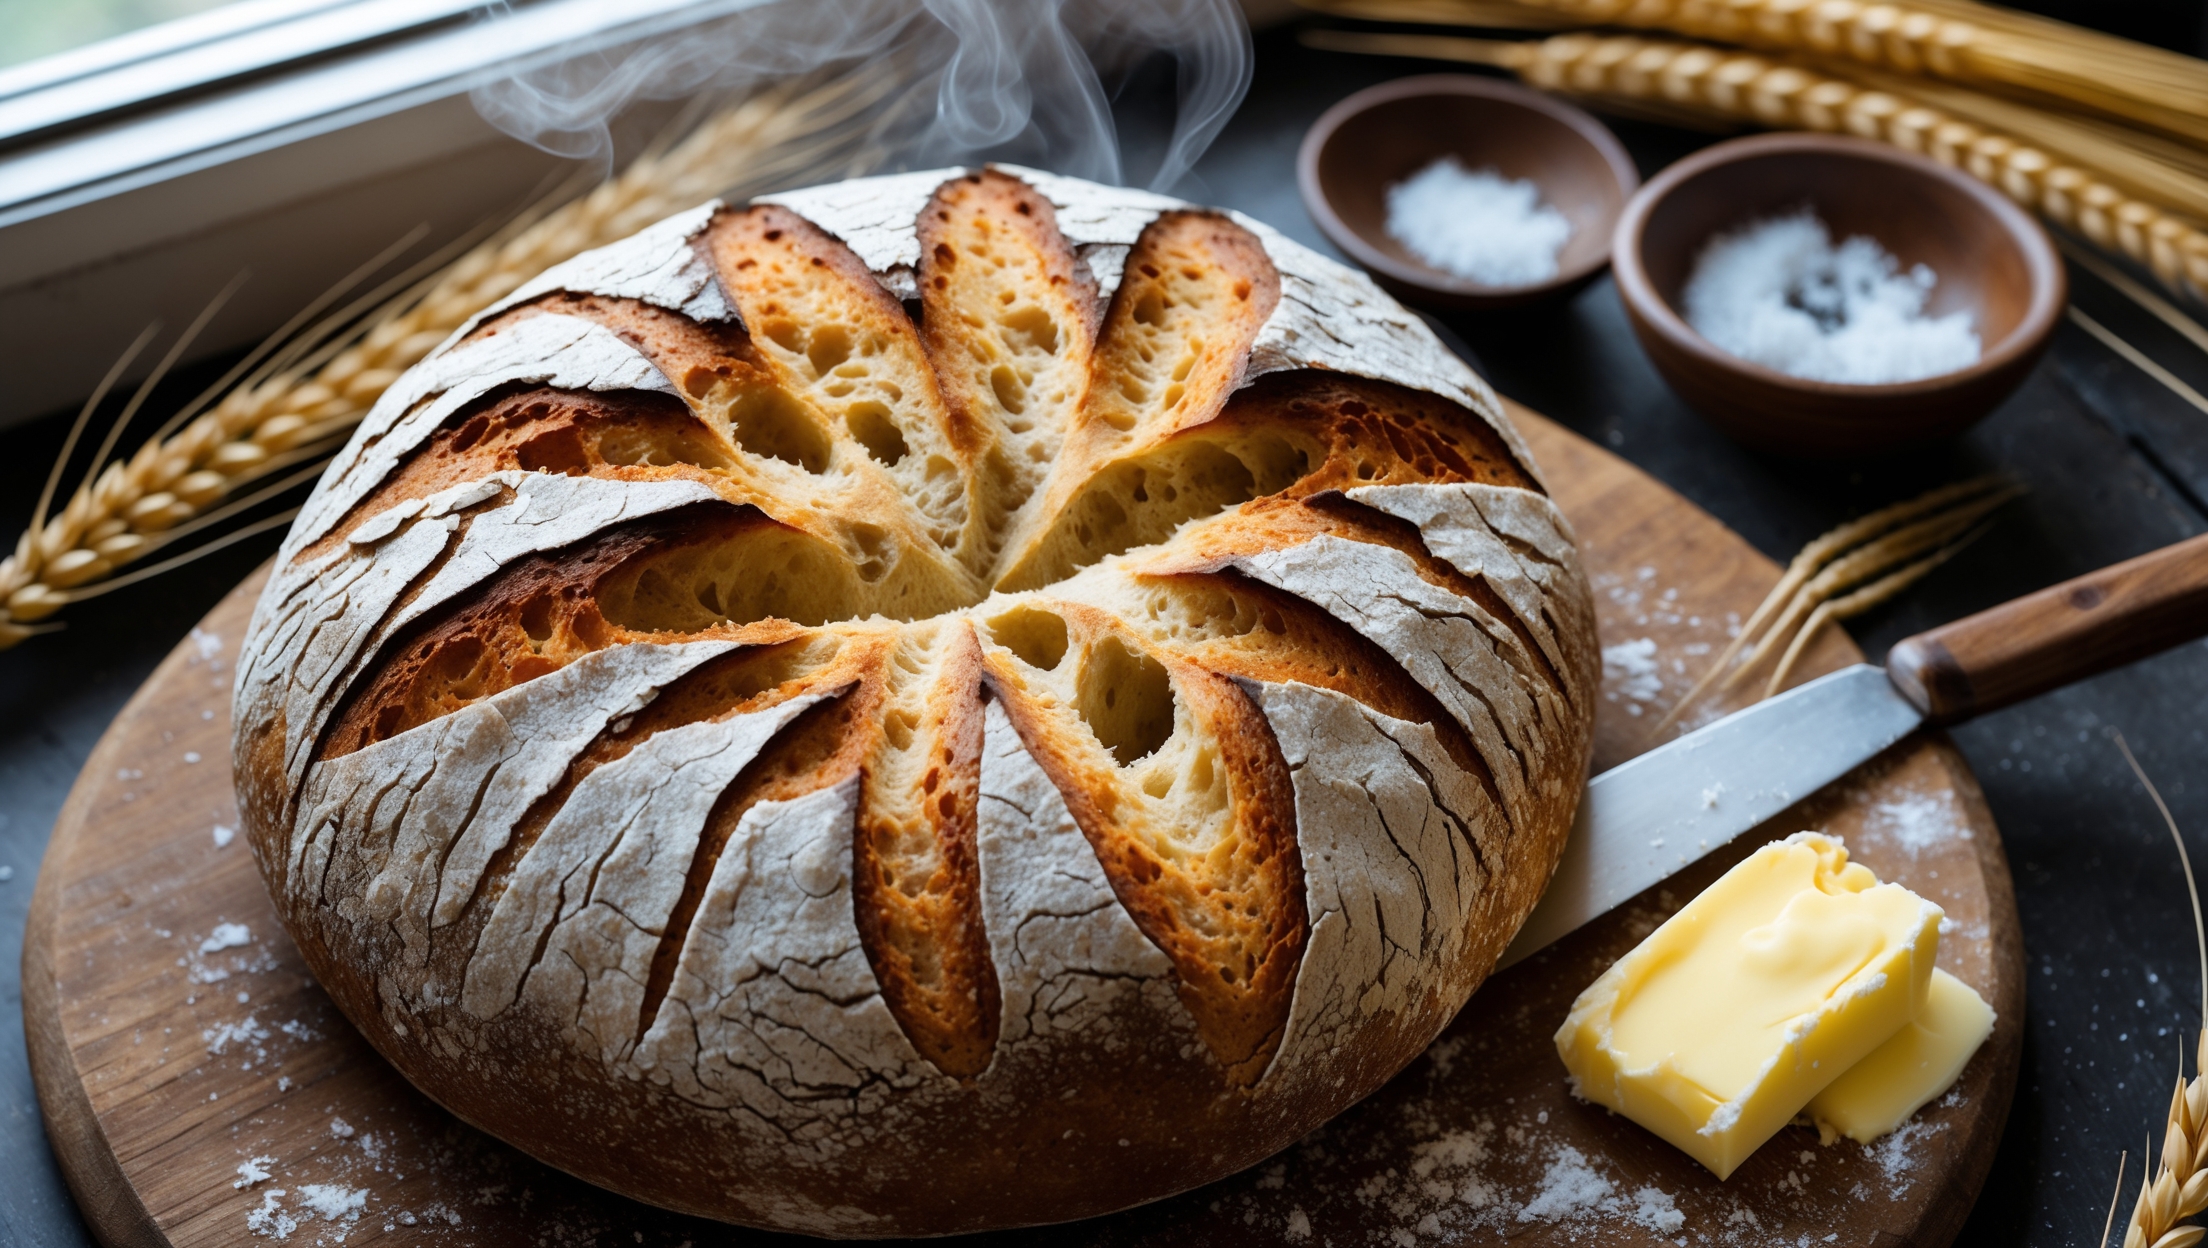
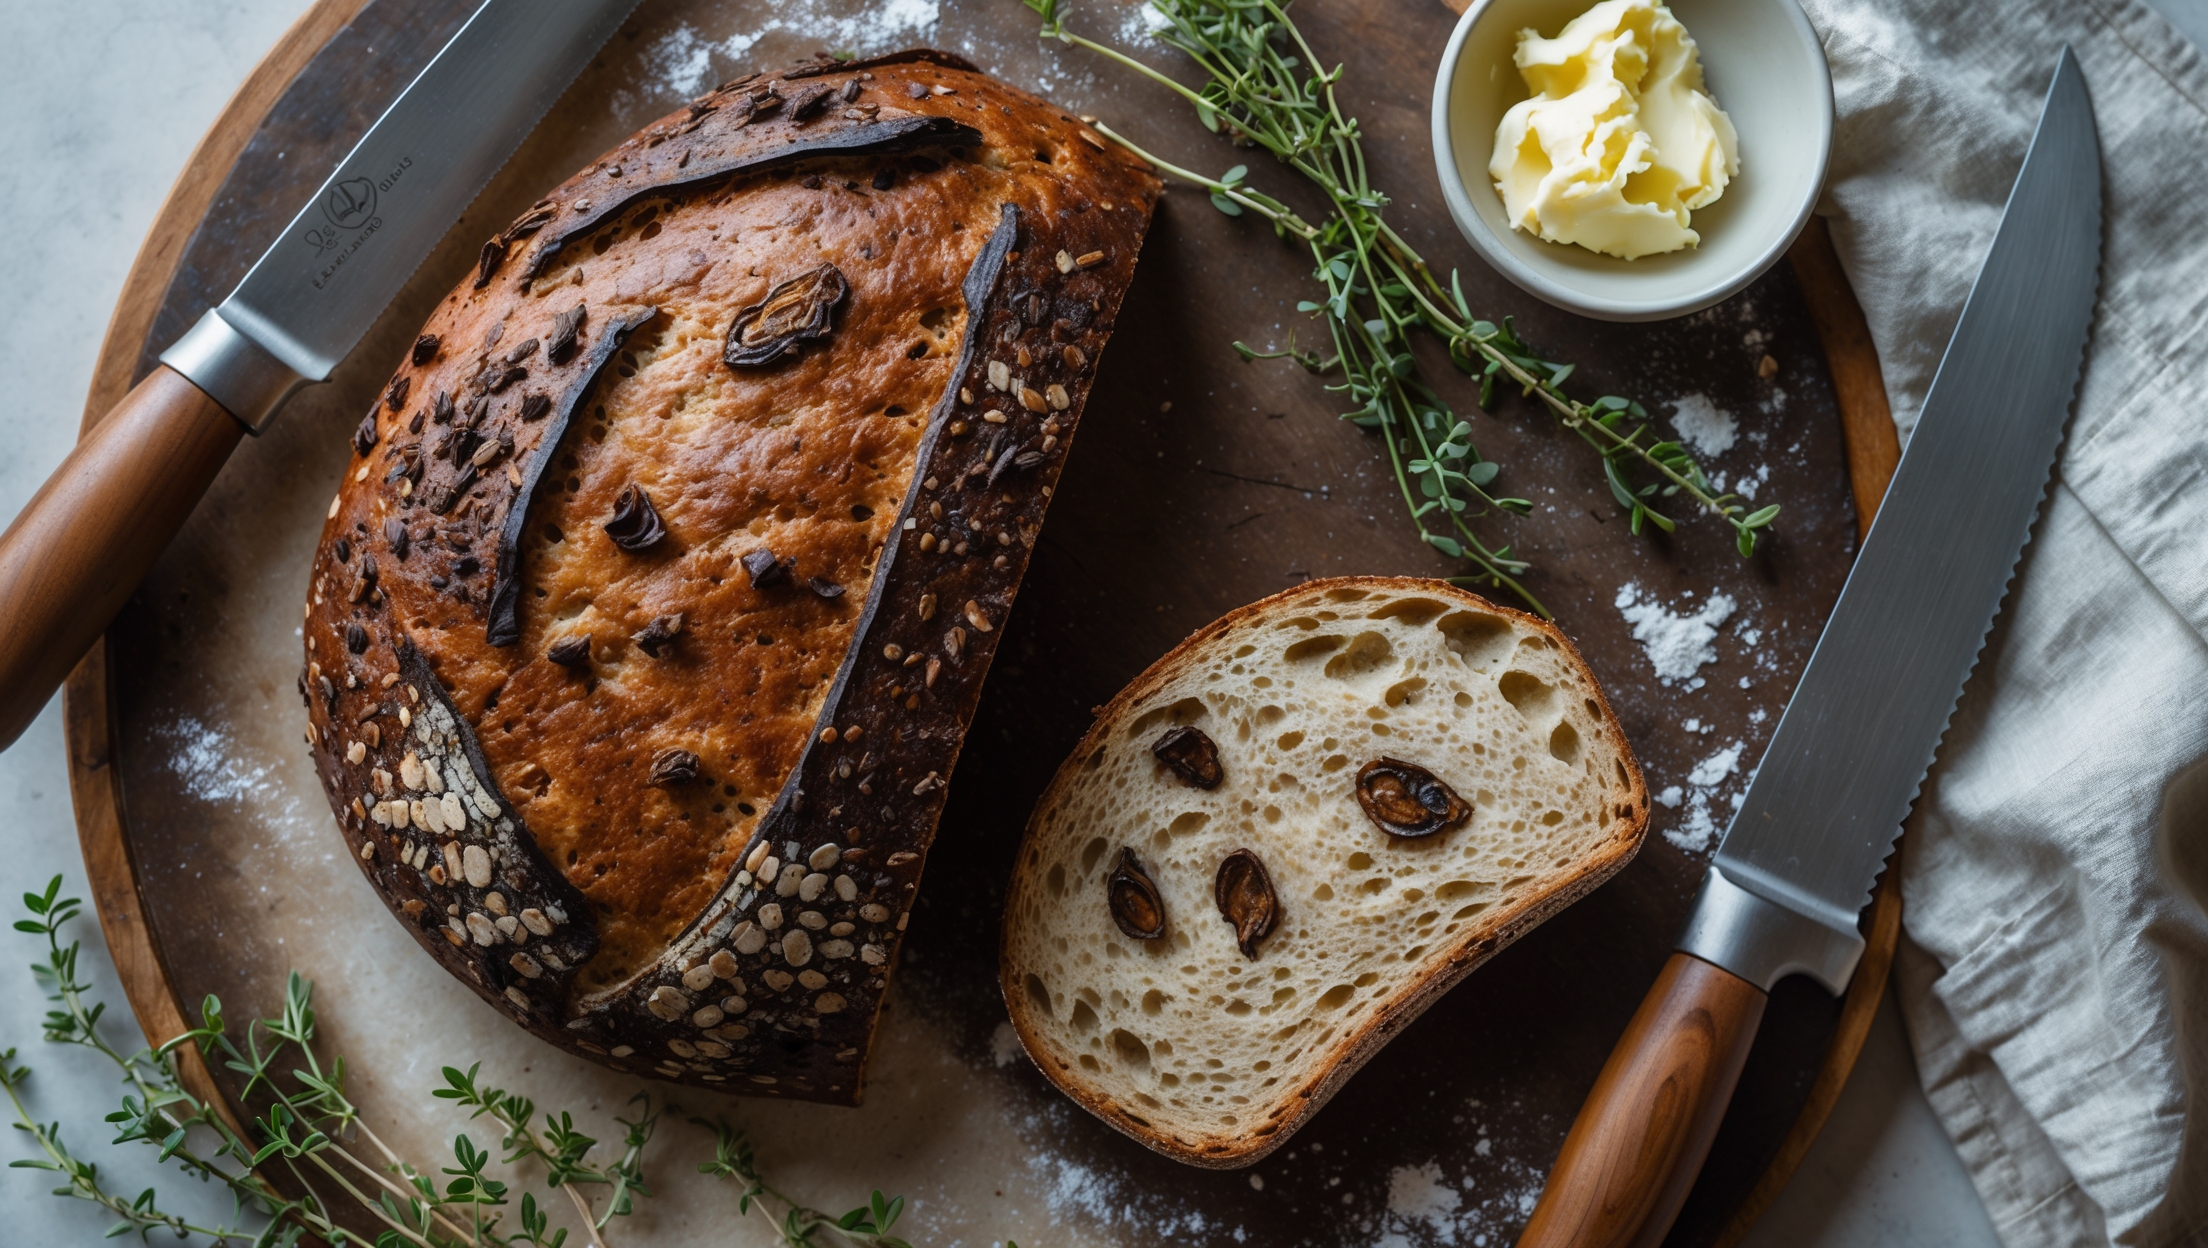
Black Garlic and Smoked Flour Savory Loaf Recipe
Ingredients
Equipment
Directions
FAQs
Find answers to your most pressing questions about this delicious recipe right here.
This artisan bread combines strong bread flour, smoked flour, black garlic, fresh thyme, yeast, salt, butter, olive oil, and water. The black garlic provides deep umami notes while the smoked flour contributes a subtle smokiness that makes this bread uniquely flavourful.
Learn how to cook Black Garlic and Smoked Flour Savory Loaf by first combining flours, salt and yeast, then adding wet ingredients and the black garlic paste. After kneading and two rises, bake the dough in a preheated Dutch oven at 230°C for 25 minutes covered, then 15-20 minutes uncovered until deeply golden and hollow-sounding when tapped.
Yes! Make homemade smoked flour by spreading regular bread flour on a baking tray and placing it in a smoker or BBQ with wood chips for about 1 hour at a low temperature (around 90°C). Alternatively, you can use regular flour with 1 teaspoon of liquid smoke as suggested in the recipe.
Black garlic is regular garlic that's been fermented in controlled heat and humidity, transforming it into a soft, sticky consistency with sweet, balsamic-like flavours and intense umami notes. Unlike raw garlic's sharp pungency, black garlic adds complex, mellow depth to bread without overpowering bitterness.
Allowing bread to cool for at least an hour completes the baking process internally. Cutting too soon releases steam and moisture, resulting in a gummy texture. The cooling period allows the crumb structure to set properly, flavours to develop fully, and prevents the loaf from becoming dense or doughy.
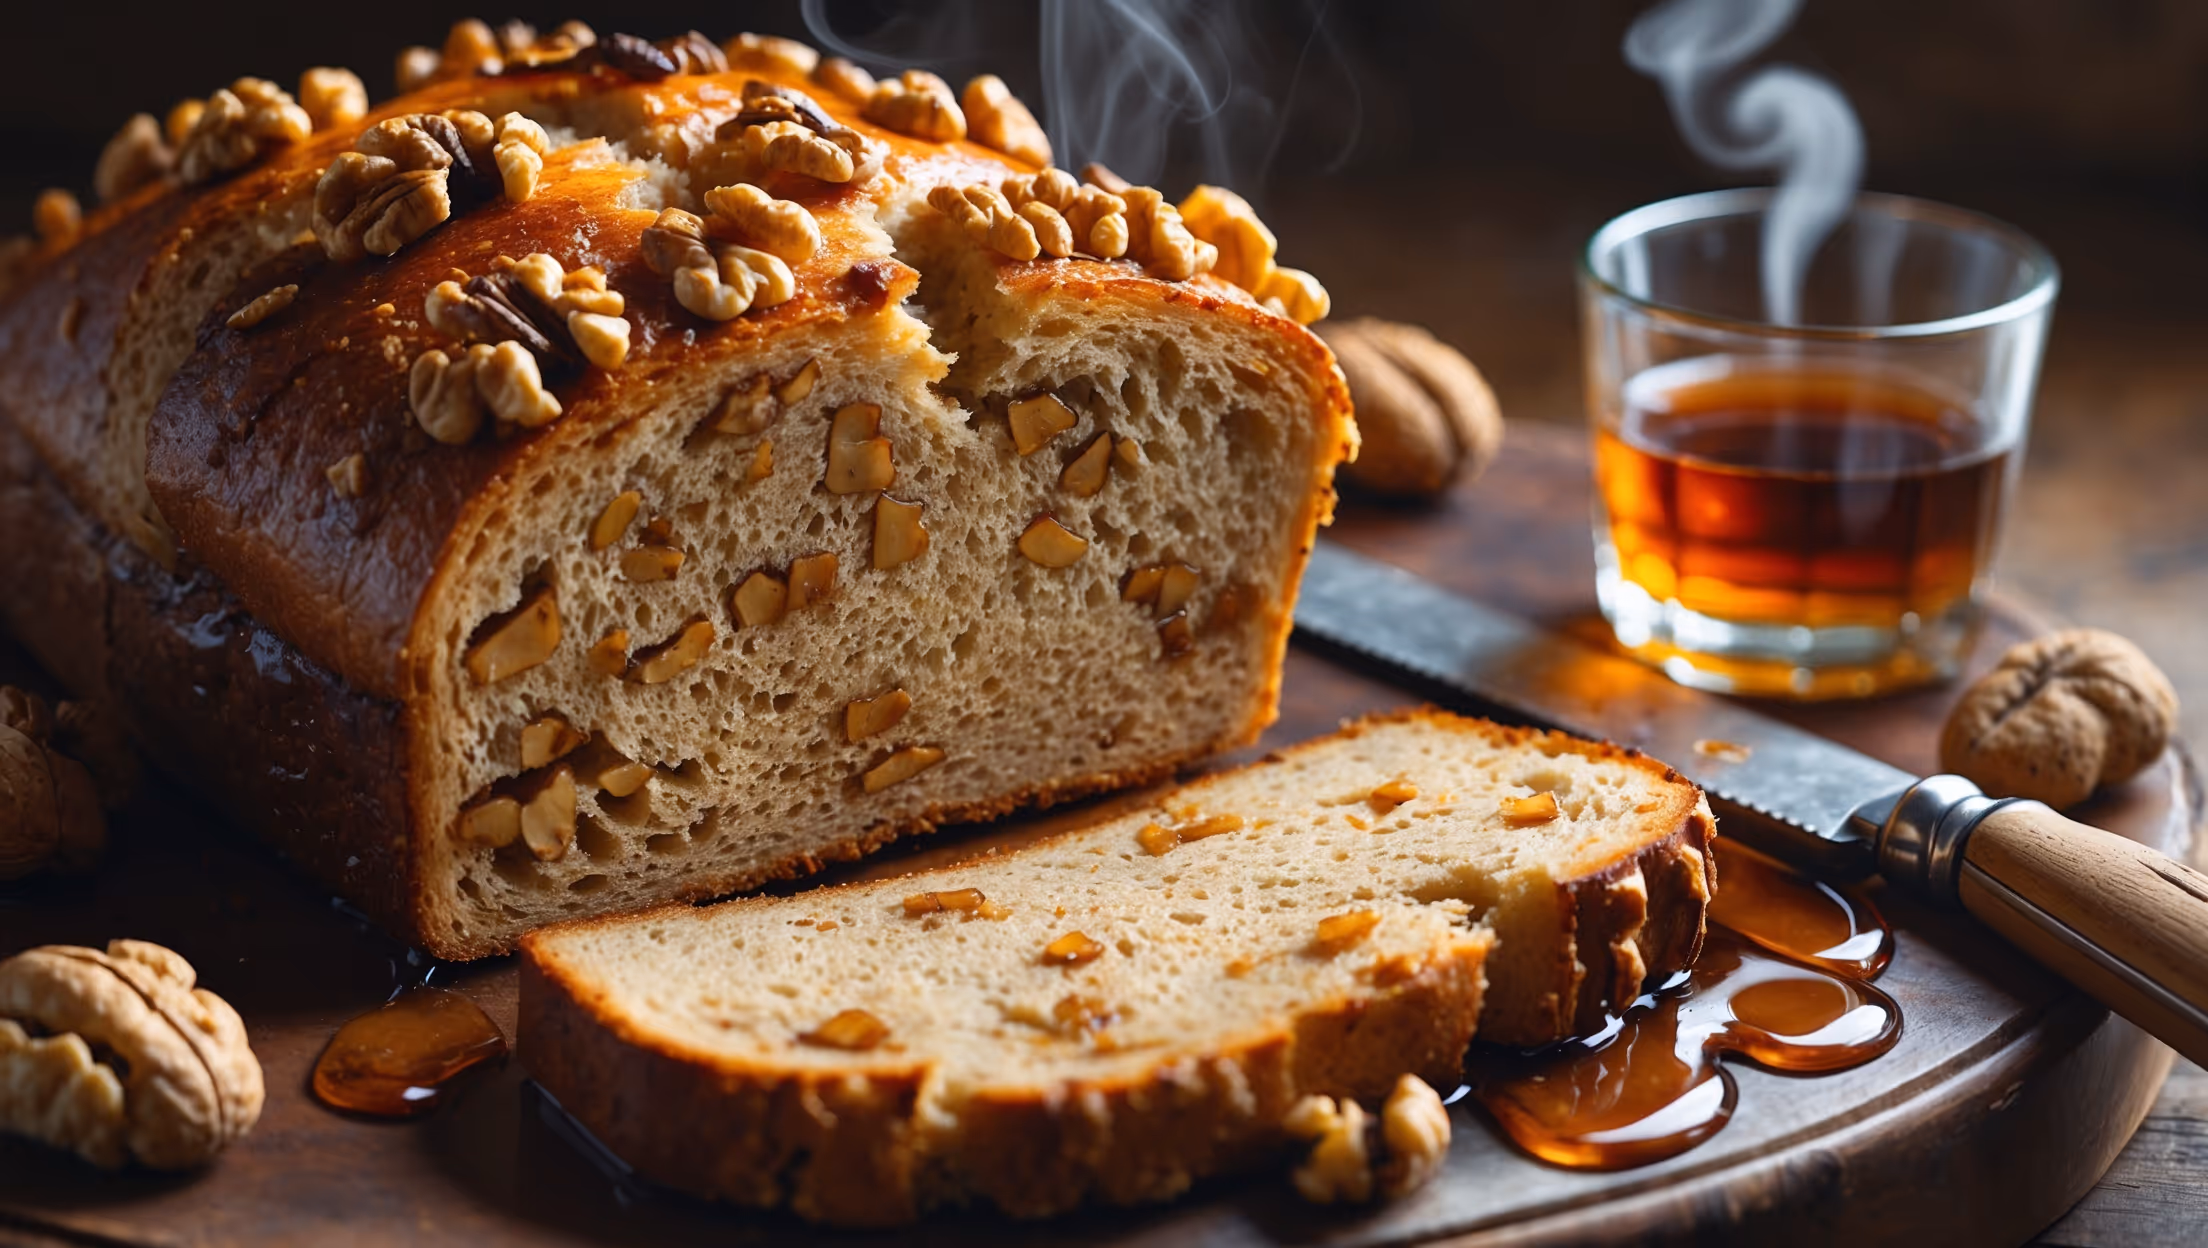
Quick Breads
Try following recommended recipes