Directions
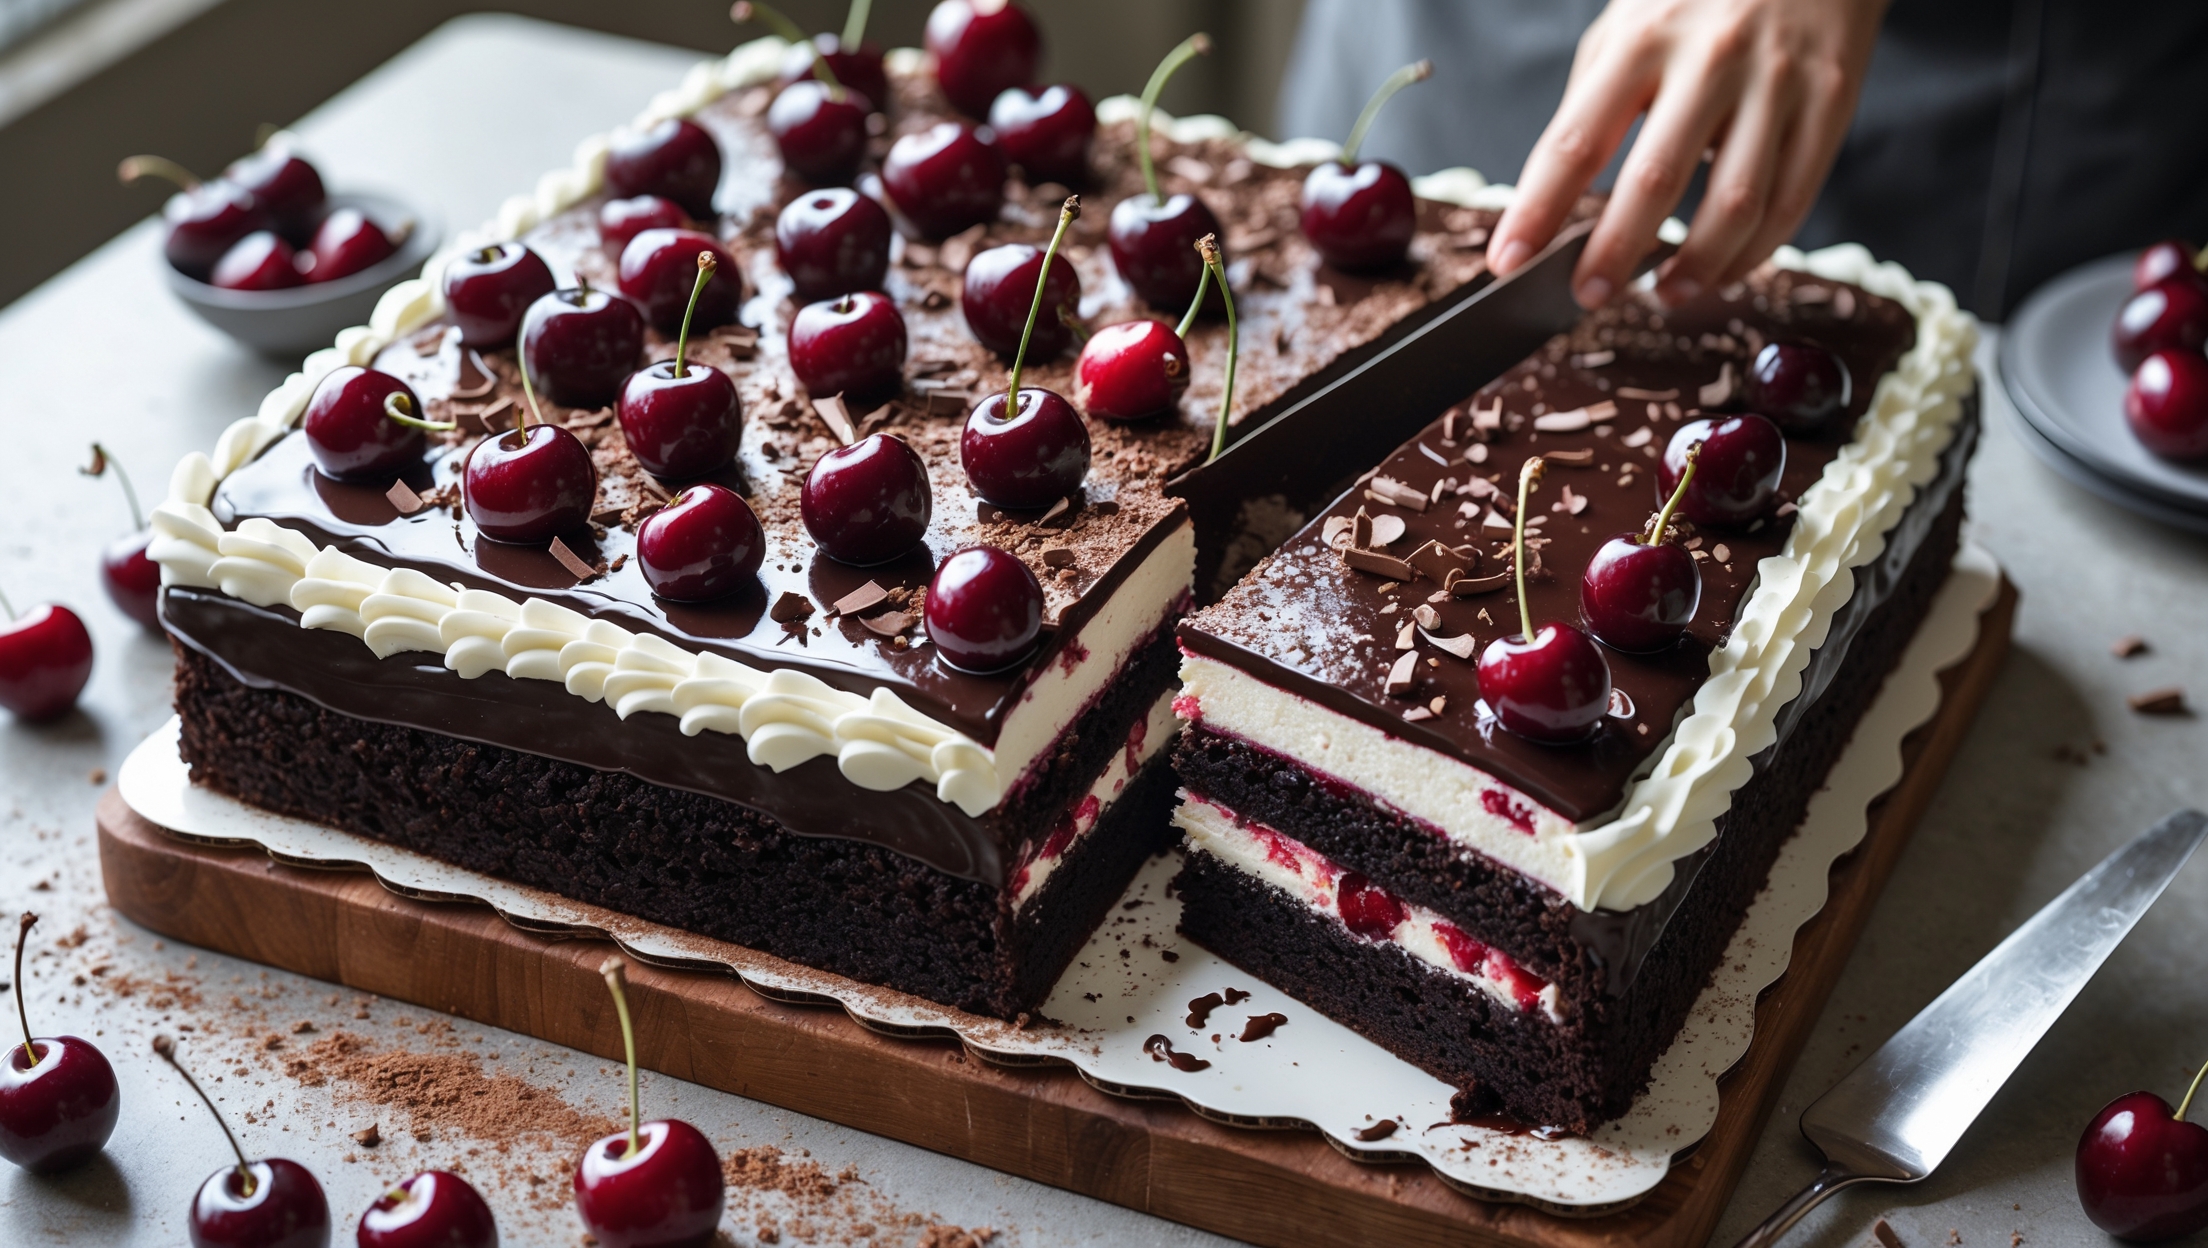
<ol class="no-list-style"><li class="MethodStepper"><h4 class="step-title">Step 1</h4>Preheat your oven to 175°C (350°F). Grease your 33x23cm baking pan and line with parchment paper, leaving an overhang on the sides to easily lift the cake out later.</li><li class="MethodStepper"><h4 class="step-title">Step 2</h4>For the chocolate cake, whisk together the flour, sugar, cocoa powder, baking soda, baking powder, and salt in a large bowl until well combined. The cocoa powder tends to form clumps, so be thorough with your whisking to ensure a smooth batter later.</li><li class="MethodStepper"><h4 class="step-title">Step 3</h4>In a separate bowl, whisk together the eggs, buttermilk, oil, and vanilla extract until smooth. Gradually add the wet ingredients to the dry ingredients, mixing with a spatula or mixer on low speed until just combined. Be careful not to overmix, as this can develop too much gluten and result in a tough cake.</li><li class="MethodStepper"><h4 class="step-title">Step 4</h4>Slowly pour in the hot coffee or water while stirring. The batter will be quite thin—this is normal and creates a wonderfully moist cake! The hot liquid helps to bloom the cocoa powder, intensifying the chocolate flavor.</li><li class="MethodStepper"><h4 class="step-title">Step 5</h4>Pour the batter into your prepared pan and bake for 30-35 minutes, or until a toothpick inserted in the center comes out with a few moist crumbs (not wet batter). Don't overbake or your cake will dry out! Allow the cake to cool completely in the pan placed on a wire rack.</li><li class="MethodStepper"><h4 class="step-title">Step 6</h4>While the cake cools, prepare the cherry filling. In a medium saucepan, combine the cherries, sugar, cornstarch, and lemon juice. If using frozen cherries, there's no need to thaw them first. Cook over medium heat, stirring frequently, until the mixture comes to a boil and thickens, about 5-8 minutes.</li><li class="MethodStepper"><h4 class="step-title">Step 7</h4>Remove the cherry mixture from heat and stir in the Kirsch or cherry juice. The alcohol in the Kirsch will mostly cook off, leaving that distinctive Black Forest flavor. Allow the filling to cool completely; it will continue to thicken as it cools.</li><li class="MethodStepper"><h4 class="step-title">Step 8</h4>Once both the cake and filling are completely cool, use a fork to poke holes all over the top of the cake. This helps the cherry juices seep into the cake, creating that wonderful flavor infusion. Spread the cherry filling evenly over the cake, reserving about 4 tablespoons for garnish if desired.</li><li class="MethodStepper"><h4 class="step-title">Step 9</h4>For the whipped cream topping, chill your mixing bowl and beaters in the freezer for 15 minutes first—this helps achieve the stiffest peaks. Beat the cold heavy cream, powdered sugar, and vanilla extract, starting on low speed and gradually increasing to high, until stiff peaks form. Watch carefully as overbeating can turn your cream into butter!</li><li class="MethodStepper"><h4 class="step-title">Step 10</h4>Gently spread the whipped cream over the cherry layer using an offset spatula. Create decorative swirls for a professional finish. The whipped cream should be firm enough to hold its shape but still spreadable.</li><li class="MethodStepper"><h4 class="step-title">Step 11</h4>Decorate the top of the cake with chocolate shavings, scattering them generously across the surface. Then add the fresh cherries with stems, placing them strategically for the most attractive presentation. If you reserved some cherry filling, you can dot small spoonfuls between the cherries.</li><li class="MethodStepper"><h4 class="step-title">Step 12</h4>Refrigerate the cake for at least 2 hours before serving to allow the flavors to meld and the layers to set. This cake is best enjoyed within 2 days and must be kept refrigerated due to the whipped cream topping. Before serving, let it sit at room temperature for 15 minutes to take the chill off and enhance the flavors.</li></ol>