Directions
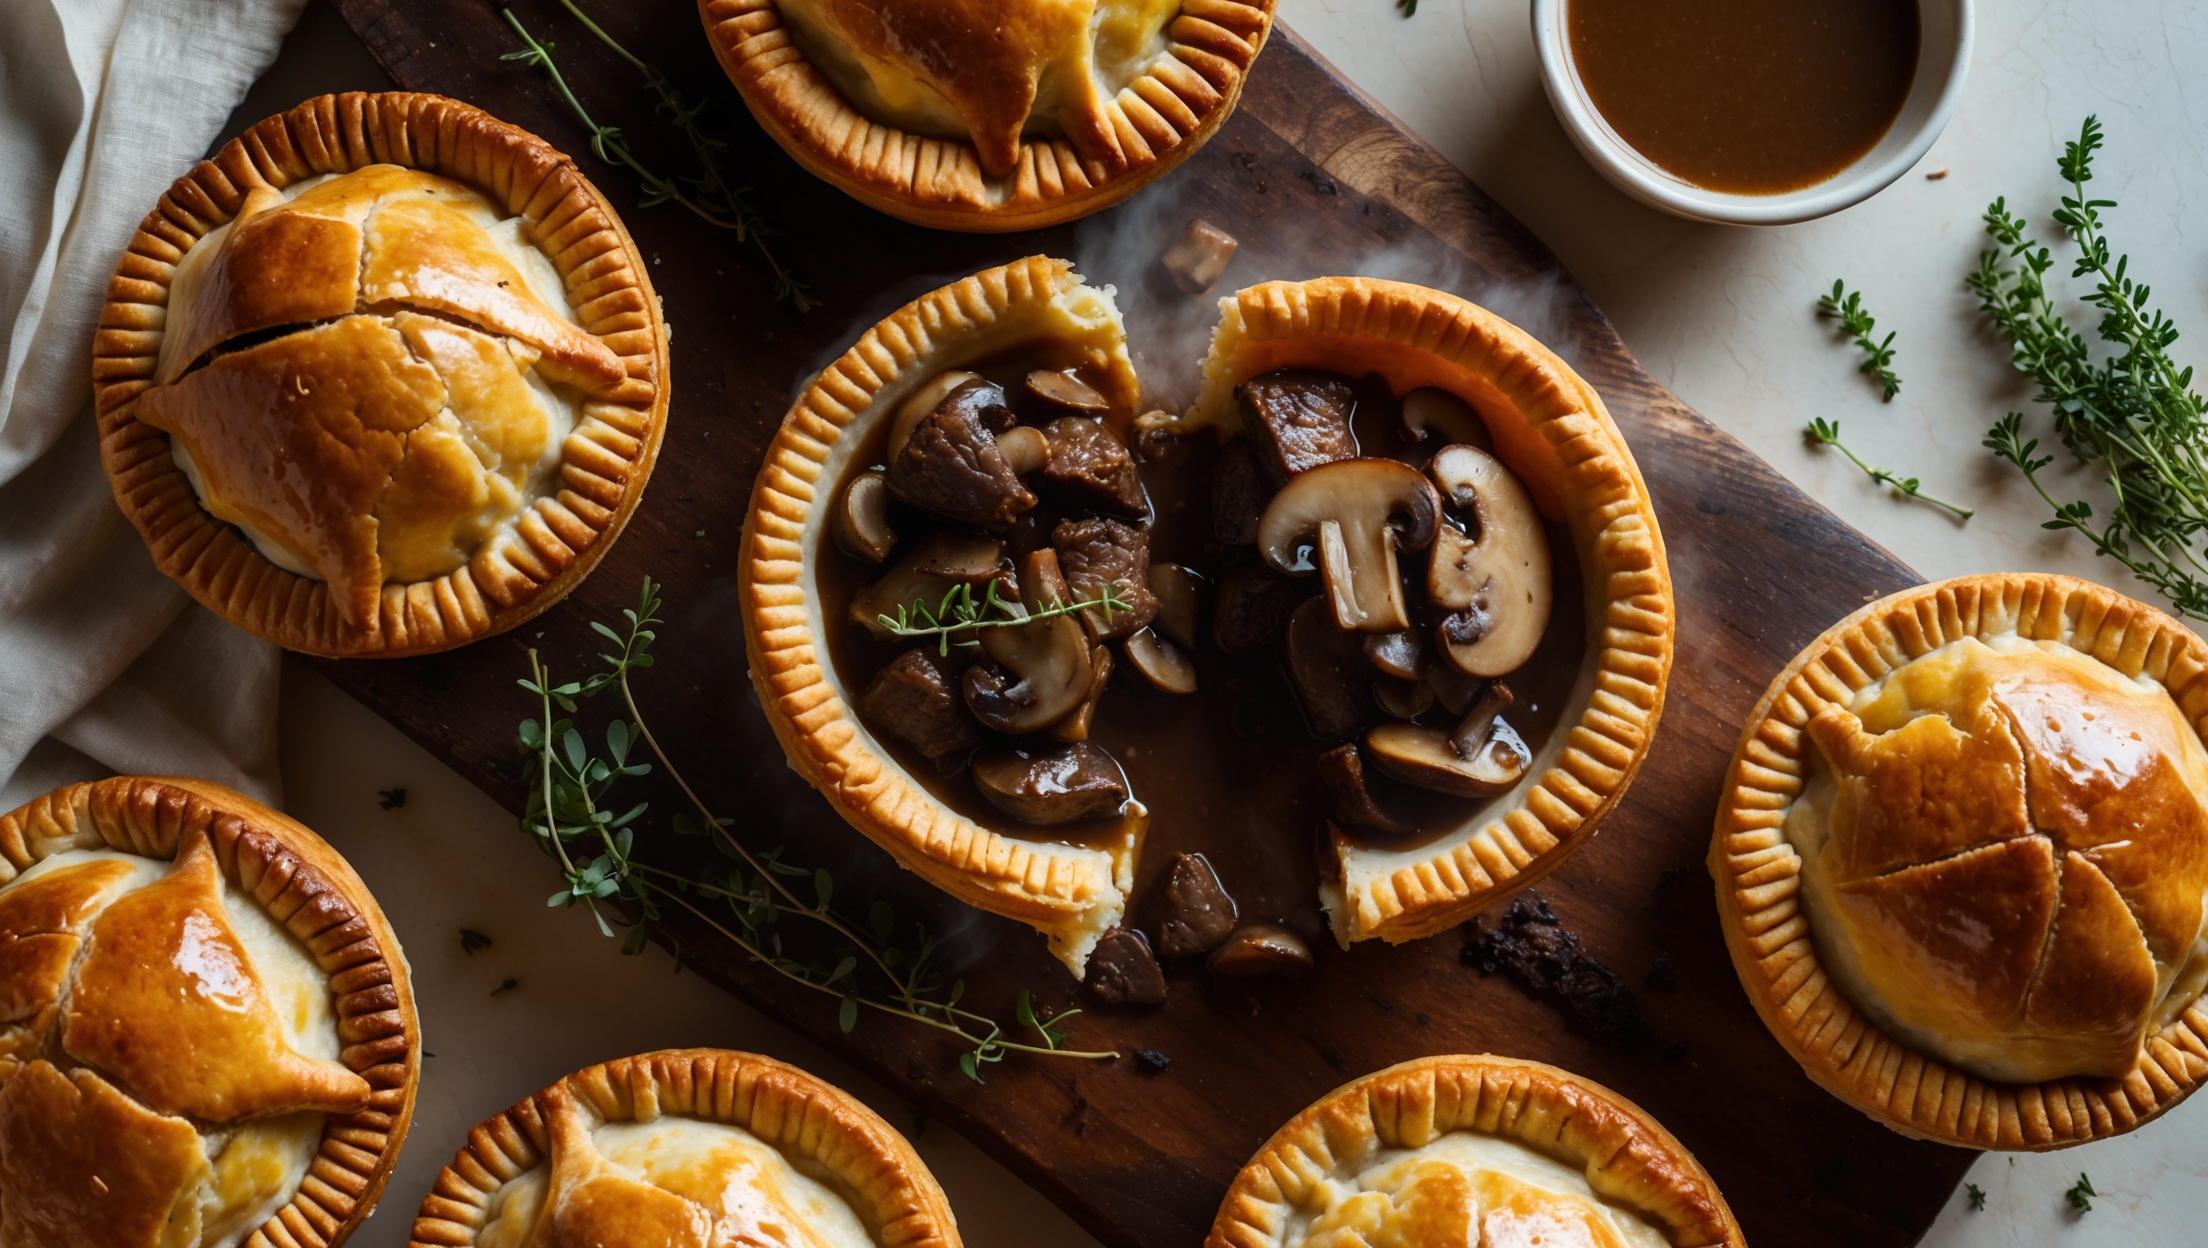
<ol class="no-list-style"> <li class="MethodStepper"> <h4 class="step-title">Step 1</h4> Pat the beef pieces dry with paper towels - this is crucial for achieving proper browning. Season generously with salt and pepper. Heat 2 tablespoons of olive oil in a large heavy-based casserole dish over high heat until shimmering. Working in batches to avoid overcrowding (which would steam rather than brown the meat), sear the beef until deeply browned on all sides, about 2-3 minutes per batch. Transfer to a plate and set aside. </li> <li class="MethodStepper"> <h4 class="step-title">Step 2</h4> Reduce heat to medium and add remaining tablespoon of oil to the same pan. Add onions, celery, and carrots, cooking until softened, about 5-7 minutes. Add the mushrooms and cook for another 5 minutes until they've released their moisture and started to brown. Add the garlic and cook for 1 minute until fragrant. </li> <li class="MethodStepper"> <h4 class="step-title">Step 3</h4> Stir in the tomato paste and cook for 1-2 minutes until it darkens slightly (this develops umami flavors). Sprinkle the flour over the vegetables and stir continuously for 2 minutes to cook out the raw flour taste - this will help thicken your gravy. </li> <li class="MethodStepper"> <h4 class="step-title">Step 4</h4> Gradually pour in the red wine, stirring constantly and scraping up any browned bits from the bottom of the pan (these contain incredible flavor). Allow the wine to simmer and reduce by half, about 3-4 minutes. </li> <li class="MethodStepper"> <h4 class="step-title">Step 5</h4> Add the beef stock, Worcestershire sauce, bay leaves, and thyme. Return the beef to the pan along with any accumulated juices. Bring to a simmer, then reduce heat to very low. Cover and cook for 1.5-2 hours, stirring occasionally, until the beef is fork-tender. The filling should be rich and thickened - if it's too liquid, simmer uncovered for the final 15-20 minutes to reduce. </li> <li class="MethodStepper"> <h4 class="step-title">Step 6</h4> While the filling cooks, prepare your pastry. Place the flour and salt in a large bowl. Add the cold cubed butter and rub it into the flour using your fingertips until the mixture resembles breadcrumbs with some pea-sized pieces of butter remaining (these create the flaky layers). The butter must remain cold throughout this process for the best pastry texture. </li> <li class="MethodStepper"> <h4 class="step-title">Step 7</h4> Make a well in the center and add the ice-cold water. Using a butter knife, stir until the dough begins to come together. Add a little more water if needed, one teaspoon at a time, but be careful not to make the dough too wet. Gently gather the dough and press together into a ball without kneading (overworking develops gluten, making the pastry tough). </li> <li class="MethodStepper"> <h4 class="step-title">Step 8</h4> Divide the dough into two portions - about 2/3 for the bases and 1/3 for the lids. Wrap each portion in cling film and refrigerate for at least 30 minutes. This resting period allows the gluten to relax and the butter to firm up again. </li> <li class="MethodStepper"> <h4 class="step-title">Step 9</h4> Once the filling has finished cooking, remove the bay leaves and thyme stems. Taste and adjust seasoning if needed. Transfer to a large bowl and allow to cool completely before filling the pies. Warm filling would melt the pastry and prevent proper baking. </li> <li class="MethodStepper"> <h4 class="step-title">Step 10</h4> Preheat your oven to 200°C (180°C fan/gas mark 6). On a lightly floured surface, roll out the larger portion of pastry to about 3-4mm thickness. Cut circles approximately 2cm larger than your pie dishes. Gently press these into your dishes, ensuring there are no air pockets. </li> <li class="MethodStepper"> <h4 class="step-title">Step 11</h4> Fill each pastry case with the cooled beef mixture, mounding slightly in the center but leaving a 1cm border around the edge. Roll out the remaining pastry and cut circles slightly larger than the tops of your dishes. </li> <li class="MethodStepper"> <h4 class="step-title">Step 12</h4> Brush the pastry edges with beaten egg, then place the lids on top. Press the edges together firmly to seal, then trim any excess with a sharp knife. Crimp the edges using your fingers or a fork for decoration and to ensure a good seal. </li> <li class="MethodStepper"> <h4 class="step-title">Step 13</h4> Make a small steam hole in the center of each pie with a knife or the tip of a thermometer. Brush the tops generously with beaten egg for a beautiful golden finish. If you like, you can create decorative patterns on top using any pastry scraps. </li> <li class="MethodStepper"> <h4 class="step-title">Step 14</h4> Place pies on a baking sheet (to catch any overflow) and bake for 25-30 minutes, or until the pastry is deeply golden and crisp. If the tops brown too quickly, cover loosely with foil. </li> <li class="MethodStepper"> <h4 class="step-title">Step 15</h4> Allow pies to rest for 10 minutes before serving - this helps the filling to set slightly and prevents a molten-hot first bite. The pies are delicious served with mashed potatoes and green vegetables for a complete meal. </li> </ol>