Directions
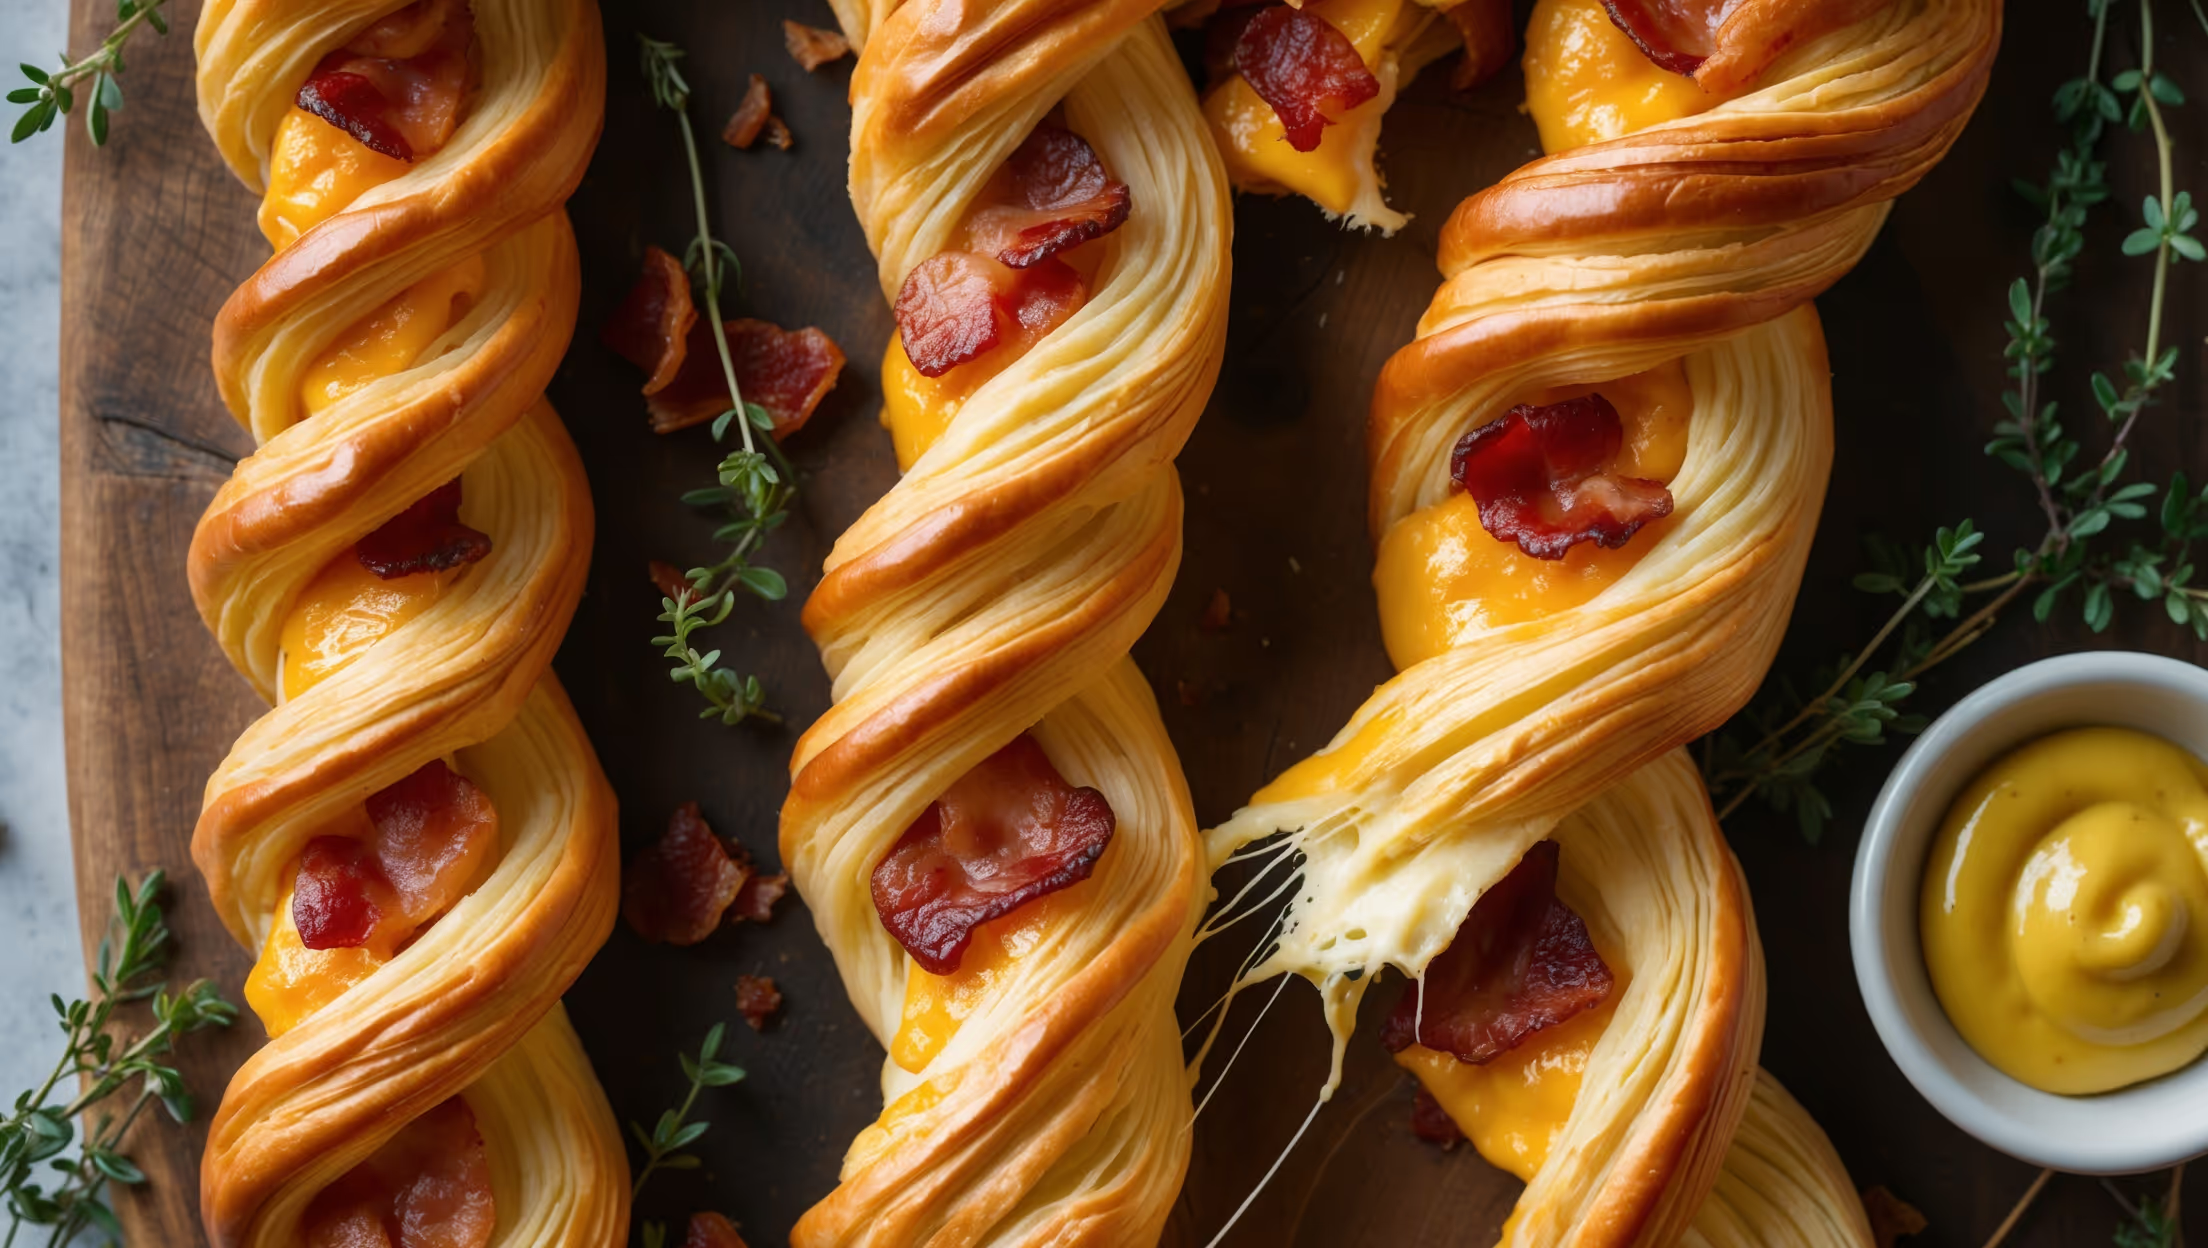
<ol class="no-list-style"> <li class="MethodStepper"> <h4 class="step-title">Step 1</h4> Preheat your oven to 200°C (fan 180°C) and line two baking sheets with parchment paper. The high temperature is crucial for creating those beautifully flaky, crisp layers in your pastry. </li> <li class="MethodStepper"> <h4 class="step-title">Step 2</h4> Cook your bacon in a frying pan until crisp, then drain on kitchen paper and chop finely. The bacon needs to be crispy before baking as it won't crisp up much more inside the pastry. </li> <li class="MethodStepper"> <h4 class="step-title">Step 3</h4> In a bowl, combine the grated cheddar cheese, chopped crispy bacon, fresh thyme, Dijon mustard, black pepper, and smoked paprika if using. Mix thoroughly to ensure the flavors will be evenly distributed throughout your twists. </li> <li class="MethodStepper"> <h4 class="step-title">Step 4</h4> On a lightly floured surface, roll out your puff pastry to approximately a 40cm x 30cm rectangle with an even thickness of about 3-4mm. The uniform thickness ensures even baking and that signature flaky texture. </li> <li class="MethodStepper"> <h4 class="step-title">Step 5</h4> Brush the surface of the pastry lightly with beaten egg, then evenly sprinkle the cheese-bacon mixture over half of the pastry rectangle, leaving a 1cm border around the edges. The egg acts as a "glue" to help the filling stick to the pastry. </li> <li class="MethodStepper"> <h4 class="step-title">Step 6</h4> Fold the empty half of pastry over the filled half and gently press down with your palms to seal. Press the edges firmly to prevent the filling from escaping during baking. </li> <li class="MethodStepper"> <h4 class="step-title">Step 7</h4> Using a sharp knife or pizza cutter, trim the edges to create a neat rectangle, then cut the pastry into approximately 24 strips, each about 1.5cm wide. Clean, decisive cuts help maintain the layers in the pastry for maximum flakiness. </li> <li class="MethodStepper"> <h4 class="step-title">Step 8</h4> Take each strip and twist it several times, gently stretching as you twist. Place the twists on the prepared baking sheets, leaving about 3cm between each one as they will expand during baking. </li> <li class="MethodStepper"> <h4 class="step-title">Step 9</h4> Brush each twist with more beaten egg for a beautiful golden finish, then sprinkle with any remaining cheese if desired. The egg wash creates that irresistible shine and helps with browning. </li> <li class="MethodStepper"> <h4 class="step-title">Step 10</h4> Bake in the preheated oven for 18-20 minutes, until the twists are puffed up and golden brown. You'll know they're done when the cheese is bubbling and the pastry has multiple visible flaky layers. </li> <li class="MethodStepper"> <h4 class="step-title">Step 11</h4> Allow to cool on the baking sheets for 5 minutes before transferring to a wire rack. This brief resting period allows the cheese to set slightly so the twists hold their shape better. Serve warm or at room temperature for the best flavor and texture. These twists are at their crispiest on the day they're made, but can be stored in an airtight container for up to 2 days and refreshed in a hot oven for 2-3 minutes before serving. </li> </ol>