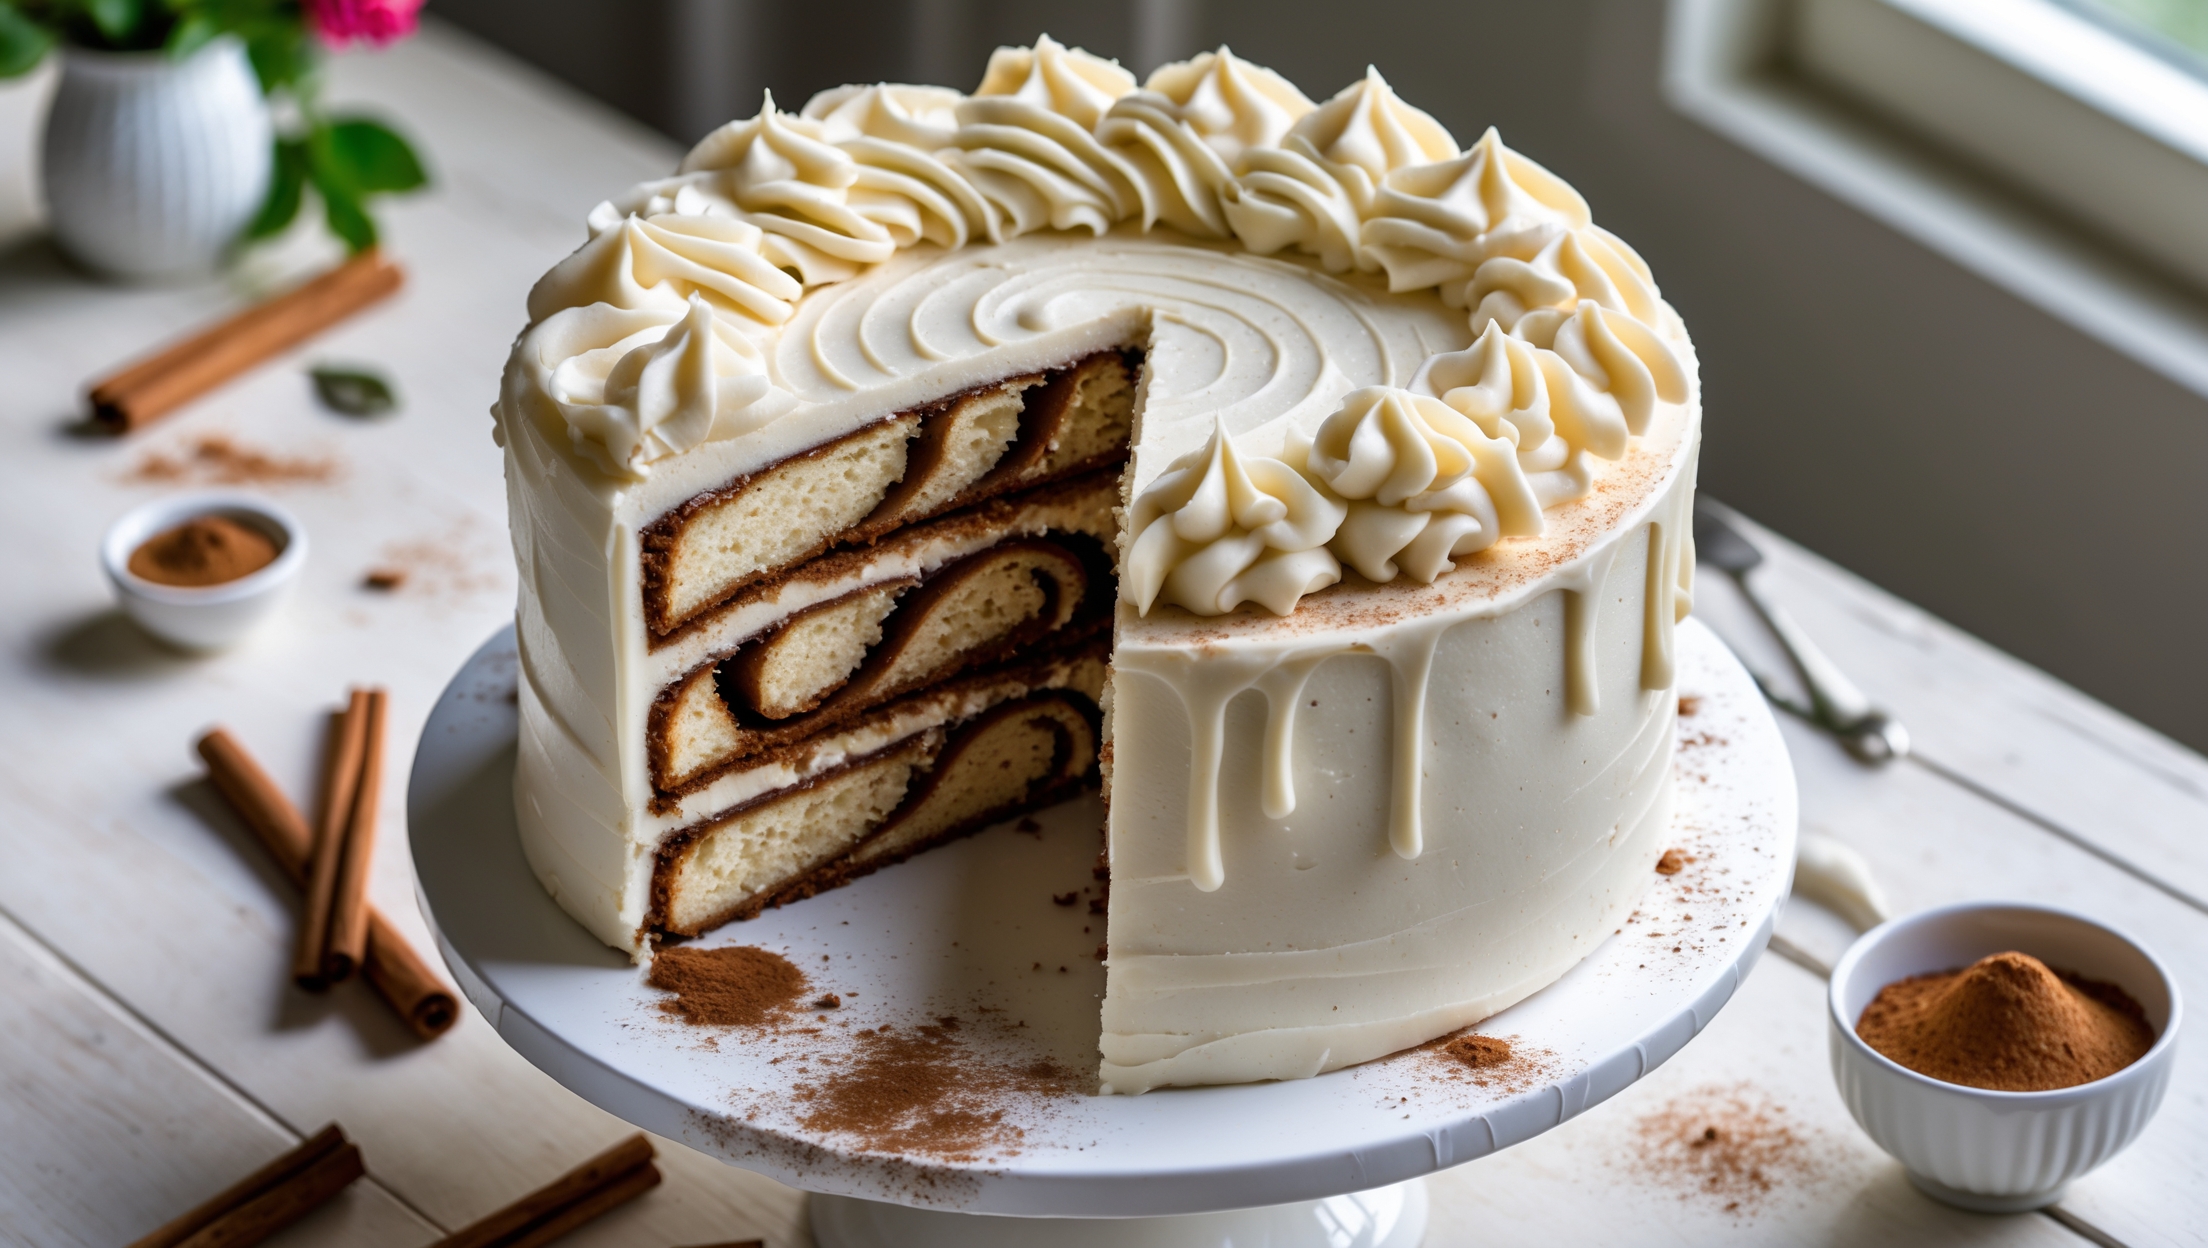
Directions
<ol class="no-list-style"><li class="MethodStepper"><h4 class="step-title">Step 1</h4>Begin with the sugared cranberries as they need time to dry. In a small saucepan, combine 100g sugar and water, heating until the sugar completely dissolves (do not boil). Remove from heat and cool for 10 minutes. Add the cranberries to the syrup and stir to coat. Using a slotted spoon, transfer the cranberries to a wire rack placed over a baking sheet. Let them dry for about 1 hour until tacky but not wet. Roll the cranberries in the remaining 50g sugar until fully coated. Place back on the rack to dry completely, about 1-2 hours.</li><li class="MethodStepper"><h4 class="step-title">Step 2</h4>Preheat your oven to 175°C (350°F). Grease three 20cm (8-inch) round cake pans and line the bottoms with parchment paper. In a medium bowl, whisk together the flour, baking powder, and salt. Set aside.</li><li class="MethodStepper"><h4 class="step-title">Step 3</h4>In a large mixing bowl or stand mixer fitted with the paddle attachment, cream the butter and sugar on medium-high speed for 4-5 minutes until pale and fluffy. This extended creaming creates air pockets that contribute to a lighter cake texture. Scrape down the sides of the bowl as needed.</li><li class="MethodStepper"><h4 class="step-title">Step 4</h4>Add the eggs one at a time, beating well after each addition. Incorporate the vanilla extract. The mixture should look smooth and creamy.</li><li class="MethodStepper"><h4 class="step-title">Step 5</h4>With the mixer on low speed, add the dry ingredients in three parts, alternating with the milk, beginning and ending with the dry ingredients (dry-milk-dry-milk-dry). Mix just until combined after each addition. Overmixing will develop gluten and result in a tougher cake.</li><li class="MethodStepper"><h4 class="step-title">Step 6</h4>Toss the chopped cranberries with 1 tablespoon of flour to prevent them from sinking during baking. Gently fold the floured cranberries into the batter using a rubber spatula.</li><li class="MethodStepper"><h4 class="step-title">Step 7</h4>Divide the batter evenly between the prepared pans, smoothing the tops with your spatula. Tap each pan gently on the counter to release any large air bubbles. Bake for 25-30 minutes, or until a toothpick inserted in the center comes out clean. The cakes should be lightly golden at the edges and just beginning to pull away from the sides of the pan.</li><li class="MethodStepper"><h4 class="step-title">Step 8</h4>Allow the cakes to cool in their pans for 15 minutes, then invert onto wire racks, remove the parchment, and let cool completely before frosting. A completely cooled cake is essential for smooth frosting application.</li><li class="MethodStepper"><h4 class="step-title">Step 9</h4>For the white chocolate buttercream, melt the white chocolate in a heatproof bowl set over a pan of simmering water (double boiler method), stirring occasionally until smooth. Alternatively, microwave in 20-second bursts, stirring between each until melted. Allow to cool until just warm to the touch but still fluid.</li><li class="MethodStepper"><h4 class="step-title">Step 10</h4>In a large bowl, beat the butter on medium-high speed for 3-4 minutes until very pale and fluffy. The butter's temperature is crucial here - too cold and it won't cream properly; too warm and the frosting will be unstable.</li><li class="MethodStepper"><h4 class="step-title">Step 11</h4>Reduce speed to low and gradually add the sifted powdered sugar, mixing until incorporated. Add the vanilla extract, salt, and 2 tablespoons of heavy cream. Increase speed to medium-high and beat for 3 minutes until light and fluffy.</li><li class="MethodStepper"><h4 class="step-title">Step 12</h4>With the mixer running on low, slowly pour in the cooled white chocolate. Beat until fully incorporated and silky smooth. If the frosting seems too thick, add the remaining tablespoon of heavy cream. The buttercream should hold its shape but be spreadable.</li><li class="MethodStepper"><h4 class="step-title">Step 13</h4>To assemble the cake, place one cake layer on a cake stand or serving plate. Using an offset spatula, spread about 1 cup of buttercream evenly over the top. Place the second layer on top and repeat with another cup of buttercream. Add the final cake layer, top side down (for a flat top).</li><li class="MethodStepper"><h4 class="step-title">Step 14</h4>Apply a thin layer of buttercream all over the cake to create a crumb coat. This initial layer seals in any loose crumbs. Refrigerate for 20 minutes to set this layer.</li><li class="MethodStepper"><h4 class="step-title">Step 15</h4>After the crumb coat has set, apply the remaining buttercream to the cake, creating smooth sides and top. You can create decorative swirls or patterns if desired. The cold cake against the room temperature buttercream creates the perfect environment for a smooth finish.</li><li class="MethodStepper"><h4 class="step-title">Step 16</h4>Decorate the top and sides of the cake with the sugared cranberries. For an elegant presentation, place them around the perimeter of the cake top, perhaps arranging some to cascade down one side. If desired, add white chocolate curls or shavings for additional decoration.</li><li class="MethodStepper"><h4 class="step-title">Step 17</h4>For the best flavor, allow the cake to sit at room temperature for at least 30 minutes before serving. This cake can be stored at room temperature in a cake keeper for up to 2 days, or refrigerated for up to 5 days. Bring to room temperature before serving for the best texture and flavor experience.</li></ol>