Directions
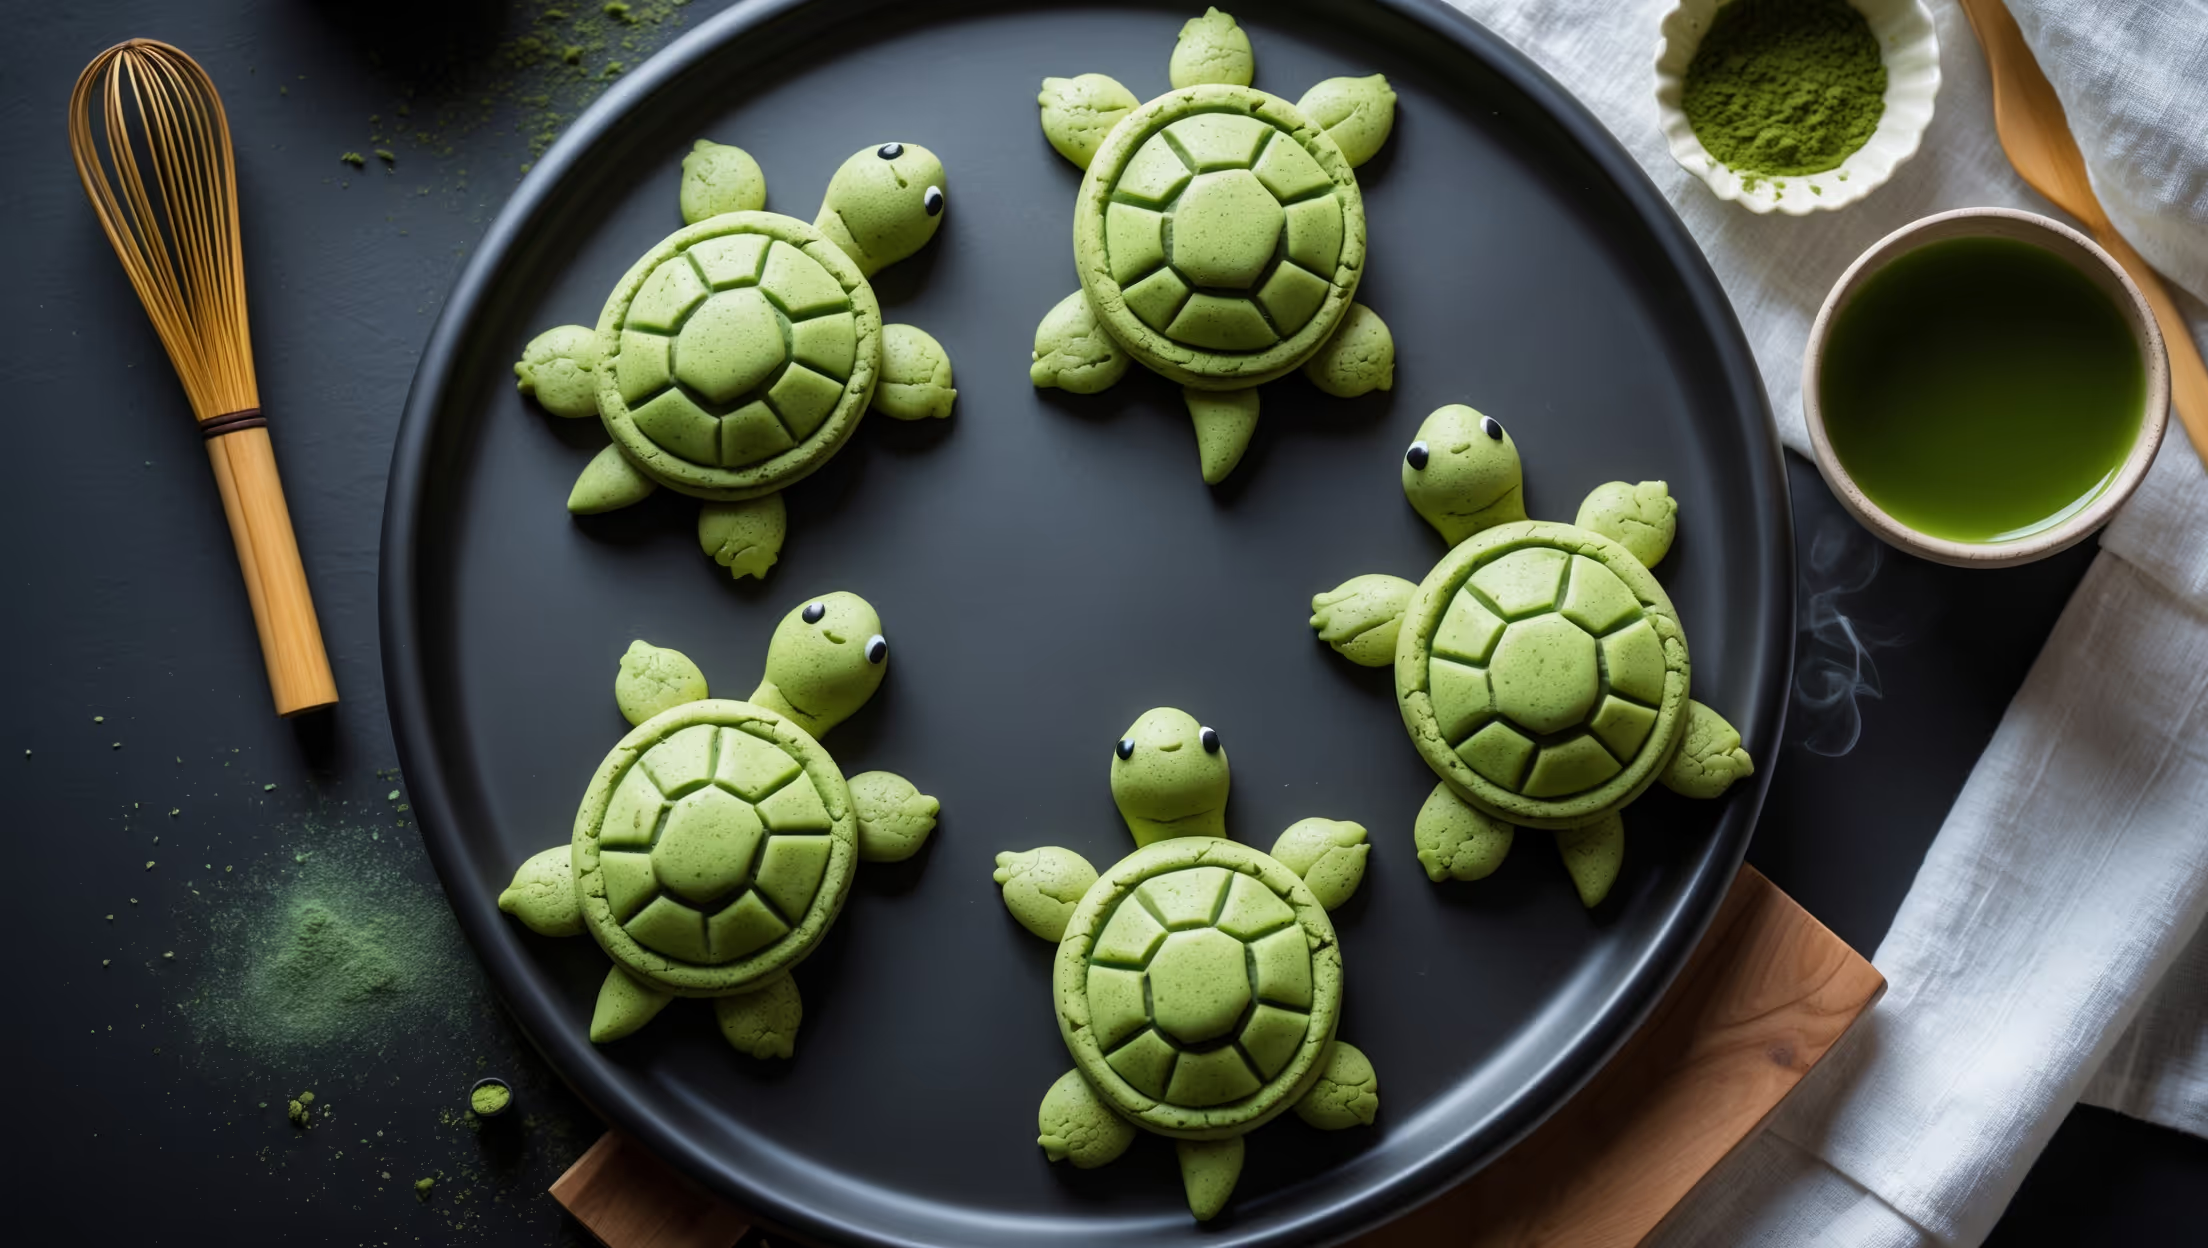
<ol class="no-list-style"><li class="MethodStepper"><h4 class="step-title">Step 1</h4>In a medium bowl, whisk together the flour, matcha powder, baking powder, and salt. The vibrant green color should be evenly distributed throughout the dry ingredients. Sifting the matcha powder first helps prevent any clumps and ensures even distribution of flavor.</li><li class="MethodStepper"><h4 class="step-title">Step 2</h4>In a large bowl, cream together the vegan butter and sugar using an electric mixer on medium speed for about 3-4 minutes until light and fluffy. This process incorporates air into the mixture, which will give your cookies a tender texture. The mixture should become noticeably paler and increase slightly in volume.</li><li class="MethodStepper"><h4 class="step-title">Step 3</h4>Add the plant milk, vanilla extract, and almond extract (if using) to the butter mixture. Beat until well combined, scraping down the sides of the bowl as needed. The mixture may look slightly curdled, but don't worry - this is normal when using plant milk.</li><li class="MethodStepper"><h4 class="step-title">Step 4</h4>Gradually add the dry ingredients to the wet ingredients, mixing on low speed until just combined. Be careful not to overmix, as this can develop the gluten and make your cookies tough. The dough should be soft but not sticky. If it seems too wet, add a tablespoon of flour; if too dry, add a teaspoon of plant milk.</li><li class="MethodStepper"><h4 class="step-title">Step 5</h4>Divide the dough in half, form each half into a disc, wrap in reusable food wrap or parchment paper, and refrigerate for at least 1 hour or up to overnight. Chilling firms up the vegan butter, which helps the cookies hold their shape during baking and creates a more tender final texture.</li><li class="MethodStepper"><h4 class="step-title">Step 6</h4>When ready to bake, preheat your oven to 180°C and line two baking sheets with silicone mats or parchment paper. Remove one disc of dough from the refrigerator (keeping the other chilled until ready to use).</li><li class="MethodStepper"><h4 class="step-title">Step 7</h4>On a lightly floured surface, roll the dough to about 5mm thickness. Use a round cookie cutter (about 6cm diameter) to cut the turtle bodies. Then use a smaller round cutter (about 2cm) for the heads. For each turtle, place a body and head next to each other on the prepared baking sheet, slightly overlapping so they'll join during baking. Use a knife to make small incisions around the body for legs and tail.</li><li class="MethodStepper"><h4 class="step-title">Step 8</h4>Place the cut cookies about 2.5cm apart on the baking sheets. If the dough has warmed too much during handling, refrigerate the sheets for 10 minutes before baking - this helps the cookies maintain their shape.</li><li class="MethodStepper"><h4 class="step-title">Step 9</h4>Bake for 10-12 minutes, or until the edges are firm but not yet browning. The cookies will still be soft in the center - that's perfect! They'll continue to firm up as they cool. Look for a slight matte finish on top rather than a glossy appearance, which indicates they're done.</li><li class="MethodStepper"><h4 class="step-title">Step 10</h4>Allow the cookies to cool on the baking sheets for 5 minutes, then transfer to a cooling rack to cool completely. The cookies need to be completely cool before decorating, otherwise the chocolate will melt and run.</li><li class="MethodStepper"><h4 class="step-title">Step 11</h4>For the decorative chocolate, melt the chocolate chips with coconut oil using either a double boiler or in the microwave in 20-second intervals, stirring between each until smooth. The coconut oil gives the chocolate a smoother consistency for piping and helps it set with a slight shine.</li><li class="MethodStepper"><h4 class="step-title">Step 12</h4>Transfer the melted chocolate to a piping bag fitted with a small round tip. Pipe a hexagon pattern on each turtle's body to create the shell, and add eyes on the head. You can also outline the legs and tail. Work with one cookie at a time, as the chocolate will start to set.</li><li class="MethodStepper"><h4 class="step-title">Step 13</h4>Allow the chocolate decoration to set completely before storing. This typically takes 1-2 hours at room temperature, or you can speed up the process by placing them in the refrigerator for about 15 minutes.</li><li class="MethodStepper"><h4 class="step-title">Step 14</h4>Store your finished turtle cookies in an airtight container at room temperature for up to 5 days, or freeze for longer storage. If stacking, place parchment paper between layers to protect the chocolate decorations. The matcha flavor actually develops and deepens after a day, making these cookies perfect for preparing ahead of time!</li></ol>