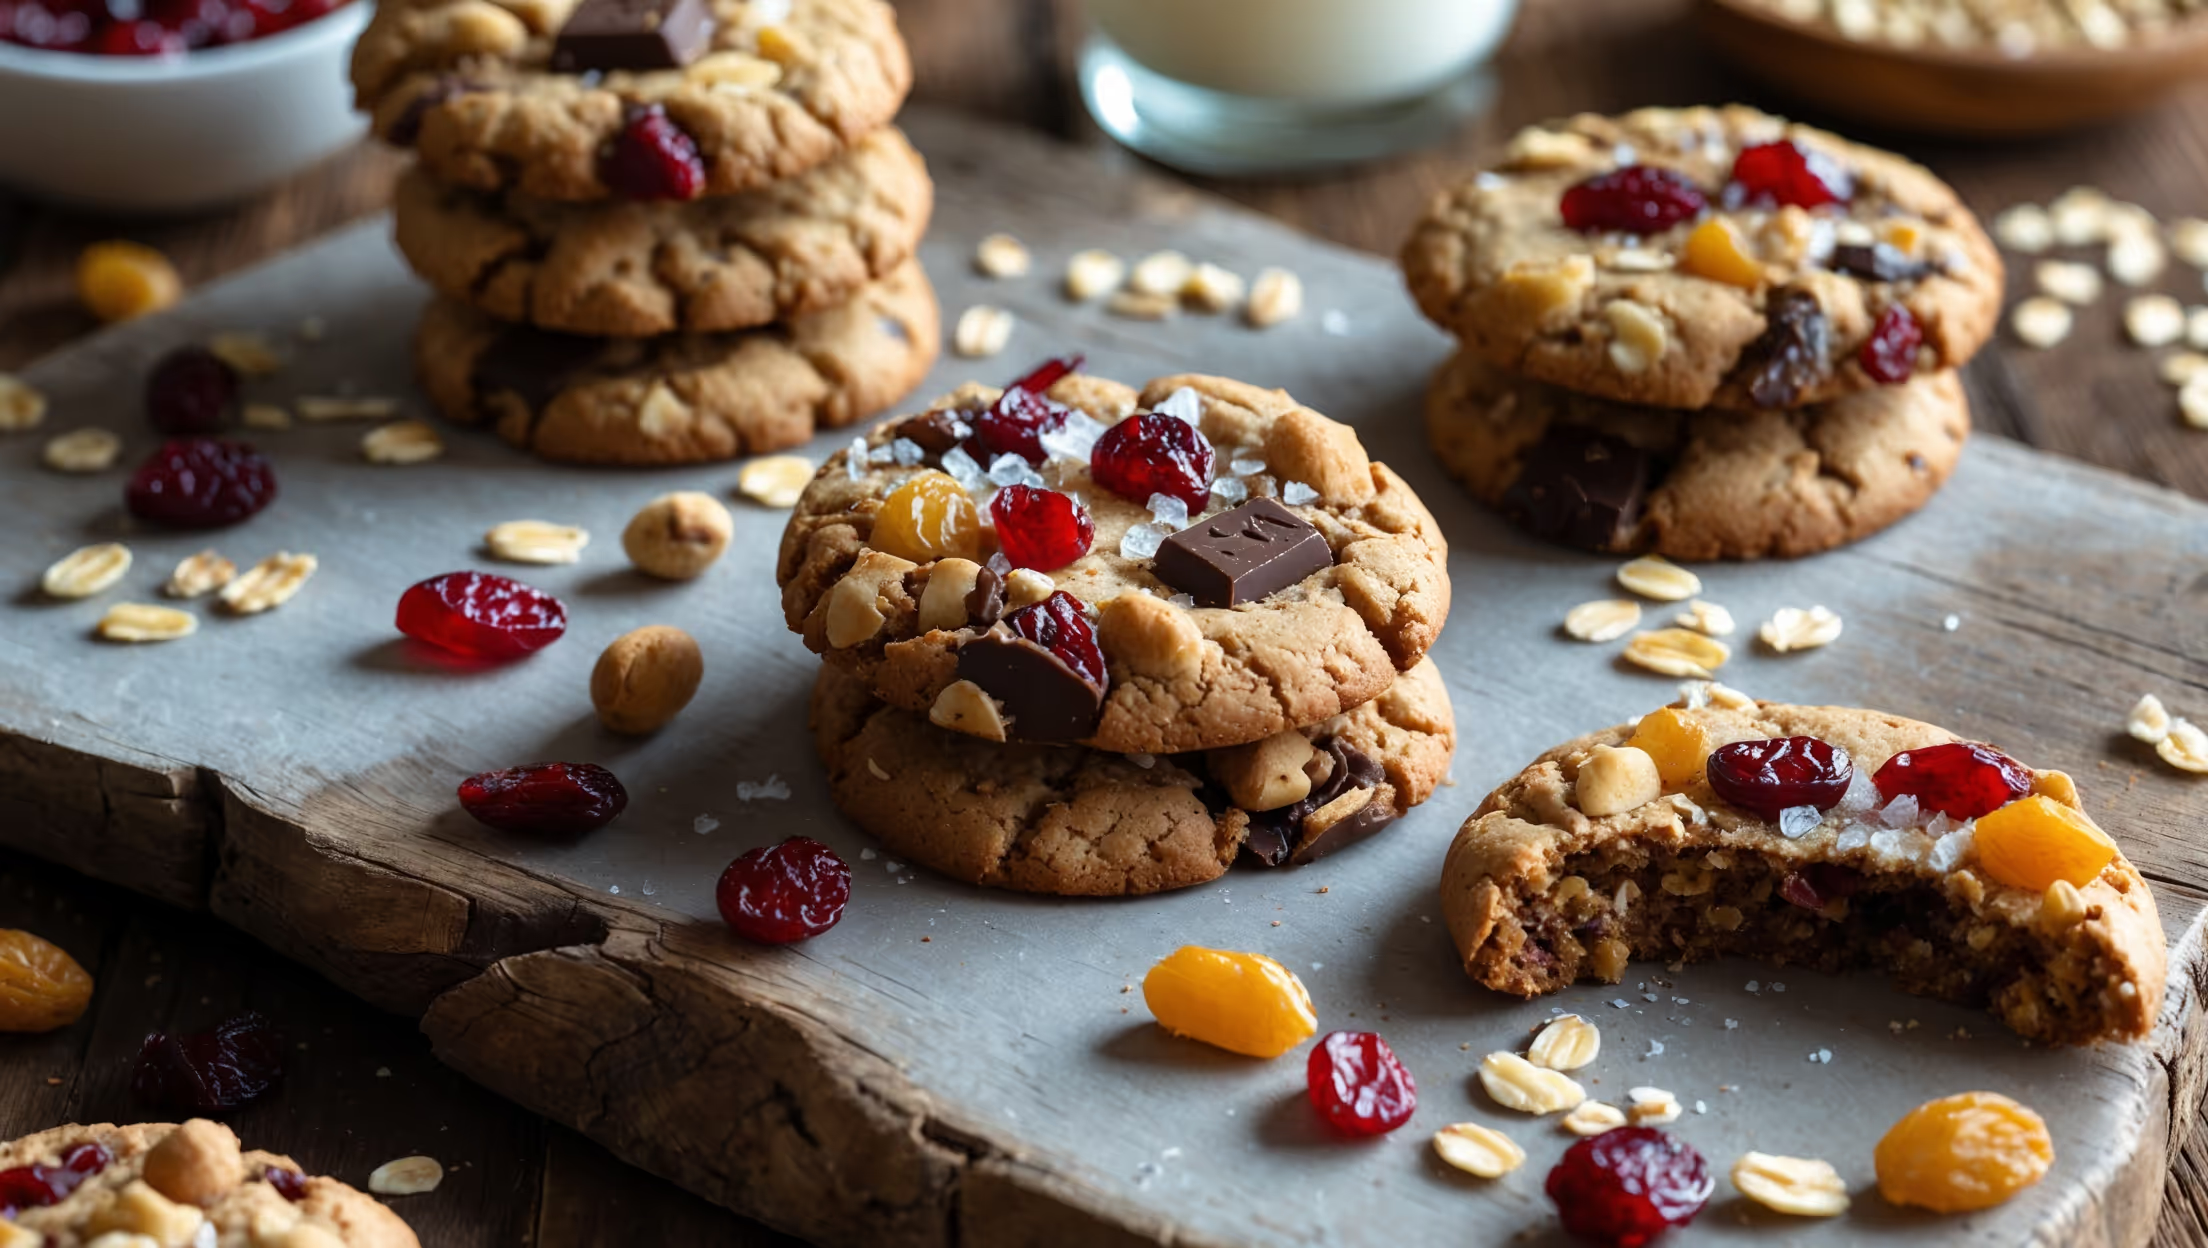
Directions
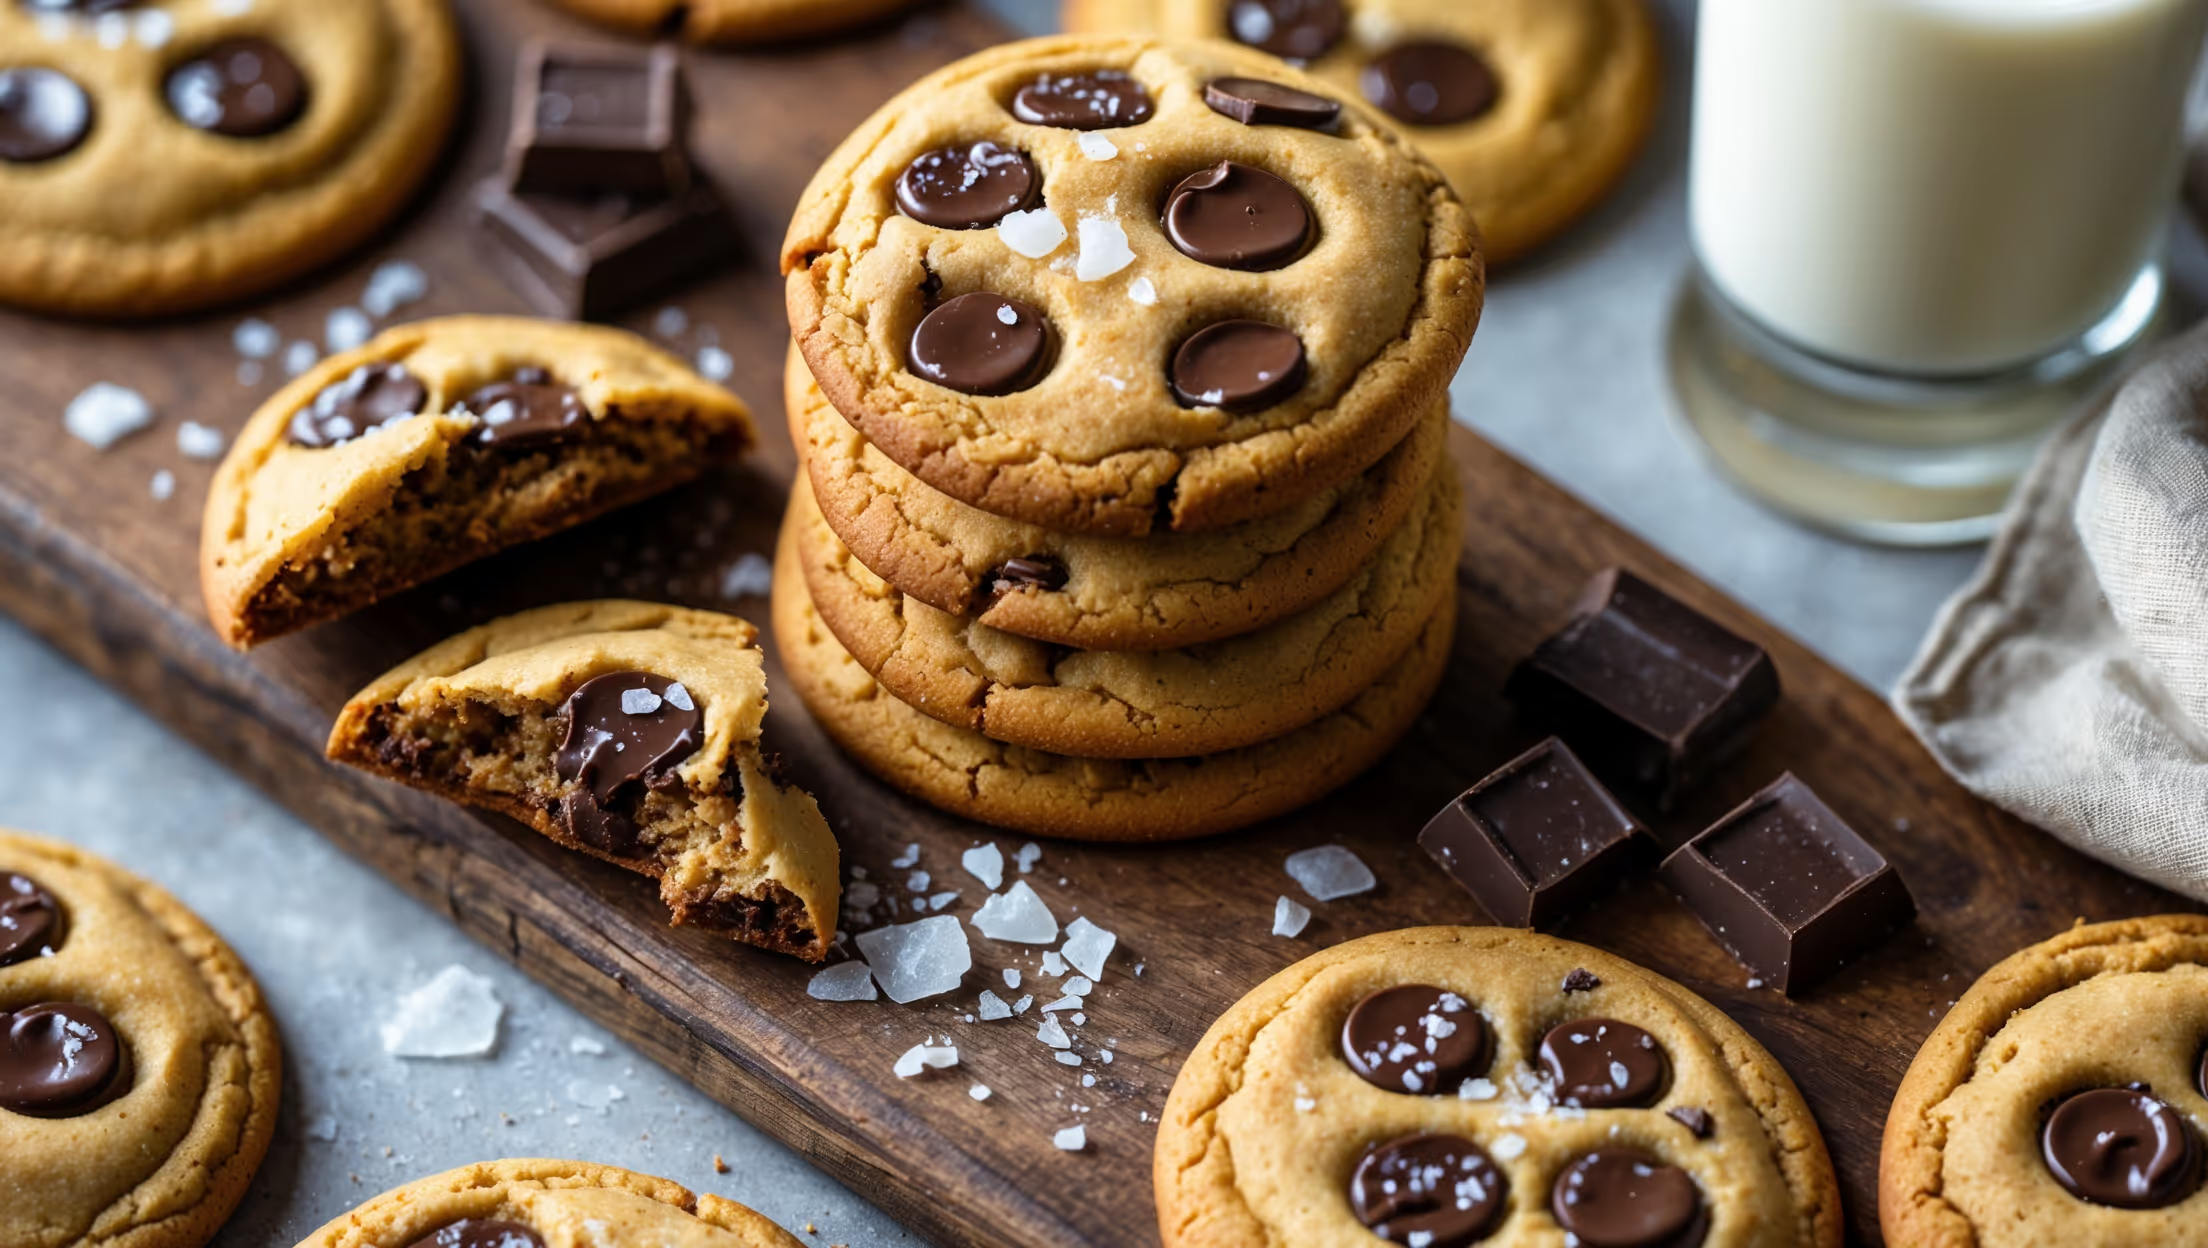
<ol class="no-list-style"><li class="MethodStepper"><h4 class="step-title">Step 1</h4>Preheat your oven to 180°C and line two baking sheets with parchment paper or silicone baking mats. This preparation ensures your cookies will bake evenly and won't stick to the trays.</li><li class="MethodStepper"><h4 class="step-title">Step 2</h4>In a medium bowl, whisk together the flour, baking soda, and salt until well combined. This uniform distribution of leavening agents will help your cookies rise evenly.</li><li class="MethodStepper"><h4 class="step-title">Step 3</h4>In a small bowl, mix the plant milk and cornstarch until completely dissolved. This mixture acts as an egg replacer, providing binding structure to the cookies (similar to how eggs function in traditional recipes).</li><li class="MethodStepper"><h4 class="step-title">Step 4</h4>In a large bowl, use an electric mixer to cream together the softened vegan butter, brown sugar, and granulated sugar for 2-3 minutes until light and fluffy. This creaming process incorporates air into the fat-sugar mixture, creating tiny pockets that help give your cookies their perfect texture.</li><li class="MethodStepper"><h4 class="step-title">Step 5</h4>Add the vanilla extract and the cornstarch-milk mixture to the creamed butter and sugars. Beat until fully incorporated and smooth, about 1 minute. The mixture might look slightly curdled, but don't worry – this is normal!</li><li class="MethodStepper"><h4 class="step-title">Step 6</h4>Gradually add the dry ingredients to the wet mixture, mixing on low speed just until no flour streaks remain. Overmixing activates the gluten in flour, which can lead to tough cookies, so be gentle here.</li><li class="MethodStepper"><h4 class="step-title">Step 7</h4>Fold in the chocolate chunks using a spatula, reserving a small handful for topping. Mixing by hand at this stage prevents breaking up the chocolate pieces too much.</li><li class="MethodStepper"><h4 class="step-title">Step 8</h4>Use a cookie scoop or tablespoon to portion the dough into approximately 40g balls, placing them about 5cm apart on your prepared baking sheets. Press a few of your reserved chocolate chunks onto the tops of each dough ball for that bakery-style appearance.</li><li class="MethodStepper"><h4 class="step-title">Step 9</h4>Bake one sheet at a time in the center of the oven for 11-13 minutes, or until the edges are set and lightly golden but the centers still look slightly underdone. Baking one tray at a time ensures even heat distribution. The cookies will continue cooking from residual heat after removal.</li><li class="MethodStepper"><h4 class="step-title">Step 10</h4>Immediately after removing from the oven, sprinkle with a small amount of flaky sea salt if desired, and tap the baking sheet gently on the counter a few times. This flattens the cookies slightly and gives them those beautiful crinkly tops.</li><li class="MethodStepper"><h4 class="step-title">Step 11</h4>Allow the cookies to cool on the baking sheet for 5 minutes (they'll be too soft to move immediately), then transfer to a wire rack to cool completely. For the perfect chewy texture, allow them to cool fully before enjoying.</li><li class="MethodStepper"><h4 class="step-title">Step 12</h4>Store in an airtight container at room temperature for up to 5 days. The dough can also be frozen in balls for up to 3 months – just add 1-2 minutes to the baking time when baking from frozen.</li></ol>