Directions
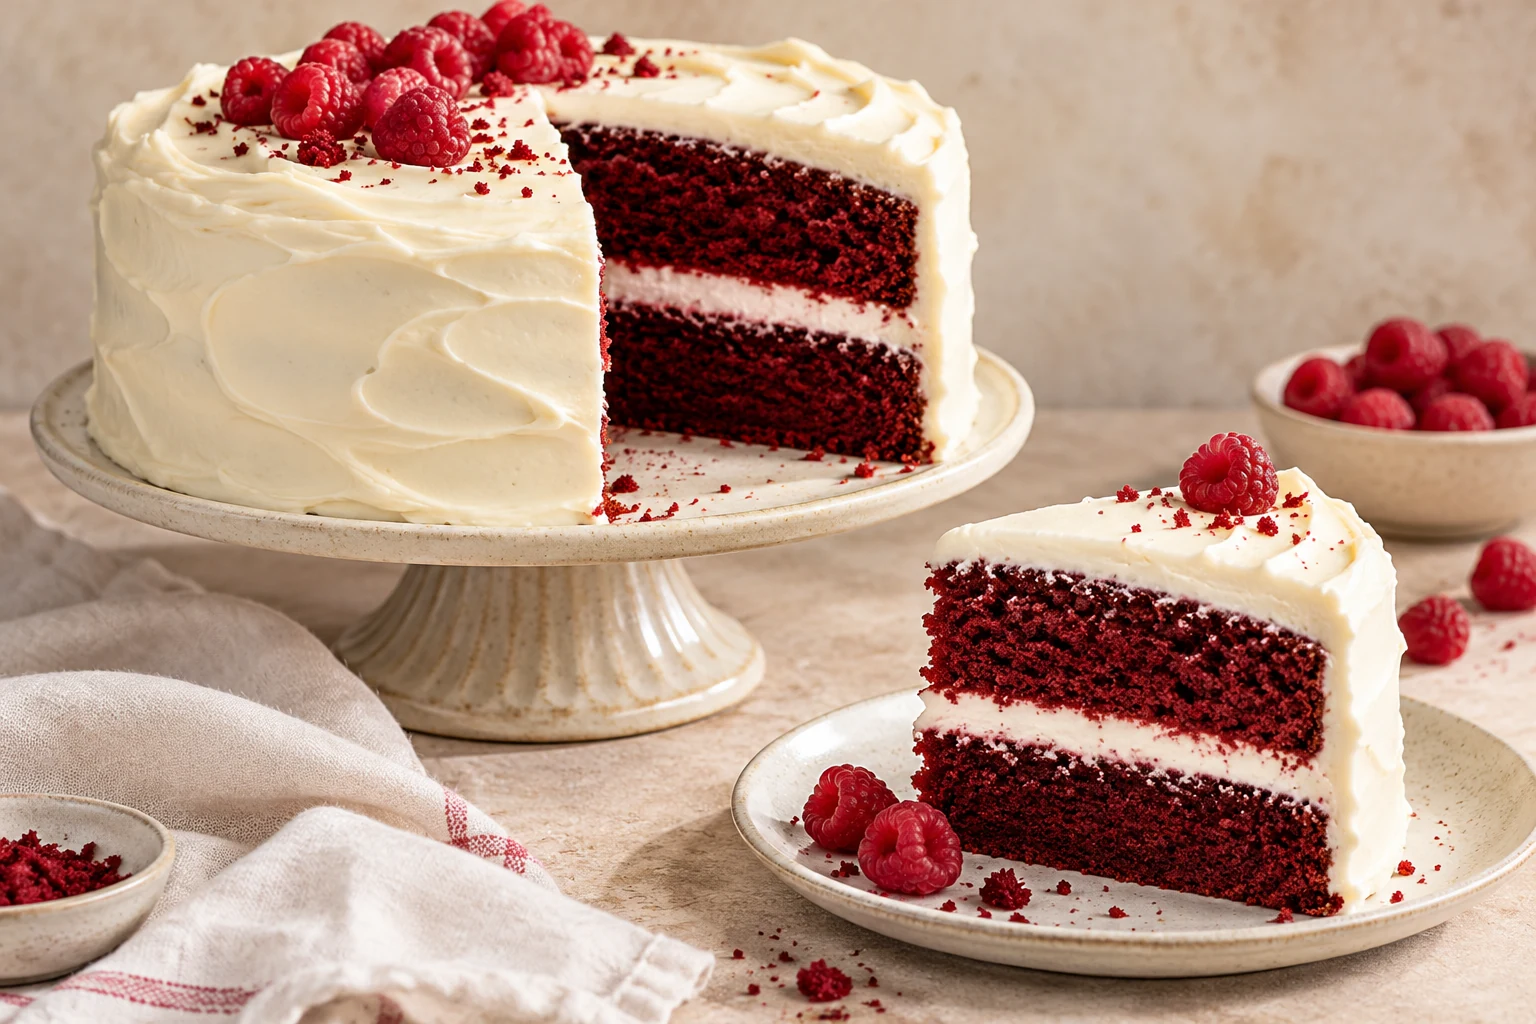
<ol class="no-list-style"><li class="MethodStepper"><h4 class="step-title">Step 1</h4>Preheat your oven to 180°C (350°F) and line the bottoms of two 20cm cake tins with parchment paper. Lightly grease the sides with a small amount of vegetable oil or vegan butter.</li><li class="MethodStepper"><h4 class="step-title">Step 2</h4>In a measuring jug, combine the plant milk and apple cider vinegar. Stir briefly and let it sit for 5-10 minutes to create a vegan buttermilk. This acidic mixture will help activate the baking soda and create a tender crumb in your cake.</li><li class="MethodStepper"><h4 class="step-title">Step 3</h4>In a large bowl, sift together the flour, cocoa powder, baking soda, and salt. Whisking these dry ingredients together ensures even distribution of the leavening agents and prevents cocoa lumps for a smooth batter.</li><li class="MethodStepper"><h4 class="step-title">Step 4</h4>In a separate large bowl, whisk together the sugar and oil until well combined. The oil will create moisture in your cake without needing eggs. Add the vanilla extract, beetroot powder (or juice), and food coloring if using. Mix until the color is evenly distributed throughout.</li><li class="MethodStepper"><h4 class="step-title">Step 5</h4>Pour the curdled plant milk mixture into your wet ingredients and whisk until fully incorporated. The mixture may look slightly curdled, but this is normal and will create a wonderful texture in the finished cake.</li><li class="MethodStepper"><h4 class="step-title">Step 6</h4>Gradually add the dry ingredients to the wet ingredients, folding gently with a rubber spatula until just combined. Be careful not to overmix – stop when you no longer see dry flour (overmixing activates gluten, which can make your cake tough).</li><li class="MethodStepper"><h4 class="step-title">Step 7</h4>Divide the batter evenly between your prepared cake tins. Tap the tins gently on the counter a few times to release any large air bubbles that might create holes in your finished cake.</li><li class="MethodStepper"><h4 class="step-title">Step 8</h4>Bake in the preheated oven for 30-35 minutes, or until a toothpick inserted into the center comes out clean with a few moist crumbs. The cakes should be slightly pulling away from the sides of the tins.</li><li class="MethodStepper"><h4 class="step-title">Step 9</h4>Allow the cakes to cool in their tins for 10 minutes before carefully running a knife around the edges and turning out onto a wire rack to cool completely. Cooling properly is crucial – if you frost a warm cake, your frosting will melt!</li><li class="MethodStepper"><h4 class="step-title">Step 10</h4>While the cakes cool, prepare your frosting. In a large bowl, beat the vegan cream cheese and butter together until smooth and fluffy (about 2 minutes). The room temperature ingredients are essential for a smooth frosting without lumps.</li><li class="MethodStepper"><h4 class="step-title">Step 11</h4>Gradually add the sifted powdered sugar, mixing on low speed initially to avoid a sugar cloud, then increasing to medium speed once incorporated. Add the vanilla extract and lemon juice, then beat for another 3-4 minutes until the frosting is light and fluffy. The lemon juice brightens the flavor and mimics the tanginess of traditional cream cheese.</li><li class="MethodStepper"><h4 class="step-title">Step 12</h4>Once the cakes are completely cool, place one layer on your serving plate or cake stand. Spread about one-third of the frosting evenly over the top. Place the second layer on top and use the remaining frosting to cover the top and sides of the cake. For a classic red velvet look, you can leave some of the red cake peeking through the sides with a "naked" frosting technique.</li><li class="MethodStepper"><h4 class="step-title">Step 13</h4>For the best flavor, refrigerate the cake for at least 30 minutes to allow the frosting to set and the flavors to meld together. Bring to room temperature for about 20 minutes before serving for the ideal texture and taste. Your beautiful vegan red velvet cake will stay fresh in the refrigerator for up to 4 days.</li></ol>