Vegan English Muffins Recipe
Ingredients
Equipment
Directions
FAQs
Find answers to your most pressing questions about this delicious recipe right here.
Vegan English muffins require strong bread flour, plain flour, instant dried yeast, sugar, salt, neutral oil, plant milk (preferably soy or oat), and fine cornmeal or semolina for dusting. These simple ingredients create perfect nooks and crannies without any dairy or eggs.
Learn how to cook Vegan English Muffins by first activating yeast in warm plant milk, mixing with flours and oil to form a dough, allowing it to rise twice, cutting into rounds, then cooking in a skillet on medium-low heat for 7-8 minutes per side. The key is using the right temperature and splitting with a fork (not a knife) to preserve those signature nooks and crannies.
Sticky dough often means too much liquid or not enough flour. Add flour one tablespoon at a time while kneading until it feels tacky but not sticky. Humidity affects flour absorption, so adjustments are normal. The ideal dough clears the sides of the bowl but still sticks slightly to the bottom.
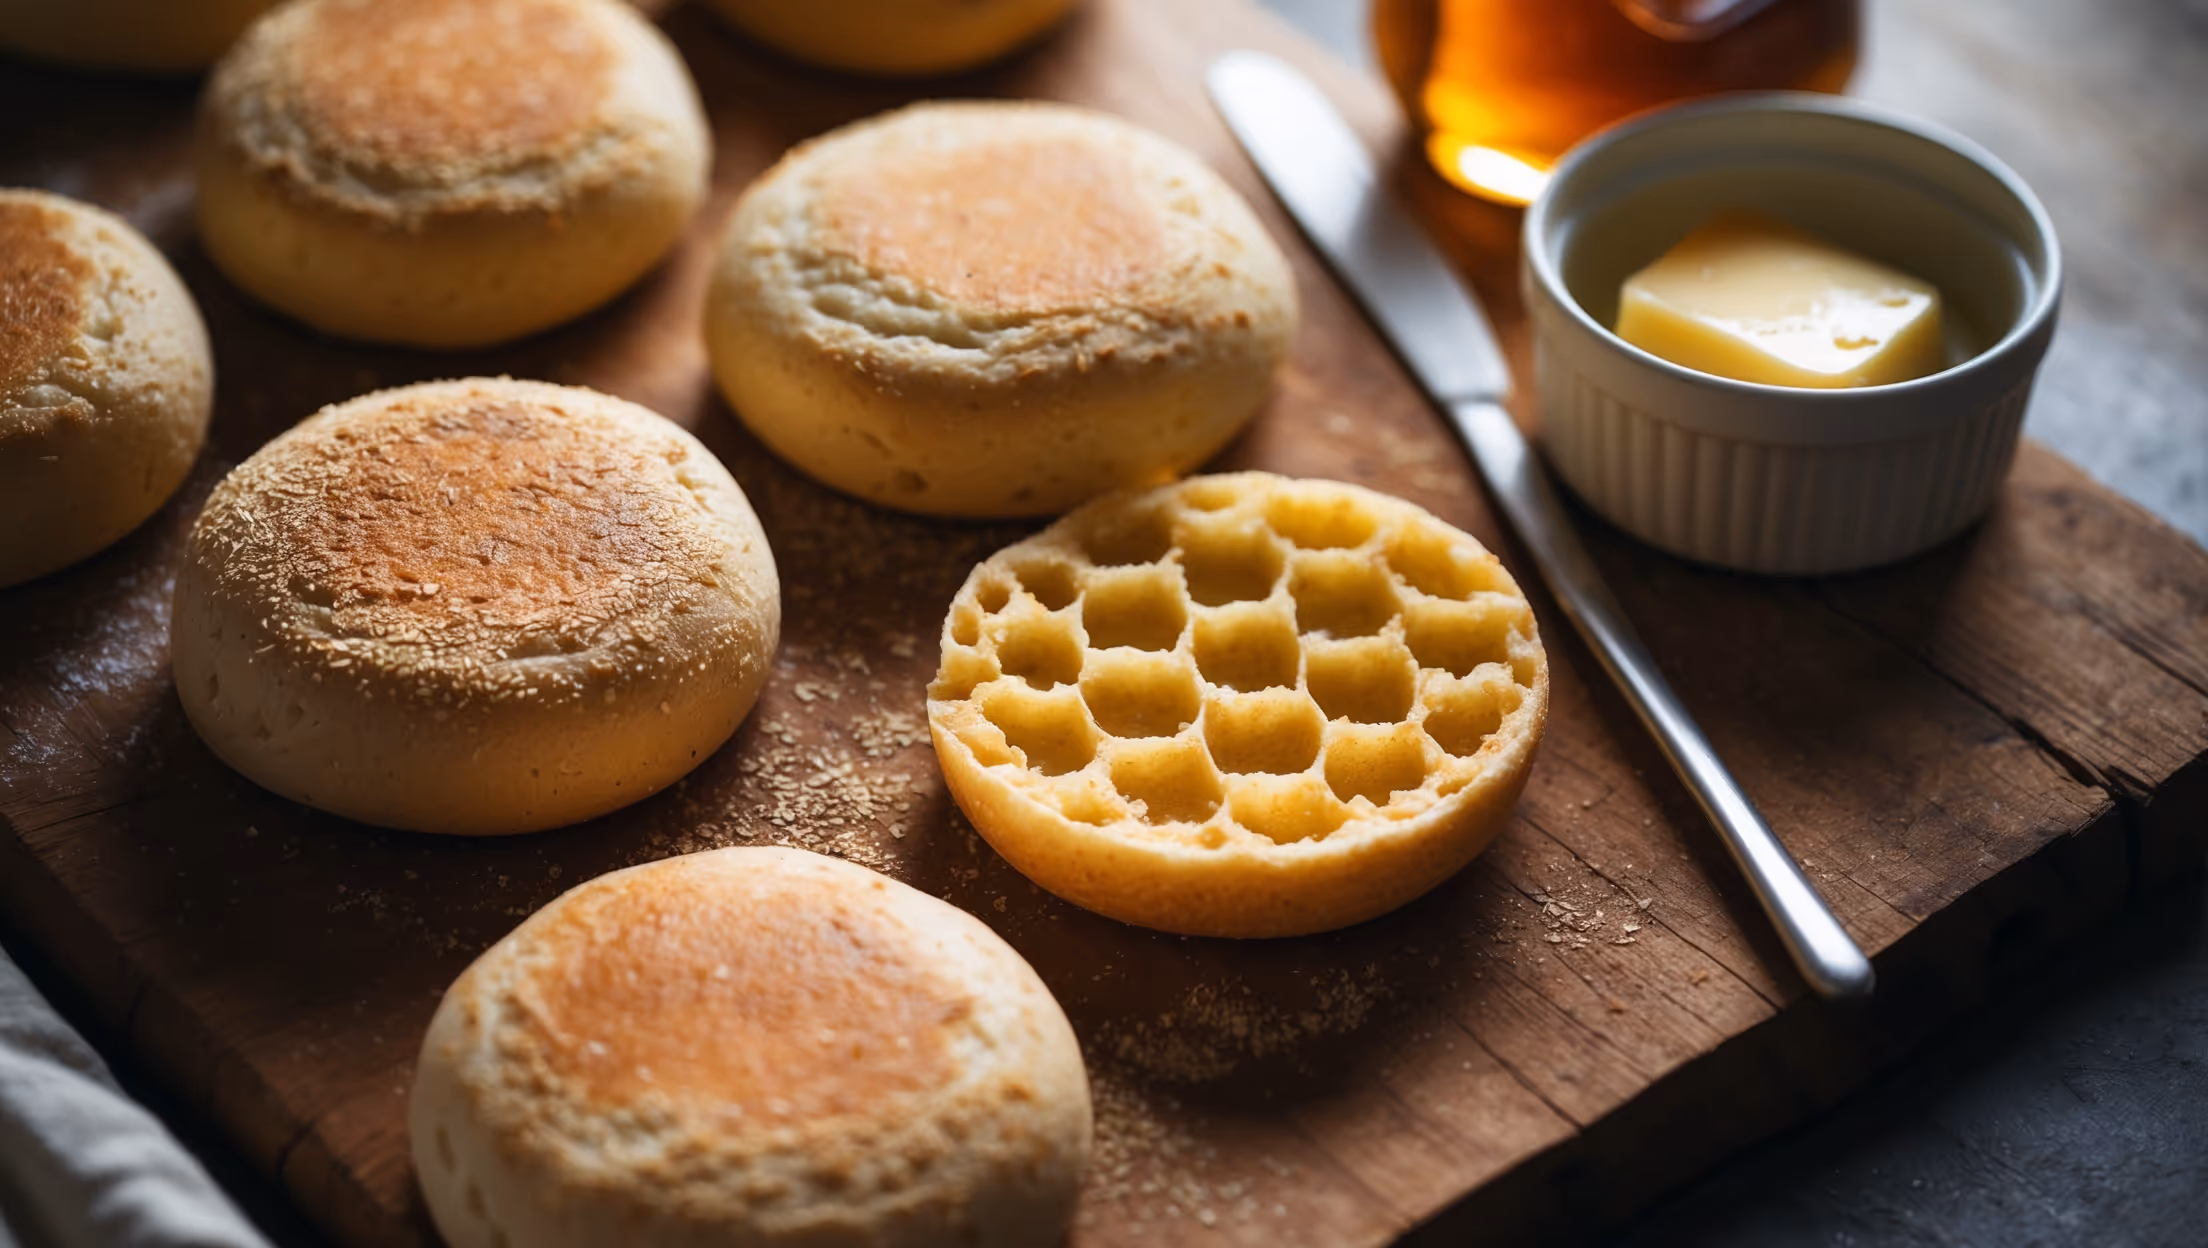
The perfect honeycomb texture comes from a combination of factors: proper yeast fermentation during both rises, maintaining some air bubbles when shaping, using the right flour blend for structure, cooking at the correct temperature, and splitting with a fork rather than cutting with a knife.
Absolutely! These vegan muffins freeze beautifully for up to 3 months. Cool completely before placing in freezer bags. To enjoy, thaw at room temperature or toast directly from frozen. Sprinkle with a few drops of water before toasting to restore moisture and achieve that perfect crispy exterior.
Vegan Breads & Breakfast Bakes
Try following recommended recipes