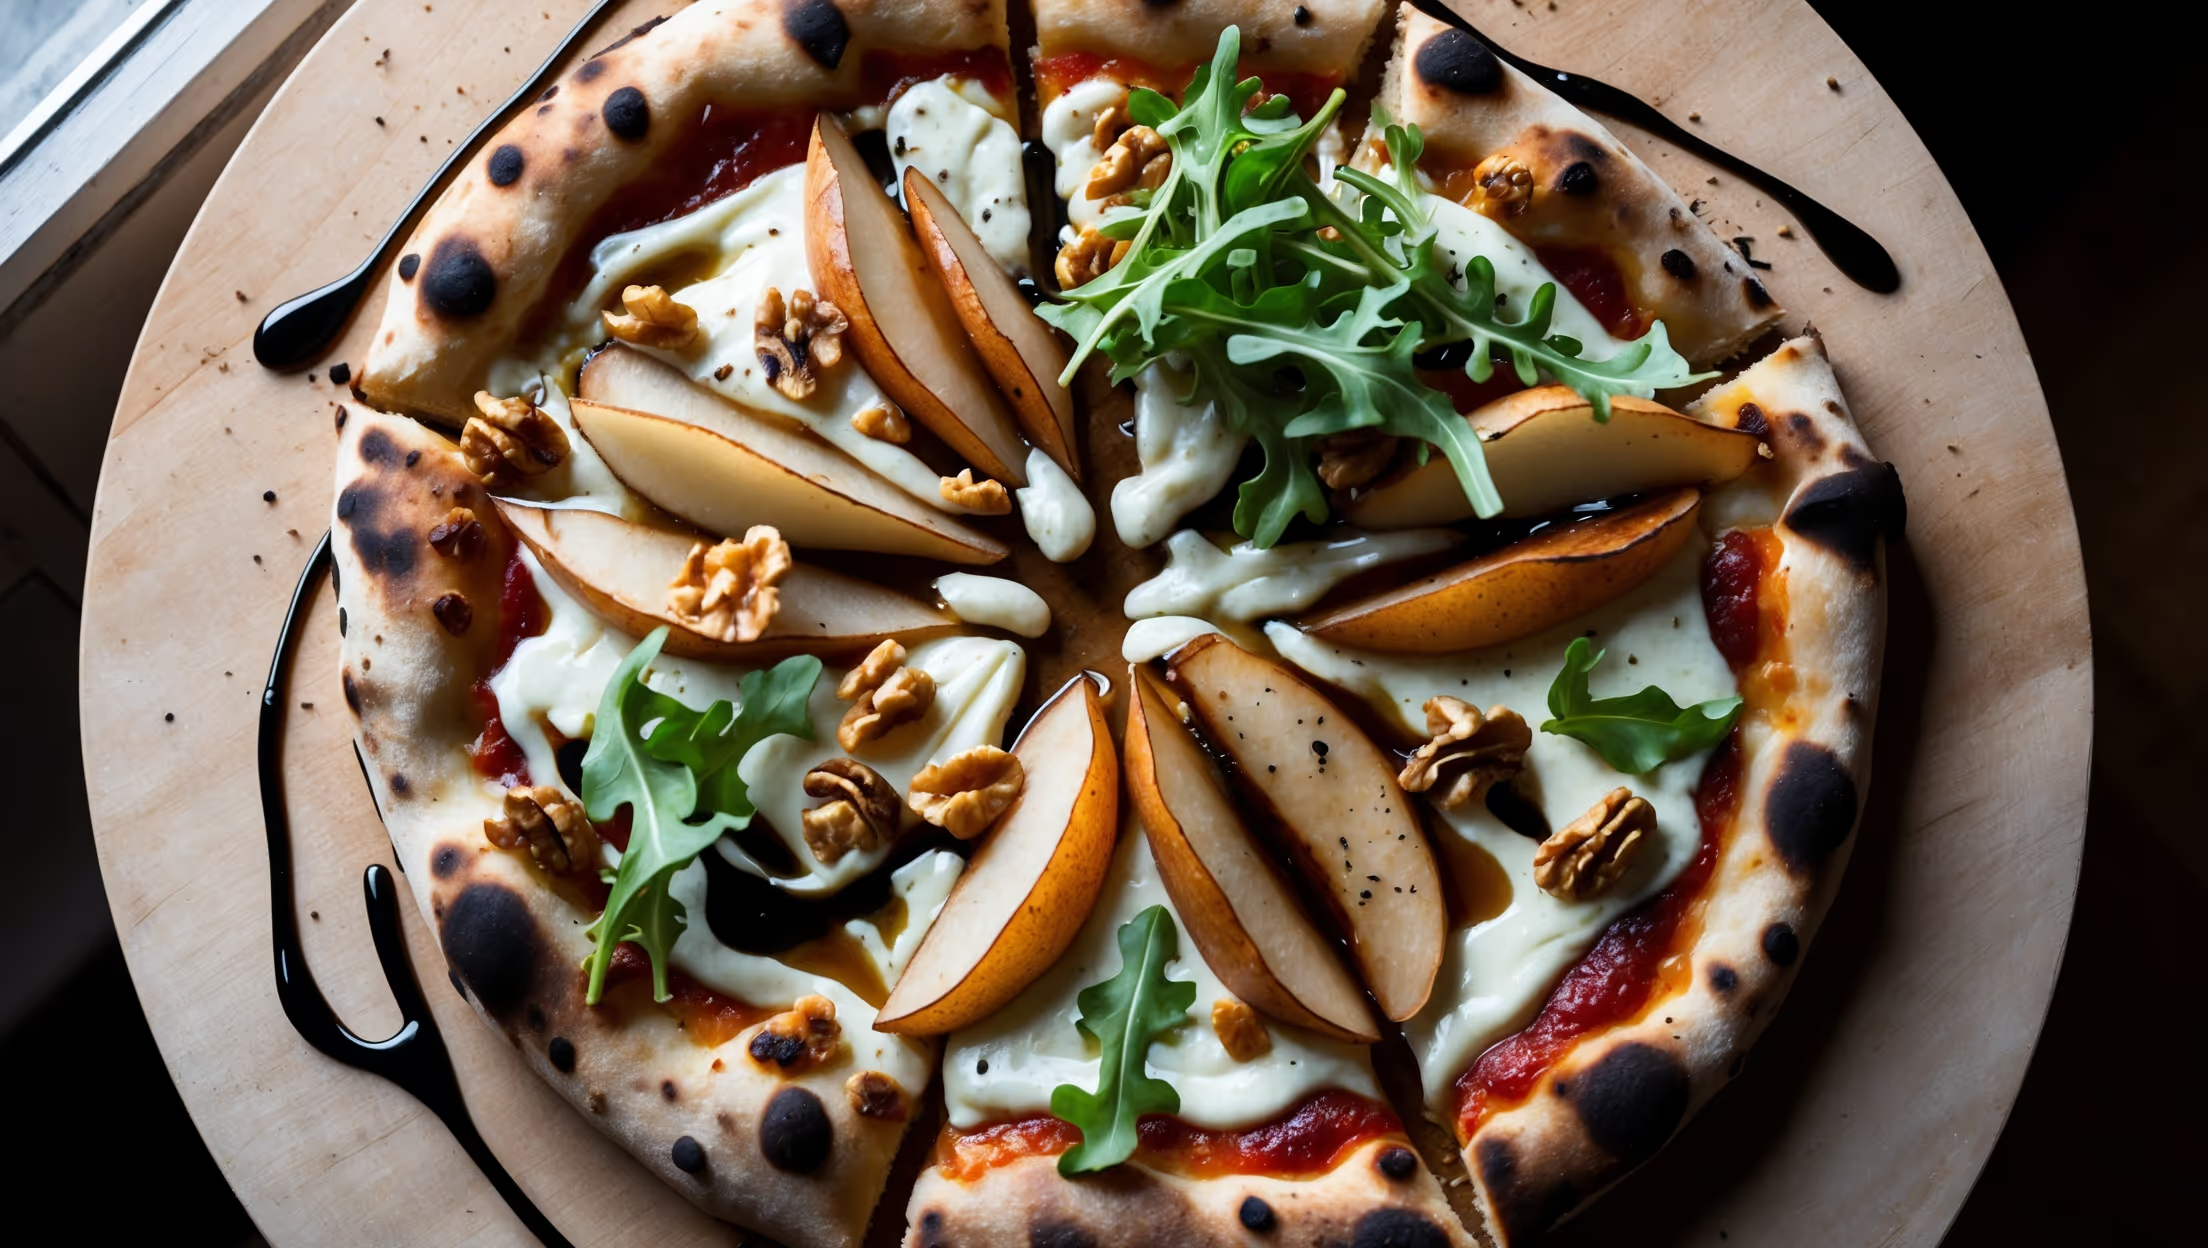
Directions
<ol class="no-list-style"><li class="MethodStepper"><h4 class="step-title">Step 1</h4>Begin by preparing your dough. In a large bowl, combine the flour, salt, and sugar. Make a well in the center and add the yeast. Pour in the warm water (around 40°C - warm but not hot to touch) and olive oil. Mix until it forms a shaggy dough, then turn onto a lightly floured surface and knead for 8-10 minutes until smooth and elastic. The dough should spring back when lightly pressed - this indicates good gluten development, which will give your pizza crust its signature chew.</li><li class="MethodStepper"><h4 class="step-title">Step 2</h4>Form the dough into a ball and place in an oiled bowl, turning once to coat. Cover with a damp cloth or plastic wrap and let rise in a warm, draft-free place for about 1 hour, or until doubled in size. This slow fermentation develops flavor in your dough while the yeast creates carbon dioxide, forming air pockets that will expand during baking.</li><li class="MethodStepper"><h4 class="step-title">Step 3</h4>While the dough rises, prepare your vegetables. Preheat your oven to 220°C. On a large baking sheet, toss the sliced peppers, zucchini, red onion, cherry tomatoes, and minced garlic with olive oil, dried herbs, salt, and pepper. Spread in a single layer (use two trays if needed to prevent overcrowding). Roast for 15-20 minutes until the vegetables are tender and beginning to caramelize at the edges. Roasting concentrates the vegetables' natural sugars, intensifying their flavor and preventing a soggy pizza.</li><li class="MethodStepper"><h4 class="step-title">Step 4</h4>Place your pizza stone or baking sheet in the oven and increase the temperature to 250°C (or as high as your oven will go). Allow the stone to heat for at least 30 minutes - this mimics the intense bottom heat of a professional pizza oven, ensuring a crispy base.</li><li class="MethodStepper"><h4 class="step-title">Step 5</h4>Once the dough has risen, gently punch it down to release excess air bubbles. On a lightly floured surface, stretch or roll the dough to a 30cm circle, working from the center outward. Don't force the dough; if it resists, let it rest for 5 minutes to allow the gluten to relax, then continue. Create a slightly thicker rim around the edge for the crust.</li><li class="MethodStepper"><h4 class="step-title">Step 6</h4>Sprinkle a pizza peel or the back of a baking sheet with semolina or cornmeal (this acts like tiny ball bearings, helping your pizza slide easily). Transfer the shaped dough onto the peel. Working quickly (to prevent sticking), spread the tomato passata in a thin layer over the dough, leaving a 2cm border for the crust.</li><li class="MethodStepper"><h4 class="step-title">Step 7</h4>Sprinkle about two-thirds of the mozzarella cheese over the sauce, then arrange the roasted vegetables evenly across the pizza. Dot with crumbled goat cheese if using, and sprinkle the remaining mozzarella on top. The layering of cheese both under and over the vegetables helps everything adhere and creates perfect melt distribution.</li><li class="MethodStepper"><h4 class="step-title">Step 8</h4>With a quick, confident motion, slide the pizza from the peel onto the hot stone or baking sheet in the oven. Bake for 10-12 minutes until the crust is golden brown with charred spots, and the cheese is bubbling and beginning to brown. These visual cues indicate the perfect balance of a fully cooked crust and melted toppings.</li><li class="MethodStepper"><h4 class="step-title">Step 9</h4>Remove the pizza from the oven and let it rest for 2 minutes (this allows the cheese to set slightly so it doesn't slide off when cutting). Tear fresh basil leaves over the top and drizzle with a little extra virgin olive oil if desired. Slice into 8 pieces and serve immediately while the contrast between the crisp bottom and soft, chewy interior is at its peak.</li></ol>