Vegan Chocolate Chip Scones Recipe

Buttery, flaky vegan scones studded with melty chocolate chips, offering the perfect balance of tender crumb and crisp edges with every decadent bite.
Difficulty:
Beginner
Prep Time:
20 mins
Cook Time:
18 mins
Serves:
8 scones
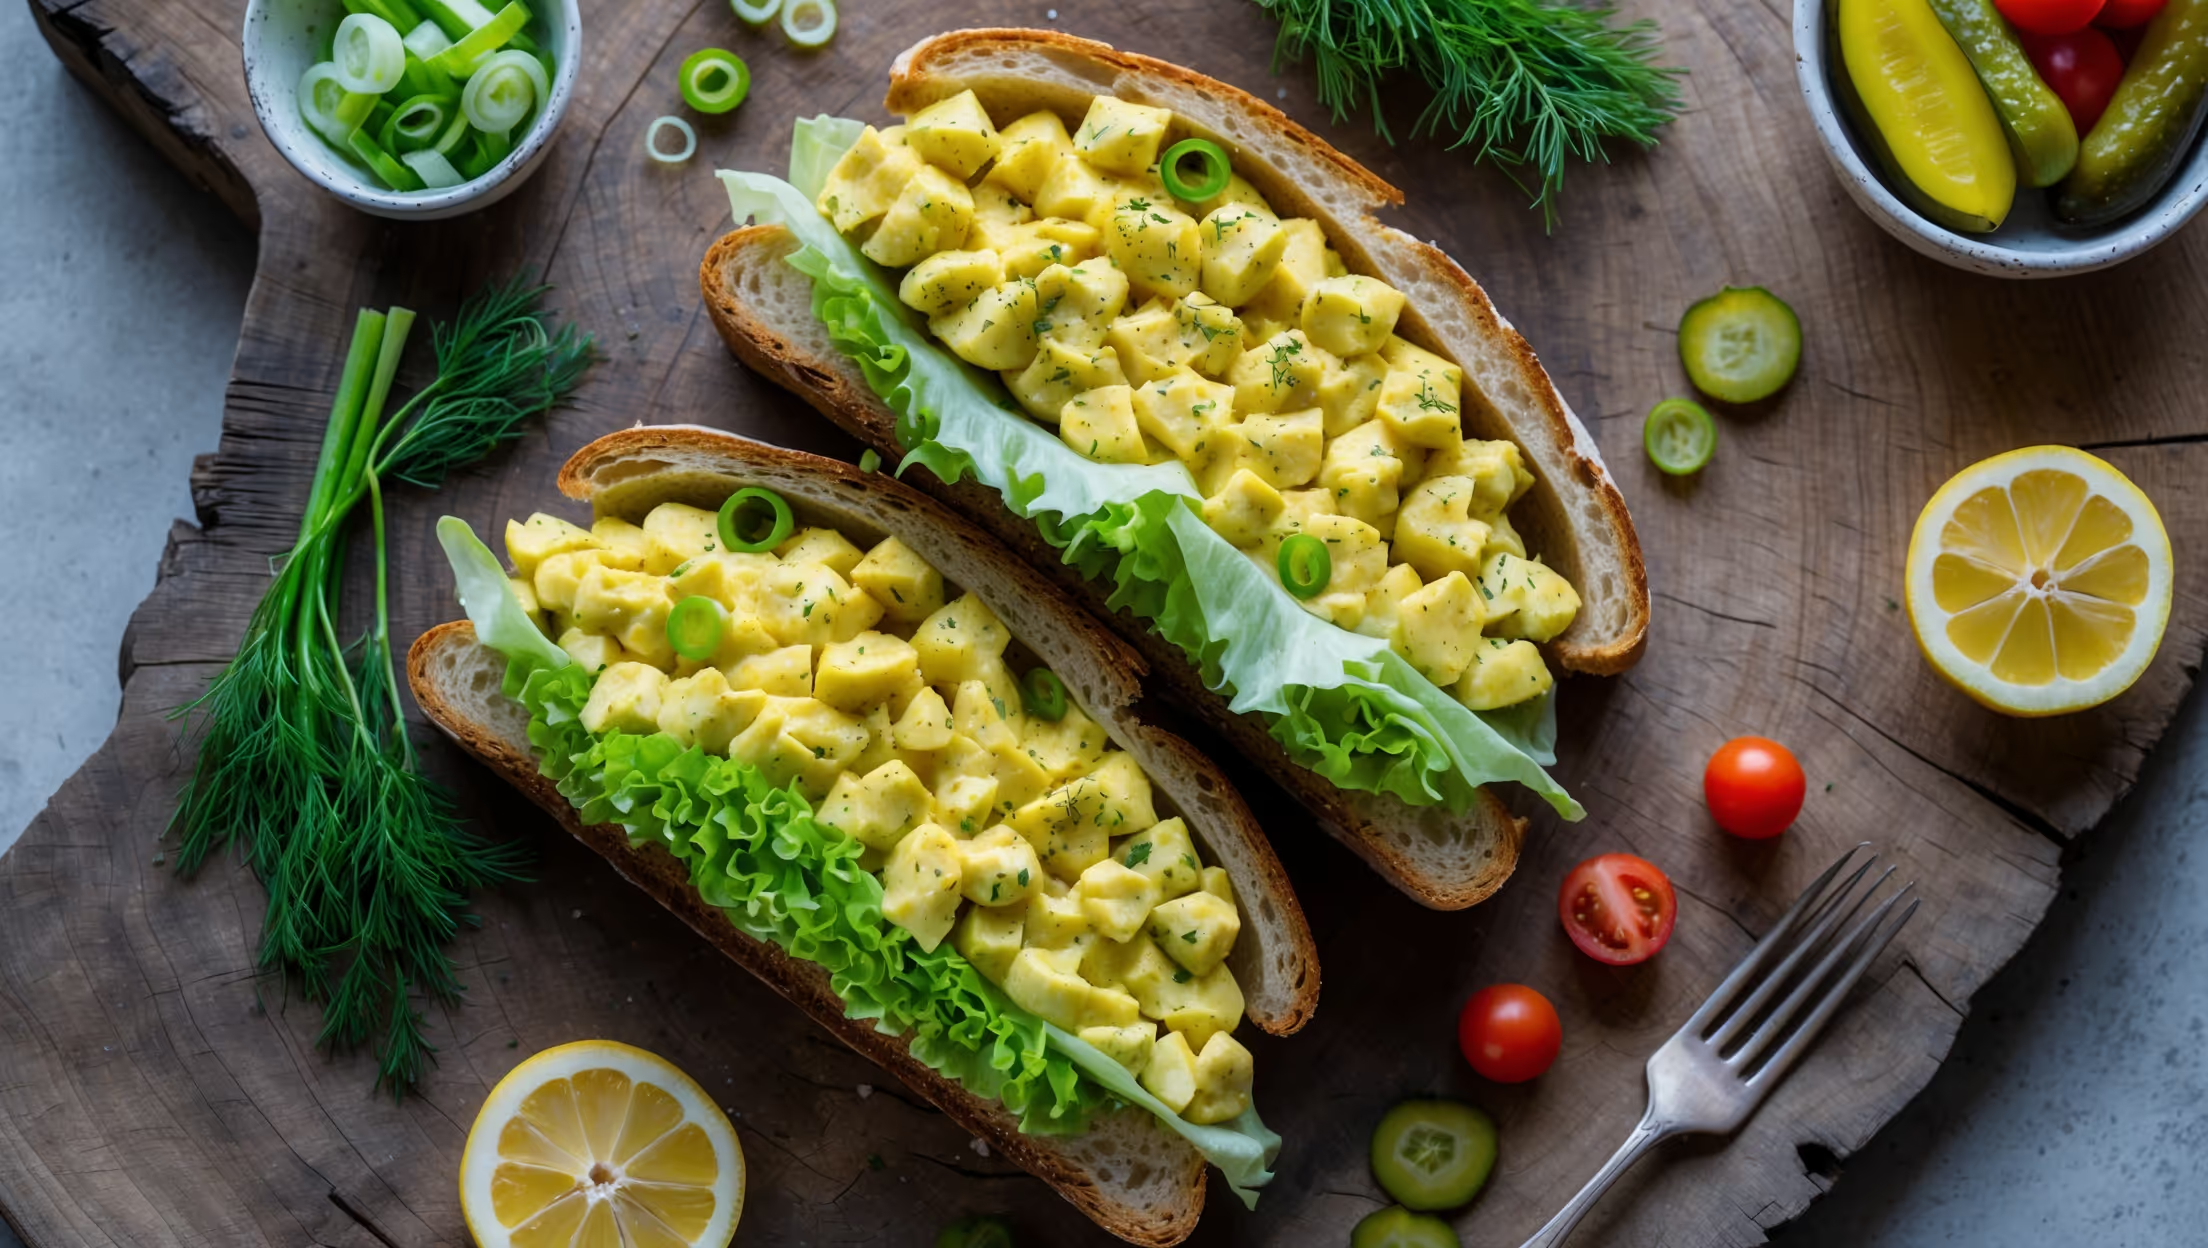
An overhead shot of golden-brown vegan chocolate chip scones arranged in a rustic pattern on a weathered wooden board, with a few strategically placed on their sides to reveal the generous chocolate chunks melting within. The scones have a crackly, sugary crust that catches the soft morning light streaming through a nearby window, highlighting their perfectly imperfect edges and tender interior. Several loose chocolate chips and a light dusting of powdered sugar are scattered artfully around the display, while a vintage blue linen napkin adds a pop of color in the corner. The warm, inviting composition captures the homemade quality of these treats, with visible flaky layers and pockets of chocolate that appear moments away from being enjoyed with a steaming cup of coffee visible at the edge of the frame.

Ingredients

<ul class="ingredients-main-list"><li class="ingredients-single-item">300g all-purpose flour</li><li class="ingredients-single-item">80g granulated sugar</li><li class="ingredients-single-item">1 tablespoon baking powder</li><li class="ingredients-single-item">½ teaspoon salt</li><li class="ingredients-single-item">120g cold coconut oil, solid (refrigerated)</li><li class="ingredients-single-item">180ml cold plant milk (almond, soy, or oat)</li><li class="ingredients-single-item">1 teaspoon vanilla extract</li><li class="ingredients-single-item">150g dairy-free chocolate chips or chunks</li><li class="ingredients-single-item">2 tablespoons plant milk for brushing</li><li class="ingredients-single-item">1 tablespoon coarse sugar for sprinkling (optional)</li></ul>

Equipment

<ul class="equipment-main-list"><li class="equipment-single-item">Baking sheet</li><li class="equipment-single-item">Parchment paper</li><li class="equipment-single-item">Pastry cutter or food processor</li><li class="equipment-single-item">Pastry brush</li></ul>
BAKE SMARTER

Kitchen Converter

Quickly switch between common baking units without leaving the recipe.

Convert
Result—

Volume uses US cups, tablespoons, and teaspoons. Converting weight to volume depends on the ingredient.

Directions

<ol class="no-list-style"><li class="MethodStepper"><h4 class="step-title">Step 1</h4>Preheat your oven to 200°C (400°F) and line a baking sheet with parchment paper. Place your coconut oil in the refrigerator to ensure it's completely solid – this is crucial for creating those lovely flaky layers in your scones.</li><li class="MethodStepper"><h4 class="step-title">Step 2</h4>In a large bowl, whisk together the flour, sugar, baking powder, and salt until well combined. This thorough mixing ensures the leavening agent is evenly distributed throughout the dough, giving you a consistent rise.</li><li class="MethodStepper"><h4 class="step-title">Step 3</h4>Add the cold, solid coconut oil to the flour mixture. Using a pastry cutter, two knives, or your fingertips, cut the coconut oil into the flour until it resembles coarse crumbs with some pea-sized pieces remaining. These small chunks of coconut oil will create steam pockets during baking, resulting in those delightful flaky layers. Work quickly to prevent the oil from warming and melting!</li><li class="MethodStepper"><h4 class="step-title">Step 4</h4>Make a well in the center of your mixture and pour in the cold plant milk and vanilla extract. Stir gently with a wooden spoon or rubber spatula until the dough just begins to come together – it should look shaggy and not completely smooth. Overmixing will develop the gluten and result in tough scones, so restrain your mixing instinct here!</li><li class="MethodStepper"><h4 class="step-title">Step 5</h4>Add the chocolate chips and fold them in with just a few strokes to distribute evenly. The fewer strokes, the more tender your scones will be, so aim for minimal but effective mixing.</li><li class="MethodStepper"><h4 class="step-title">Step 6</h4>Turn the dough out onto a lightly floured surface and gently pat it into a circle about 2.5cm (1 inch) thick. Don't use a rolling pin – your hands will provide the gentle touch needed to maintain those air pockets. If the dough feels sticky, dust your hands with a little flour rather than adding more to the dough.</li><li class="MethodStepper"><h4 class="step-title">Step 7</h4>Using a sharp knife, cut the circle into 8 equal wedges, like you're cutting a pizza. A clean cut without dragging the knife will give you the best rise – the scones need those clean edges to climb upward in the oven.</li><li class="MethodStepper"><h4 class="step-title">Step 8</h4>Transfer the scones to your prepared baking sheet, leaving about 5cm (2 inches) between each one. For extra crispness, place the baking sheet with the scones in the freezer for 10 minutes. This further chills the coconut oil, creating an even flakier result.</li><li class="MethodStepper"><h4 class="step-title">Step 9</h4>Brush the tops lightly with plant milk using a pastry brush, then sprinkle with coarse sugar if using. This will give your scones a beautiful golden crust with a touch of sparkle and sweetness.</li><li class="MethodStepper"><h4 class="step-title">Step 10</h4>Bake in your preheated oven for 16-18 minutes, or until the scones are risen and golden brown. Look for a slightly darker edge at the bottom – this indicates they're cooked through while maintaining moisture inside.</li><li class="MethodStepper"><h4 class="step-title">Step 11</h4>Allow the scones to cool on the baking sheet for 5 minutes before transferring to a wire rack. This brief resting period allows them to set up slightly, making them easier to move without breaking. Enjoy warm for the most delightful experience as the chocolate is still melty and the contrast between the crisp exterior and tender interior is at its peak!</li></ol>

Nutrition Facts (per serving)

🍽️ Serving Size: 1 scone
🔥 Calories: 320 calories
🥑 Fat: 16 g
🧈 Saturated Fat: 12 g
🍞 Carbohydrates: 42 g
🍭 Sugar: 14 g
🍗 Protein: 4 g
🫀 Cholesterol: 0 mg
🧂 Sodium: 215 mg

Chef’s Notes

A few helpful details for making this recipe.

Why is cold coconut oil essential for making perfect scones?

Cold coconut oil creates pockets of fat in the dough that, when baked, produce steam and create those signature flaky layers in scones. If the oil melts before baking, you'll lose the light, tender texture that makes scones special. This is why chilling the shaped scones before baking helps too.

Can I freeze unbaked scone dough for later use?

Absolutely! Cut the dough into wedges, place them on a parchment-lined tray and freeze until solid. Transfer to a freezer bag and store for up to 3 months. Bake straight from frozen, adding 3-5 minutes to the baking time. Perfect for fresh-baked scones whenever the craving strikes!

What's the secret to getting a tender crumb in dairy-free scones?

The key to tender dairy-free scones is minimal handling of the dough. Mix just until ingredients are combined, use cold ingredients, and work quickly. Avoid overmixing, which develops gluten and results in tough scones. The pea-sized chunks of cold coconut oil are also essential for creating flakiness.

Want to try something else in ...

More recipes you might like

Keep exploring with more recipes from What's Baking.