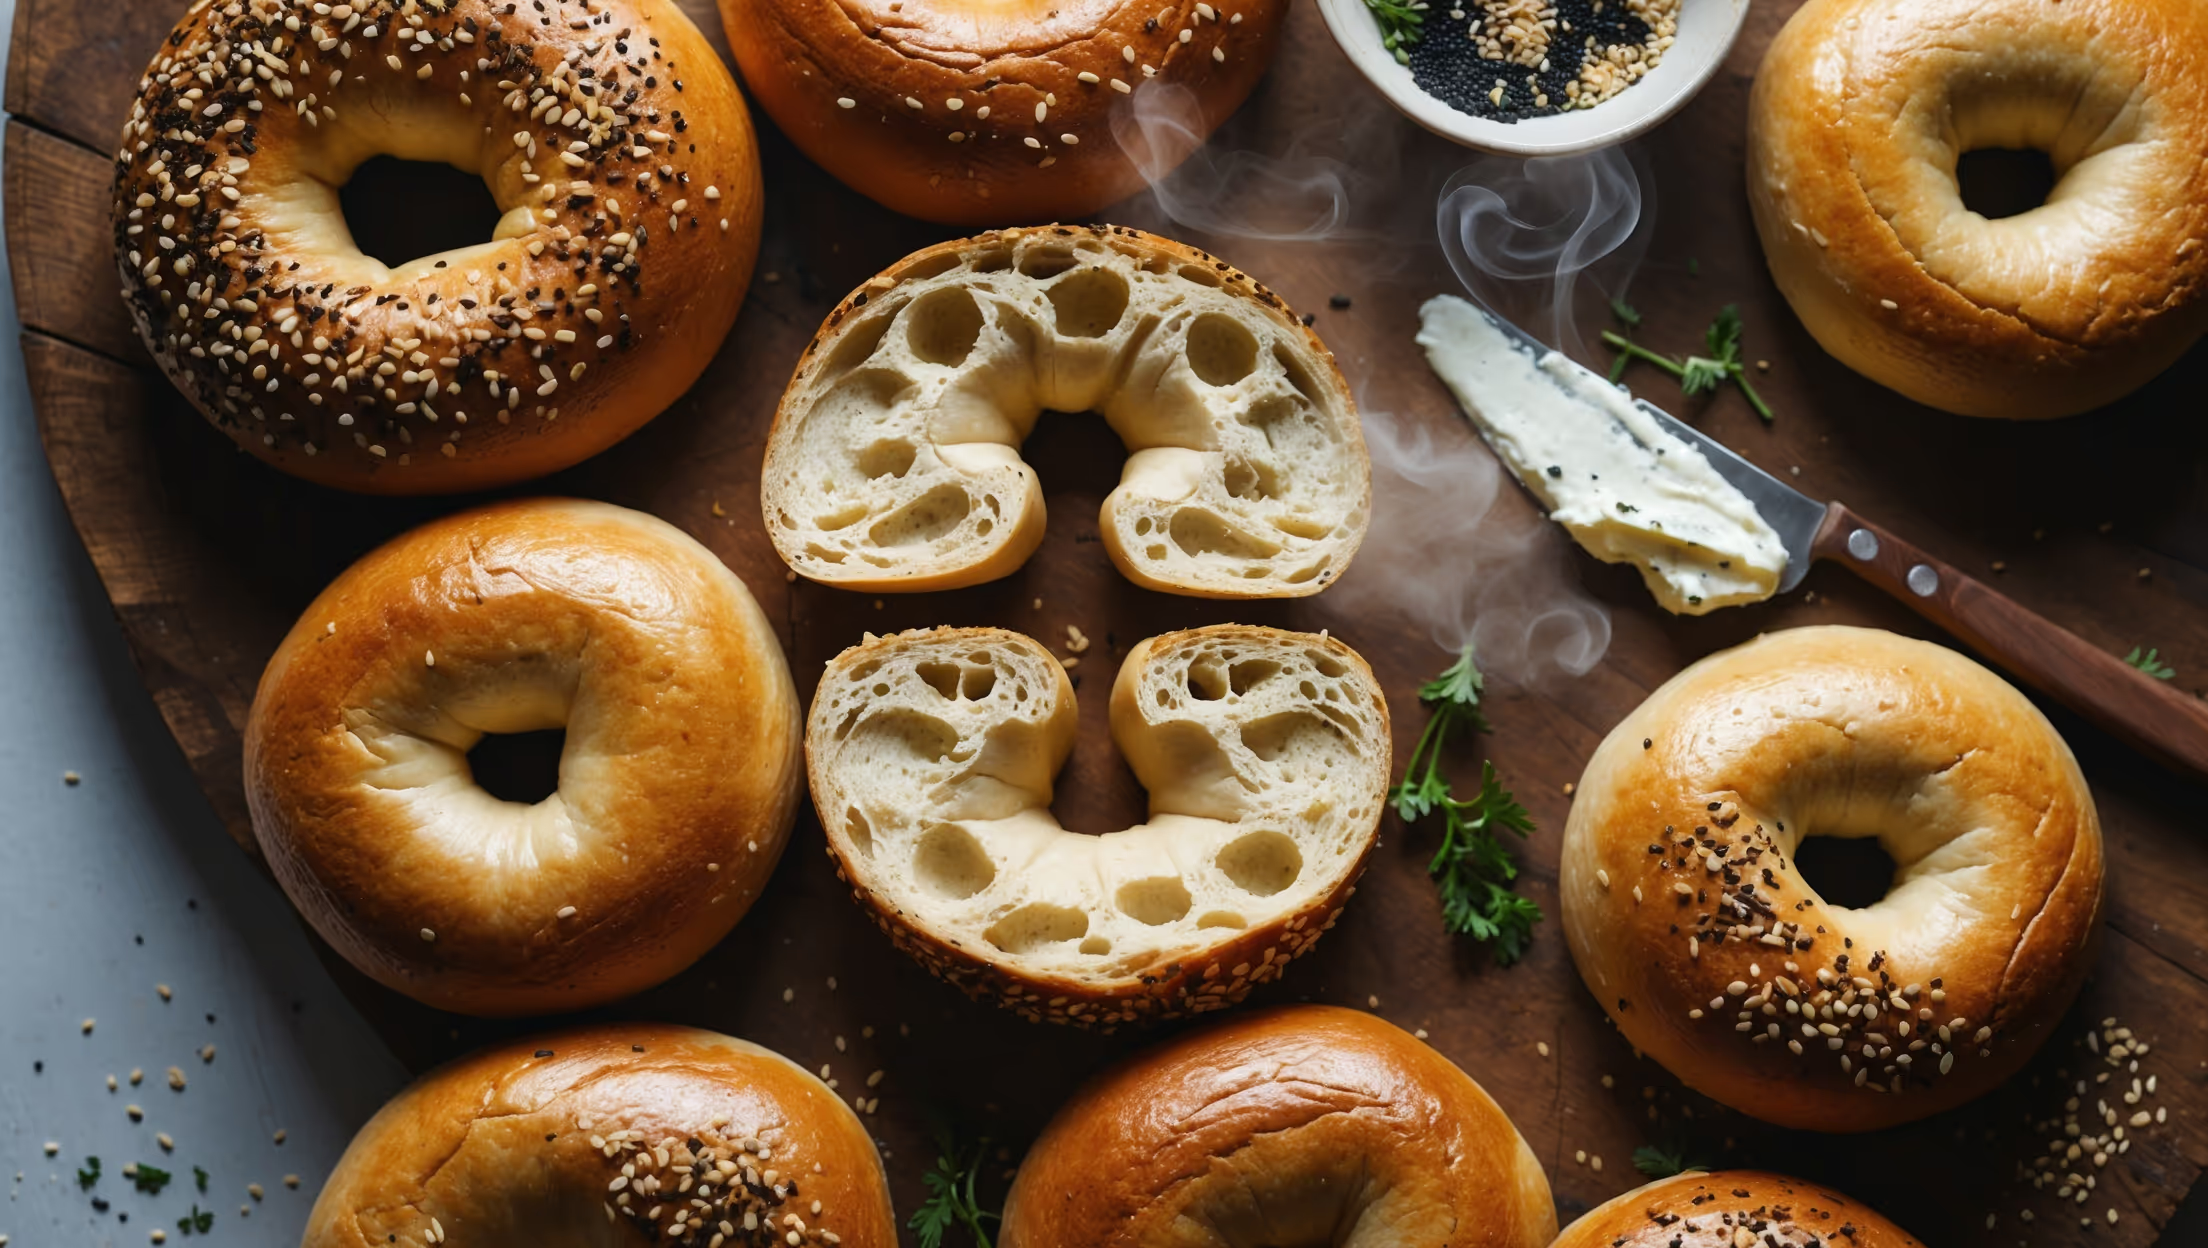
Directions
<ol class="no-list-style"><li class="MethodStepper"><h4 class="step-title">Step 1</h4>In a large bowl, combine the bread flour, yeast, sugar, and salt, whisking to distribute the ingredients evenly. The higher protein content in bread flour is essential for developing the strong gluten networks that give bagels their distinctive chewy texture.</li><li class="MethodStepper"><h4 class="step-title">Step 2</h4>Make a well in the center of your dry ingredients and pour in the warm water (around 40-43°C/105-110°F) and oil. Mix with a wooden spoon until the dough starts coming together, then turn out onto a lightly floured surface.</li><li class="MethodStepper"><h4 class="step-title">Step 3</h4>Knead the dough for about 10-12 minutes until smooth, elastic, and no longer sticky. This extended kneading develops the gluten structure necessary for that signature bagel chew. The dough should bounce back when you press a finger into it. If using a stand mixer, mix with the dough hook on medium speed for 8-10 minutes.</li><li class="MethodStepper"><h4 class="step-title">Step 4</h4>Place the dough in a lightly oiled bowl, turning once to coat both sides. Cover with a damp cloth or plastic wrap and let rise in a warm place for 1 hour or until doubled in size. This slow fermentation develops flavor in your bagels.</li><li class="MethodStepper"><h4 class="step-title">Step 5</h4>Once risen, punch down the dough to release air bubbles and divide it into 8 equal portions (approximately 100-110g each). For perfectly even bagels, weigh each portion on a kitchen scale.</li><li class="MethodStepper"><h4 class="step-title">Step 6</h4>Shape each portion into a smooth ball by folding the edges underneath and pinching them together. Let rest for 10-15 minutes under a clean kitchen towel – this relaxes the gluten and makes the next shaping step easier.</li><li class="MethodStepper"><h4 class="step-title">Step 7</h4>To shape the bagels, use your thumb to poke a hole through the center of each ball, then gently stretch the dough to form a ring about a third the diameter of the bagel wide. The holes will shrink as the bagels proof and bake, so make them larger than you might think necessary.</li><li class="MethodStepper"><h4 class="step-title">Step 8</h4>Place the shaped bagels on a parchment-lined baking sheet, cover lightly with a damp cloth, and let rest for another 20 minutes. Meanwhile, preheat your oven to 220°C (425°F) and bring a large pot of water to a boil with the maple syrup (this creates the shiny exterior and adds subtle sweetness).</li><li class="MethodStepper"><h4 class="step-title">Step 9</h4>Test if the bagels are ready by filling a bowl with room-temperature water. Place one bagel in the water – it should float within 10 seconds (if not, let them proof longer). Once ready, reduce the water to a simmer.</li><li class="MethodStepper"><h4 class="step-title">Step 10</h4>Gently lower 2-3 bagels at a time into the simmering water. Boil for 1 minute on each side, flipping carefully with a slotted spoon. This gelatinizes the starches on the surface, creating that distinctive chewy crust.</li><li class="MethodStepper"><h4 class="step-title">Step 11</h4>If adding toppings, do so immediately after boiling while the surface is still wet. Sprinkle toppings generously over the bagels or dip the top surface into a plate of toppings for even coverage.</li><li class="MethodStepper"><h4 class="step-title">Step 12</h4>Return the boiled bagels to the parchment-lined baking sheet and bake in the preheated oven for 20-25 minutes, until golden brown and the bottom sounds hollow when tapped. For a more even browning, rotate the pan halfway through baking.</li><li class="MethodStepper"><h4 class="step-title">Step 13</h4>Transfer the bagels to a wire rack to cool completely. This allows air to circulate and prevents the bottoms from becoming soggy. Enjoy your homemade vegan bagels fresh, or store in an airtight container for up to 2 days. For longer storage, slice and freeze in freezer bags for up to a month.</li></ol>