Triple Berry Pie Recipe

A buttery, flaky crust filled with bursting sweet-tart raspberries, blueberries and blackberries, balanced with subtle spices and finished with a golden lattice top.
Difficulty:
Intermediate
Prep Time:
45 mins
Cook Time:
55 mins
Serves:
1 pie (8 slices)
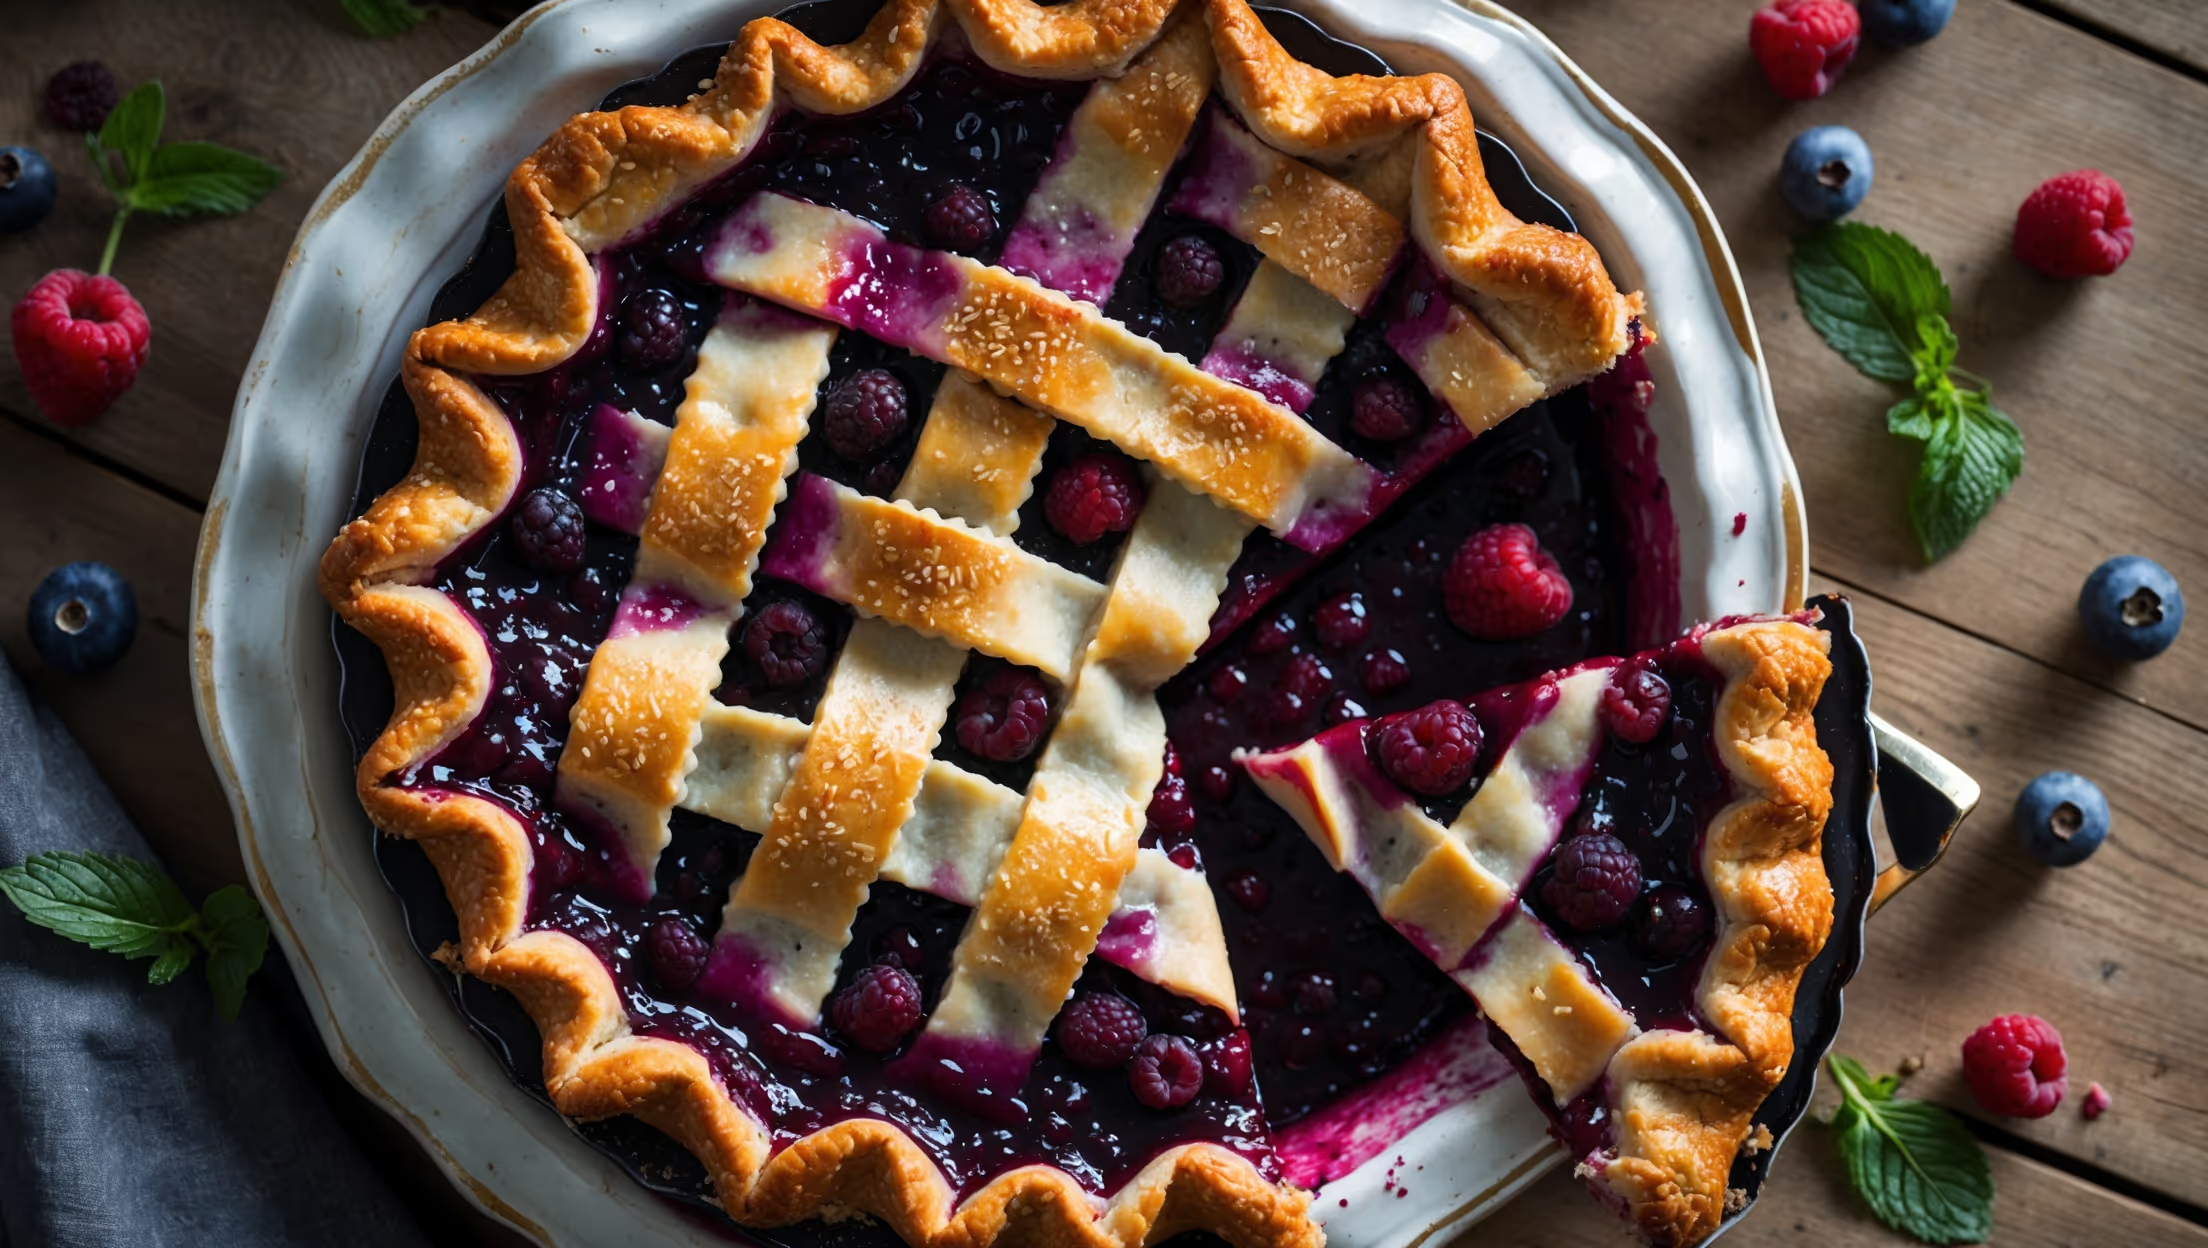
An overhead shot of the Triple Berry Pie showcasing its intricate lattice top glistening with sugar crystals and caramelized berry juices bubbling through the gaps. The golden-brown crust contrasts beautifully with the deep purple-red filling peeking through. In soft natural light, the pie rests on a vintage white ceramic plate atop a rustic wooden table scattered with fresh berries and mint leaves. A slice has been removed, revealing the perfect balance between jammy berry filling and flaky crust, with rich berry juices just contained enough to hold their shape without being runny.

Ingredients

<ul class="ingredients-main-list"><li class="ingredients-single-item">For the crust:</li><li class="ingredients-single-item">300g all-purpose flour</li><li class="ingredients-single-item">225g unsalted butter, very cold and cubed</li><li class="ingredients-single-item">1 tbsp granulated sugar</li><li class="ingredients-single-item">1 tsp salt</li><li class="ingredients-single-item">60-90ml ice-cold water</li><li class="ingredients-single-item">1 egg, beaten (for egg wash)</li><li class="ingredients-single-item">1 tbsp coarse sugar, for topping</li><li class="ingredients-single-item">For the filling:</li><li class="ingredients-single-item">200g fresh raspberries</li><li class="ingredients-single-item">200g fresh blueberries</li><li class="ingredients-single-item">200g fresh blackberries</li><li class="ingredients-single-item">150g granulated sugar</li><li class="ingredients-single-item">60g cornstarch</li><li class="ingredients-single-item">2 tbsp lemon juice</li><li class="ingredients-single-item">1 tsp lemon zest</li><li class="ingredients-single-item">1/2 tsp ground cinnamon</li><li class="ingredients-single-item">1/4 tsp ground nutmeg</li><li class="ingredients-single-item">Pinch of salt</li></ul>

Equipment

<ul class="equipment-main-list"><li class="equipment-single-item">23cm (9-inch) pie dish</li><li class="equipment-single-item">Rolling pin</li><li class="equipment-single-item">Pastry wheel or sharp knife</li><li class="equipment-single-item">Pastry brush</li><li class="equipment-single-item">Baking sheet</li><li class="equipment-single-item">Pie shield or aluminum foil</li></ul>
BAKE SMARTER

Kitchen Converter

Quickly switch between common baking units without leaving the recipe.

Convert
Result—

Volume uses US cups, tablespoons, and teaspoons. Converting weight to volume depends on the ingredient.

Directions

<ol class="no-list-style"><li class="MethodStepper"><h4 class="step-title">Step 1</h4>Start with the pie crust. In a large bowl, whisk together the flour, sugar, and salt. Add the cold cubed butter and use a pastry cutter or your fingertips to work it in until the mixture resembles coarse meal with some pea-sized pieces remaining. The cold butter creates steam pockets during baking, resulting in flaky layers.</li><li class="MethodStepper"><h4 class="step-title">Step 2</h4>Drizzle 60ml of ice water over the mixture and stir with a fork until the dough begins to come together. If needed, add more water, 1 tablespoon at a time. The dough should hold together when squeezed but shouldn't feel wet or sticky. Avoid overworking the dough, which develops gluten and results in a tough crust.</li><li class="MethodStepper"><h4 class="step-title">Step 3</h4>Divide the dough into two portions, one slightly larger than the other (about 60% and 40%). Flatten each into a disk, wrap in plastic wrap, and refrigerate for at least 1 hour or up to 2 days. Cold dough is essential for a flaky texture and prevents shrinking during baking.</li><li class="MethodStepper"><h4 class="step-title">Step 4</h4>While the dough chills, prepare the filling. In a large bowl, gently combine all berries, sugar, cornstarch, lemon juice, zest, spices, and salt. The cornstarch will thicken the juices released during baking, preventing a soggy bottom crust. Let the mixture sit for 15 minutes to allow flavors to meld and juices to begin releasing.</li><li class="MethodStepper"><h4 class="step-title">Step 5</h4>Preheat your oven to 200°C (400°F) and place a baking sheet on the lower rack to catch any potential overflow. Remove the larger disk of dough from the refrigerator and let it sit for 5-10 minutes to slightly soften for easier rolling.</li><li class="MethodStepper"><h4 class="step-title">Step 6</h4>On a lightly floured surface, roll the larger disk into a circle about 33cm (13 inches) in diameter and 3mm (1/8 inch) thick. Keep rotating the dough quarter-turns as you roll to ensure it doesn't stick. Transfer to your pie dish by rolling it around the rolling pin and unrolling over the dish. Gently press into the bottom and sides, leaving an overhang. Return to the refrigerator while you prepare the lattice.</li><li class="MethodStepper"><h4 class="step-title">Step 7</h4>Roll out the second disk to the same thickness. Using a pastry wheel or knife, cut into 2.5cm (1-inch) strips for the lattice. For a classic lattice, place half the strips parallel across the pie, spacing them evenly. Fold back every other strip halfway, then place a perpendicular strip across the unfolded strips. Return the folded strips to their original position, then fold back the alternate strips and add another perpendicular strip. Continue this weaving process.</li><li class="MethodStepper"><h4 class="step-title">Step 8</h4>Remove the bottom crust from the refrigerator and pour in the berry filling, leaving any excess juice in the bowl to prevent a soggy bottom. Arrange your lattice top, trim the excess dough to 2.5cm (1-inch) overhang, then fold and crimp the edges decoratively.</li><li class="MethodStepper"><h4 class="step-title">Step 9</h4>Brush the lattice with beaten egg and sprinkle with coarse sugar for a beautiful shine and crunch. Place the pie on the preheated baking sheet and bake for 20 minutes at 200°C (400°F), then reduce the temperature to 175°C (350°F) and bake for another 35-40 minutes until the crust is golden and filling is bubbling thickly through the lattice. If the edges brown too quickly, shield them with aluminum foil.</li><li class="MethodStepper"><h4 class="step-title">Step 10</h4>Allow the pie to cool completely on a wire rack for at least 3 hours before slicing. This cooling time is crucial as it allows the filling to set properly; cutting too soon will result in a runny pie. Serve at room temperature or slightly warm with a scoop of vanilla ice cream if desired. The pie will keep at room temperature for 2 days or refrigerated for up to 5 days.</li></ol>
Nutrition Facts (per serving)

🍽️ Serving Size: 1 slice
🔥 Calories: 315 calories
🥑 Fat: 14 g
🧈 Saturated Fat: 8 g
🍞 Carbohydrates: 46 g
🍭 Sugar: 24 g
🍗 Protein: 3 g
🫀 Cholesterol: 45 mg
🧂 Sodium: 175 mg

Chef’s Notes

A few helpful details for making this recipe.

What's the secret to preventing a soggy bottom when baking fruit pies?

The keys to avoiding a soggy bottom include: using enough cornstarch to thicken juicy fruits, leaving excess juice behind when adding the filling, baking on a preheated baking sheet to conduct heat to the bottom crust, starting at a high temperature, and allowing the pie to cool completely before slicing.

Can I use frozen berries instead of fresh ones in a mixed berry pie?

Yes, frozen berries work well! Don't thaw them first as this releases too much liquid. Instead, use them straight from the freezer but increase the cornstarch by 1-2 tablespoons to account for extra moisture. You may need to extend the baking time by 5-10 minutes until the filling bubbles thickly.

How do I achieve the perfect lattice crust for my berry pie?

For a perfect lattice, chill your dough well before cutting strips (ensures clean edges), use a ruler and pastry wheel for even strips, practice the weaving pattern before placing on the pie, and work quickly to prevent warming. Finish with egg wash and coarse sugar for a professional, glossy finish.

Want to try something else in ...

More recipes you might like

Keep exploring with more recipes from What's Baking.