Sour Cherry Pie Recipe

Ingredients
Equipment
Directions
FAQs
Find answers to your most pressing questions about this delicious recipe right here.
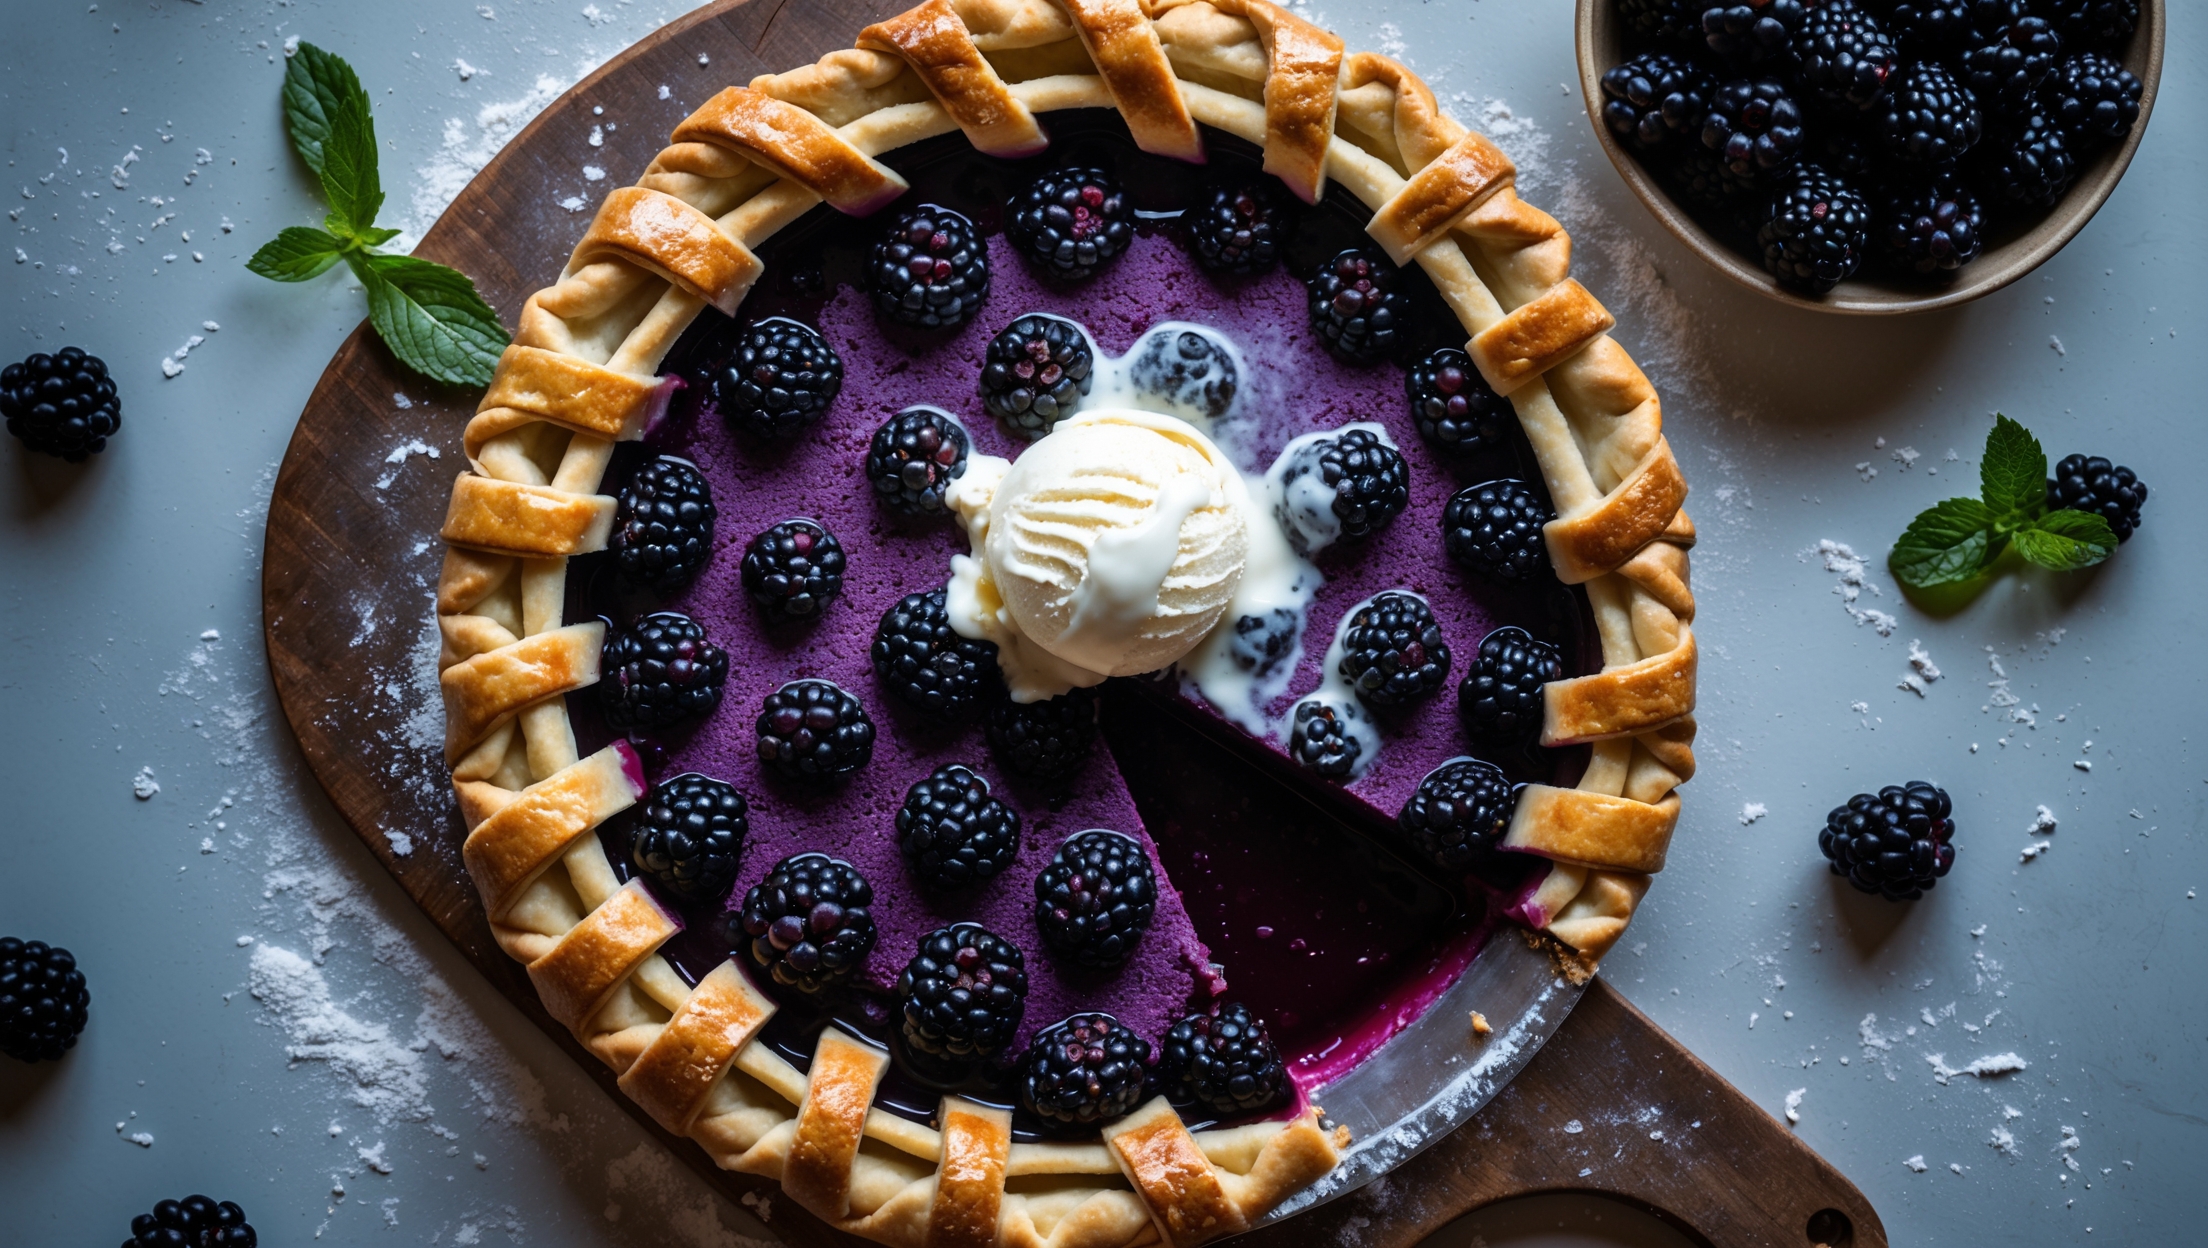
The key ingredients include all-purpose flour, butter, sugar, and salt for the crust; pitted sour cherries (fresh or frozen), sugar, quick-cooking tapioca or cornstarch, almond extract, lemon juice for the filling; plus an egg wash and coarse sugar for finishing.
Learn how to cook Sour Cherry Pie Recipe by first preparing a flaky butter crust, then mixing pitted sour cherries with sugar, tapioca, and flavourings. Assemble with a lattice top, bake at 220°C for 20 minutes, then reduce to 190°C for 35-40 minutes until golden and bubbling. Cool completely before slicing for perfect results.
Tapioca creates a clearer, more glossy gel-like filling with a pleasing texture that holds its shape when sliced. It stands up better to acidic fruits like sour cherries and doesn't break down with longer baking times, preventing the dreaded "soggy bottom" that can occur with cornstarch.
Yes, you can substitute sweet cherries, but you'll need to reduce the sugar (try 100-125g) and increase the lemon juice to 3-4 tablespoons to balance the sweetness. The resulting pie will have a different flavour profile but can still be delicious with these adjustments.
Bake your pie on a preheated baking sheet in the lower third of the oven to create direct heat underneath. The proper thickener (tapioca) is crucial, as is fully cooking the pie until the filling bubbles vigorously. Finally, allowing the pie to cool completely helps the filling set properly.
Fruit Pies
Try following recommended recipes