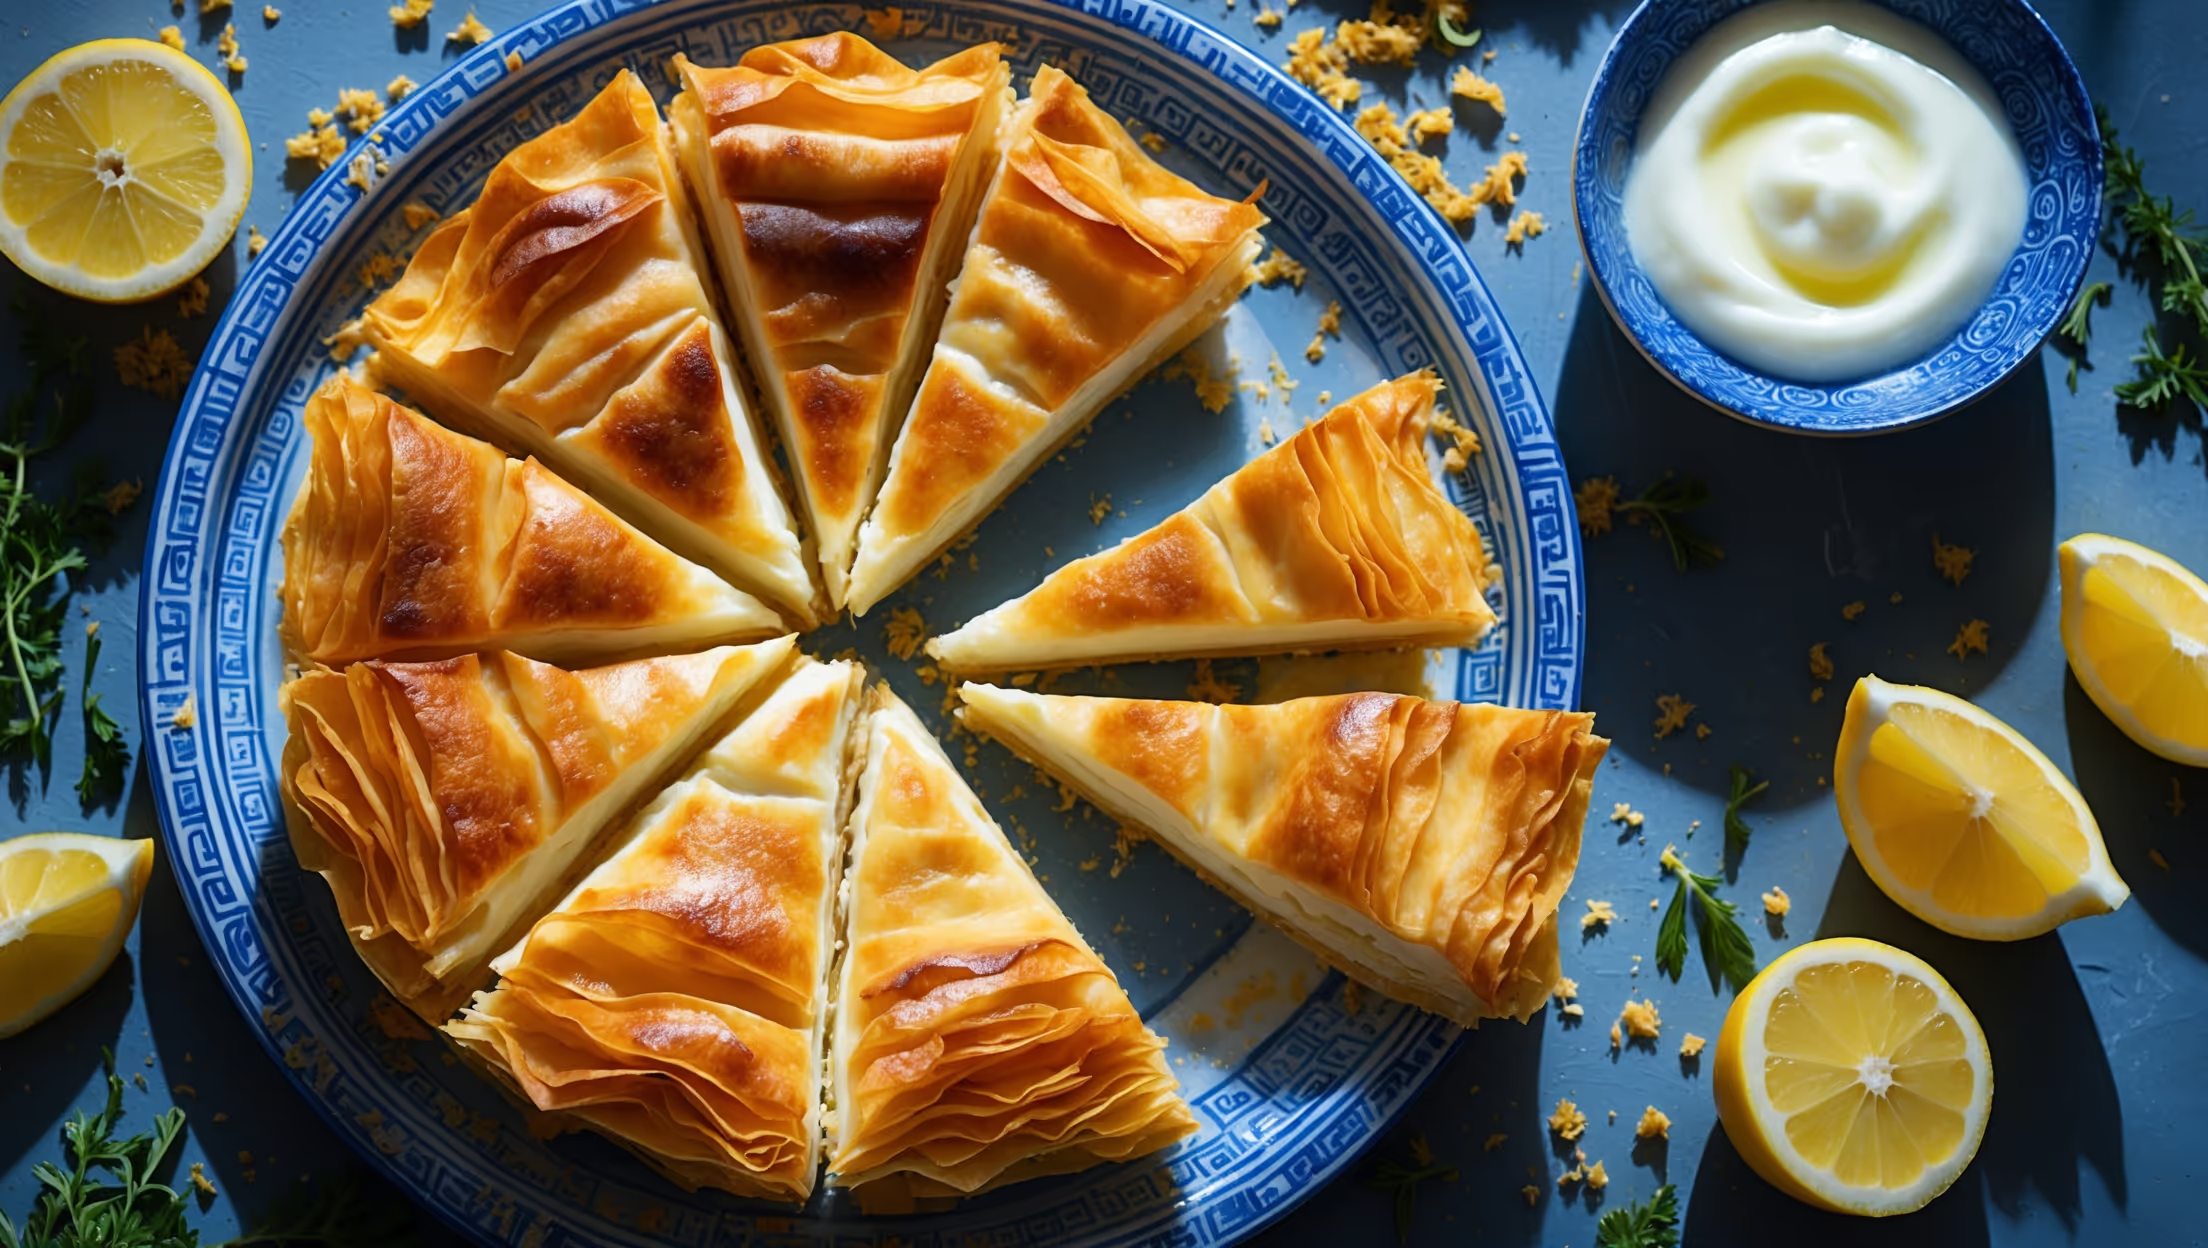
Directions
<ol class="no-list-style"><li class="MethodStepper"><h4 class="step-title">Step 1</h4>Preheat your oven to 180°C (350°F). In a large mixing bowl, combine the crumbled feta, ricotta, and grated kefalotyri cheese. The combination of different cheeses creates a complex flavor profile - the sharp tanginess of feta balances beautifully with the creaminess of ricotta.</li><li class="MethodStepper"><h4 class="step-title">Step 2</h4>Add the beaten eggs to the cheese mixture and stir until well combined. The eggs act as a binding agent that helps the filling set during baking. Fold in the chopped dill, mint, and black pepper. The fresh herbs are essential for authentic Greek flavor, so try not to substitute dried herbs if possible.</li><li class="MethodStepper"><h4 class="step-title">Step 3</h4>Unroll your phyllo pastry and cover with a damp kitchen towel to prevent it from drying out. This is crucial as dried phyllo becomes brittle and difficult to work with. Brush your baking dish with melted butter to prevent sticking.</li><li class="MethodStepper"><h4 class="step-title">Step 4</h4>Lay one sheet of phyllo in the baking dish, allowing the edges to hang over the sides. Brush generously with melted butter, which creates those wonderfully crisp, flaky layers. Repeat this process with half of your phyllo sheets (8-10 sheets), brushing each layer with butter. The multiple buttered layers create the characteristic flakiness of tiropita.</li><li class="MethodStepper"><h4 class="step-title">Step 5</h4>Spread the cheese filling evenly over the layered phyllo, taking care to distribute it right to the edges for consistent flavor in every bite. The filling should be thick enough to hold its shape but still spreadable.</li><li class="MethodStepper"><h4 class="step-title">Step 6</h4>Cover with the remaining phyllo sheets, repeating the process of laying each sheet and brushing with butter. The butter between each layer not only adds flavor but also helps the phyllo sheets separate during baking, creating that distinctive layered texture. For the top layer, brush generously with butter and sprinkle with sesame seeds if using.</li><li class="MethodStepper"><h4 class="step-title">Step 7</h4>Using a sharp knife, score the top layers of phyllo into your desired serving portions (typically squares or diamonds) before baking. This makes serving easier and prevents the flaky top from shattering when cutting later. Be careful not to cut all the way through to the filling.</li><li class="MethodStepper"><h4 class="step-title">Step 8</h4>Bake in the preheated oven for 35-40 minutes, until the top is golden brown and crisp. You'll know it's done when the pastry makes a hollow sound when tapped gently. If the top is browning too quickly, loosely cover with foil.</li><li class="MethodStepper"><h4 class="step-title">Step 9</h4>Allow the tiropita to cool for 10-15 minutes before serving. This resting time allows the filling to set and makes cutting cleaner. Serve warm or at room temperature for the best flavor and texture. Your tiropita will keep for up to 3 days refrigerated, though the pastry will soften over time.</li></ol>