Directions
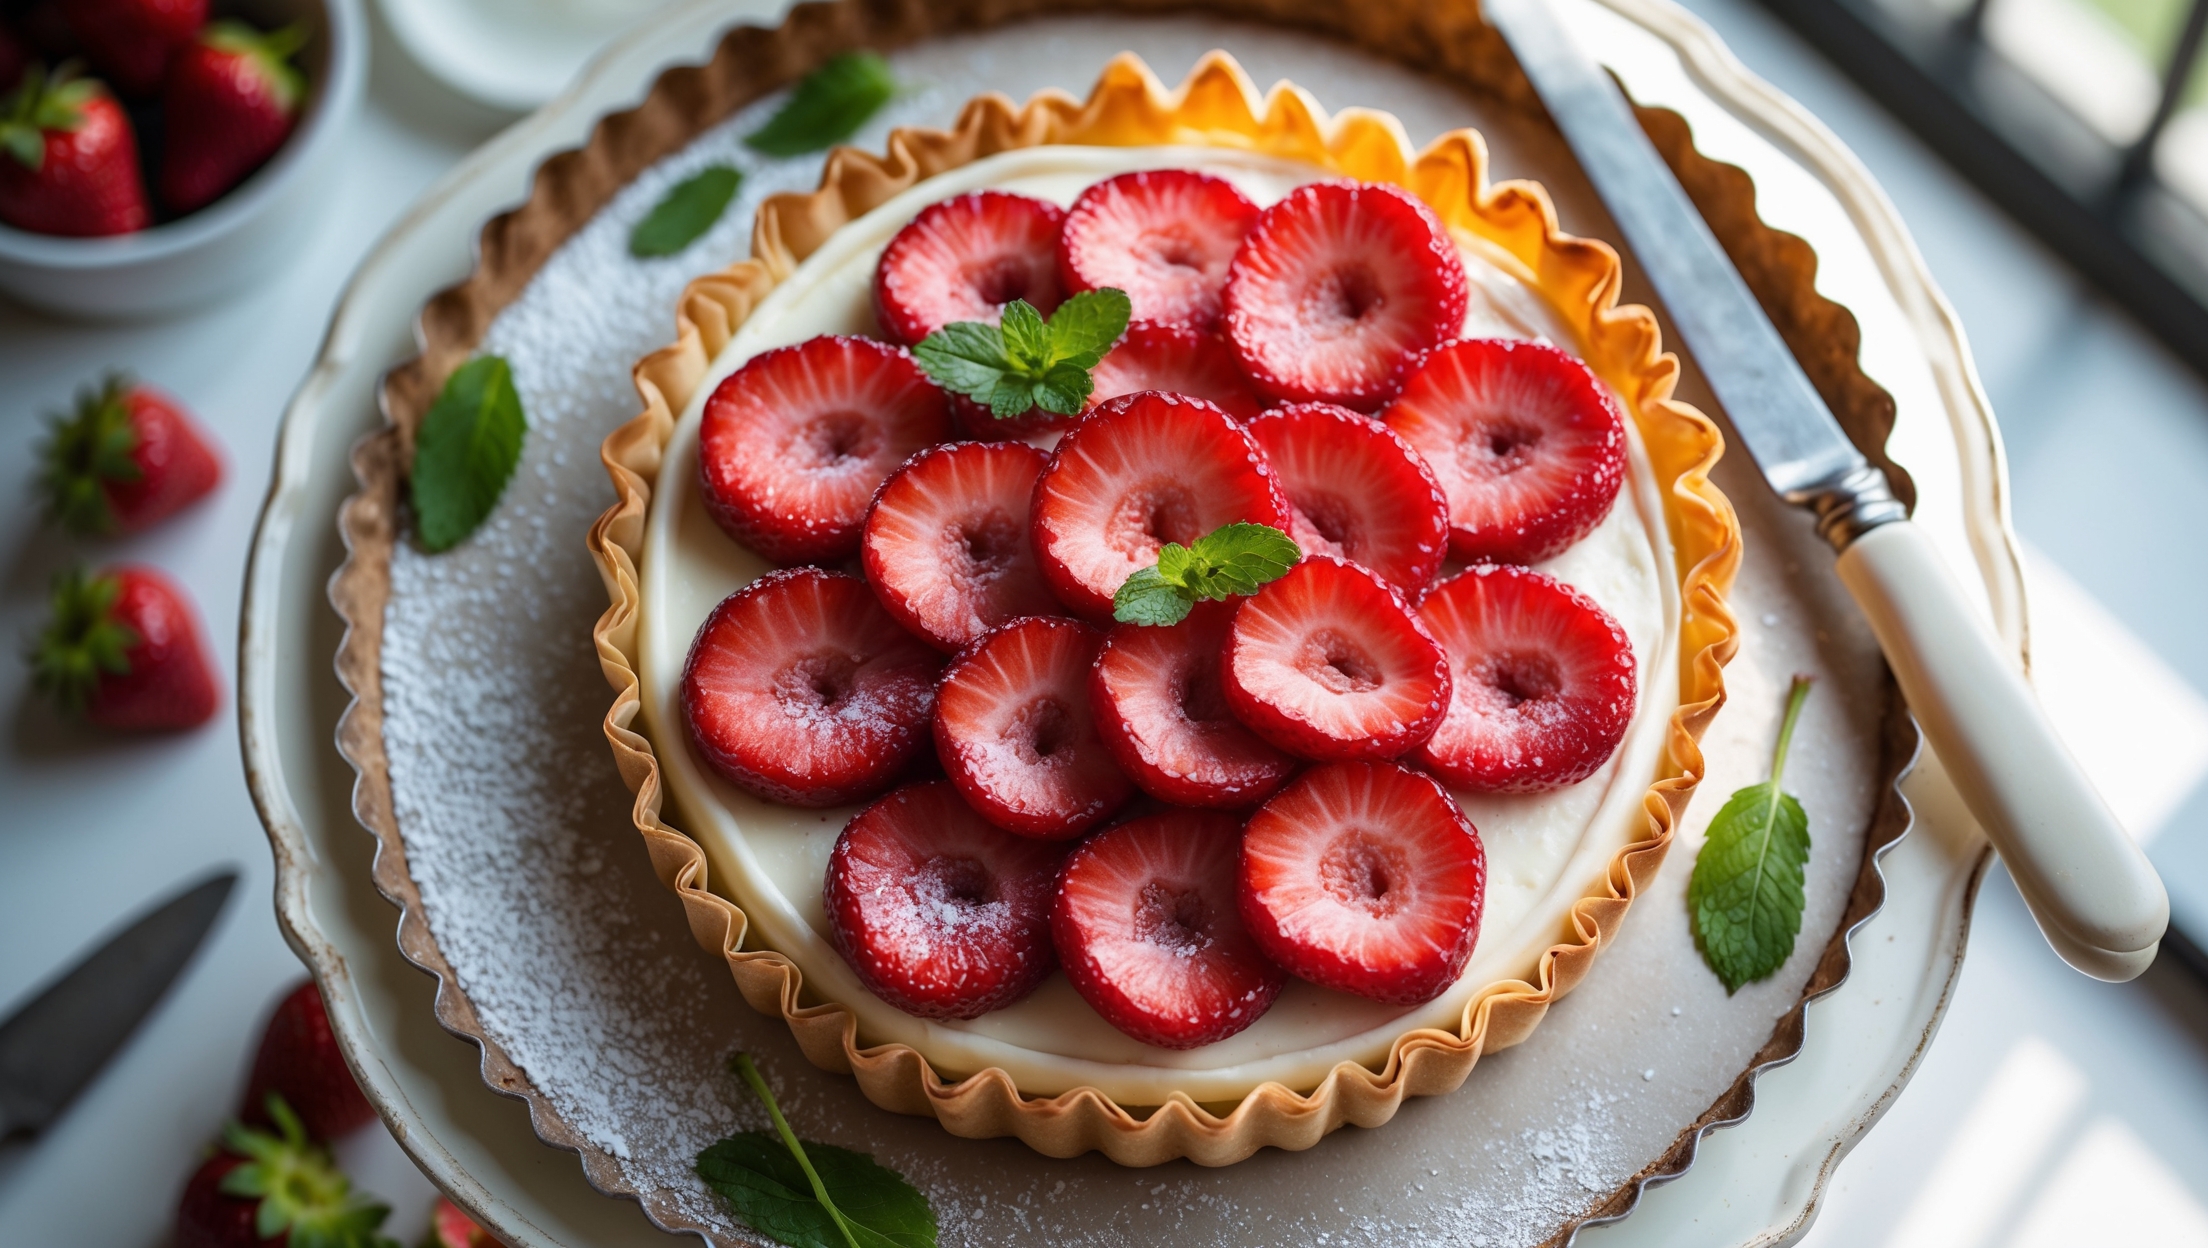
<ol class="no-list-style"><li class="MethodStepper"><h4 class="step-title">Step 1</h4>Preheat your oven to 180°C (350°F). Make sure your phyllo pastry is completely thawed but kept covered with a damp cloth to prevent it from drying out while you work.</li><li class="MethodStepper"><h4 class="step-title">Step 2</h4>Start by making the vanilla cream (pastry cream). In a medium saucepan, heat the milk with the split vanilla bean and seeds (or vanilla extract) until it just begins to simmer. Remove from heat, cover, and let infuse for 15 minutes before removing the vanilla bean pod.</li><li class="MethodStepper"><h4 class="step-title">Step 3</h4>In a bowl, whisk together the egg yolks and sugar until pale and slightly thickened. Add the cornstarch and whisk until smooth. This thorough mixing prevents lumps from forming in your pastry cream.</li><li class="MethodStepper"><h4 class="step-title">Step 4</h4>Slowly pour about one-third of the hot milk into the egg mixture, whisking constantly to temper the eggs. Then pour this mixture back into the remaining milk in the saucepan. Cook over medium heat, whisking constantly, until the cream thickens and begins to bubble gently - about 3-5 minutes.</li><li class="MethodStepper"><h4 class="step-title">Step 5</h4>Remove from heat and whisk in the room temperature butter until fully incorporated. The butter enriches the cream and gives it a silky texture. Strain through a fine-mesh sieve into a clean bowl, press a piece of plastic wrap directly onto the surface (to prevent a skin from forming), and refrigerate until cool and set, at least 2 hours.</li><li class="MethodStepper"><h4 class="step-title">Step 6</h4>For the phyllo shell, lightly brush your tart pan with melted butter. Place one sheet of phyllo on your work surface, brush lightly with melted butter, and sprinkle with a little sugar. Lay another sheet on top at a slight angle, creating a star pattern. Continue this process with the remaining sheets, rotating slightly each time to create an even overhang around the pan.</li><li class="MethodStepper"><h4 class="step-title">Step 7</h4>Carefully lift the layered phyllo and place it into your tart pan, gently pressing it into the corners and sides. The phyllo should extend beyond the edges of the pan. Fold any overhanging edges back over the top, brushing with more butter to create a rustic, ruffled edge.</li><li class="MethodStepper"><h4 class="step-title">Step 8</h4>Bake in the preheated oven for 15-20 minutes until the phyllo is golden brown and crisp. Keep a close eye on it, as phyllo can burn quickly! Once done, remove from the oven and let cool completely in the pan. The shell will crisp up further as it cools.</li><li class="MethodStepper"><h4 class="step-title">Step 9</h4>When ready to assemble, carefully remove the cooled phyllo shell from the tart pan and place it on a serving plate. Gently whisk the chilled pastry cream to loosen it slightly, then spread it evenly into the cooled phyllo shell.</li><li class="MethodStepper"><h4 class="step-title">Step 10</h4>Arrange the sliced strawberries in concentric circles or your desired pattern over the pastry cream, starting from the outside and working inward. The more tightly you place them, the more beautiful the finished tart will be.</li><li class="MethodStepper"><h4 class="step-title">Step 11</h4>In a small saucepan, warm the strawberry jam with 1 tablespoon of water until it becomes fluid. Strain if needed for a smooth glaze. Using a pastry brush, gently brush this glaze over the strawberries. This gives them a beautiful shine and helps preserve their freshness.</li><li class="MethodStepper"><h4 class="step-title">Step 12</h4>If desired, garnish with fresh mint leaves and a light dusting of icing sugar just before serving. For the best texture contrast, serve the tart within 2-3 hours of assembly, as the moisture from the cream and strawberries will eventually soften the crisp phyllo.</li></ol>