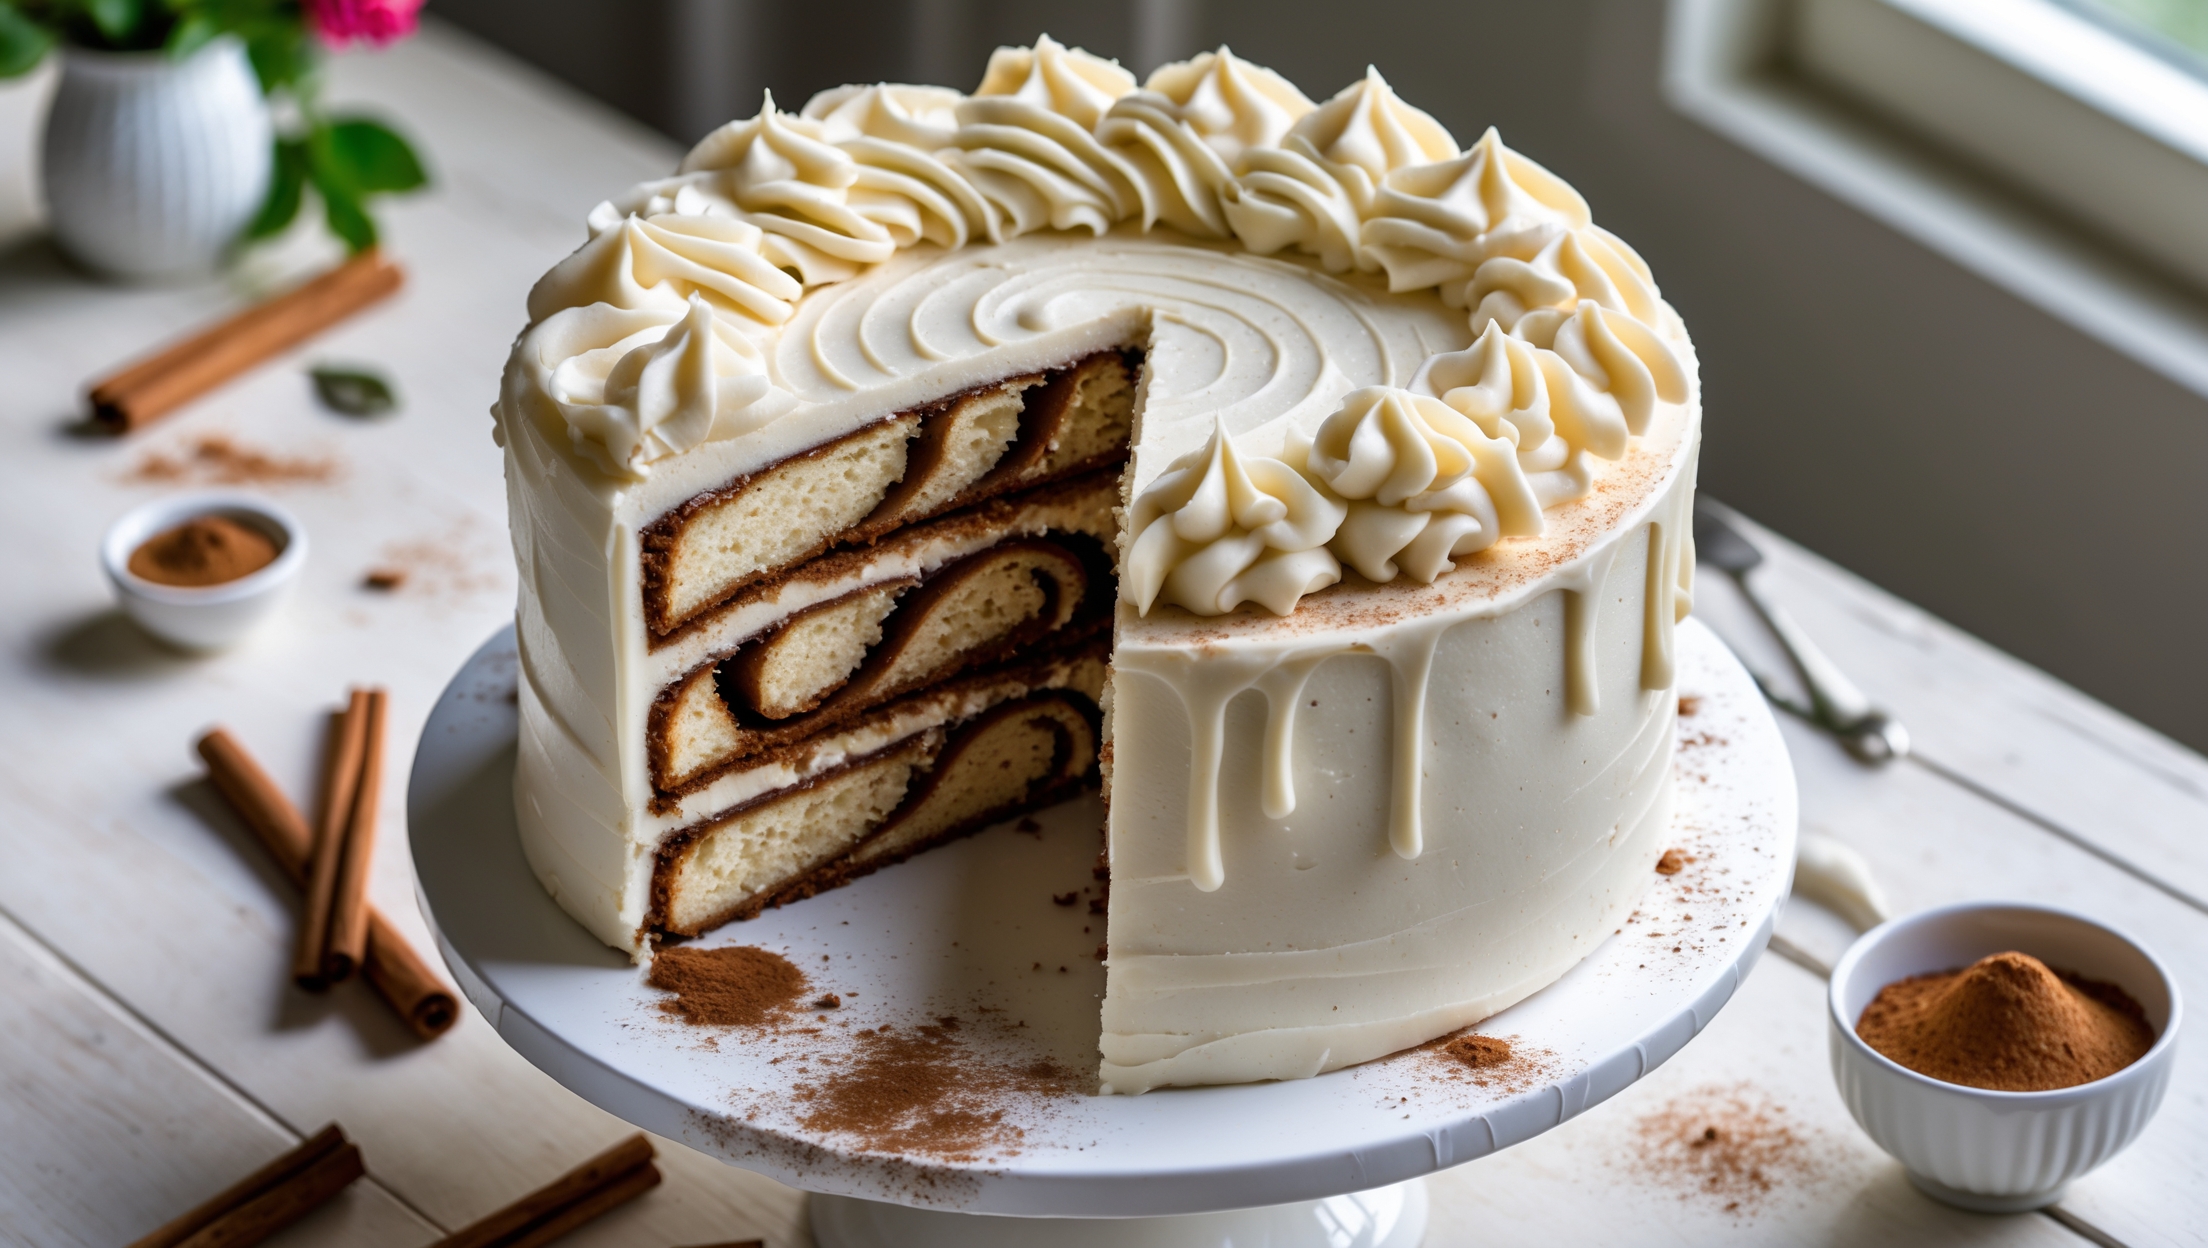
Directions
<ol class="no-list-style"> <li class="MethodStepper"> <h4 class="step-title">Step 1</h4> Begin with the apple filling. In a large saucepan, melt the butter over medium heat. Add the diced apples, brown sugar, cinnamon, nutmeg, and lemon juice. Cook for 8-10 minutes, stirring occasionally, until the apples have softened but still hold their shape and most of the liquid has evaporated. The apples should be tender when pierced with a fork but not mushy. Remove from heat and allow to cool completely. This can be made up to 2 days ahead and refrigerated in an airtight container. </li> <li class="MethodStepper"> <h4 class="step-title">Step 2</h4> Preheat your oven to 175°C (350°F). Grease three 20cm (8-inch) round cake tins and line the bottoms with parchment paper. Then grease the parchment paper as well - this extra step ensures your cakes release perfectly. </li> <li class="MethodStepper"> <h4 class="step-title">Step 3</h4> In a medium bowl, whisk together the flour, baking powder, baking soda, spices (cinnamon, nutmeg, ginger, and cloves), and salt until well combined. The thorough mixing of dry ingredients ensures even distribution of the leavening agents and spices throughout your cake. </li> <li class="MethodStepper"> <h4 class="step-title">Step 4</h4> In the bowl of your stand mixer fitted with the paddle attachment (or using an electric hand mixer), beat the butter on medium-high speed for 1 minute until smooth. Add both sugars and cream together for 3-4 minutes until pale and fluffy. This extended creaming creates air pockets that help your cake rise and achieve a tender crumb. Scrape down the sides and bottom of the bowl as needed. </li> <li class="MethodStepper"> <h4 class="step-title">Step 5</h4> Add the eggs one at a time, beating well after each addition for about 30 seconds. Wait until each egg is fully incorporated before adding the next - patience here helps prevent the batter from curdling. Stir in the vanilla extract. The mixture might look slightly curdled at this point, but don't worry - it will come together when you add the dry ingredients. </li> <li class="MethodStepper"> <h4 class="step-title">Step 6</h4> Reduce the mixer speed to low. Add the dry ingredients in three parts, alternating with the buttermilk in two parts, beginning and ending with the dry ingredients. Mix only until just combined after each addition - overmixing will develop gluten and make your cake tough. The batter should be thick but pourable. </li> <li class="MethodStepper"> <h4 class="step-title">Step 7</h4> Divide the batter evenly between the three prepared cake tins, using a kitchen scale if you have one to ensure layers of equal thickness. Smooth the tops with an offset spatula. Bake in the preheated oven for 25-30 minutes, or until a toothpick inserted in the center comes out clean or with a few moist crumbs. The cakes should spring back when lightly touched in the center. </li> <li class="MethodStepper"> <h4 class="step-title">Step 8</h4> Allow the cakes to cool in their tins for 15 minutes before turning them out onto wire cooling racks to cool completely. To prevent the cakes from sticking, run a thin knife around the edges before removing them from the tins. The cakes must be completely cool before frosting, otherwise your frosting will melt. </li> <li class="MethodStepper"> <h4 class="step-title">Step 9</h4> While the cakes cool, prepare the cream cheese frosting. In a large bowl, beat the softened cream cheese and butter together on medium-high speed until smooth and creamy, about 2 minutes. Add the sifted icing sugar in batches, mixing on low speed initially to prevent a sugar cloud, then increasing to medium-high. Beat in the vanilla extract and salt. Continue beating for 3-4 minutes until the frosting is light and fluffy. If it seems too soft, refrigerate for 15-20 minutes before using. </li> <li class="MethodStepper"> <h4 class="step-title">Step 10</h4> If your cakes have domed tops, use a serrated knife to carefully level them. This ensures even stacking and a professional look. Place one cake layer on your serving plate or cake stand. Tuck strips of parchment paper under the edges to keep your serving plate clean while frosting. </li> <li class="MethodStepper"> <h4 class="step-title">Step 11</h4> Spread about 3/4 cup of frosting evenly on top of the first cake layer. Arrange half of the cooled apple filling on top, leaving a 1cm border around the edge (this prevents the filling from spilling out). Repeat with the second cake layer, more frosting, and the remaining apple filling. Place the final cake layer on top, bottom side up, for a perfectly flat top surface. </li> <li class="MethodStepper"> <h4 class="step-title">Step 12</h4> Apply a thin layer of frosting all over the cake to seal in any crumbs (this is called the crumb coat). Refrigerate for 20 minutes to set this layer. Then apply the remaining frosting, creating decorative swirls on the top and sides as desired. The chilled crumb coat makes this final frosting much easier and cleaner. </li> <li class="MethodStepper"> <h4 class="step-title">Step 13</h4> For the optional garnish, toss the thinly sliced apple with lemon juice to prevent browning. In a small pan, combine the apple slices, brown sugar, and cinnamon. Cook over medium heat for 2-3 minutes until slightly softened and caramelized. Let cool completely before arranging decoratively on top of the cake. </li> <li class="MethodStepper"> <h4 class="step-title">Step 14</h4> Allow the cake to sit at room temperature for 30 minutes before serving to allow the flavors to meld. This cake keeps well in an airtight container in the refrigerator for up to 5 days. For the best flavor and texture, bring slices to room temperature before serving. </li> </ol>