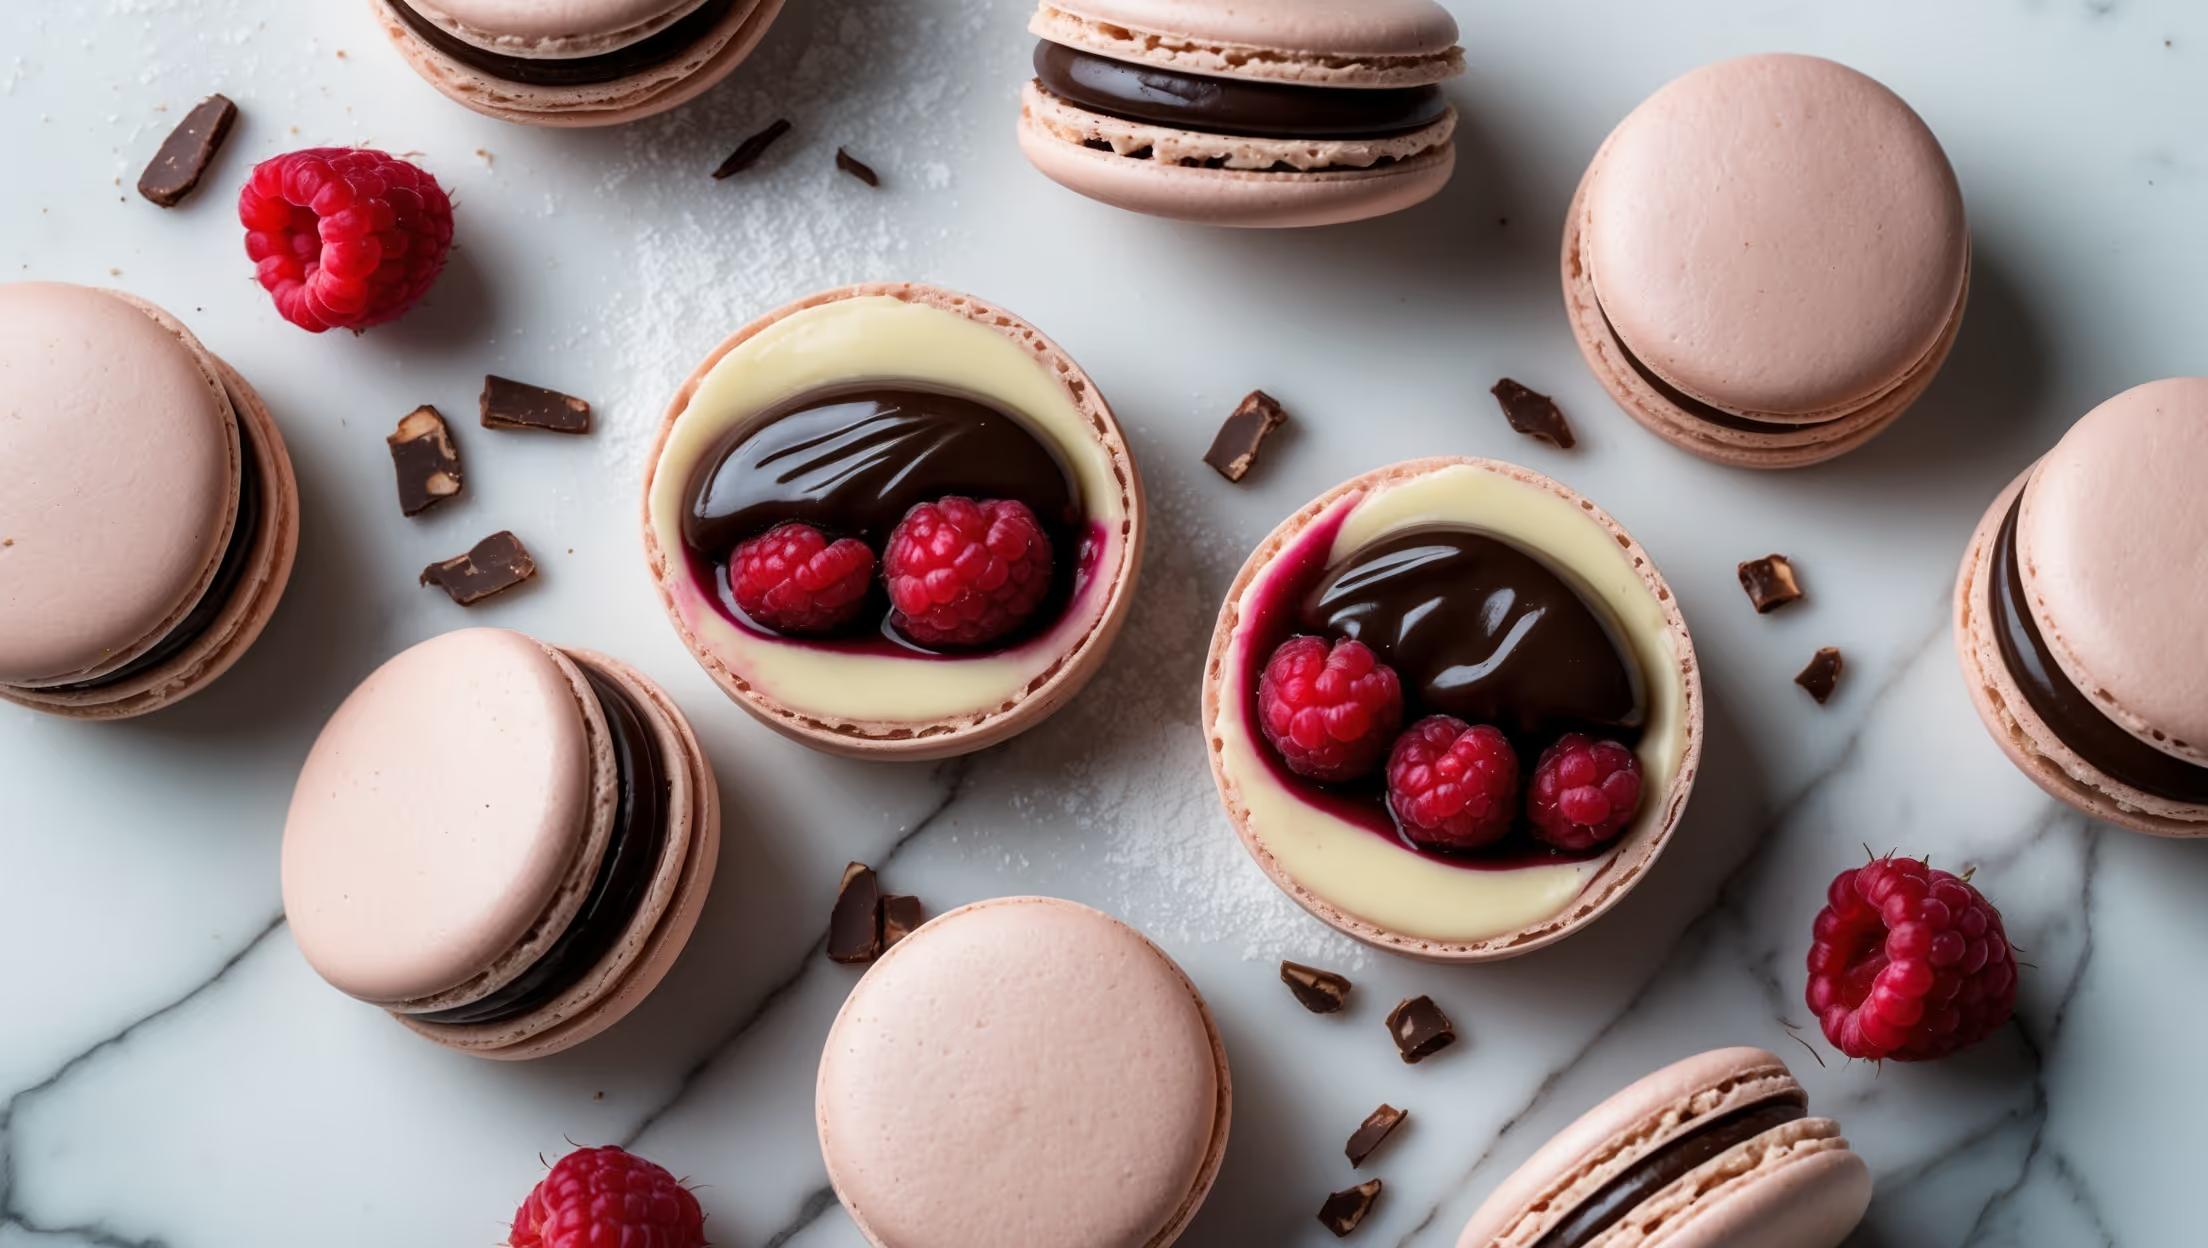
Directions
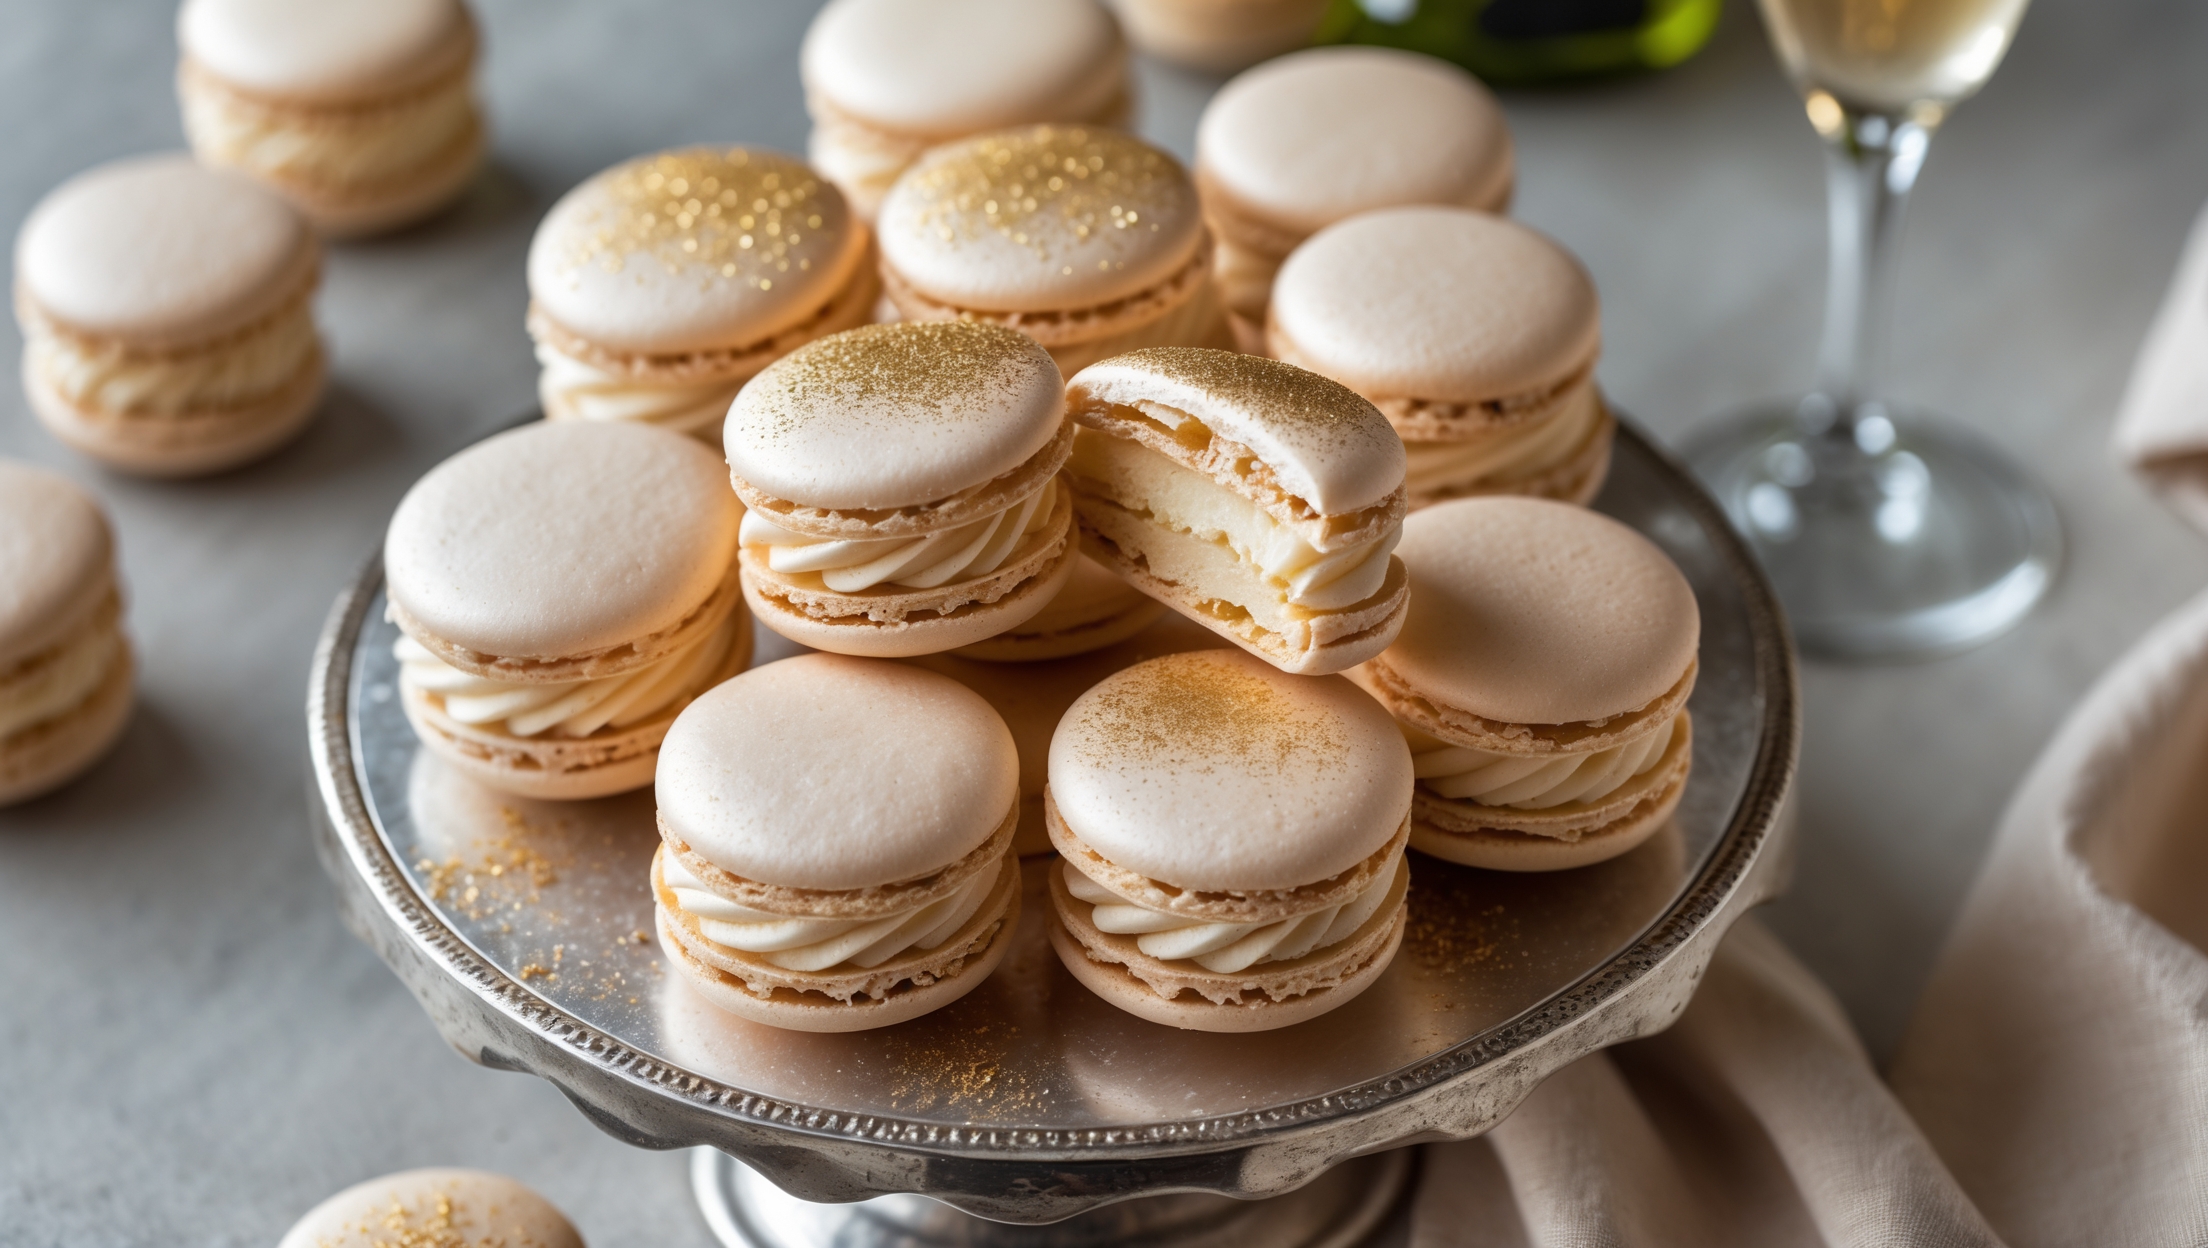
<ol class="no-list-style"><li class="MethodStepper"><h4 class="step-title">Step 1</h4>Prepare your workspace by measuring all ingredients precisely. The success of macarons depends on exact measurements, so use a digital scale. For the liquid center to work properly, having the right proportions is critical. Line two baking sheets with parchment paper or silicone mats. If you're using parchment, draw 3cm circles on the underside as piping guides, spaced at least 3cm apart.</li><li class="MethodStepper"><h4 class="step-title">Step 2</h4>Sift the almond flour and powdered sugar together three times to eliminate any lumps. This ensures a perfectly smooth macaron shell. Discard any large pieces that don't pass through the sieve. Set this dry mixture aside.</li><li class="MethodStepper"><h4 class="step-title">Step 3</h4>In a clean, grease-free bowl of your stand mixer, combine the aged egg whites (aging removes excess moisture and improves stability) and cream of tartar. Begin whipping on medium speed until foamy, then gradually add the granulated sugar while continuing to whip. Once all sugar is incorporated, increase to high speed and whip until stiff, glossy peaks form. The meringue should be so firm that you can turn the bowl upside down without it falling out. Add gel food coloring and vanilla bean paste in the final 30 seconds of mixing.</li><li class="MethodStepper"><h4 class="step-title">Step 4</h4>Gently fold the sifted dry ingredients into the meringue using a flexible spatula. Use the "macaronage" technique: press the batter against the sides of the bowl while turning it, then fold back into the center. This deflates some air while making the batter flow properly. The correct consistency is reached when the batter flows like lava and forms a ribbon that disappears back into the mass after about 10 seconds. Be cautious not to overmix, as this will result in flat, cracked macarons.</li><li class="MethodStepper"><h4 class="step-title">Step 5</h4>Transfer the batter to a piping bag fitted with a round tip. Pipe the batter onto half of your prepared hemispheres in your silicone sphere mold, filling each cavity about 2/3 full. If you don't have sphere molds, pipe 3cm rounds onto your prepared baking sheets. The mixture will spread slightly. Tap the molds or baking sheets firmly against the counter several times to remove air bubbles.</li><li class="MethodStepper"><h4 class="step-title">Step 6</h4>Allow the piped macarons to rest at room temperature until they develop a skin that's dry to a gentle touch – about 30-45 minutes depending on humidity. This crucial step allows the shells to rise properly and develop "feet" during baking. Meanwhile, preheat your oven to 150°C (300°F) with a rack in the middle position.</li><li class="MethodStepper"><h4 class="step-title">Step 7</h4>Bake the macarons for 12-15 minutes. The shells should rise, develop "feet" (the frilly bottom edge), and be firm but not browned. If you're using silicone molds, you may need to increase baking time by 2-3 minutes. Allow to cool completely in the molds or on the baking sheets before attempting to remove them.</li><li class="MethodStepper"><h4 class="step-title">Step 8</h4>While the shells cool, prepare the liquid center filling. Soak gelatin sheets in cold water for 5 minutes until soft. Place chopped white chocolate in a heatproof bowl. Heat heavy cream in a small saucepan until it just begins to simmer (do not boil). Remove from heat.</li><li class="MethodStepper"><h4 class="step-title">Step 9</h4>Squeeze excess water from gelatin sheets and add to the hot cream, stirring until dissolved. Pour this mixture over the white chocolate, let sit for 30 seconds, then stir until completely smooth. Add fruit puree and glucose syrup, mixing until well incorporated. The glucose prevents crystallization, giving your filling a smoother flow. Let cool to room temperature but don't refrigerate or it will set too firmly.</li><li class="MethodStepper"><h4 class="step-title">Step 10</h4>To assemble the sphere macarons, carefully remove cooled shells from molds/baking sheets. Using a small paring knife or the back of a small round piping tip, create a small hole in the flat side of half the shells. Transfer the cooled but still liquid filling to a piping bag with a small round tip.</li><li class="MethodStepper"><h4 class="step-title">Step 11</h4>Pipe about 1-2 teaspoons of the liquid filling into the hollowed shells. Work quickly before the filling sets. Don't overfill or the liquid will leak. If the filling begins to thicken, warm it gently by placing the piping bag in warm water for a few seconds.</li><li class="MethodStepper"><h4 class="step-title">Step 12</h4>Carefully match up the filled shells with the remaining unfilled ones, gently pressing together to create complete spheres. If needed, use a small amount of filling as "glue" around the edges. Brush with edible gold dust or sprinkle with gold flakes for an elegant finish if desired.</li><li class="MethodStepper"><h4 class="step-title">Step 13</h4>Place the assembled sphere macarons in an airtight container and refrigerate for at least 24 hours before serving. This "maturation" process allows flavors to develop and the shells to soften slightly while maintaining structure. Remove from refrigerator 20-30 minutes before serving to allow the filling to reach a flowing consistency. When bitten into, the center should provide that delightful liquid burst!</li></ol>