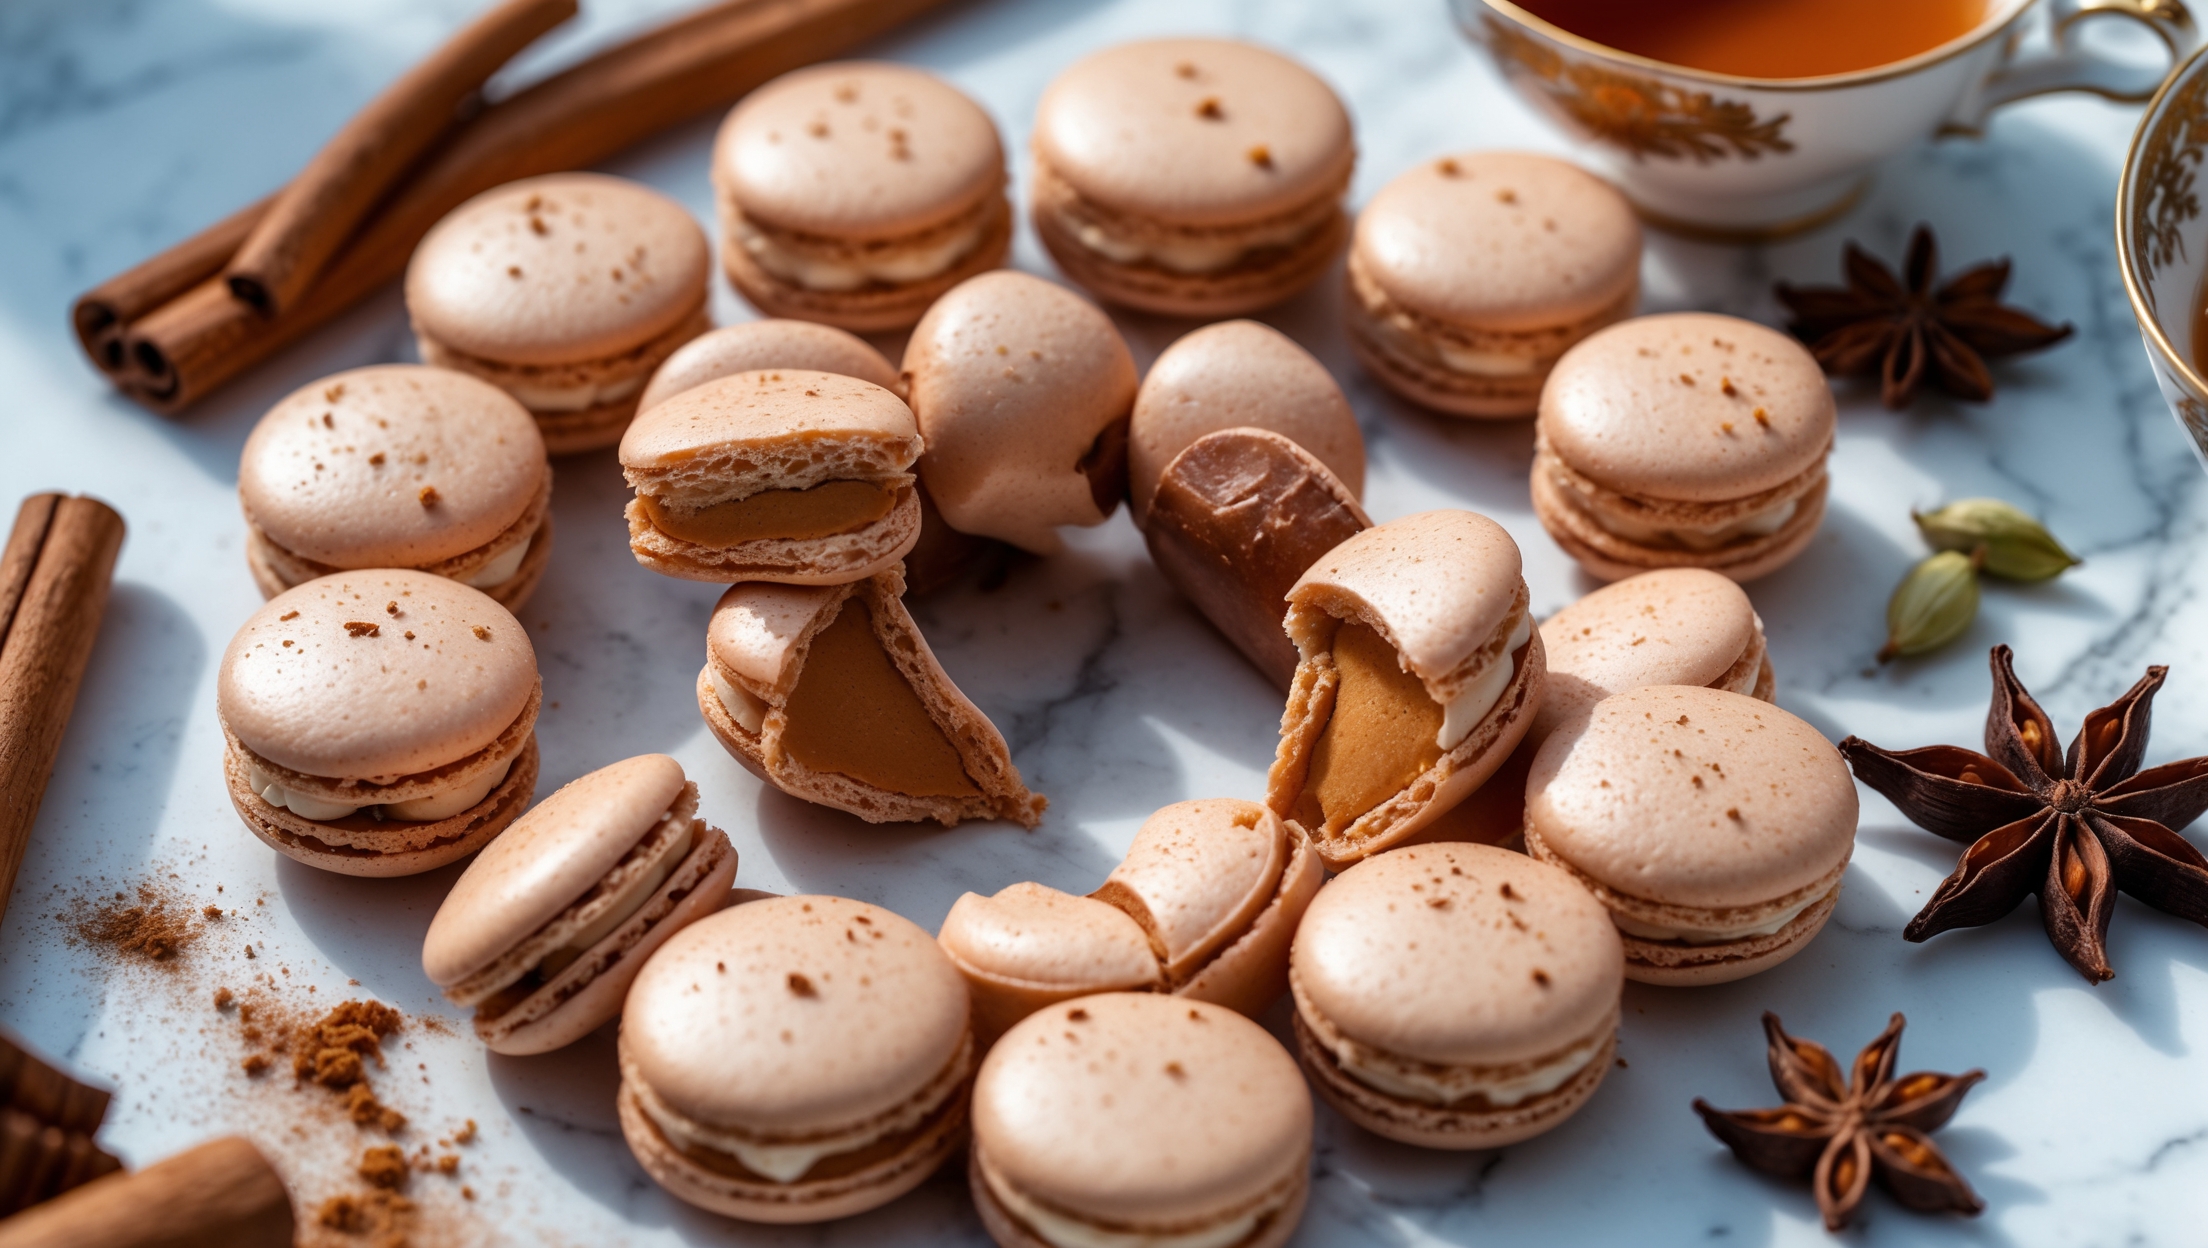
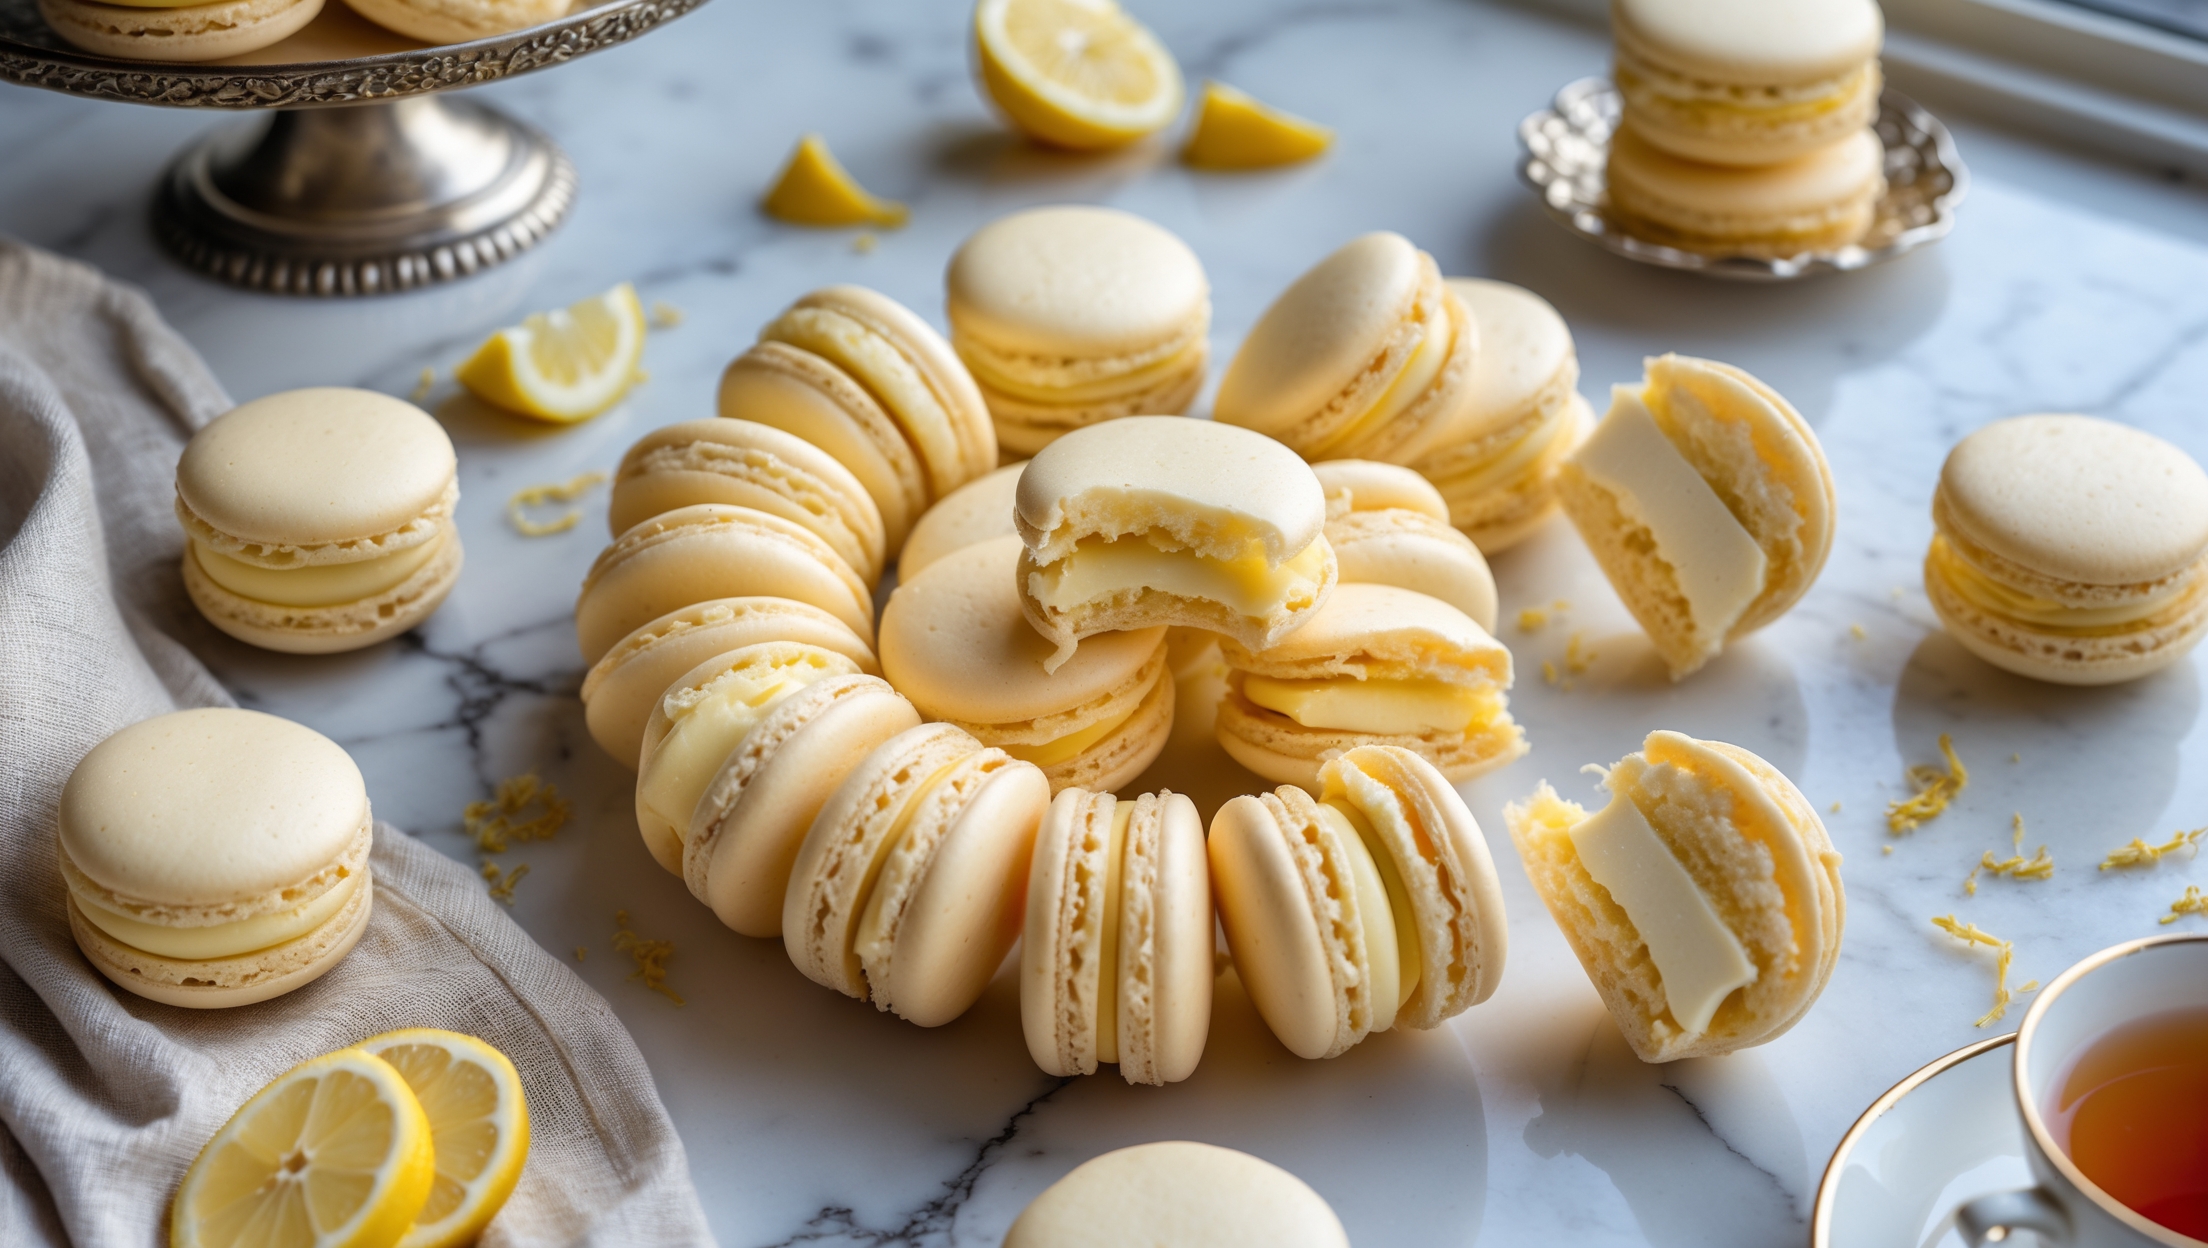
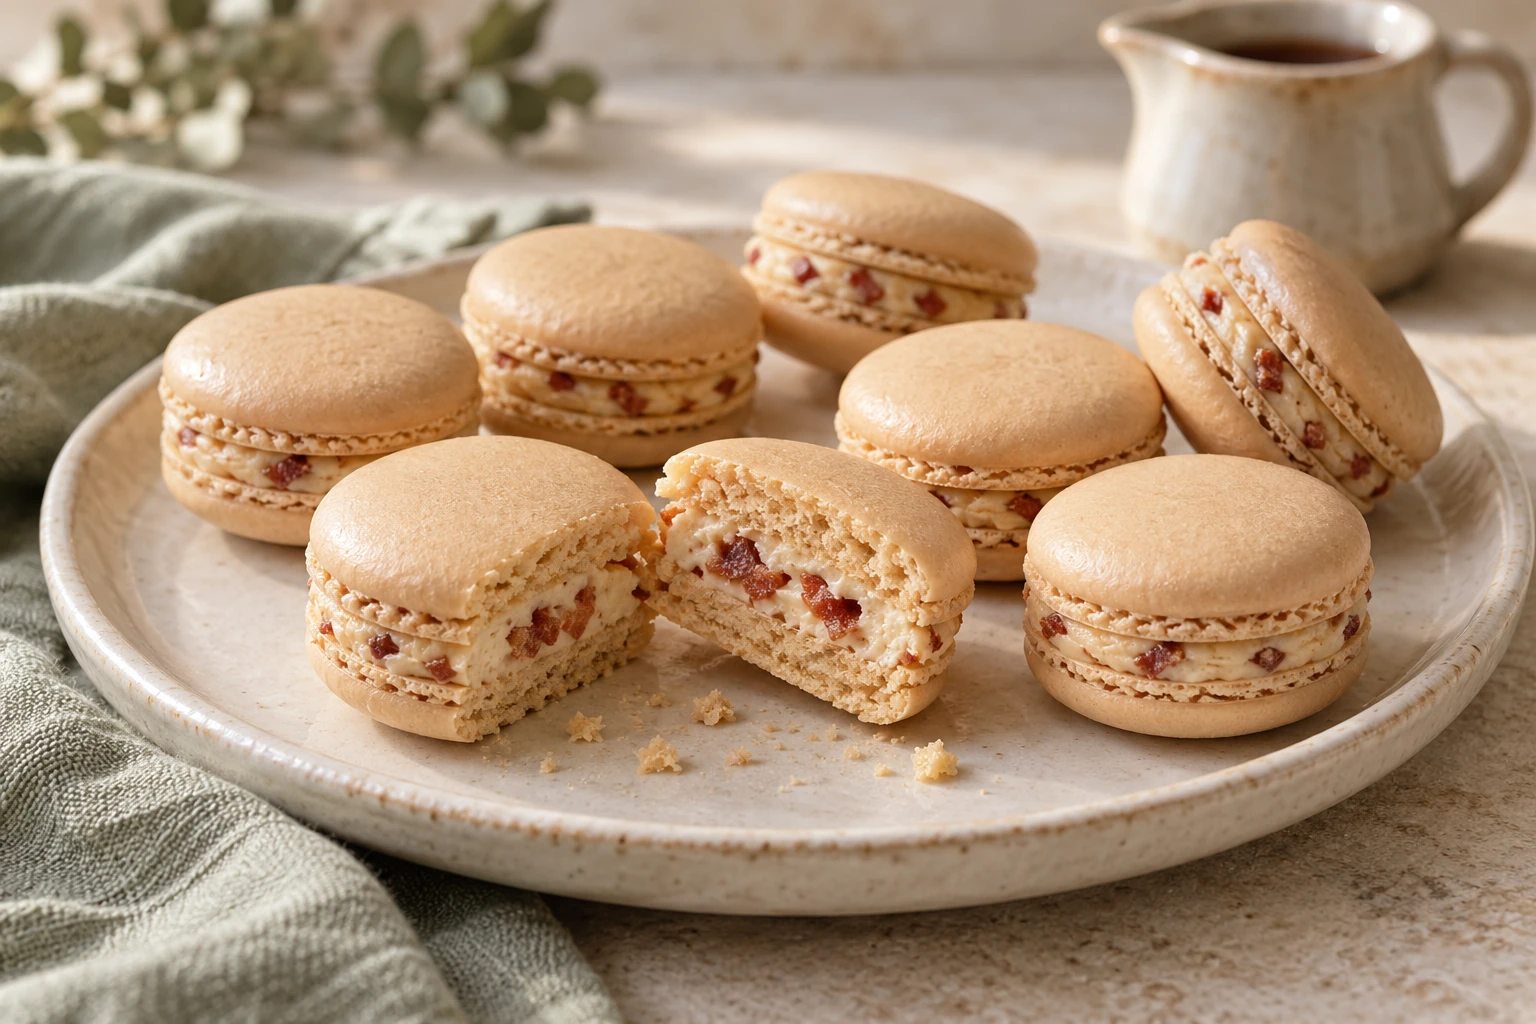
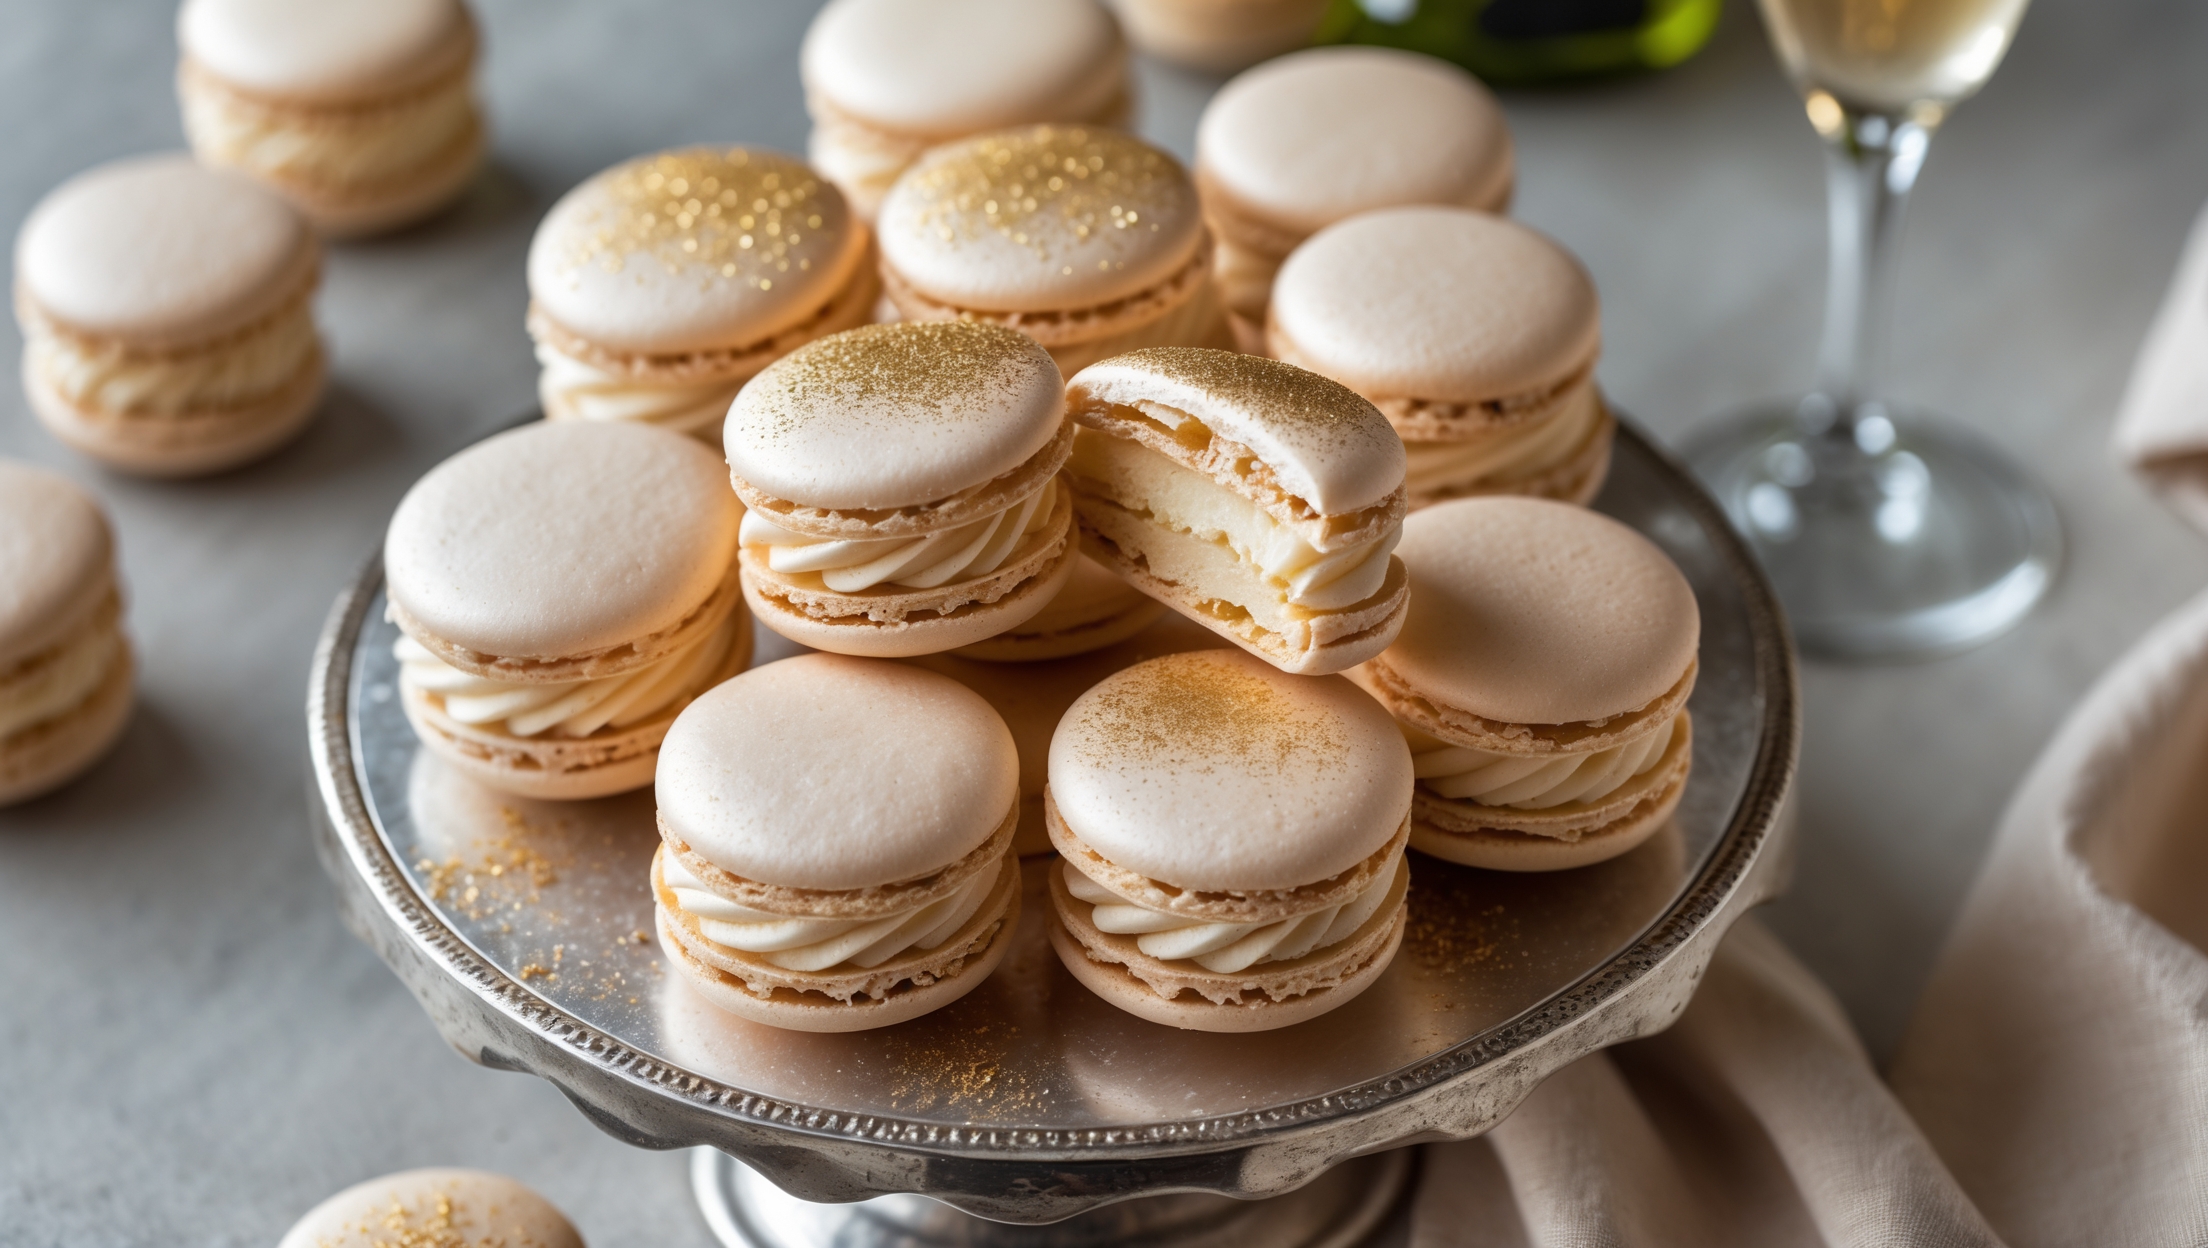
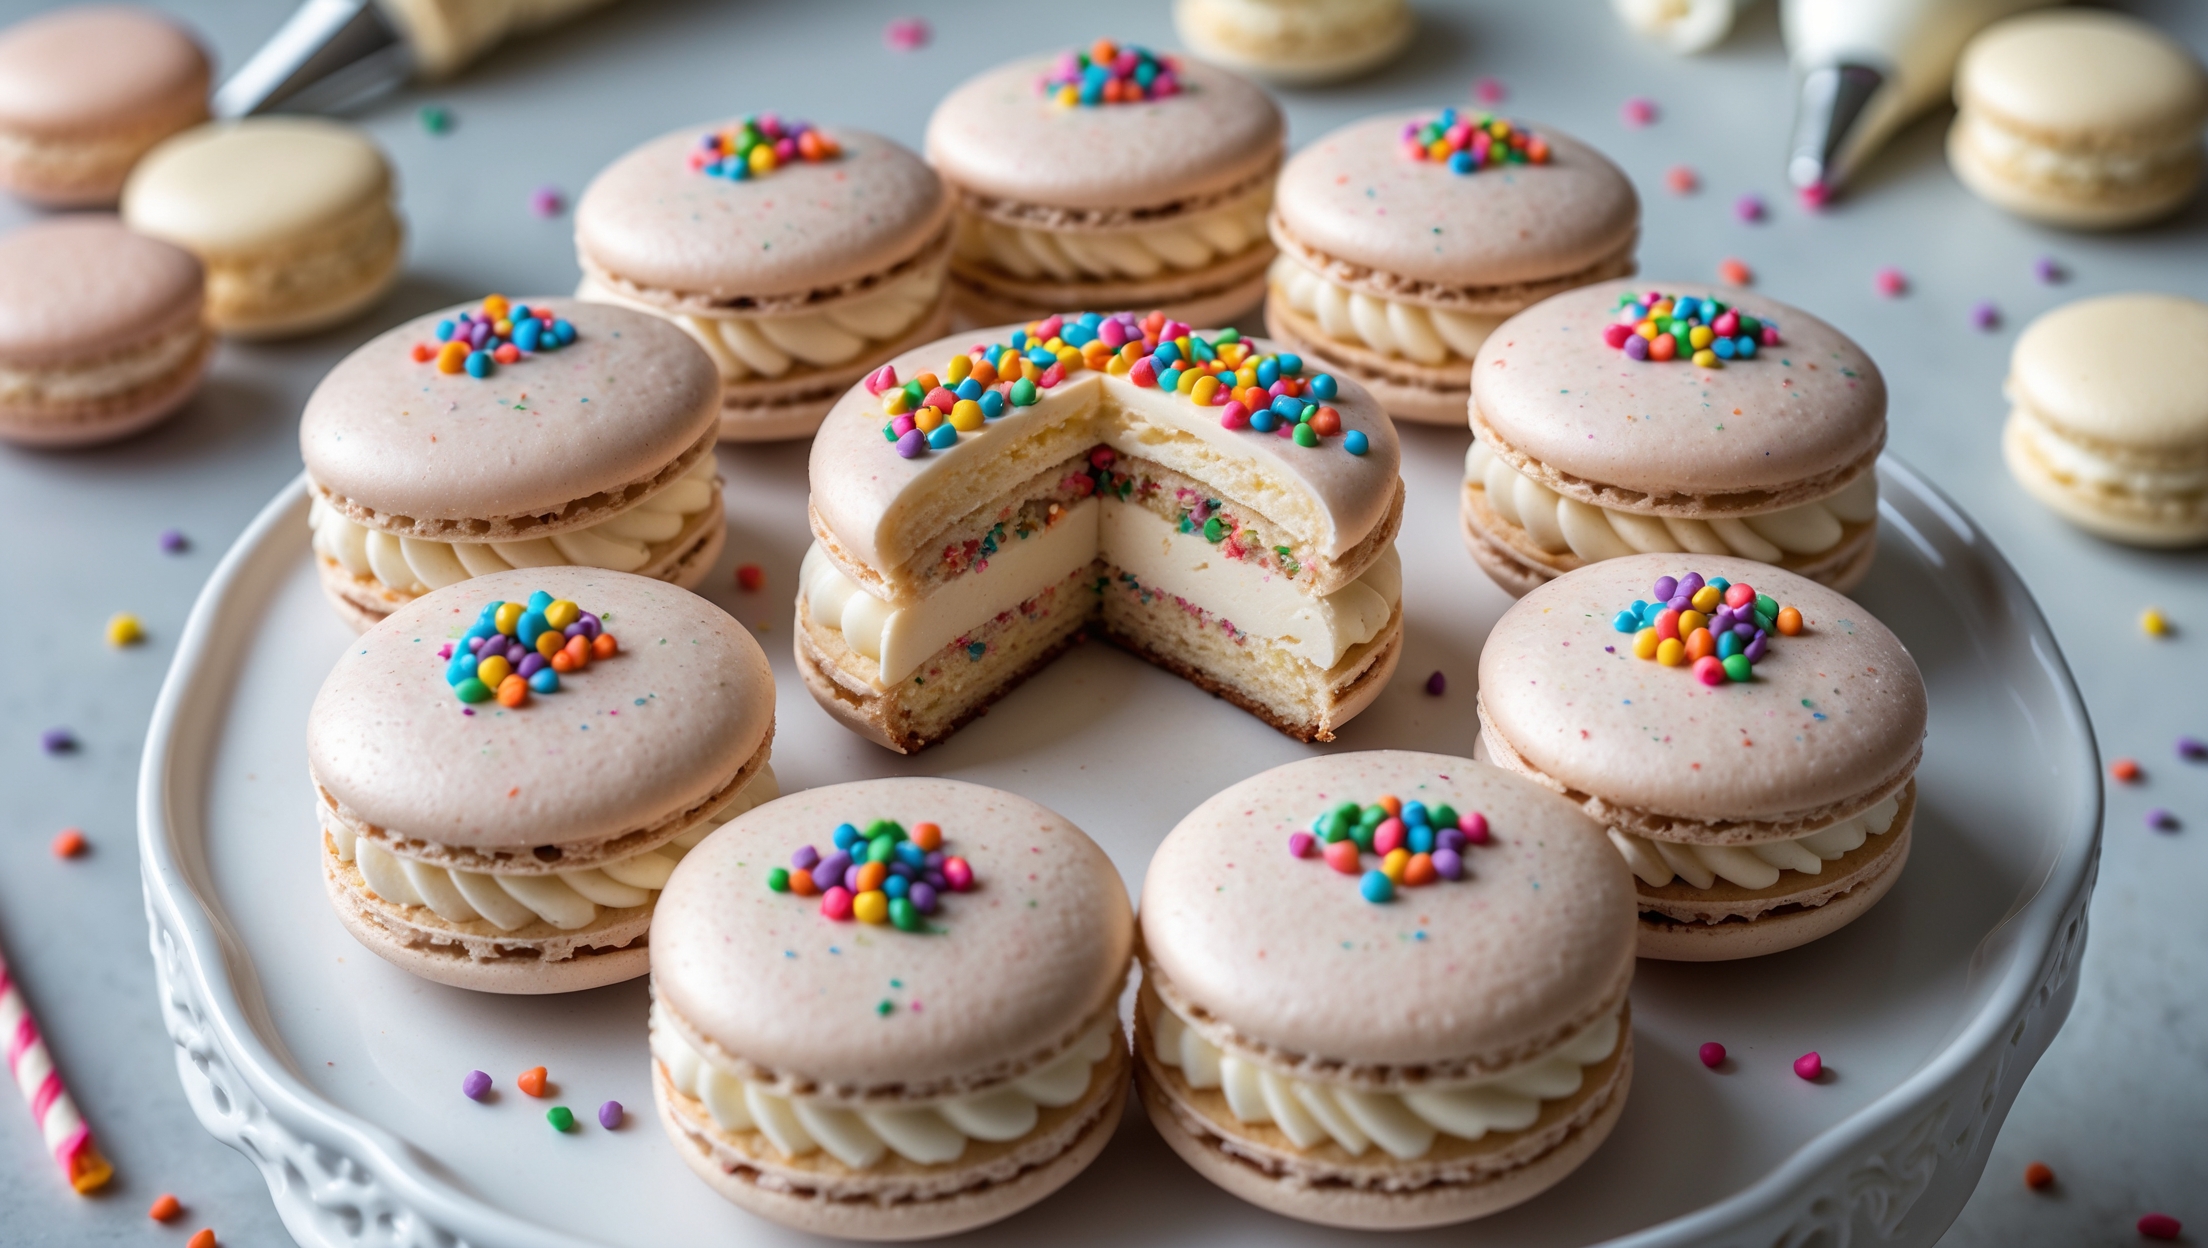
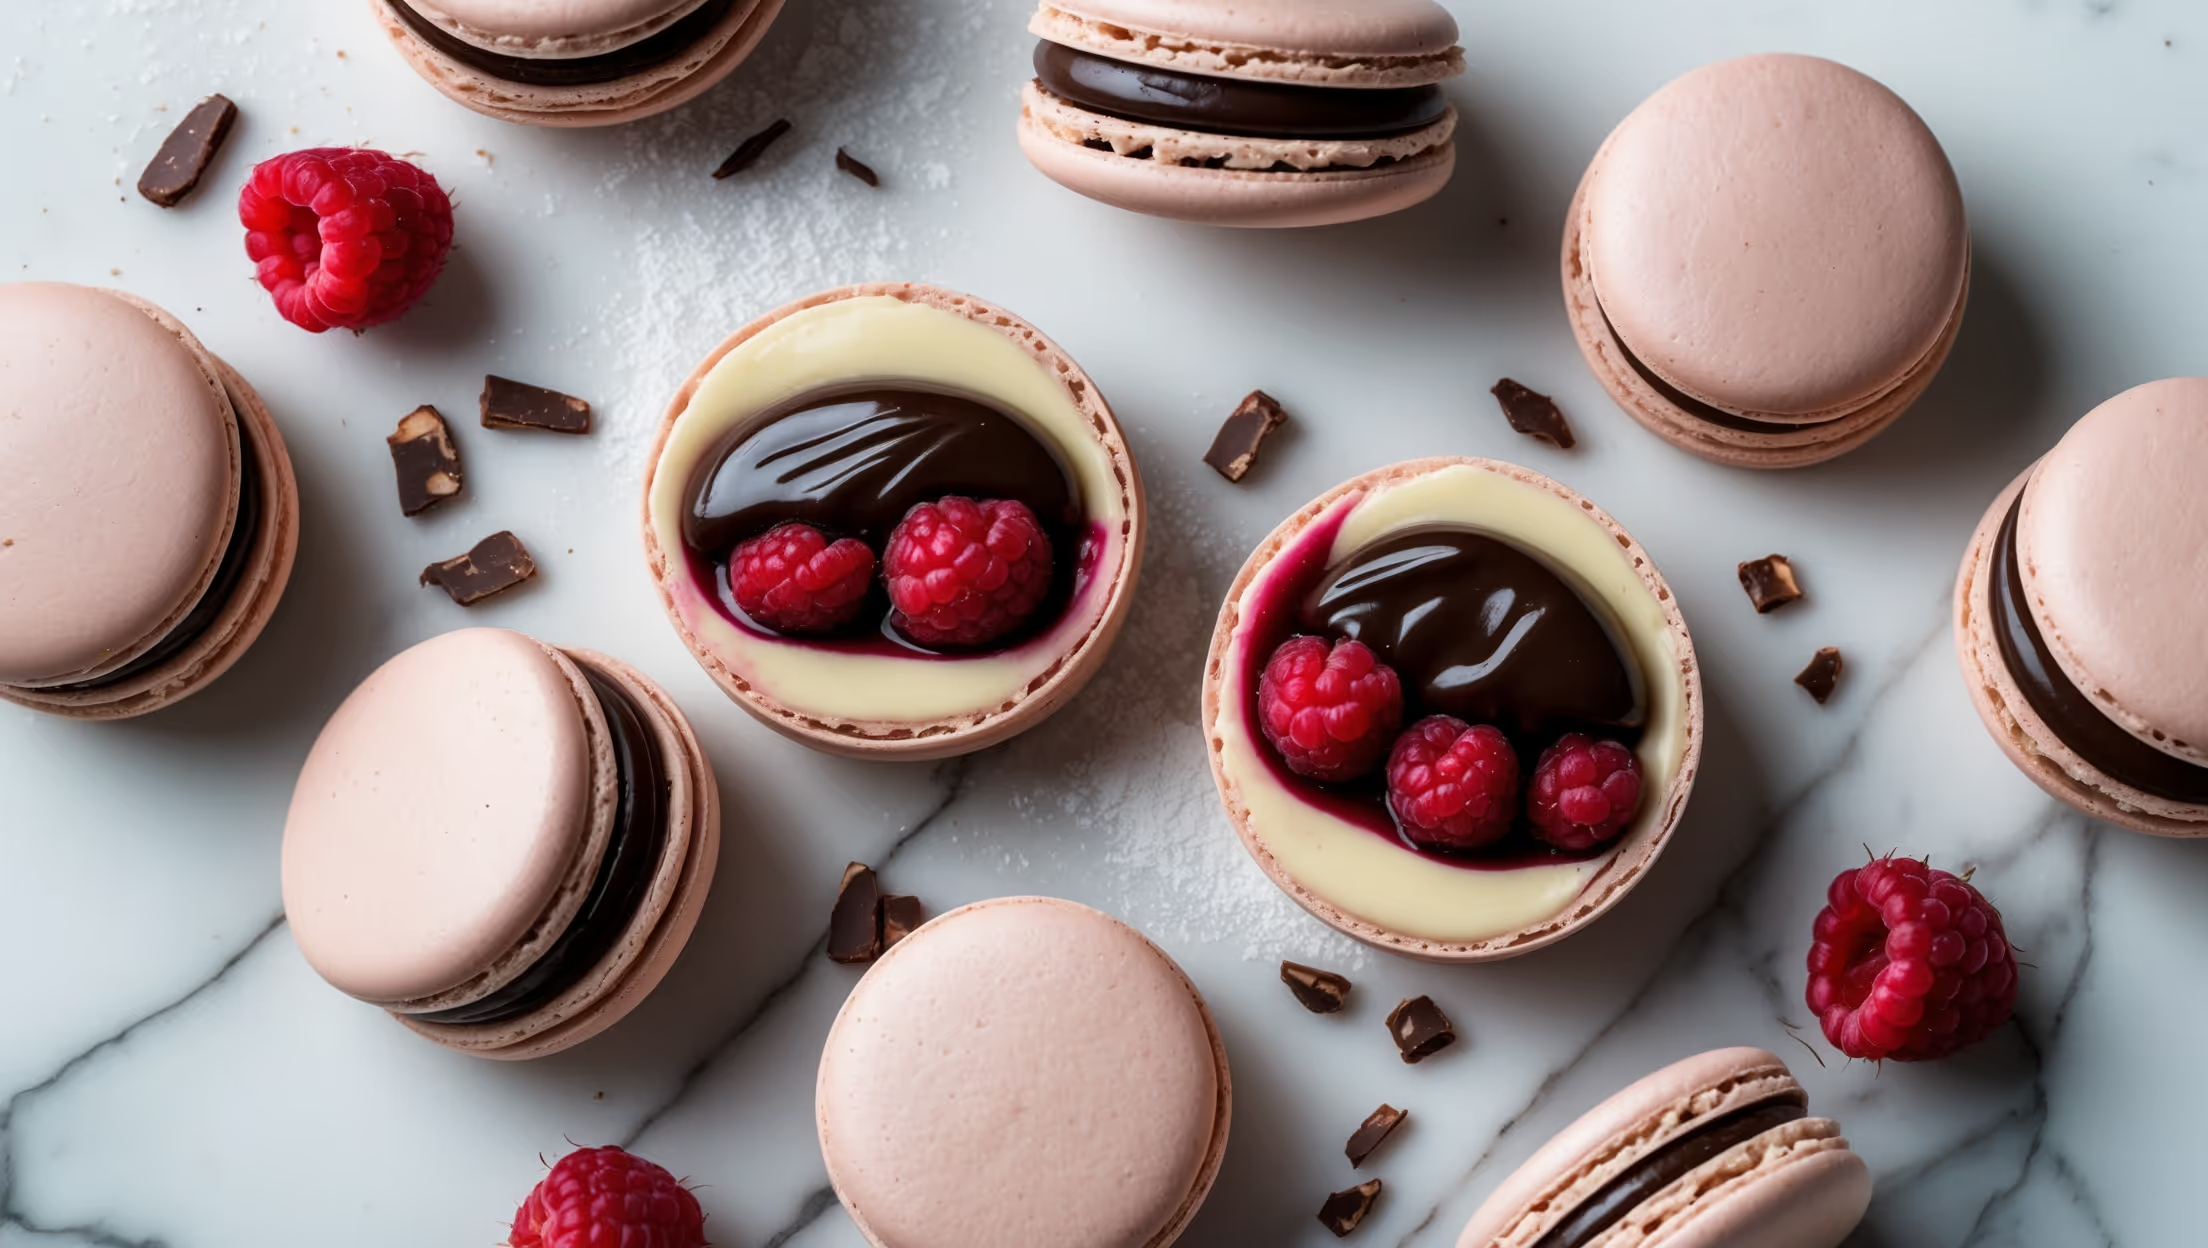
Directions
<ol class="no-list-style"> <li class="MethodStepper"> <h4 class="step-title">Step 1</h4> Begin by preparing your workspace. Line two baking sheets with silicone mats or parchment paper with macaron templates. Ensure your egg whites have been aged at room temperature for 24 hours (this reduces moisture and helps create stable meringue). Measure all ingredients precisely using a kitchen scale as accuracy is crucial for successful macarons. </li> <li class="MethodStepper"> <h4 class="step-title">Step 2</h4> Sift the almond flour, powdered sugar, and all the spices (cinnamon, cardamom, ginger, cloves, and black pepper) together into a large bowl. Sift at least twice to remove any lumps and ensure the spices are evenly distributed. Discard any large pieces that don't pass through the sieve. </li> <li class="MethodStepper"> <h4 class="step-title">Step 3</h4> In the bowl of your stand mixer fitted with the whisk attachment, begin whisking the egg whites on medium-low speed until foamy. Add a pinch of salt to help stabilize the meringue, then gradually add the granulated sugar while increasing to medium-high speed. Continue whisking until stiff, glossy peaks form – when you turn the whisk upside down, the meringue should hold a firm peak without drooping. If using food coloring, add a small amount now and mix briefly until incorporated. Be careful not to overbeat, as this will dry out your meringue and cause cracking. </li> <li class="MethodStepper"> <h4 class="step-title">Step 4</h4> Add one-third of the dry ingredients to the meringue and gently fold using a rubber spatula, cutting through the center and scraping around the edges. Once incorporated, add the remaining dry ingredients and continue folding. This technique, called "macaronage," is crucial – you want to deflate some air while achieving the right consistency. The batter is ready when it flows like lava and forms a ribbon that disappears back into the mass within about 30 seconds. Test by lifting your spatula – the batter should fall in a continuous ribbon and form a figure-8 without breaking. </li> <li class="MethodStepper"> <h4 class="step-title">Step 5</h4> Transfer the batter to a piping bag fitted with a round tip. Holding the bag perpendicular to the baking sheet, pipe 3-4cm circles onto your templates, leaving space between each. Once piped, firmly tap the baking sheets against the counter 3-4 times to release air bubbles. Look closely for any remaining air bubbles and pop them with a toothpick. </li> <li class="MethodStepper"> <h4 class="step-title">Step 6</h4> Allow the piped macarons to rest at room temperature until they form a skin – when you gently touch the surface, no batter should stick to your finger. This typically takes 30-60 minutes depending on humidity. This resting stage is essential for developing the characteristic "feet" of the macarons during baking. </li> <li class="MethodStepper"> <h4 class="step-title">Step 7</h4> While the shells are resting, preheat your oven to 150°C (300°F). If your oven has hot spots, consider placing an empty baking sheet on the rack below to provide insulation. Bake one tray at a time for 15-18 minutes. The macarons are done when they feel firm to the touch and don't wobble when gently pushed. If they stick to the parchment, they need more time. Let them cool completely on the baking sheets before attempting to remove. </li> <li class="MethodStepper"> <h4 class="step-title">Step 8</h4> For the cinnamon buttercream, beat the softened butter in a mixer until light and fluffy, about 3-4 minutes. This extended beating incorporates air for a silky texture. Gradually add the sifted powdered sugar, cinnamon, and vanilla extract, mixing on low speed initially to avoid a sugar cloud. Once incorporated, increase the speed and beat for 2-3 minutes until pale and fluffy. Add heavy cream as needed to achieve a smooth, pipeable consistency. </li> <li class="MethodStepper"> <h4 class="step-title">Step 9</h4> Once the macaron shells have completely cooled, pair them up by size. Pipe a generous dollop of buttercream onto the flat side of one shell, then gently sandwich with its matching pair, applying just enough pressure to spread the filling to the edges without squeezing it out. </li> <li class="MethodStepper"> <h4 class="step-title">Step 10</h4> The final crucial step: place the filled macarons in an airtight container and refrigerate for at least 24 hours. This "maturation" process allows the flavors to meld and the shells to soften slightly from the moisture in the filling, creating that perfect balance of crisp exterior and chewy interior. Bring to room temperature for 30 minutes before serving to maximize flavor. Macarons can be stored refrigerated for up to 5 days or frozen for up to a month. </li> </ol>